
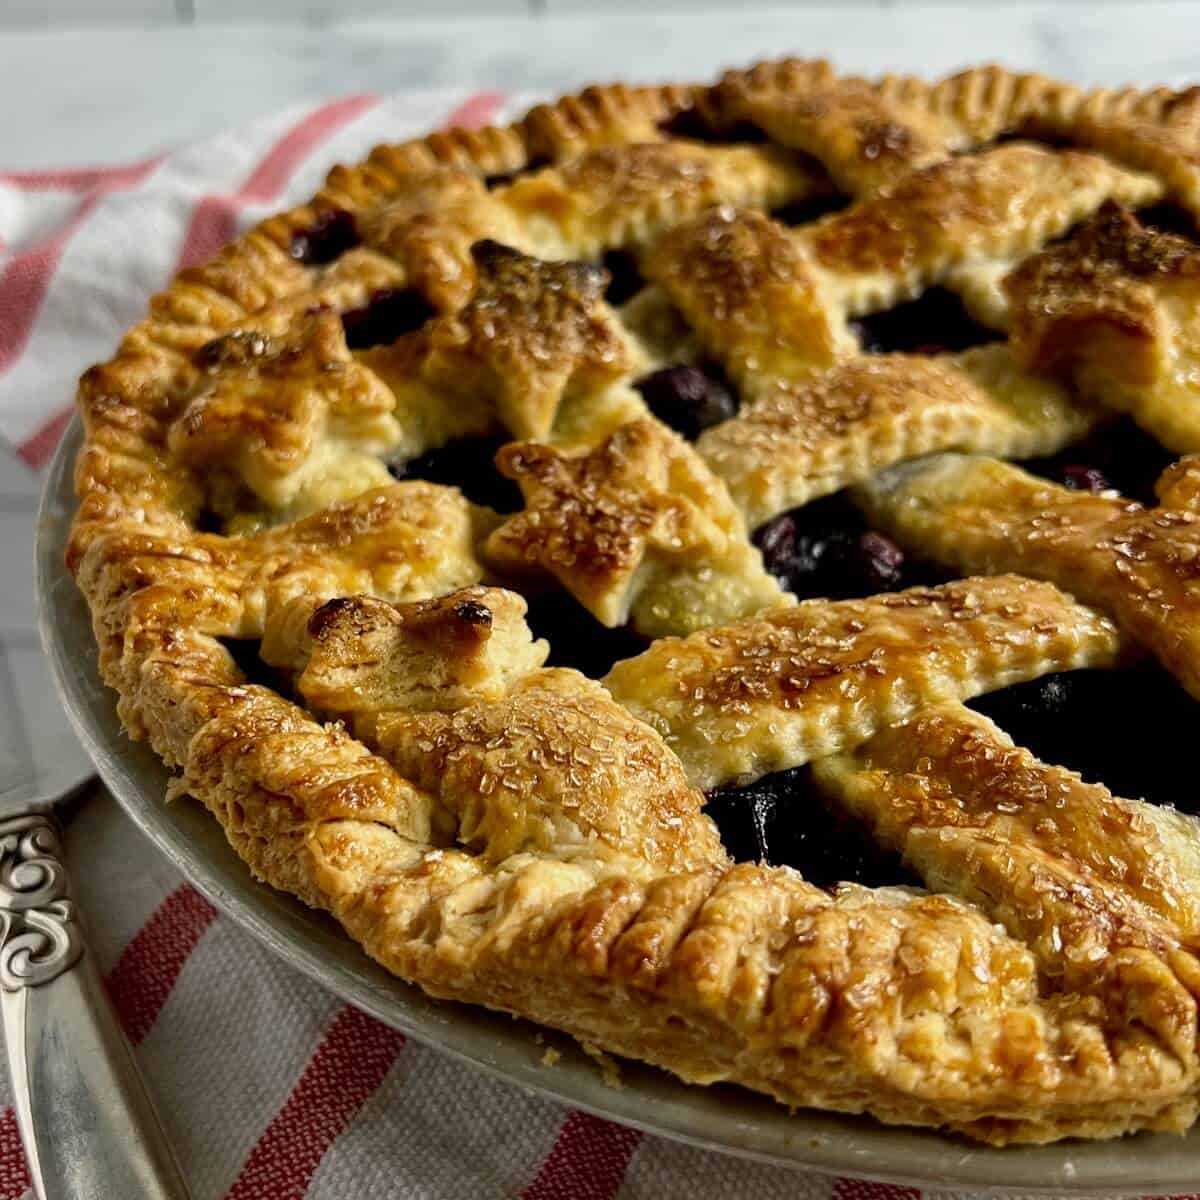
An all butter pie crust is flaky, tender, and easy to make, especially if you remember its 3 : 2 : 1 recipe ratio of flour, butter, and water, by weight. Scale the recipe for a single or double crust, and learn to how to blind bake your pie crust without pie weights. There's lots to know, and it's all here!
Jump to:
- Why this recipe works
- Recipe ingredients
- 3 : 2 : 1 Pie crust recipe ratio
- Chill out that dough
- How to make an all butter pie crust
- Making pie dough in the food processor
- Storage instructions
- How to blind bake the crust without pie weights
- Tips for pie crust success
- Questions asked and answered
- More pie, tart, & cobbler recipes to try
- Recipe
- Comments
[May, 2022: I've reworked the recipe and updated this post with all new pictures. Enjoy!]
Why this recipe works
- An all butter pie crust has great flavor with a tender and flaky texture
- Keeping everything cold ensures pie crust success
- Remembering a simple 3 : 2 : 1 recipe ratio allows you to make the crust without a recipe
Pie is sublime. Don't get me wrong, I have nothing against cakes (even with the slightly overdone cupcake phase we're in), cookies, or ice cream in general. In fact, I encourage them all with equal gusto. But there's something special about pie.
Perhaps it's because pie is more dimensional than other treats, meaning that pie doesn't just have to be dessert. Pies can be sweet or savory, and the latter category opens up a whole world of possibilities with which other baked products just can't compete.
Give pie the ability to be held in your hand, and you've got a meal on the run.
And how many other baked items have their own special day? Pie has Pi Day, March 14th, 3/14 (3.14..., get it?). Yes, my math geek is showing. That's why I love the 3 : 2 : 1 pie dough recipe ratio - it's delicious math!
For the best pie, make an all butter pie crust recipe. A pie crust recipe with butter has a superior flavor with a tender and flaky texture that's prized in pie.
Making an all butter pie crust produces a pie shell with a wonderful buttery flavor and all those flaky layers you're looking for. Best of all, there's no chemicals or presevatives, so the crust tastes fresh and free of off flavors.
You don't always have to use pie crust for pies. They can also be made with a graham cracker crust (like this Chocolate Cream Pie) or as a tart using shortcrust pastry (like these cute Two-Bite Lemon Tartlets). Such variety!
Now go forth with confidence and bake a beautiful pie crust with butter that will have wonderful flavor and texture!
Recipe ingredients
A basic pie crust recipe has 3 ingredients: flour, fat, and liquid. You'll need the following ingredients to make an all butter pie crust recipe:

Ingredient Notes
Flour: Provides the basic structure for the pie crust. You can substitute a measure for measure gluten-free flour replacement if you prefer.
Fat: Adds flavor and richness, and contributes to the crust's flakiness. As the water in the fat evaporates, the flour layers separate giving you the tender, flaky texture you're looking for.
Butter: How you cut up your butter isn't as important as keeping it cold. Generally I'll grate frozen butter on a box grater before cutting it into the flour mixture. You can also cut chilled butter into small ½-inch cubes. Either way, make sure the butter is well chilled before cutting it into the flour mixture.
I make an all butter crust, but you can use other fats. It could be all one type or a combination of butter, vegetable shortening (like Crisco), lard (many people's choice), or something else entirely. I've seen recipes with coconut oil (to make it a Vegan pie crust), and I've used rendered beef or chicken fat on occasion (for savory pies). The choice is yours.
Liquid: Ice water is generally used in making pie crust, but you can also use milk, a non-dairy substitute, or even flavored juices if you want to complement the main ingredient in your pie. Perhaps apple juice for an apple pie crust?
Apple cider vinegar: Adding a little bit of apple cider vinegar helps tenderize the pie dough. You can also use white vinegar or even lemon juice. It's the acid that does the trick. Don't worry, you won't taste it.
See the recipe card for a full list of ingredients and measurements.
3 : 2 : 1 Pie crust recipe ratio
The amounts of the key ingredients you'll need for pie dough generally follow a 3: 2 : 1 recipe ratio, that is, 3 parts flour, 2 parts fat, and 1 part liquid (by weight). By the way, if you don't have one already, invest in a good kitchen scale. They're not too expensive, and they're invaluable in baking.
The pie crust ratio helps in deciding how much flour-fat-liquid to use. A double crust pie will have a 12-8-4 ratio, that is 12 ounces (330 grams) flour, 8 ounces (227 grams) butter, and approximately 4 ounces (114 grams) ice water. The water is variable based on the weather conditions of the day.
A single crust pie will use a 9-6-3 ratio: 9 ounces (250 grams) flour, 6 ounces (170 grams) butter, and 3 ounces (85 grams) ice water.
No more scoop and level guesswork! However, if you still want the volume measurements, I've provided them in the recipe card below.
Chill out that dough
Many people are intimidated by making pie crust from scratch, but they needn't be. (As a side note, many people are intimidated by anything with more than four legs, and they are perfectly justified in that. Just saying...)
The real key to pie crust is bein' chill about it. Wait, no, I mean chilling it...a lot. The idea is to keep small pockets of butter within the flour so that when baked the fat releases steam and creates the flakiness so desired in pie crust.
Keep your butter cold (grating frozen butter is my method of choice), and your water very cold so as not to melt the butter (half water and half ice). Chilling also helps protect against crust shrinkage, especially if you are blind-baking the crust, i.e., baking the crust before filling it with something that doesn't get baked, like a pudding pie.
So in a nutshell...
- Chill your butter before using it
- Chill the dough at least an hour after making it
- Chill it again after rolling it out
- Chill it again after transferring it into your pie pan.
You want the crust cold when it goes into the oven!
How to make an all butter pie crust
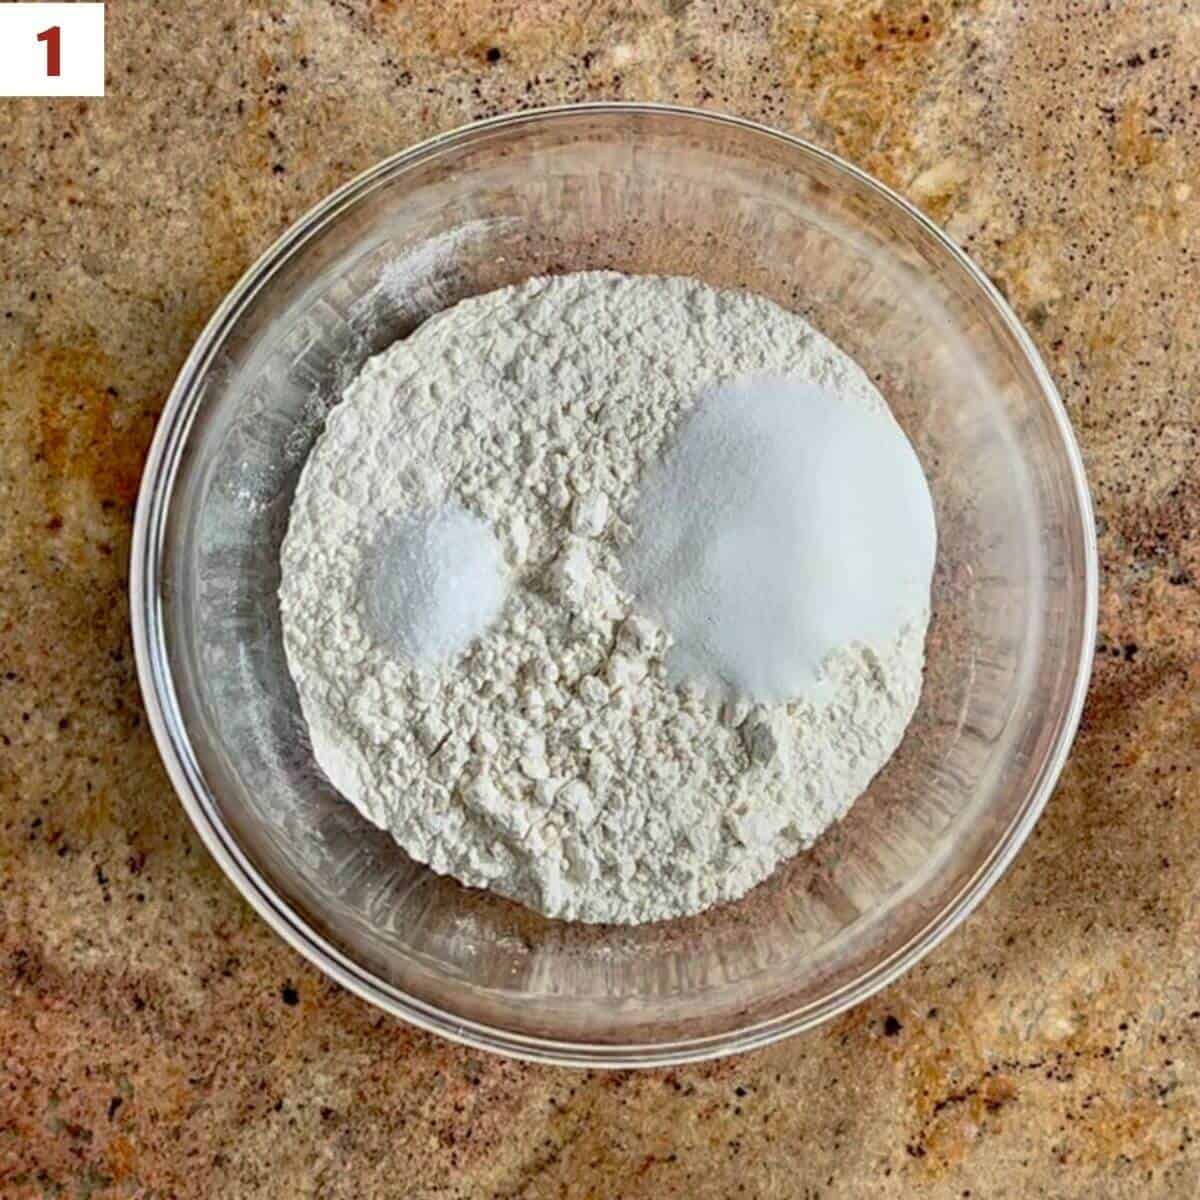
Step 1: Stir the dry ingredients together
Mix together the flour, sugar (if you're making a sweet pie crust), and salt (photo 1).
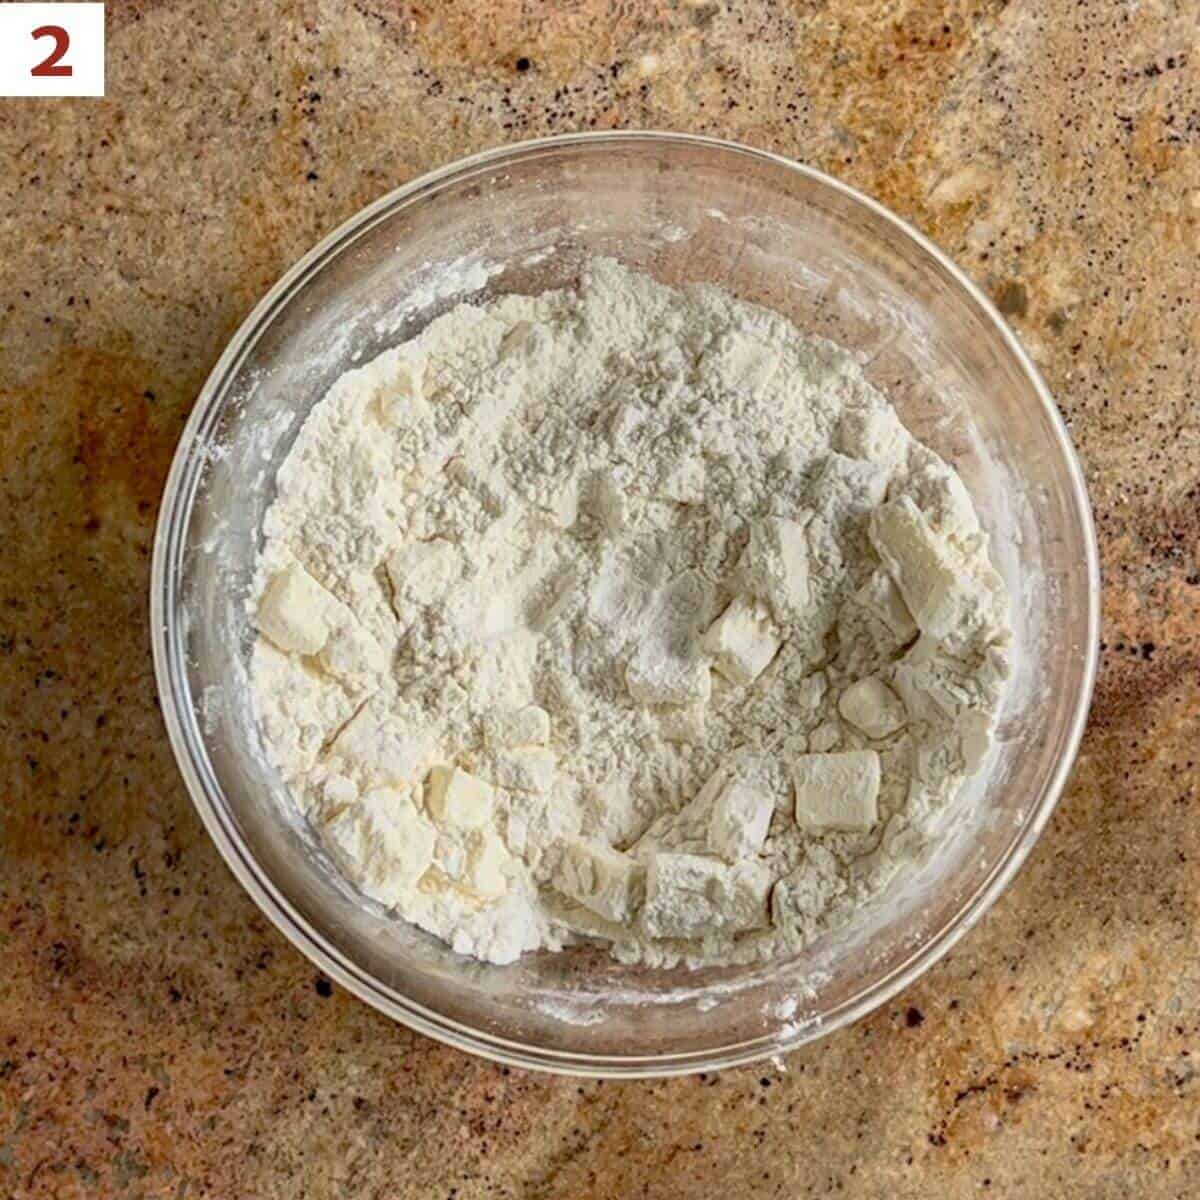
Step 2: Cut in the butter
Toss the cold butter into the flour mixture (photo 2).
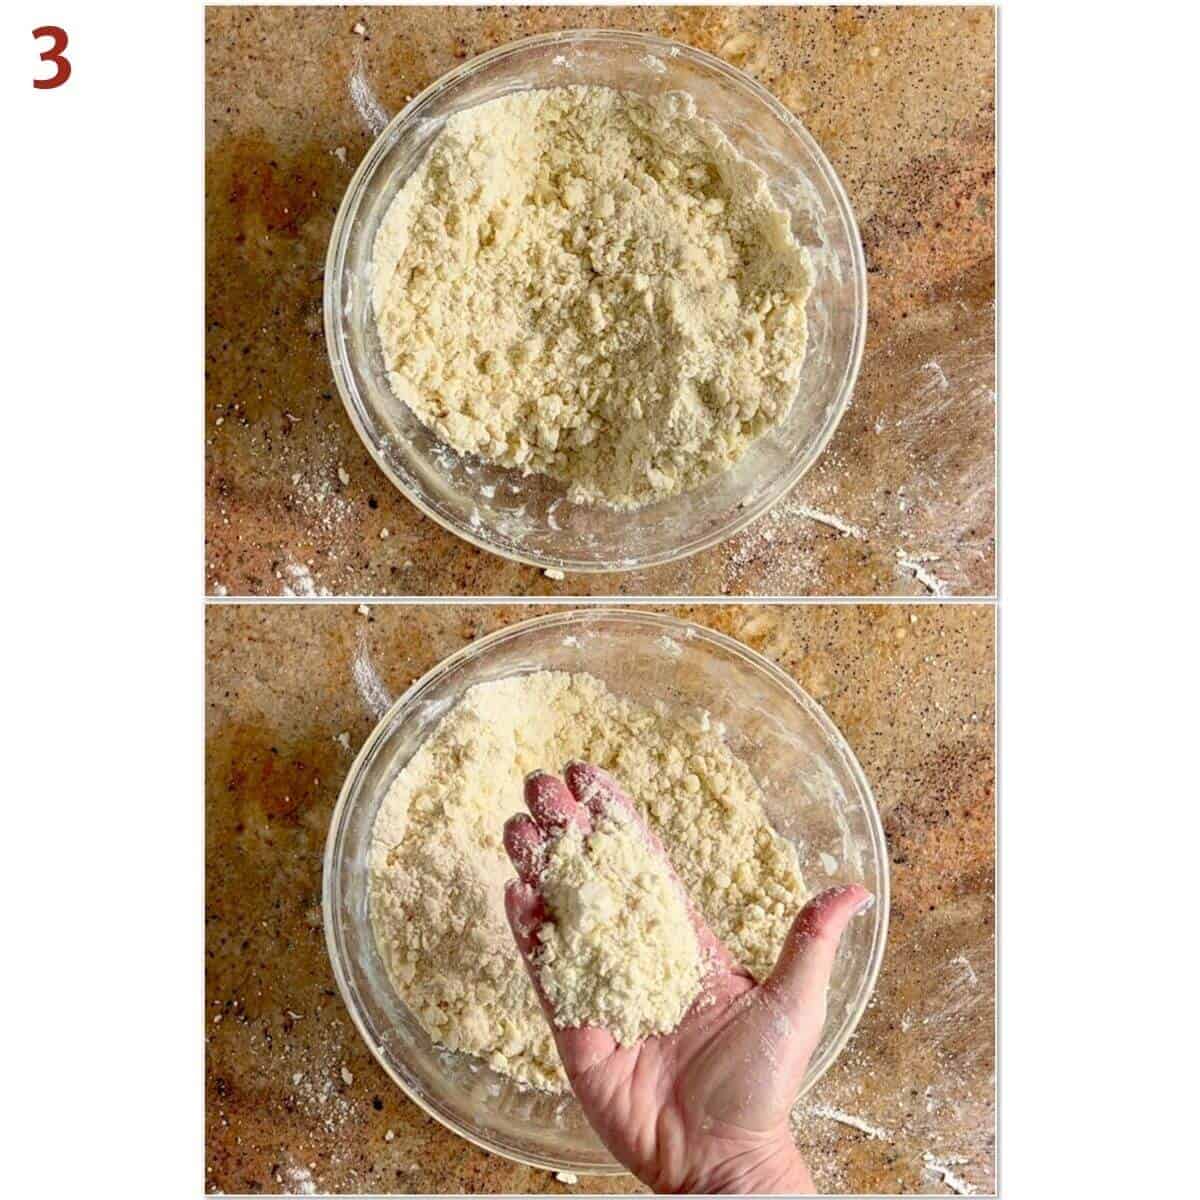
Cut in the butter using a pastry blender, two forks, or your hands until coarse, pea-sized crumbs appear (photo 3).
Step 3: Add the liquid
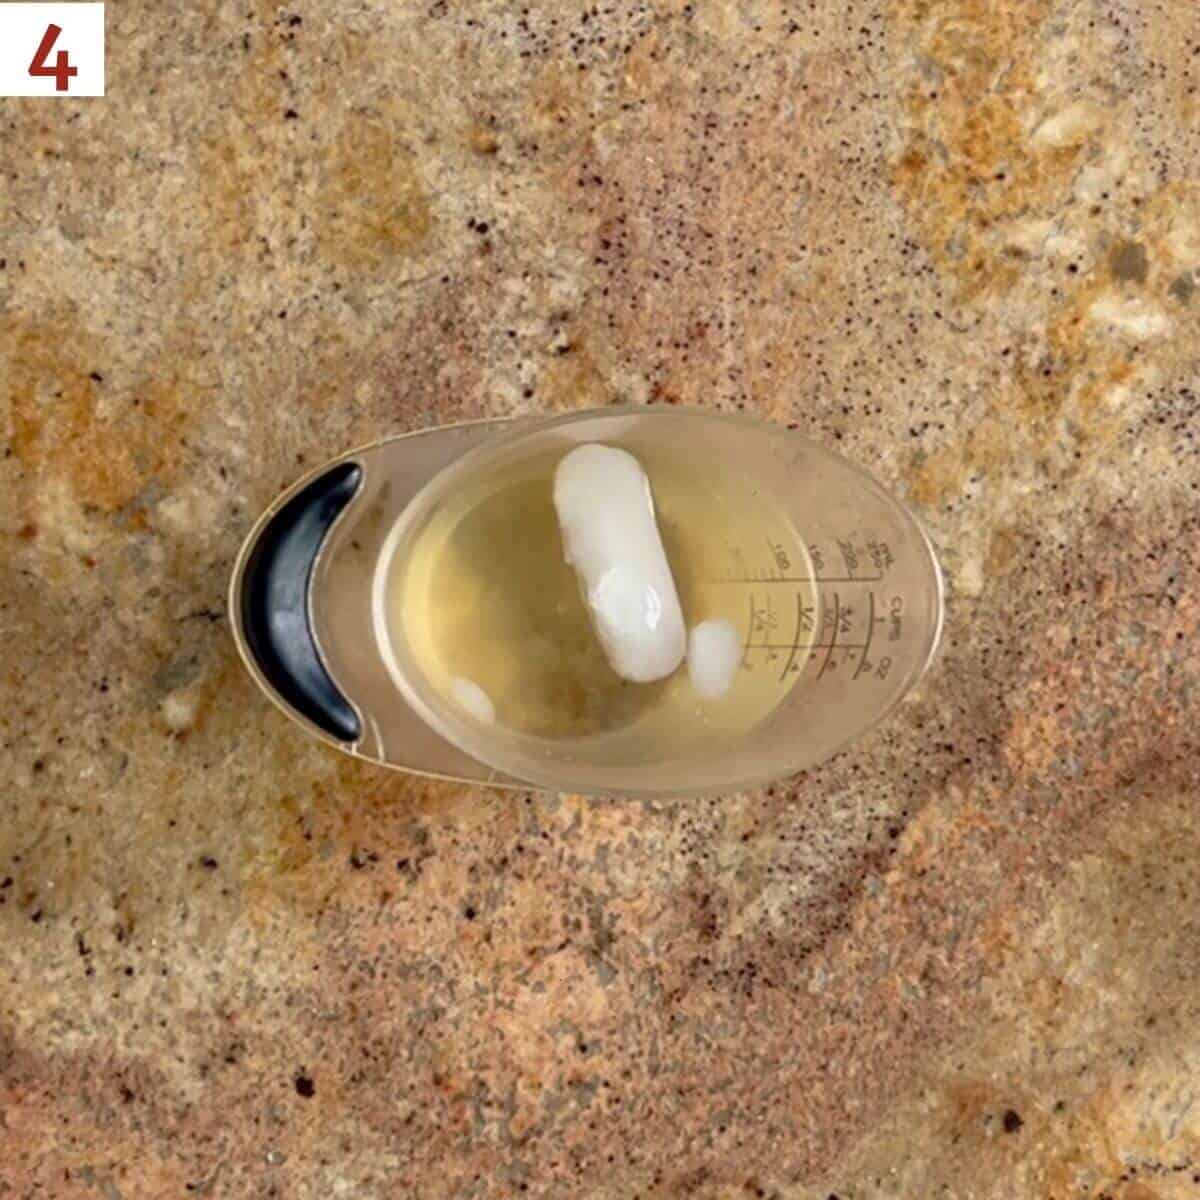
Combine the ice water with the vinegar or lemon juice and whisk them together (photo 4).
Slowly pour in the liquid and use a bowl scraper to mix until the dough just holds together (photo 5). The bowl scraper helps to keep your hands out of the bowl so they don't warm the dough.
You have to be flexible about the amount of water to add as the actual amount will depend on the humidity of the day. Squeeze a small amount of dough between your fingers and if it is very crumbly, add more ice water, 1 tablespoon at a time (2 tablespoons maximum). Adding too much water will make the resulting dough tough after baking.
Try not to over mix the dough (you want to keep that butter cold and separate from the flour). Don't worry if the dough has a slight vinegary smell. That will dissipate during baking and/or be overwhelmed by the filling.

Making pie dough in the food processor
I've noticed as I've grown older that it's getting harder for me to make pie dough by hand, especially if I'm using frozen butter.
Using the food processor is a quick and efficient way to make pie dough, as long as you follow the #1 rule: Don't overwork the dough! Use short 5 to 10 second pulses to process the dough - you still want to see the chunks of butter after the dough is mixed. Here's a step-by-step breakdown:
- Pulse the flour, sugar (if using), and salt until it's combined.
- Add the cold butter to the flour mixture and pulse a few times. Stop as soon as you see the flour mixture looking crumbly with pea-sized pieces of butter.
- Add the ice water mixture and pulse just until the dough holds together.
Now you're ready to turn out the dough and continue with the recipe.
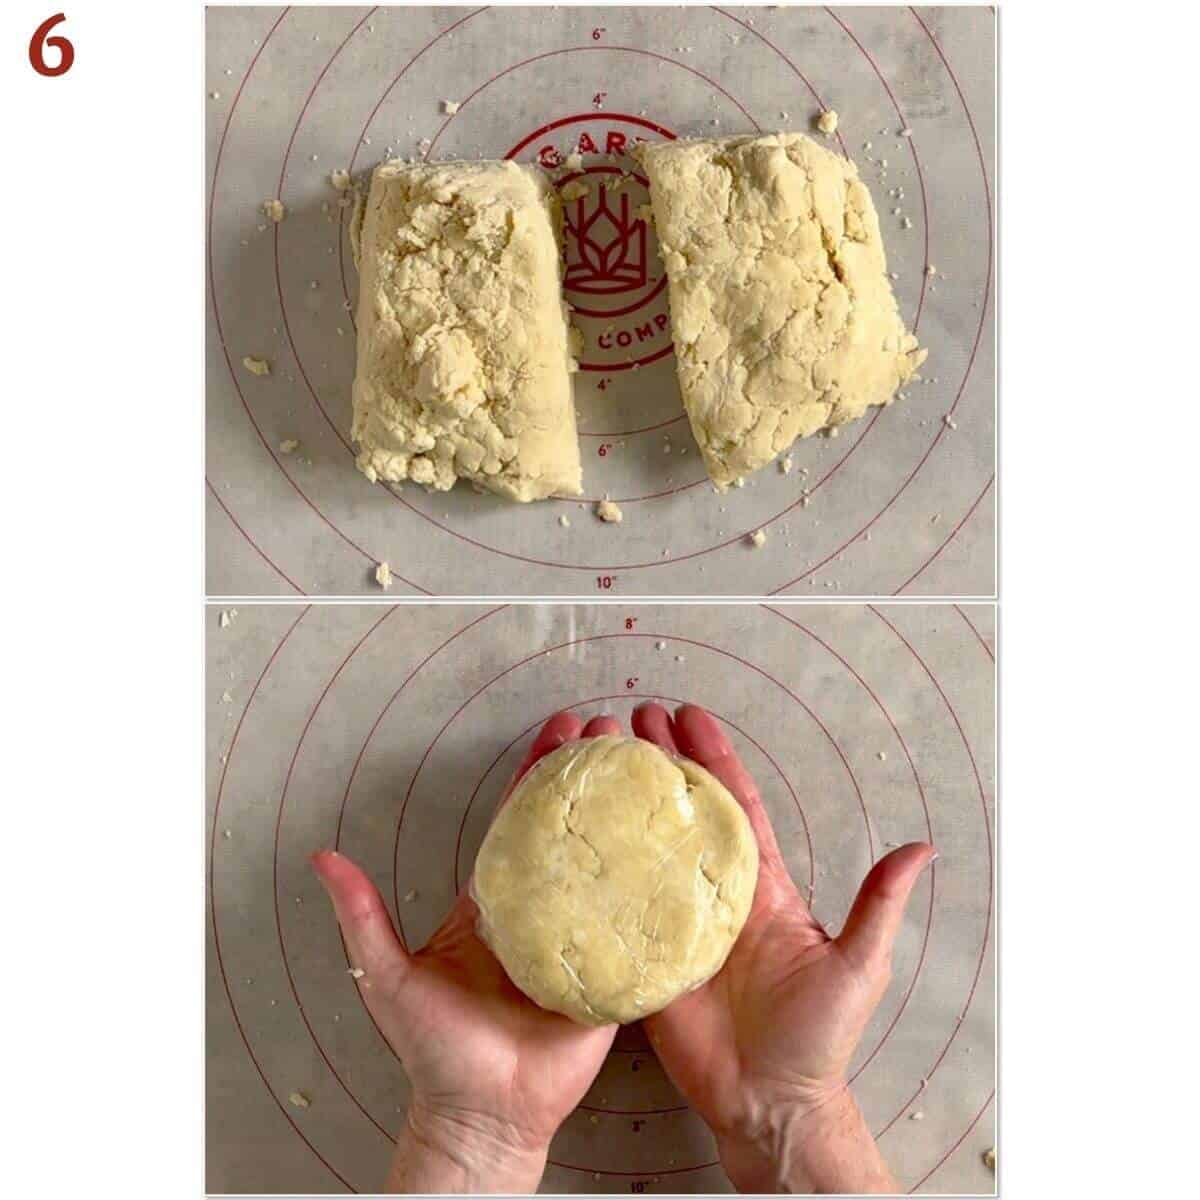
Step 4: Chill the dough
Turn the dough out onto a lightly floured surface and push together into a rough ball. Knead a few times to combine, then divide into two equal balls (I use a bench scraper, but a knife will do). Flatten each ball into a disk with smooth edges (no cracks), cover with plastic wrap, and refrigerate at least 1 hour or up to overnight (photo 6).
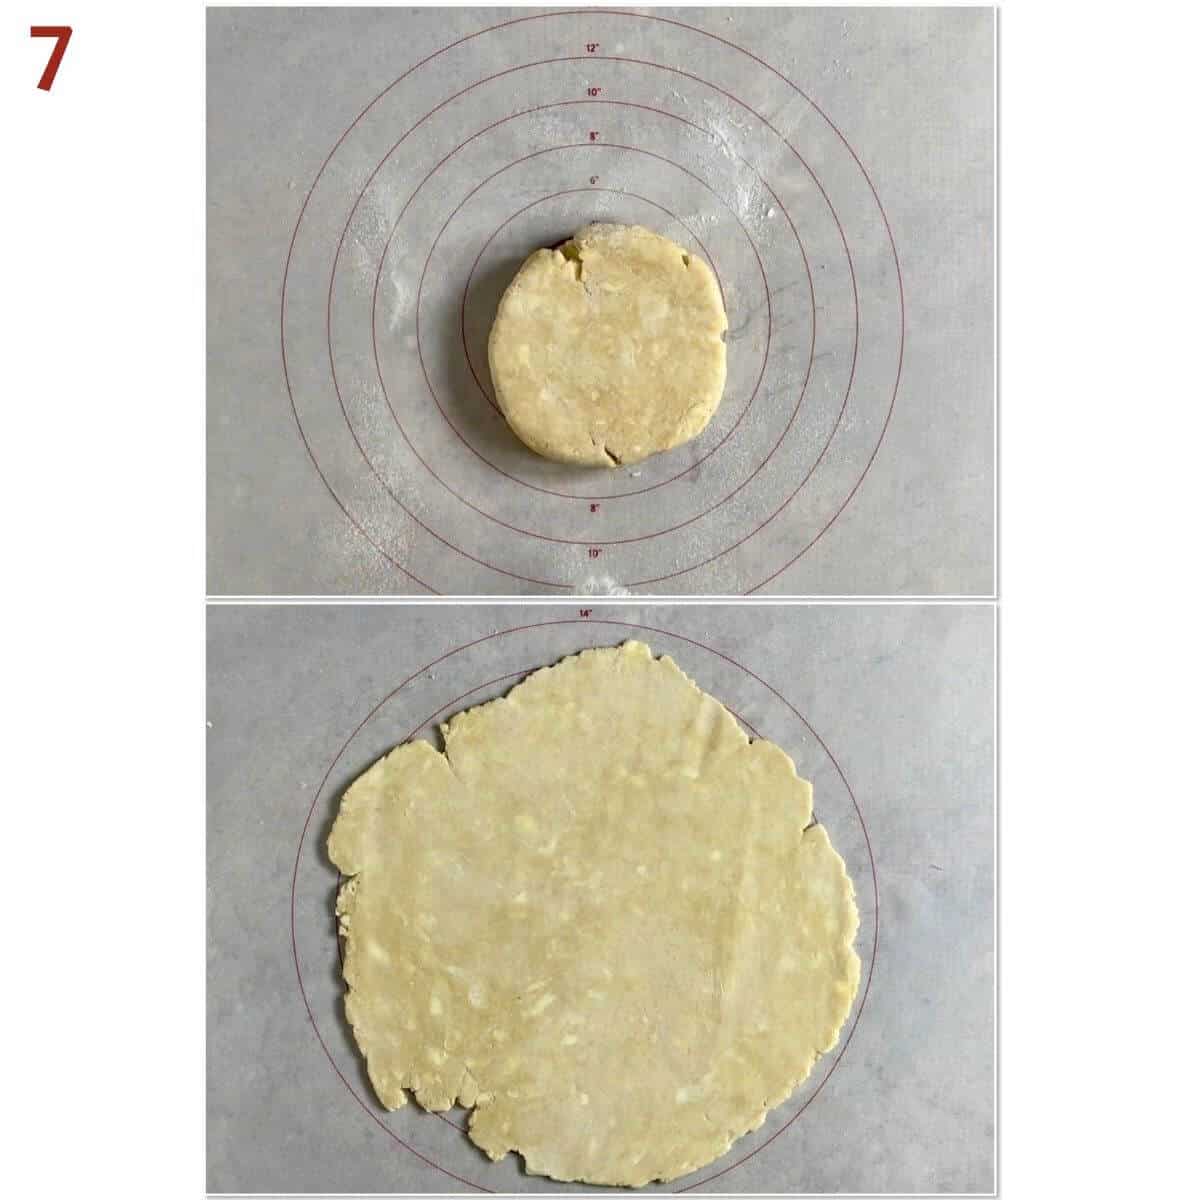
Step 5: Roll out the dough
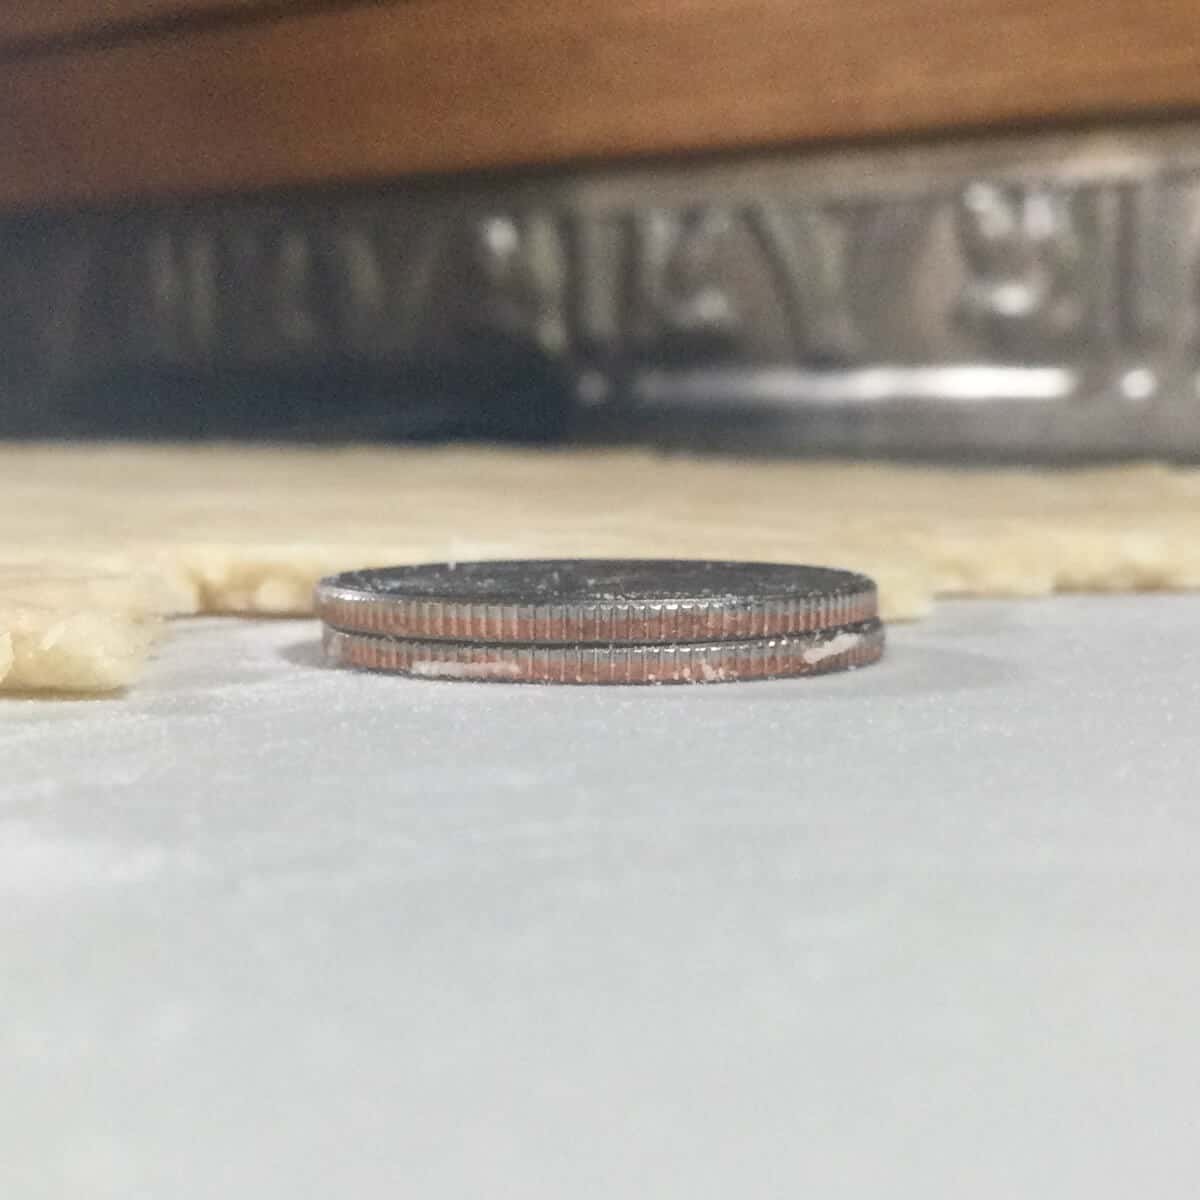
Lightly dust your rolling surface with flour. Use even pressure to roll the dough out front to back and on the diagonals. Turn and loosen the dough occasionally as you continue to roll the pastry out into a circle about 2 to 3 inches larger than your pan. For a 9-inch pie pan, that's about 11 to 12 inches. The thickness should be approximately ¼-inch (about the height of two stacked quarters), unless otherwise directed by your recipe (photo 7).
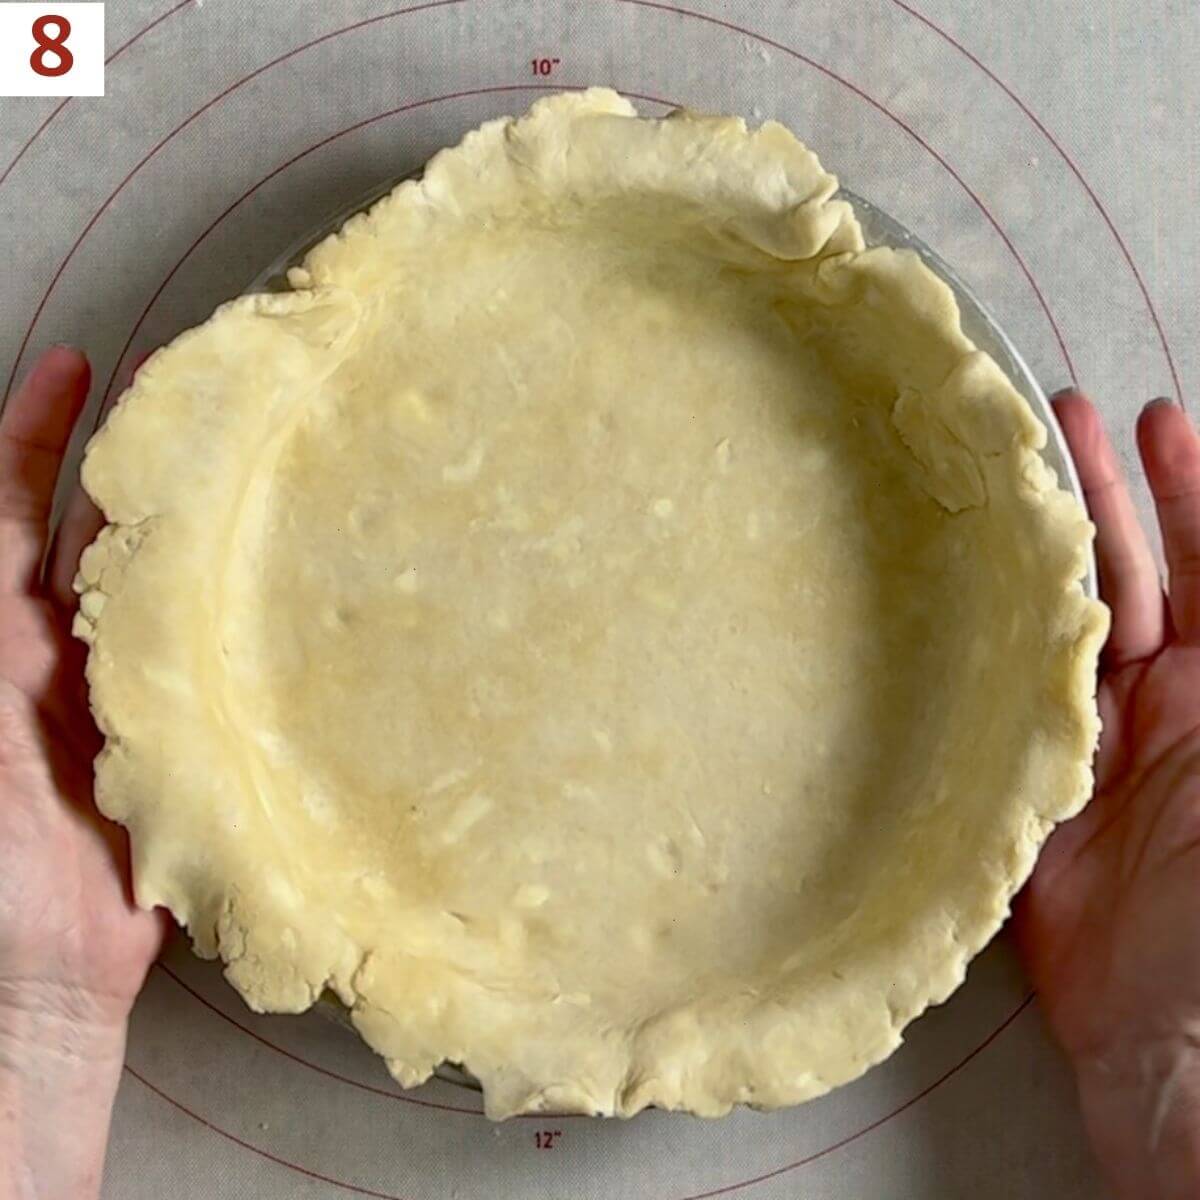
Step 6: Transfer the dough to a pie pan
Transfer the dough to the pie pan you're using. Ease the crust into the pan, pressing up on the sides and leaving the dough overhanging the rim (photo 8).
- For a single crust pie: Trim the overhang to 1-inch, then turn the overhang inward and crimp as desired.
- For a double crust pie: Trim the overhang to ½-inch. Roll out the second disk to the same dimensions and chill until needed.
Save the dough scraps to repair the crust later if needed. Chill the pie shell until you're ready to fill the pie.
Storage instructions
Pie crust dough can be frozen after being portioned into disks. Wrap each disk with plastic wrap and store in an airtight plastic bag. When you're ready to use it, defrost the dough overnight in the refrigerator. Allow the dough to sit out on the counter a few minutes to warm slightly before proceeding with rolling out the dough.
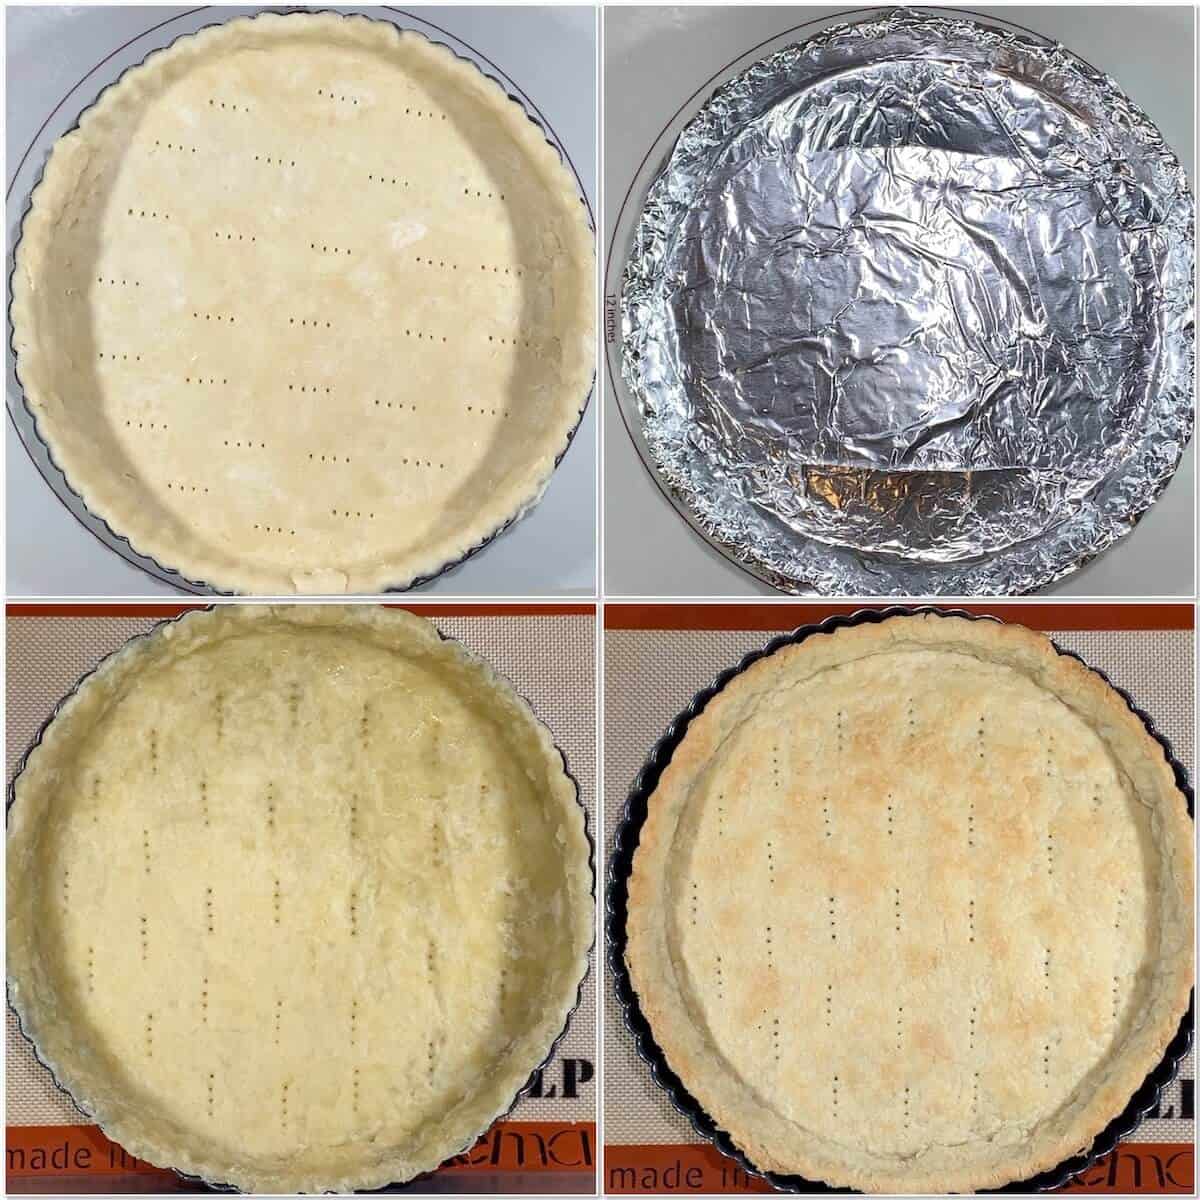
How to blind bake the crust without pie weights
Here's a trick to successfully blind bake pie dough and shortcrust pastry: freeze the crust in its pan tightly covered with foil. You don't need to use pie weights or dried beans using this frozen-foil method.
- Tear off a piece of foil that fits over the entire pan with overhang (or add extra foil as needed).
- Spray the foil with baking spray to keep it from sticking to the dough.
- Press the foil into the pan and tightly up against the sides. Bring the foil up over the rim and mold it to the sides of the pan.
- Freeze the crust for 15 minutes.
- Bake the crust at 375˚F with the foil on for 20 minutes. At this point the crust is par-baked.
- Carefully remove the foil from the crust. If the crust has puffed up, gently press it back down. Any tears or cracks in the crust can be repaired with dough scraps. Return the crust to the oven and bake the crust until golden brown, 5 to 10 minutes more.
There you have it. No more slumping sides or messing around with dried beans!
Tips for pie crust success
For a pretty pie, don't forget to crimp the edges using your favorite methods. Just know that all butter pie crusts won't hold fancy shapes as well as pie crusts with shortening, but chilling the pie well before baking will help a lot.
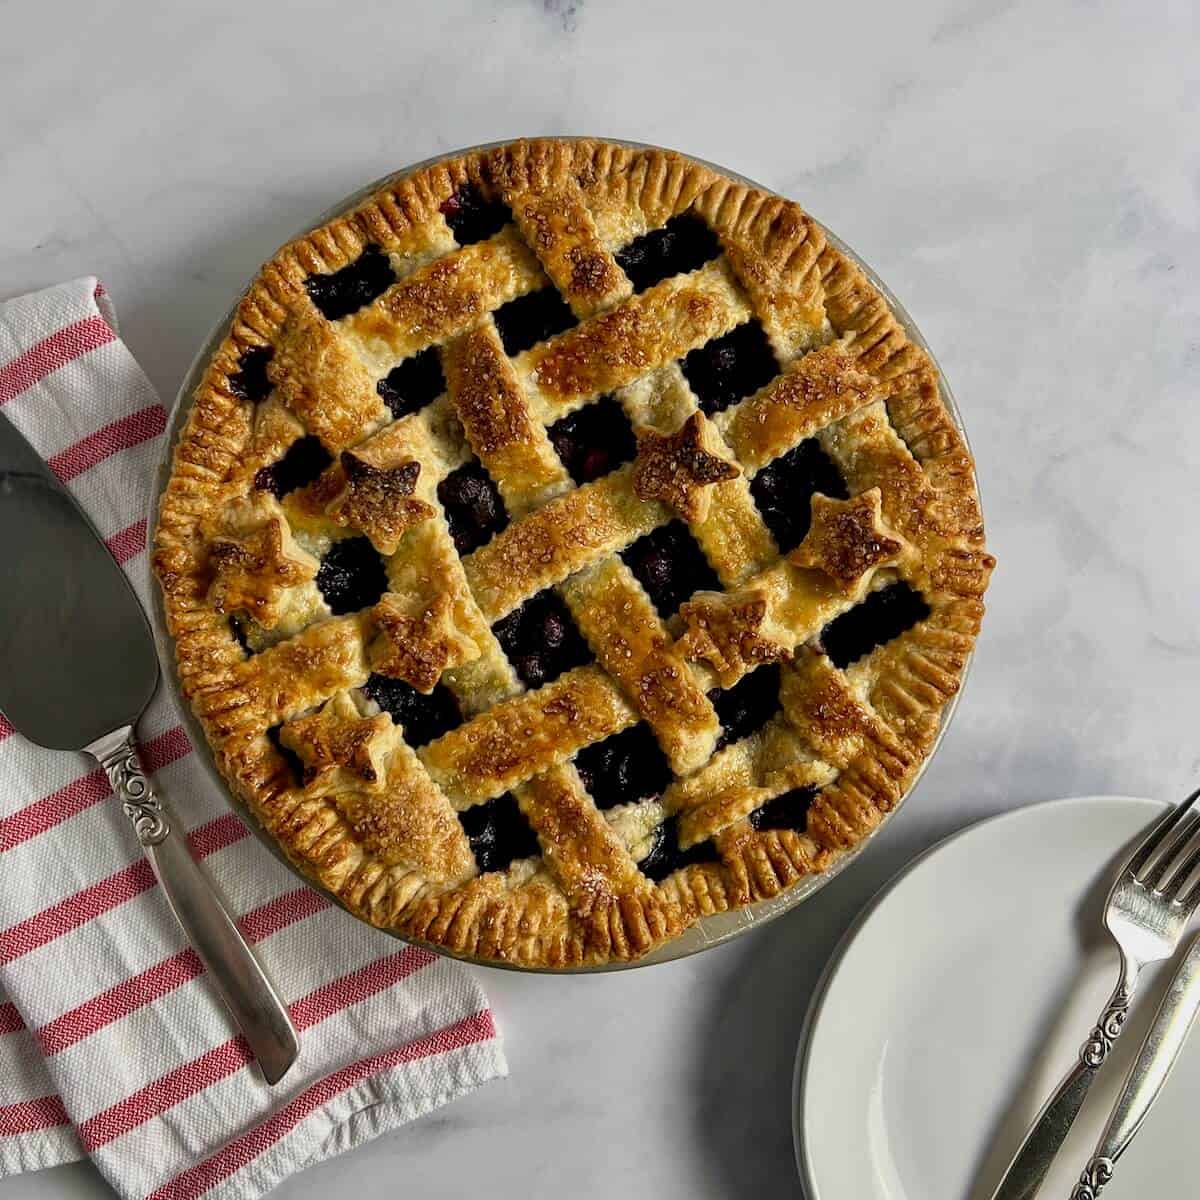
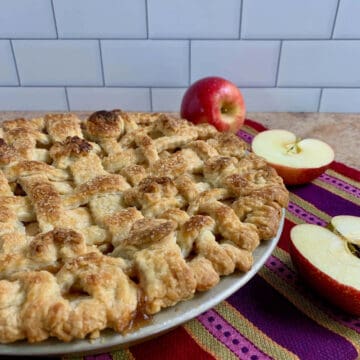
For double crust pies, remember to cut decorative slits to release steam in your top crust. And if you want a fancier top crust for your double crust pies, try your hand at making a lattice topped pie. It's easier than you think!
Questions asked and answered
Here are some questions that you might have...
If you don't want to bother with scales or conversions, here are the volumetric measurements:
For a double crust pie, use 2¾ cups flour, 2 cups butter, and ½ cup ice water, plus 2 tablespoons sugar (if using), 1 teaspoon salt, and 1 tablespoon apple cider vinegar.
For a single crust pie, use 2 cups flour, 1½ cups butter, and ⅓ cup ice water, plus 1½ tablespoons sugar (if using), ½ teaspoon salt, and 2 teaspoons apple cider vinegar
You can use other fats rather than just butter when making your pie crust recipe. It could be all one type or a combination of butter, vegetable shortening (like Crisco), lard (many people's choice), or something else entirely. I've seen recipes with coconut oil (to make it vegan), and I've used rendered beef or chicken fat on occasion (for savory pies).
The main difference is that an all butter pie crust has the best flavor while providing a tender, flaky texture. Shortening doesn't add flavor, but allows the crust to hold its shape better, which is good for fancy crimping. If you do want to use something other than butter, the good news is that it's a 1 to 1 swap for any other type of fat you'd like to use.
The best way to roll out pie dough is to use even pressure and roll out from the center in all four compass directions, north, south, east and west. Turn and loosen the dough occasionally as you continue to roll the pastry out into a circle about 2-inches larger than your pie pan (unless, like me, you sometimes end up with a blob-shape).
A good thickness starting point is approximately ¼-inch thickness, about the height of two stacked quarters. You can go thicker or thinner based on your recipe.
Didn't find the answer you're looking for?
Ask AI to answer for this specific recipe:
Disclaimer: I am not responsible for the quality of AI information


I hope you like this recipe! Let me know if you have any questions, and don't forget to leave a comment and rating. Thanks!
Slainté! L'chaim! Cheers!
- Tammy
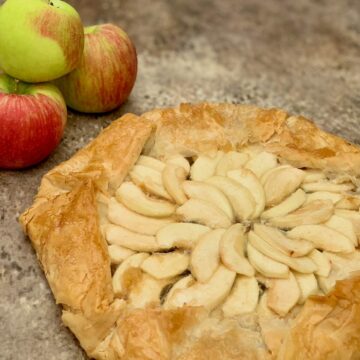
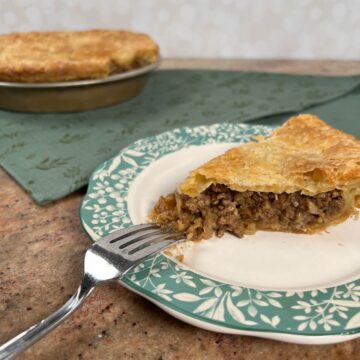
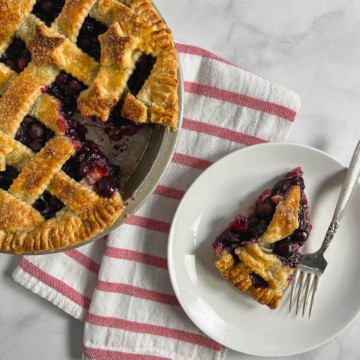
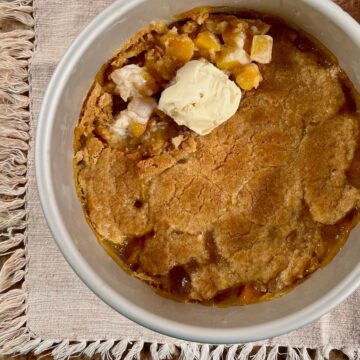
More pie, tart, & cobbler recipes to try
Recipe

How to Make 3:2:1 Pie Crust
Equipment
- rolling pin
Ingredients
For a double crust pie
- 2¾ cups all-purpose flour
- 2 to 3 tablespoons granulated sugar, if making a sweet pie (optional)
- 1 teaspoon kosher salt
- 1 cup unsalted butter, cold, grated or cubed, see Recipe Notes
- ½ cup ice water
- 1 tablespoon apple cider vinegar, white vinegar, or lemon juice, chilled
Instructions
- Make the dough: Measure your ingredients using a kitchen scale. It's the most accurate and will give the most consistent results.Note: The instructions below are for making the dough by hand. If you want to use the food processor to make the dough, see the instructions in the post above.
- In a large bowl, stir together 2¾ cups all-purpose flour, 2 to 3 tablespoons granulated sugar (if using), and 1 teaspoon kosher salt.
- Toss 1 cup unsalted butter (grated or cubed) into the flour mixture to coat, then use a pastry blender, two forks, or your hands to work the butter into the flour mixture until coarse, pea-sized crumbs appear. Don't overdo this step as you don't want the butter to warm up and mix completely into the flour.
- In a small bowl, whisk together ½ cup ice water with 1 tablespoon apple cider vinegar vinegar or lemon juice.
- Slowly add the water mixture to the flour mixture and mix until the dough just holds together. Using a bowl scraper will help to combine the dough in the bowl without your hands warming up the butter, plus you can see any crumbs at the bottom that still need to be mixed in. Remember, do not over mix the dough - you want to keep that butter cold and separate from the flour.
- The amount of liquid to add to the flour mixture depends on the humidity of the day. Squeeze a small amount of dough between your fingers. If it is very crumbly, add 1 to 2 tablespoons ice water or flour, 1 tablespoon at a time (2 tablespoons maximum).Don't worry if the dough has a slight lemony or vinegary smell. That will dissipate during baking and/or be overwhelmed by the filling.
- Turn the dough out onto a lightly floured surface and push together into a rough ball. Knead a few times to combine, then divide into two equal balls. Flatten each ball into a disk with smooth edges (no cracks), cover with plastic wrap, and refrigerate at least 1 hour or up to overnight.
- Roll out the dough: Lightly dust your rolling surface with flour. Use even pressure to roll the dough out front to back and on the diagonals. Turn and loosen the dough occasionally as you continue to roll the pastry out into a circle about 2 to 3 inches larger than your pan with a thickness of approximately ¼-inch (about the height of two stacked quarters), unless otherwise directed by your recipe.
- Transfer the dough to the pie pan you're using. Ease the crust into the pan, pressing up on the sides and leaving the dough overhanging the rim.
- For a single crust pie: Trim the overhang to 1-inch, then turn the overhang inward and crimp as desired. For a double crust pie: Trim the overhang to ½-inch. Roll out the second disk to the same dimensions and chill until needed.
- Continuing: Save the dough scraps to repair the crust later if needed. Prick the bottom all over with a fork, then chill the pie shell until you're ready to fill the pie.
- To blind bake the crust: If your recipe calls for a par-baked or blind-baked pie crust, preheat the oven to 375 °F. Prick the bottom of the pie shell all over with a fork.
- Tear off a piece of foil that fits over the entire pan with overhang (or add extra foil as needed). Spray the foil with baking spray to keep it from sticking to the dough. Press the foil into the pan and tightly up against the sides. Bring the foil up over the rim and mold it to the sides of the pan. Freeze the crust for 15 minutes. You don't need to use pie weights or dried beans using this frozen-foil method.
- Bake the crust with the foil on for 20 minutes. At this point the crust is par-baked.
- Carefully remove the foil from the crust. If the crust has puffed up, gently press it back down. Any tears or cracks in the crust can be repaired with dough scraps. Return the crust to the oven and bake the crust until golden brown, 5 to 10 minutes more.
- The crust is now ready to be filled and baked as desired.
- Storage instructions: Pie crust dough can be frozen after being portioned into disks. Wrap each disk with plastic wrap and store in an airtight plastic bag. When you're ready to use it, defrost the dough overnight in the refrigerator. Allow the dough to sit out on the counter a few minutes to warm slightly before proceeding with rolling out the dough.
- This double crust recipe makes enough crust for a 9-inch pie pan. See the Recipe Notes for how to make a dough for a 9-inch single crust pie. Remember, you can scale the recipe up or down as needed using the 3 : 2 : 1 recipe ratio!


Alyssa says
I love pie for all the reasons you listed. I have a gluten allergy and gluten free dough sucks, but King Arthur does has some wonderful products that make life easier.
Tammy says
I haven't tried it myself, but I believe that the Gluten-Free flour from King Arthur is a good one-to-one substitute for regular flour (they of course would know for sure). I wonder how a piecrust made from the GF Flour would turn out?