
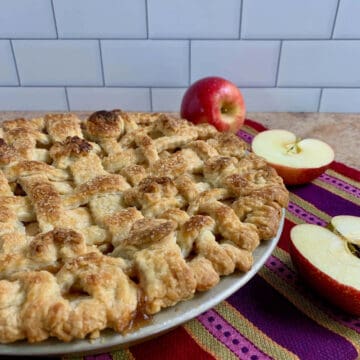
Lattice pies look complicated, but making a beautiful lattice for pie is easier than you think. You can weave an easy basketweave pattern, or create different looks for the pie lattice by your choice of strip thickness and spacing. Use these clear step by step instructions and photos to make your favorite double crust pies look amazing!
Jump to:
[October, 2021: I've reworked the instructions and updated this post with all new pictures. Enjoy!]
Why these instructions work
- Weaving a lattice topped pie is easier than it looks
- You can create different looks for the pie lattice by your choice of strip thickness and spacing
- Use the scraps to make decorative designs on top of the lattice pastry
It's said that you feed the eyes before you even take a bite. If that's the case, then you want your food to look as appealing as it tastes.
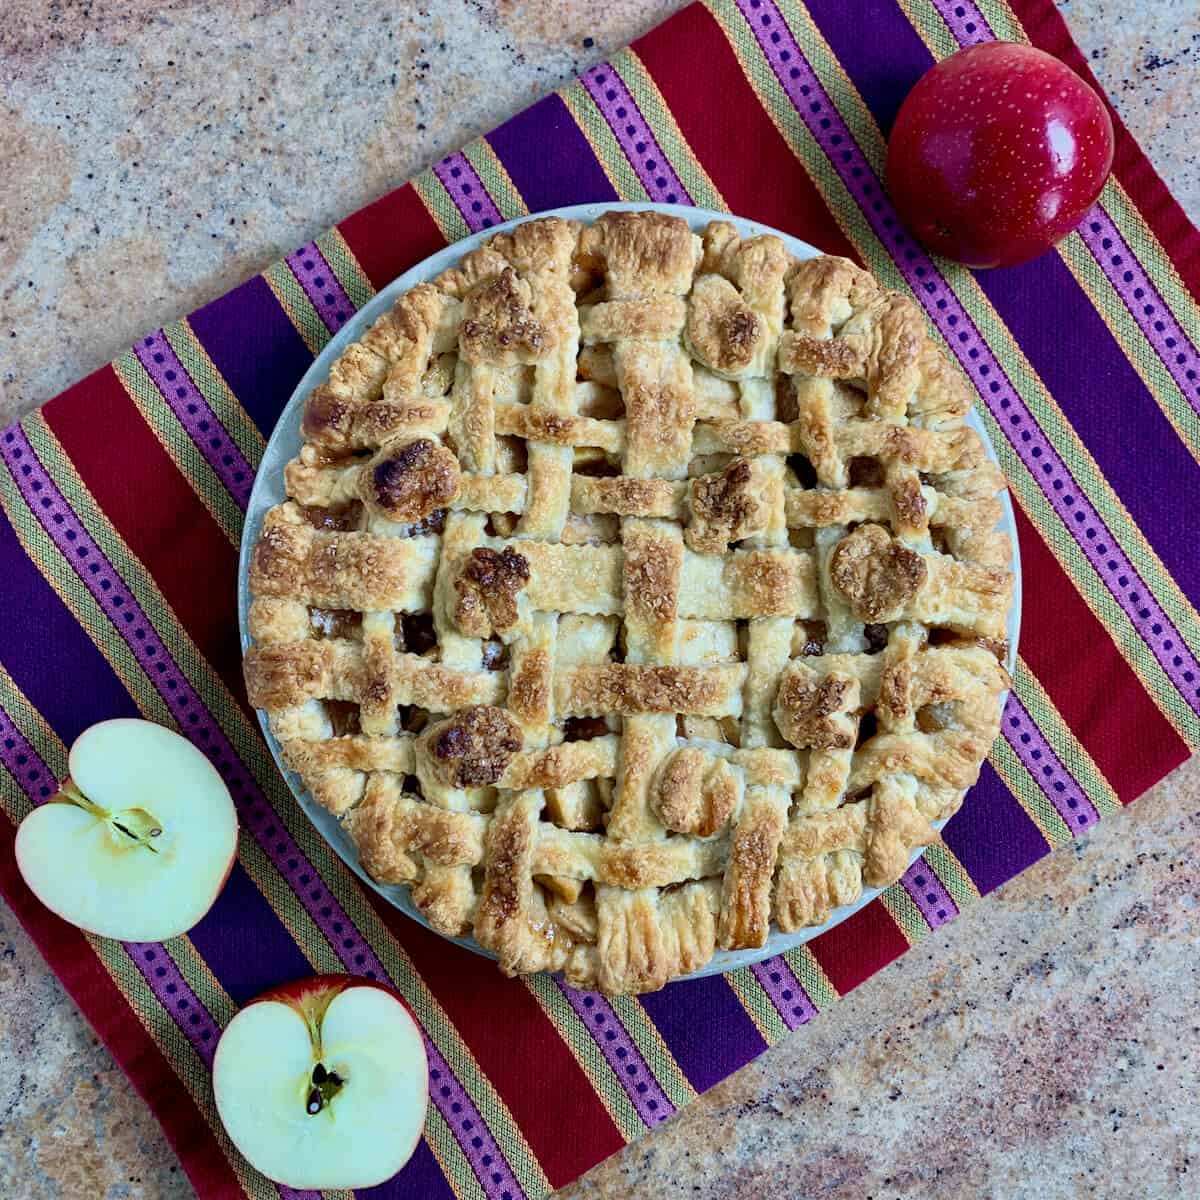
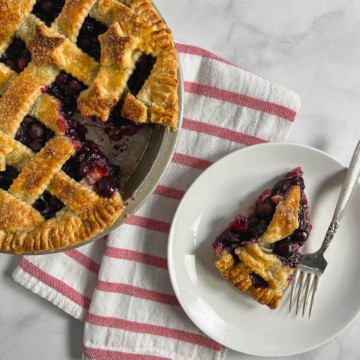
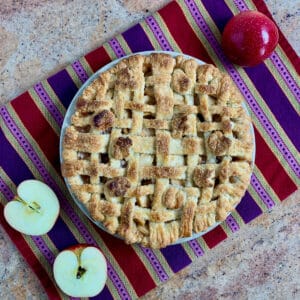
With pie, especially double crust pies (like Apple Pie or Blueberry Pie), you can decorate the top crust with fancy slits or pie crust crimping. And if you want to take that pie to the next level, consider making a lattice topped pie.
Weaving the top crust might seems daunting, but it's much easier than you think. Just follow this simple step by step tutorial, and you'll be making gorgeous double crust pies in no time!
Yes, you can lay rolled out dough on top of your favorite double crust pie, cut a few slits, then bake it. However, giving yourself the time to weave a lattice pie really shows that you care about how your pie looks, not just how it tastes.
It's easy and fun to play with lattice designs, and your pies will look all the better for it!
Recipe Ingredients
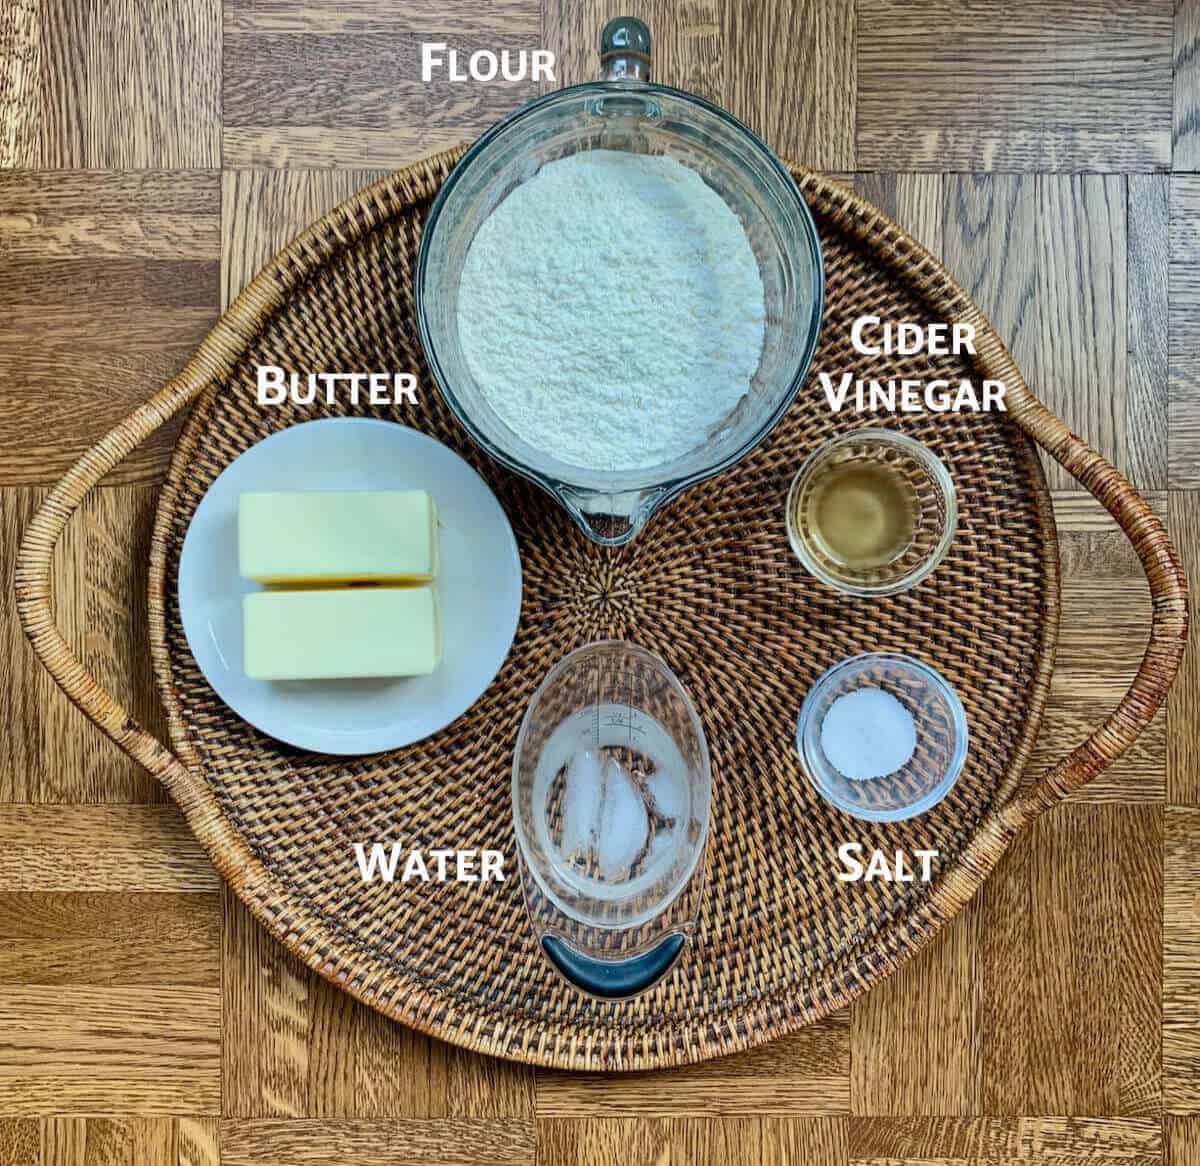
A basic pie crust recipe has 3 ingredients: flour, fat, and liquid. You'll need the following ingredients to make pie crust recipe:
Ingredient Notes
For the pie crust itself, you can use any pie crust recipe you'd like. I recommend my flaky all butter pie crust (using a double crust 12 : 8 : 4 recipe ratio of flour, fat, and water, by weight). That will make enough for the two crusts needed here. You can also use a store-bought pastry crust.
Flour: Provides the basic structure for the pie crust. You can substitute a measure for measure gluten-free flour replacement if you prefer.
Fat: Adds flavor and richness, and contributes to the crust's flakiness. As the water in the fat evaporates, the flour layers separate giving you the tender, flaky texture you're looking for.
I make an all butter crust, but you can use other fats. It could be all one type or a combination of butter, vegetable shortening (like Crisco), lard (many people's choice), or something else entirely. I've seen recipes with coconut oil (to make it a Vegan pie crust), and I've used rendered beef or chicken fat on occasion (for savory pies). The choice is yours.
Liquid: Ice water is generally used in making pie crust, but you can also use milk, a non-dairy substitute, or even flavored juices if you want to complement the main ingredient in your pie. Perhaps apple juice for an apple pie crust?
Apple cider vinegar: Adding a little bit of apple cider vinegar helps tenderize the pie dough. You can also use white vinegar or even lemon juice. It's the acid that does the trick. Don't worry, you won't taste it.
See the recipe card for a full list of ingredients and measurements.
How to lattice a pie crust
Step 1: Lay out dough strips
The first step to making a lattice pie top crust is to roll out the chilled pastry dough to about a 12-inch circle, less than ¼-inch thick. That will be about the height of two quarters.
Using a straight or fluted sides of a pastry wheel (or other cutting tool), cut the rolled-out dough into strips 1- to 2-inches wide, or to your desired width. You'll need about 10 to 12 pieces for a standard 9-inch pie (photo 1).
Starting in the middle of the pieces you just cut out, transfer every other strip of dough and lay them beside each other on top of your filling, at whatever spacing you want.
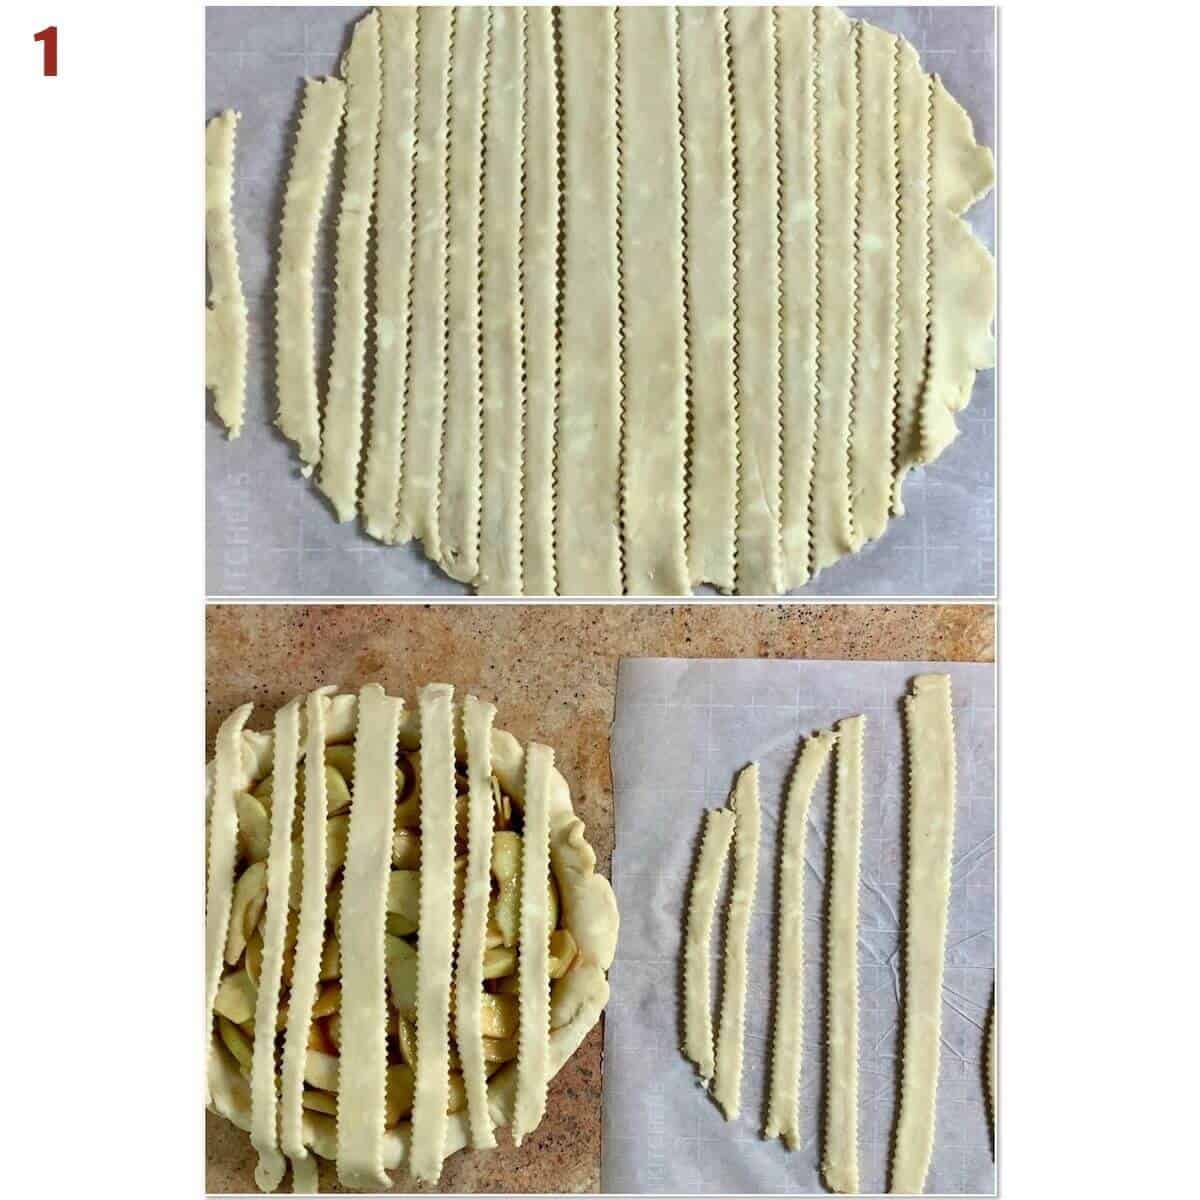
Step 2: Turn back strips
Turn back every other strip of dough a little more than halfway, then take the longest strip left of the ones you cut out and lay it crosswise across the top of the strips not turned back (photo 2).
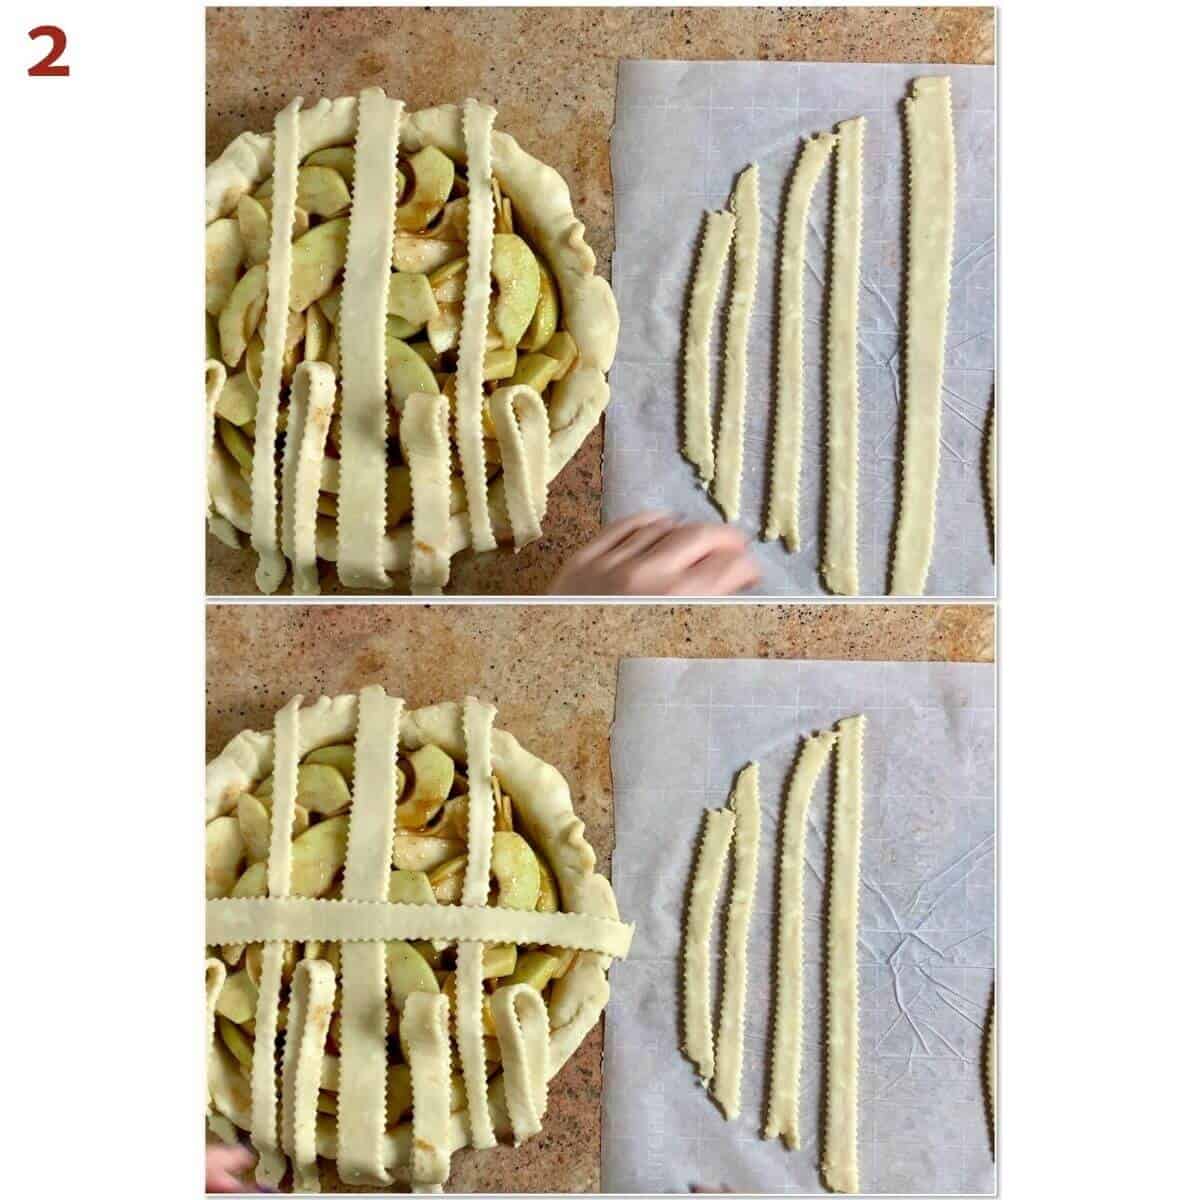
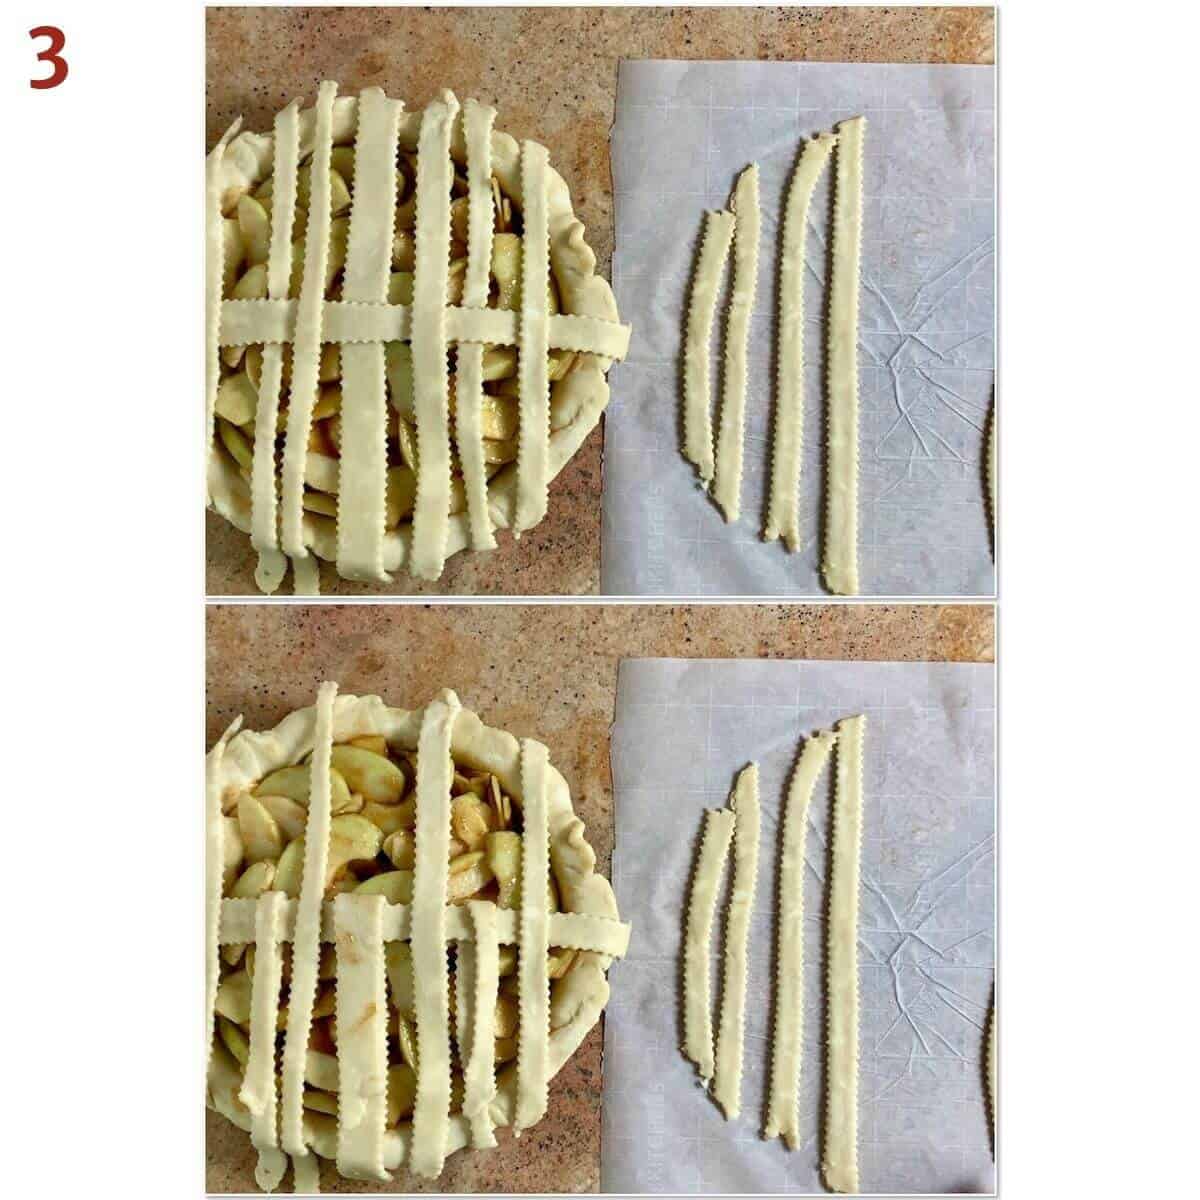
Step 3: Straighten and turn back alternate strips
Straighten out the turned-back strips and turn back strips you didn't touch the first time (photo 3).
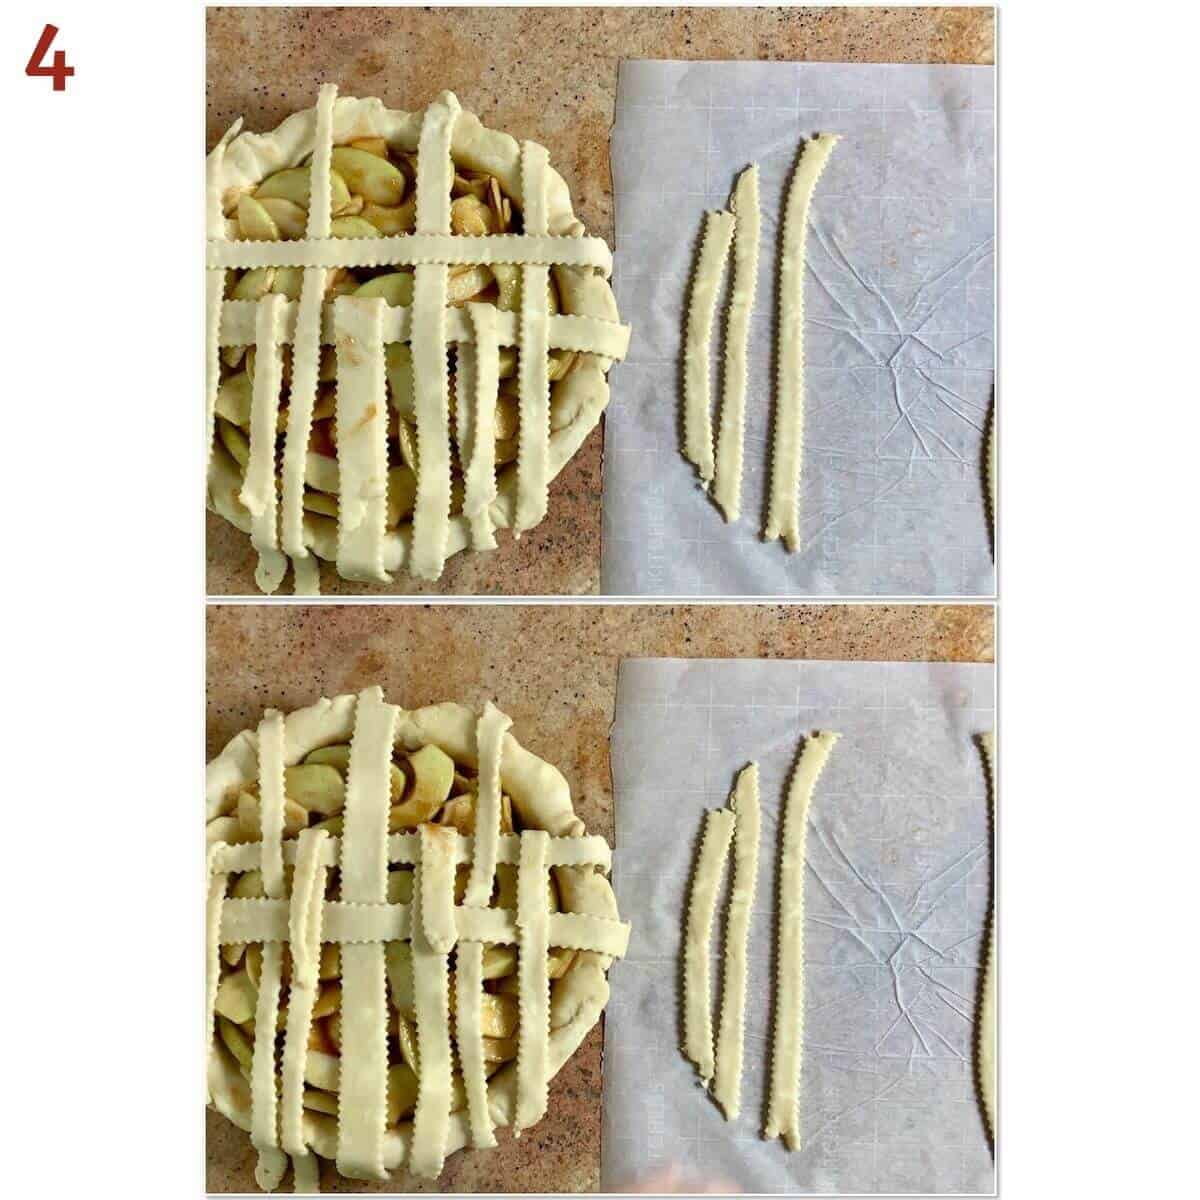
Step 4: Straighten and turn back original strips
Lay the next smallest strip of rolled out dough next to the first crosswise strip at your desired spacing. Straighten those turned-back strips, and turn back the original strips (photo 4).
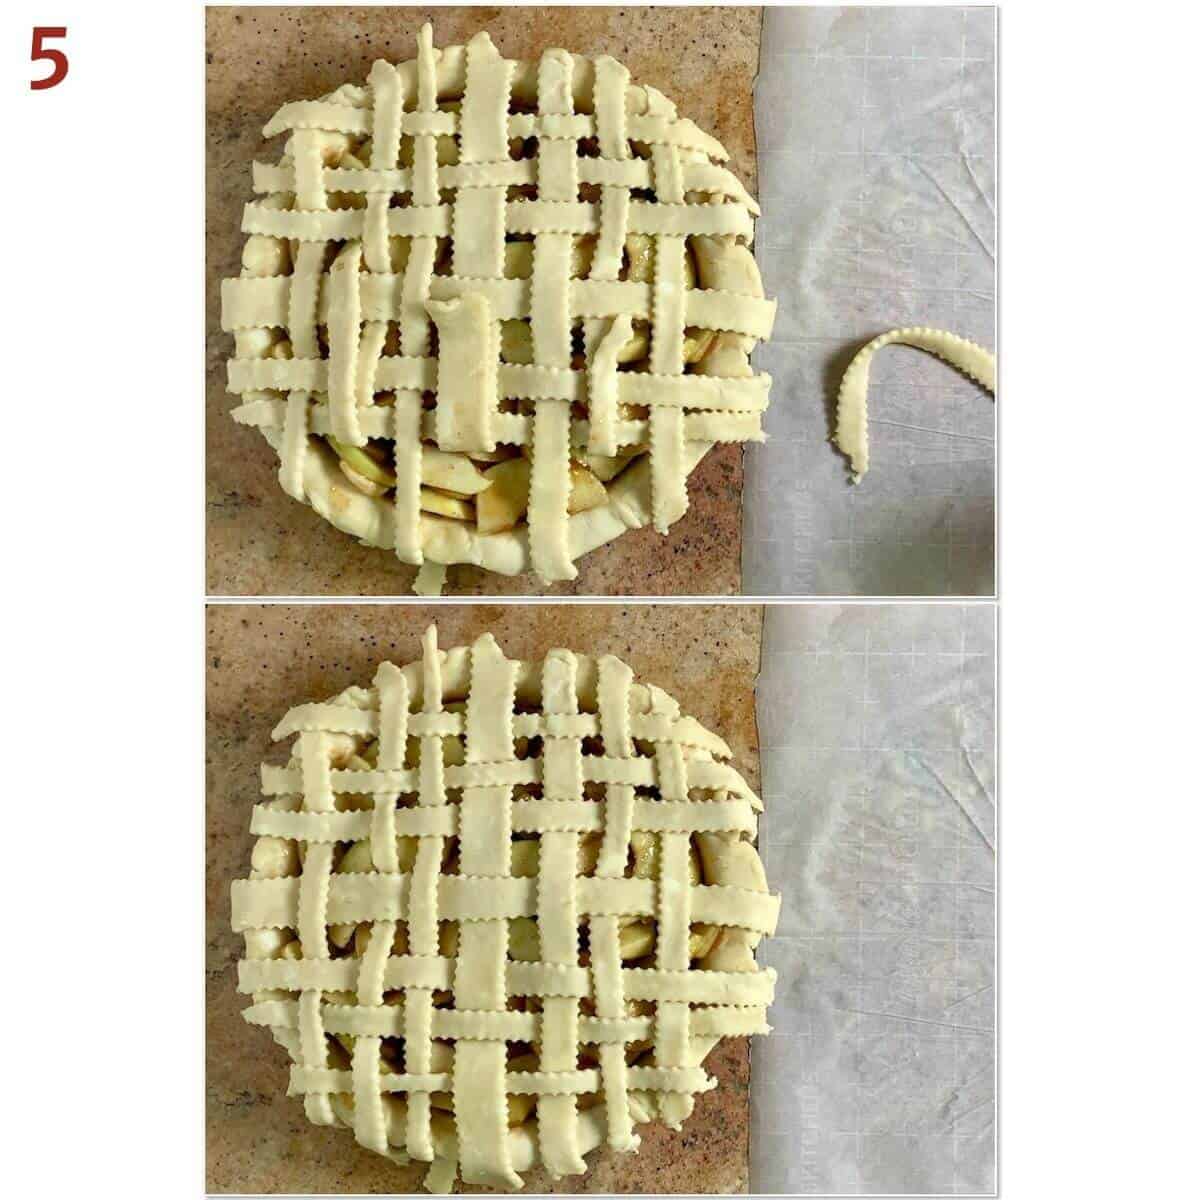
Step 5: Repeat pattern
Repeat alternating turning back the parallel strips to finish the current side, then turn the pie around and repeat the process for the other side (photo 5).
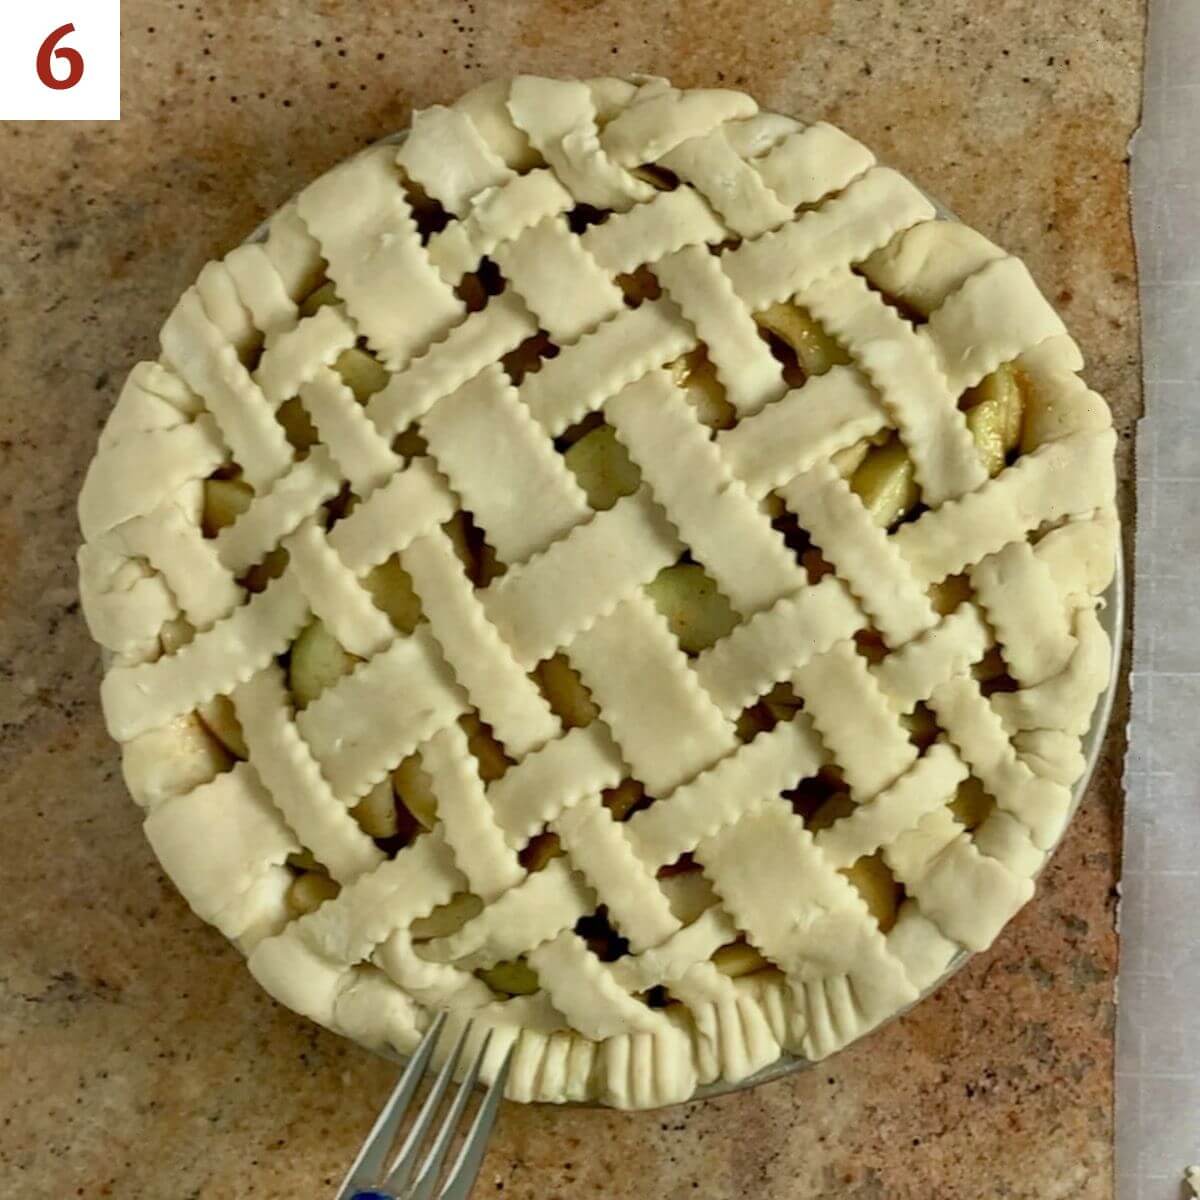
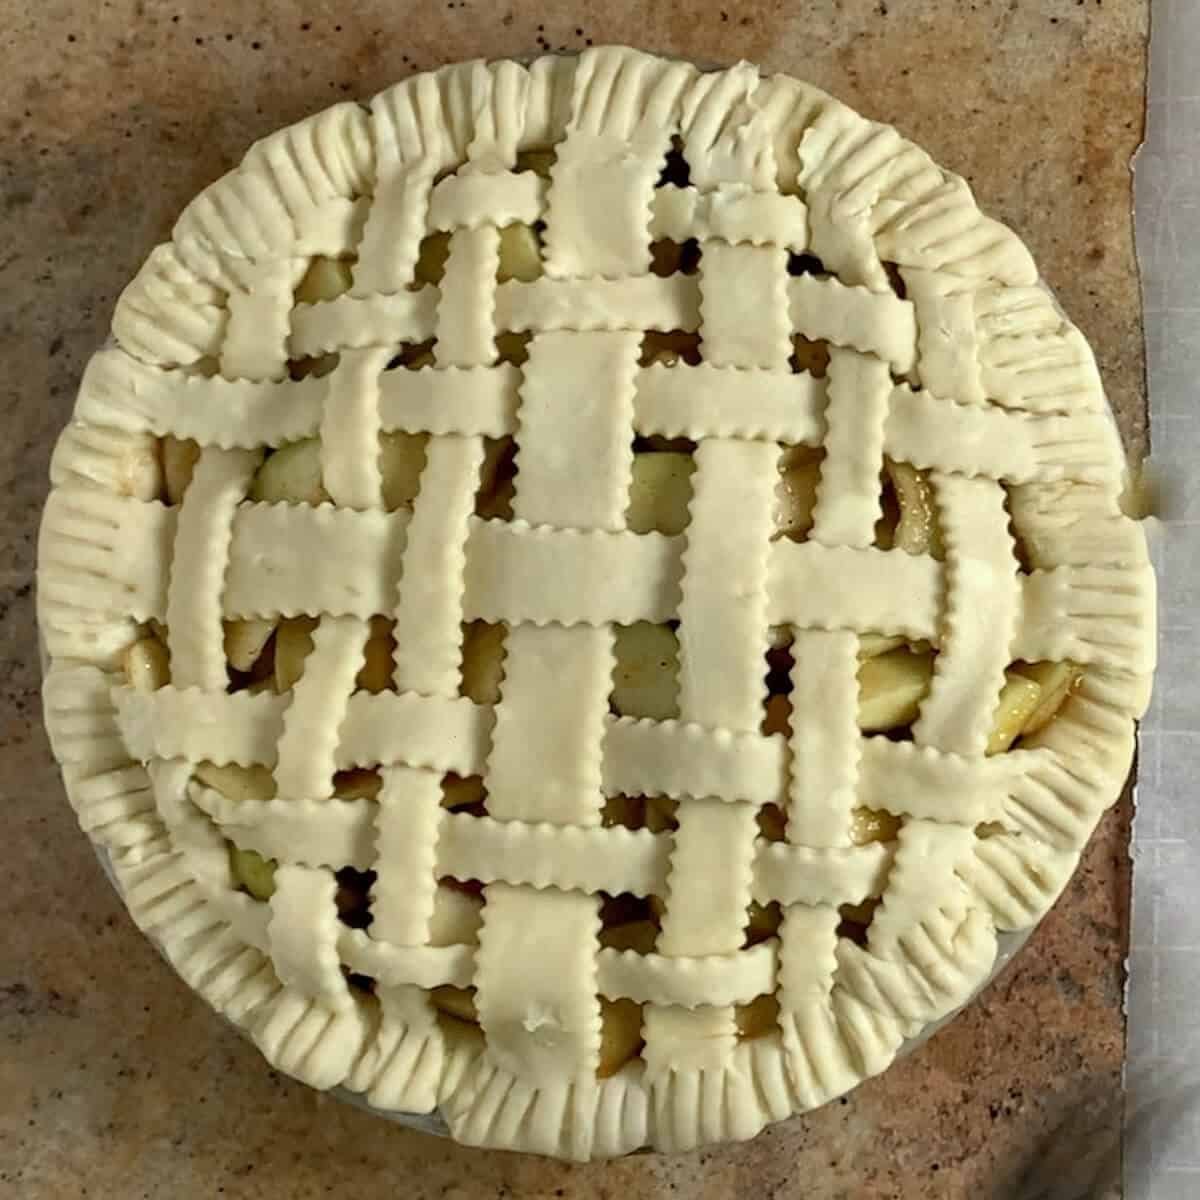
Step 6: Press and crimp edges
Press the ends of the strips into the bottom pie crust, then fold the edge under itself and press down. Smooth around the edges for a neater appearance, then crimp the pie crust with a fork or your method of crimping (photo 6).
You can cut shapes with the leftover crust dough to decorate the top of the lattice if you wish.
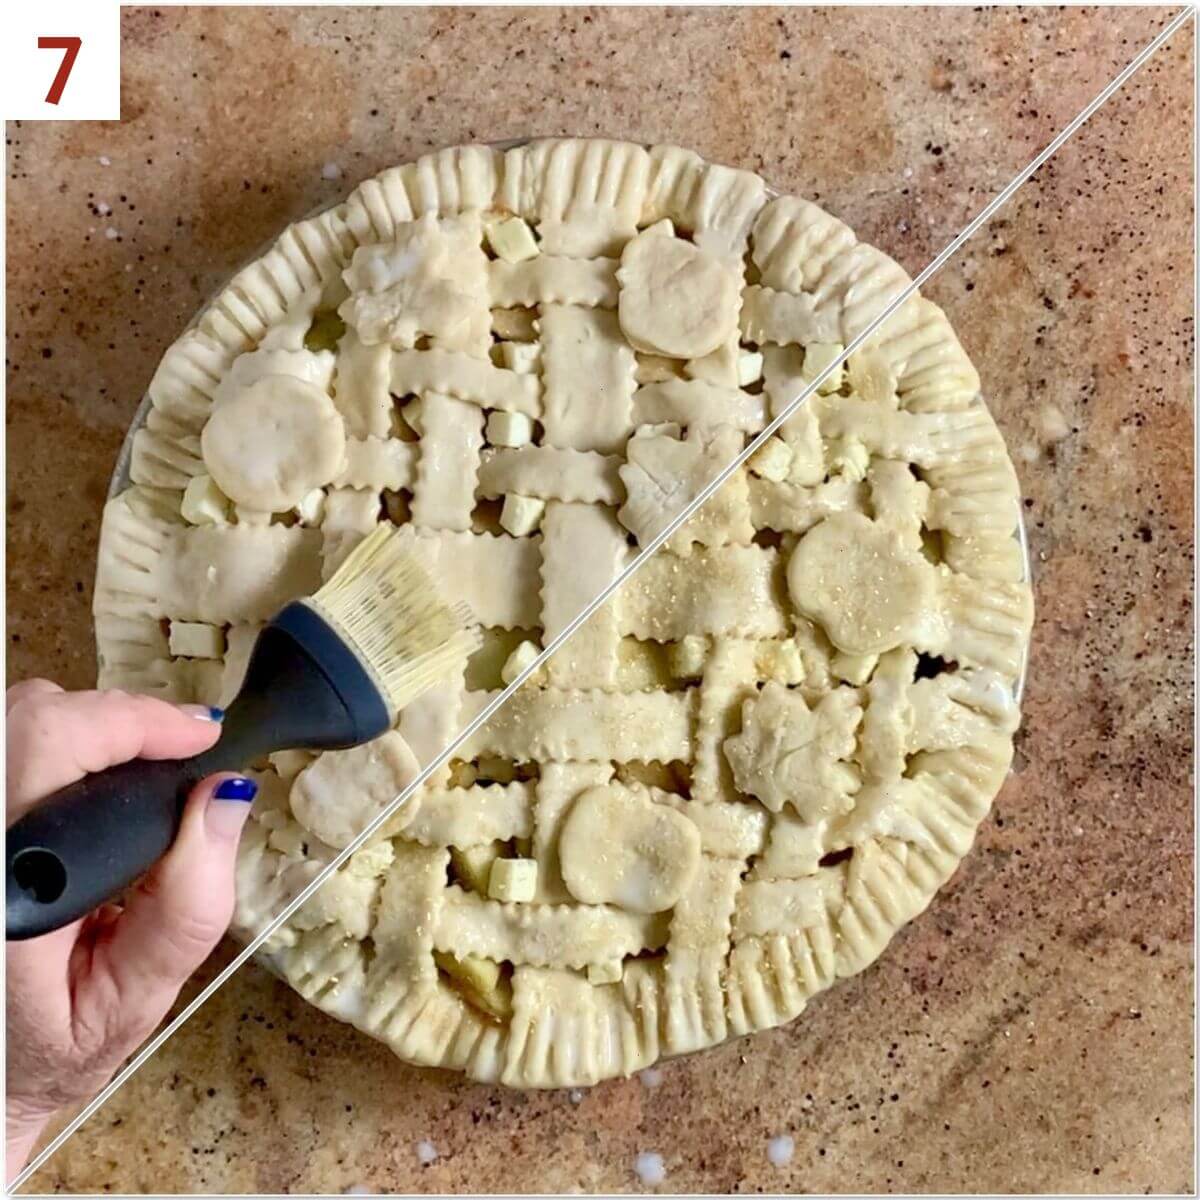
Step 7: Glaze and decorate the lattice
To create a shiny glaze on the finished crust, brush the lattice and edges with milk or an egg wash (1 egg beaten with 1 tablespoon of water). If you made decorations, place them on top of the lattice and glaze them as well.
Sprinkle coarse sugar all over the top of the pie for a nice crunch, then place it in the refrigerator for 10 minutes to firm up the crust (photo 7).
Bake the pie according to your recipe directions.
Tips for pie dough success
Start with a good quality pie crust. You can use any pie crust recipe you'd like (even store bought). Just make sure it's sturdy enough to handle, but will still bake up light and flaky. Here are some trouble spots to watch for:
- Crust is tough: Make sure the crust has enough fat in it and don't overwork it.
- Crust is dry and/or cracking while rolling: The crust needs more ice watering preparation Squeeze a small amount of dough between your fingers. If it is very crumbly, add 1 to 2 tablespoons of ice water, 1 tablespoon at a time. If the crust cracks as you roll it out, dip your fingers in ice water and mend the cracks. Wait a minute or so, then roll it out again.
- Crust is crumbling while rolling: You need a bit more water and flour. Add a small amount of ice water and flour on the problem spots and work it into the dough. Sprinkle a tiny bit of ice water and flour onto the cracks and crumbled pieces, and gently work it all in with your fingers. Wait a minute or so, then roll it out again.
Questions asked and answered
Here are some questions you might have...
A lattice pie top weaves strips of pie dough over and under each other on top of the pie filling to create a basket weave look. A lattice pastry is not just beautiful, but functional as well - the holes between the strips allows steam to escape as the pie bakes. Minus the holes, pressure would build under the crust and eventually would cause the filling to burst, and that's not an ideal outcome at all!
Crimping the pie crust not only creates a decorative edge, it also seals the top and bottom crusts together. There are many ways to crimp the crust, from fluting the edges with your fingers, to pressing a fork or spoon to make a pretty pattern.
For a different look, cut 3 long thin strands of dough and braid them together. Brush the edge of the pie with milk or an egg wash, then carefully lay the braid on the edge. Brush the braid with the milk or egg wash before baking. You'll need an extra pie crust layer to have enough dough to braid.
If you don't want to cut and weave your pie crust, you do have an alternative. There are lattice roller cutters designed to cut slits in the pastry in an accordion weave so that when you stretch it out over the pie, it looks like a lattice. These tools can be used for cookies, bread, and Beef Wellington in addition to pies.
Didn't find the answer you're looking for?
Ask AI to answer for this specific recipe:
Disclaimer: I am not responsible for the quality of AI information


I hope you like this recipe! Let me know if you have any questions, and don't forget to leave a comment and rating. Thanks!
Slainté! L'chaim! Cheers!
- Tammy
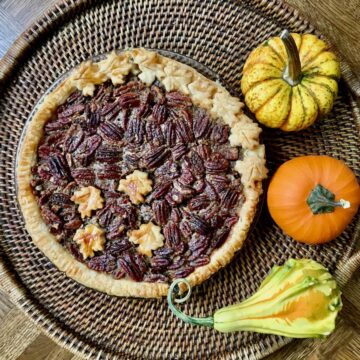
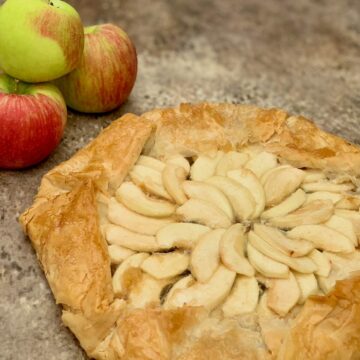
More pie, tart, & cobbler recipes to try
Recipe
How to Make a Lattice Pie Crust
Equipment
- rolling pin
Ingredients
For the crust
- 1 recipe double pie crust, homemade or store bought, see Recipe Notes
For the topping
- 2 tablespoons milk, or egg wash (1 egg beaten with 1 tablespoon of water)
- 2 tablespoons coarse sugar
Instructions
- Prepare your double pie crust. Ease the bottom layer into your pie pan and fill as your recipe requires.
- Roll out the dough for your top crust to about a 12-inch circle, less than ¼-inch thick. That will be about the height of two quarters.
- Using a straight or fluted sides of a pastry wheel (or other cutting tool), cut the rolled-out dough into strips 1- to 2-inches wide, or to your desired width. You'll need about 10 to 12 pieces for a standard 9-inch pie.
- Starting in the middle of the pieces you just cut out, transfer every other strip of dough and lay them beside each other on top of your filling, at whatever spacing you want.
- Turn back every other strip of dough a little more than halfway, then take the longest strip left of the ones you cut out and lay it crosswise across the top of the strips not turned back.
- Straighten out the turned-back strips and turn back strips you didn't touch the first time. Lay the next smallest strip of rolled out dough next to the first crosswise strip at your desired spacing. Straighten those turned-back strips.
- Repeat alternating turning back the parallel strips to finish the current side, then turn the pie around and repeat the process for the other side.
- Press the ends of the strips into the bottom pie crust, then fold the edge under itself and press down. Smooth around the edges for a neater appearance, then crimp the pie crust with a fork or your method of crimping. You can cut shapes with any leftover crust dough to decorate the top of the lattice.
- To create a shiny glaze on the finished crust, brush the lattice and edges with 2 tablespoons milk or an egg wash (1 egg beaten with 1 tablespoon water). If you made decorations, place them on top of the lattice and glaze them as well. Sprinkle 2 tablespoons coarse sugar all over the top of the pie for a nice crunch, then place it in the refrigerator for 10 minutes to firm up the crust while the oven finishes heating.
- Proceed with baking your pie as your recipe instructs. Enjoy!


sandyspector says
Beautiful!!!!! Mazal Tov!
xo Sandy
Sandy Spector 339.237.0943 | [email protected] http://www.beautycounter.com/sandyspector
On Fri, Dec 1, 2017 at 5:43 AM, Scotch & Scones wrote:
> Tammy posted: "I had a baking frenzy last week. Not only did I bake 3 pies > and pumpkin bread (and even a pumpkin challah!) for Thanksgiving dinner, > two days later we held an engagement party for my older daughter and future > son-in-law for our family in California. We e" >