
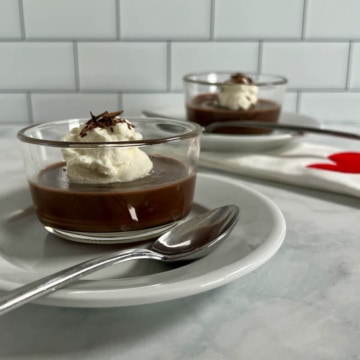
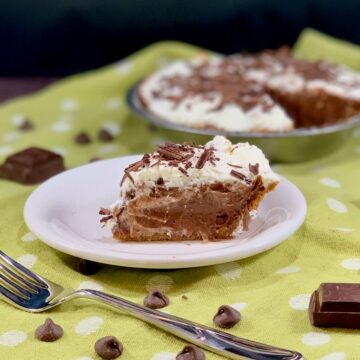
This no-bake Chocolate Cream Pie has a rich chocolate custard filling served in a graham cracker crust. This mini chocolate pie will satisfy your chocolate pudding cravings, won't heat your kitchen, and is perfectly sized for two!

Jump to:
[August, 2022: I've reworked the recipe and updated this post with all new pictures. Enjoy!]
Why this recipe works
- The rich chocolate cream pie custard filling is easy to make
- A no-bake graham cracker crust means you don't need to heat the kitchen
- Sized for two, yet can easily be doubled to feed a crowd
I love chocolate pudding. Like thick, rich pudding. Then put that pudding in a pie shell, top it with whipped cream...yummm...
[pausing to wipe drool from the keyboard]
This no-bake Chocolate Cream Pie recipe is similar to those you'd find in a diner, except here we use a graham cracker crust instead of a pastry pie shell. It's great to serve as a special treat on a hot summer's day. No need to heat the oven!
This homemade chocolate pie is luscious, rich, creamy, and chocolatey, and the graham cracker crust adds a nice texture counterpoint to all that creamy goodness.
And because there's only two of us (and I don't want an entire pie enticing me), making a mini chocolate pie is perfectly sized for two - a perfect treat for Valentine's Day, Date Night, or anytime you want to share something special with someone special.
Recipe Ingredients
You'll need the following ingredients to make this no bake chocolate cream pie recipe:
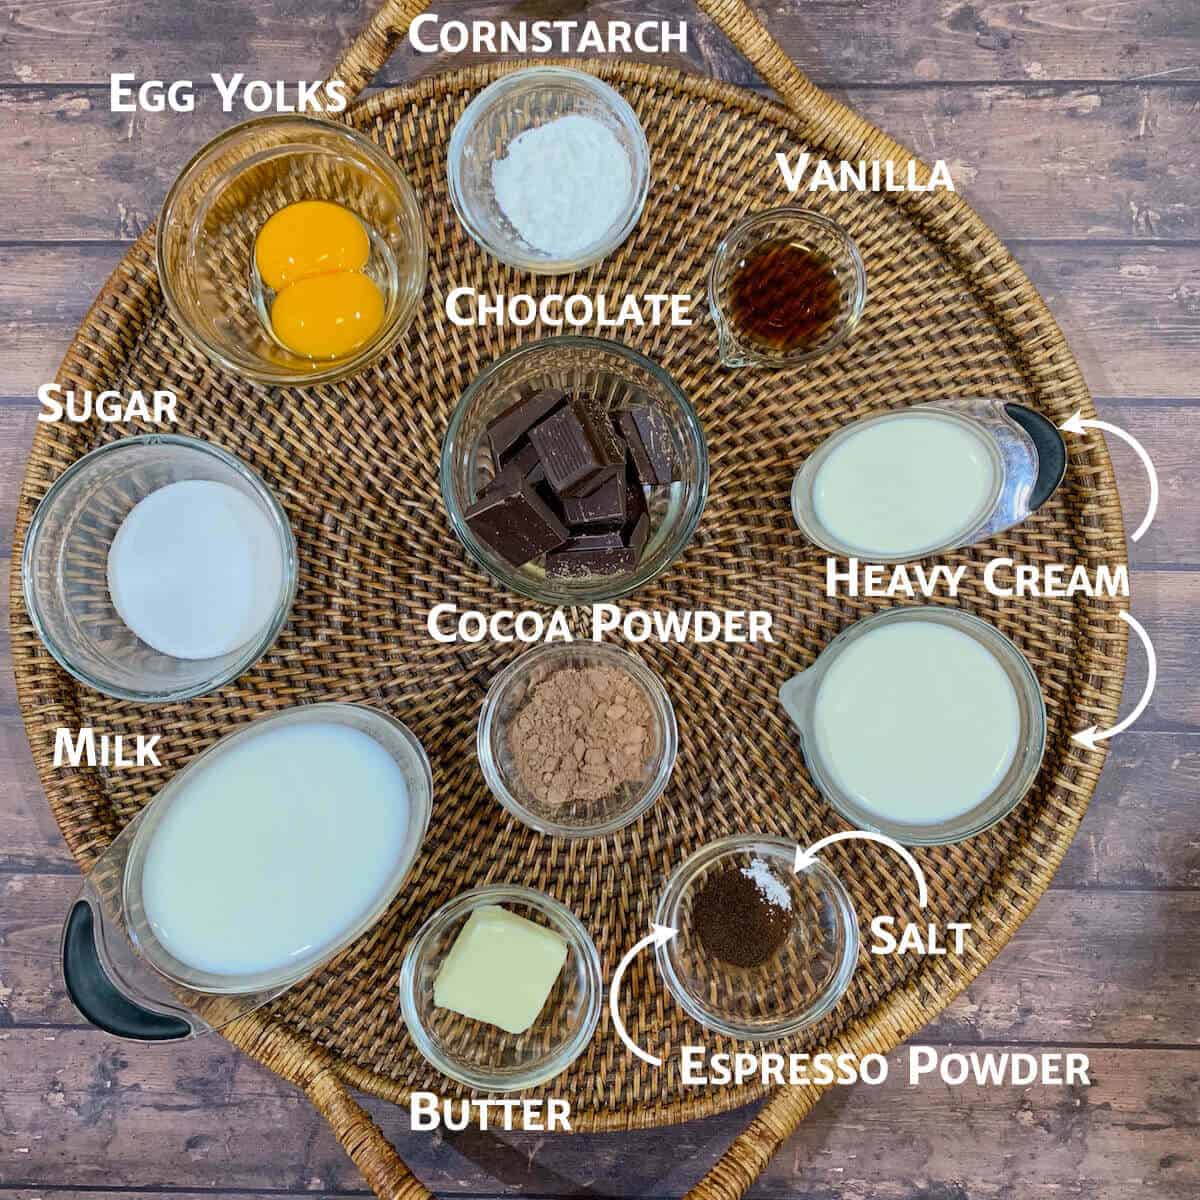
Ingredient Notes
Chocolate: This chocolate pie recipe uses chocolate in two ways:
- Solid Chocolate: I use dark chocolate wafers or a solid dark chocolate bar for a nice, thick, sliceable chocolate custard filling.
- Cocoa powder: You can choose between regular or dark chocolate cocoa powder.
You can customize the chocolate to your taste - dark (bittersweet), semisweet, milk chocolate, or any combination of these that you like. And don't forget to make some chocolate shavings to garnish the top of the pie before chopping the rest.
Espresso powder: Using espresso powder enhances the chocolate for a richer flavor. It's optional, but I wouldn't skip it!
Graham cracker crust: Making a no bake graham cracker crust allows you to keep the oven turned off when making this pie.
See the recipe card for a full list of ingredients and measurements.
Pie crust options
You're not limited to graham crackers for the pie crust!
You can use cookie crumbs using the same recipe for a graham cracker crust, especially chocolate cookie crumbs or shortbread crumbs. If you don't have any on hand, make some! Other items you can use in place of graham crackers are saltines, crushed pretzels, or potato chips.
Or, go with the more traditional pastry pie crust. For a mini pie, make a half single pie crust recipe of my flaky all-butter pie crust (using a 6 : 4 : 2 recipe ratio of flour, butter, and water, by weight) or use a store-bought pie crust. For a full-sized pie, use the 9 : 6 : 3 recipe ratio for a single crust pie Either way, be sure to blind-bake the pie crust and let it fully cool before filling it.
How to make chocolate cream pie
The filling for this mini chocolate pie is really a version of chocolate custard (like this Double Chocolate Mint Chip ice cream) - a cream mixture thickened with egg yolks and cornstarch. It's also like a ganache because you're pouring the hot custard mixture over the chopped chocolate, then stirring until it's smooth.
A hybrid custard-ganache pie filling, as it were.
Step 1: Prepare the graham cracker crust
Prepare a half recipe of the no-bake graham cracker crust and press into a 7-inch pie pan (a pastry dough tart tamper can help this process). Chill the crust in the freezer for 15 minutes to set the melted butter after pressing it into the pan.
Step 2: Cook the chocolate custard
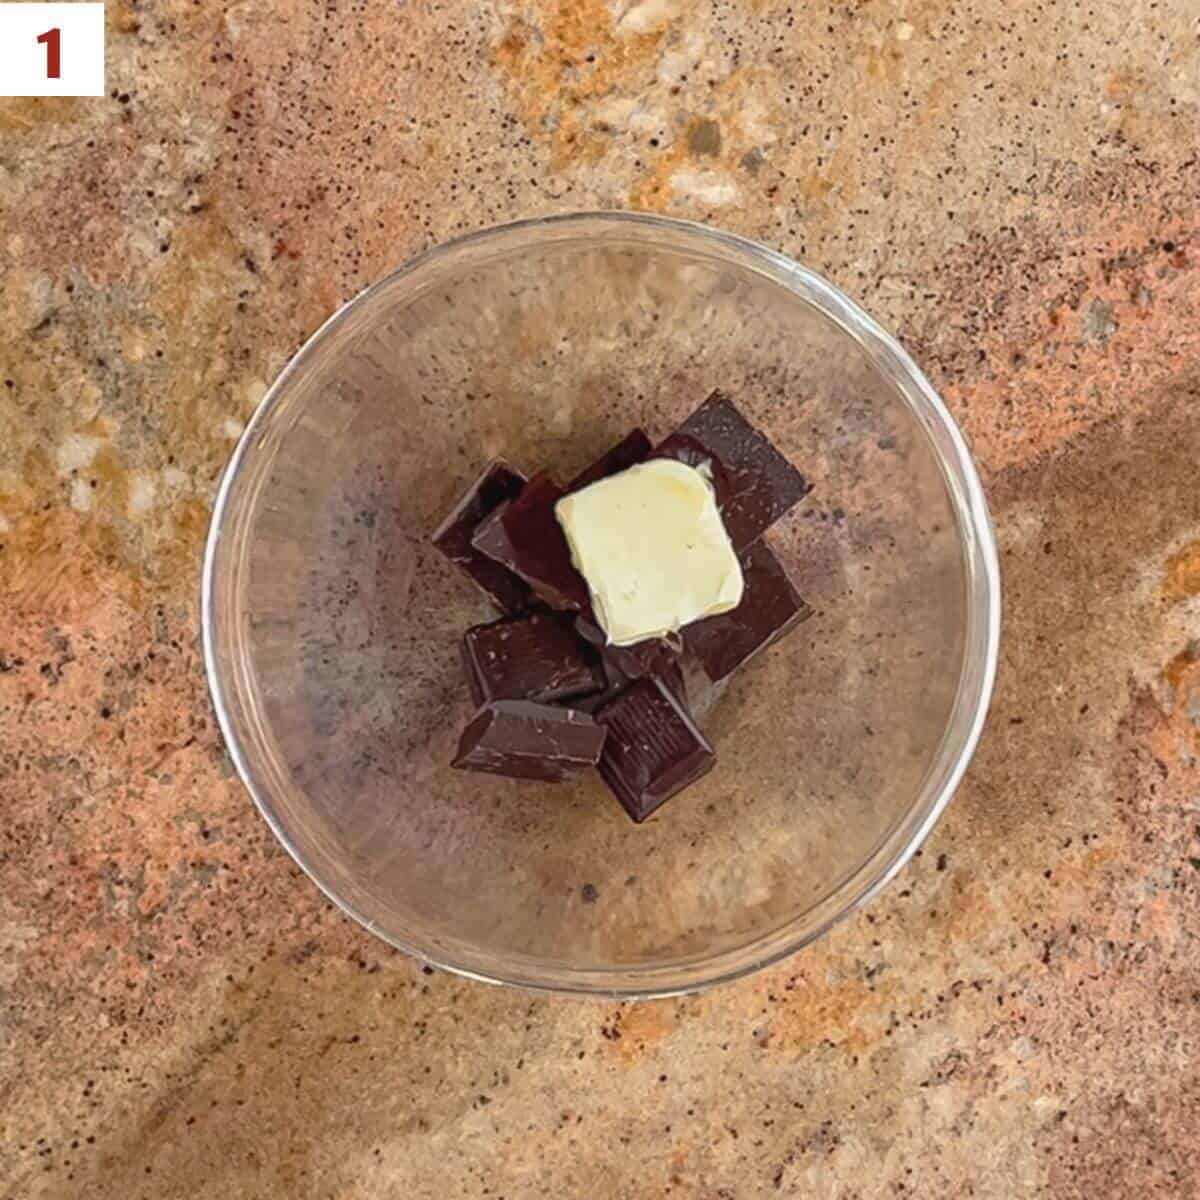
Place the chopped chocolate, butter, and vanilla extract in a small mixing bowl and set aside (photo 1).
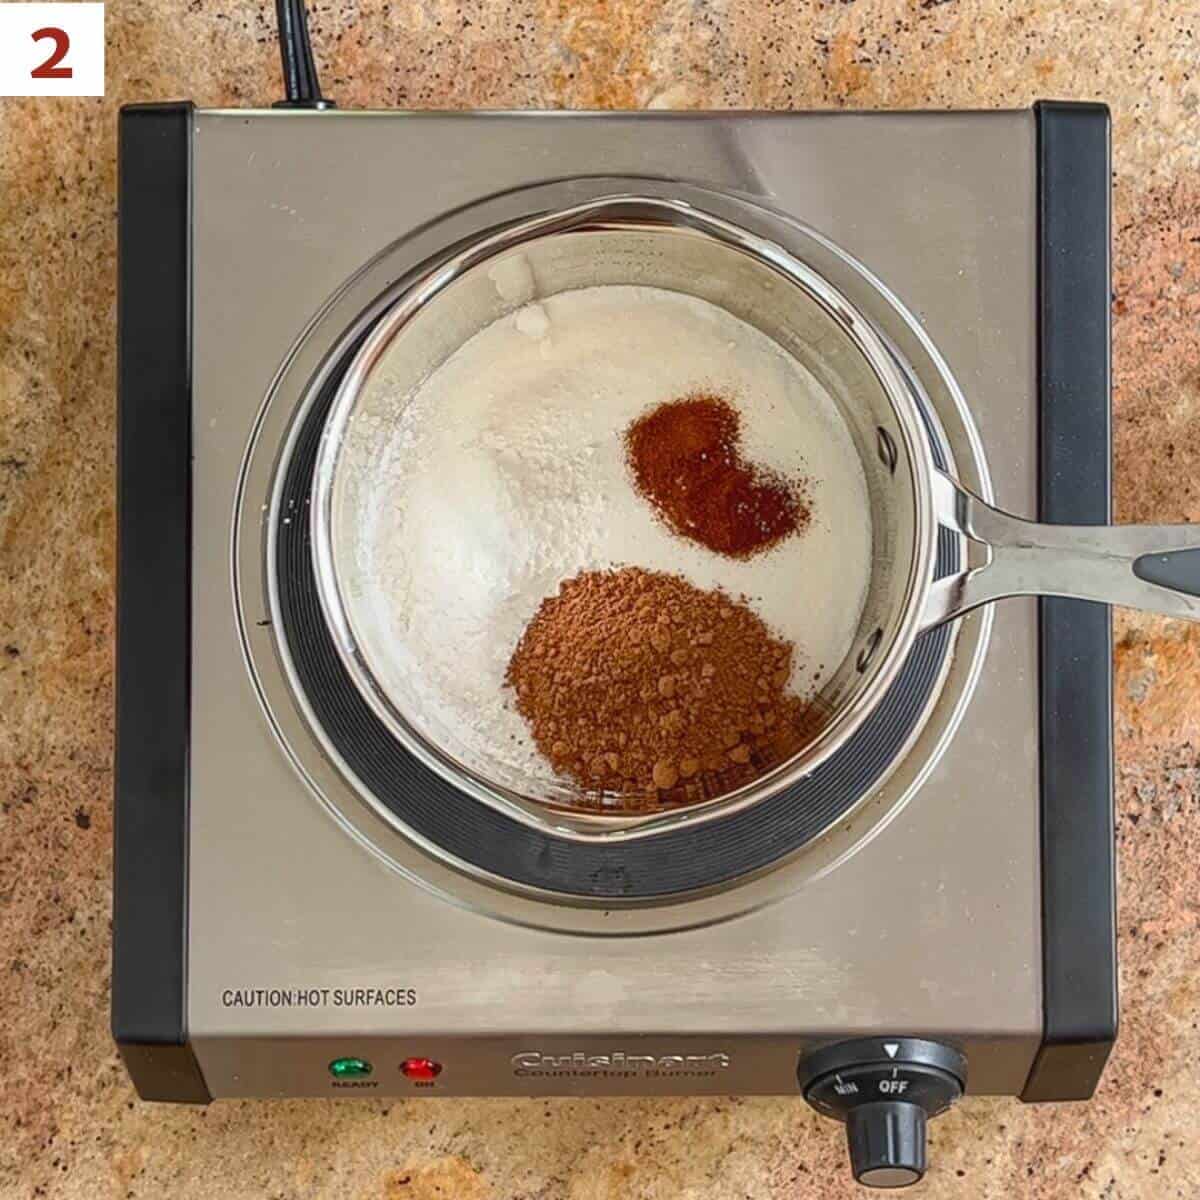
In a small saucepan, whisk together the sugar, cornstarch, cocoa powder, espresso powder, and salt (photo 2).
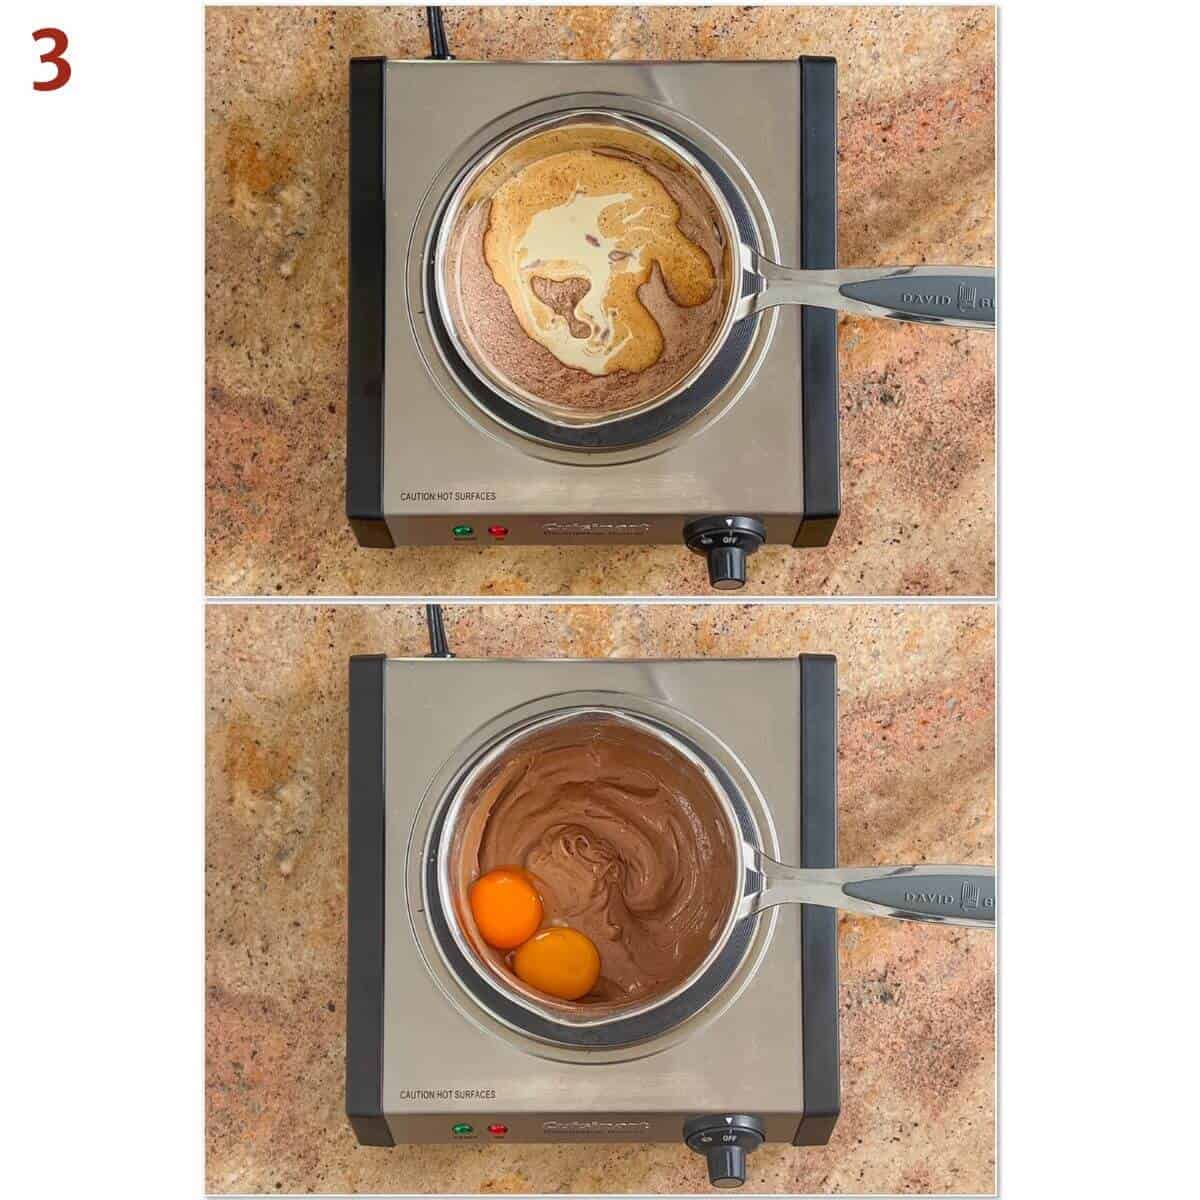
Add ¼ cup (60 grams) of the heavy cream, whisking until the mixture is smooth, then whisk in the egg yolks (photo 3).
Place the saucepan on the stove on medium heat. Gradually add the remaining cream and milk, then bring mixture to a low boil, stirring constantly, about 4 to 5 minutes (photo 4). The mixture will thicken quickly towards the end of the cooking time.
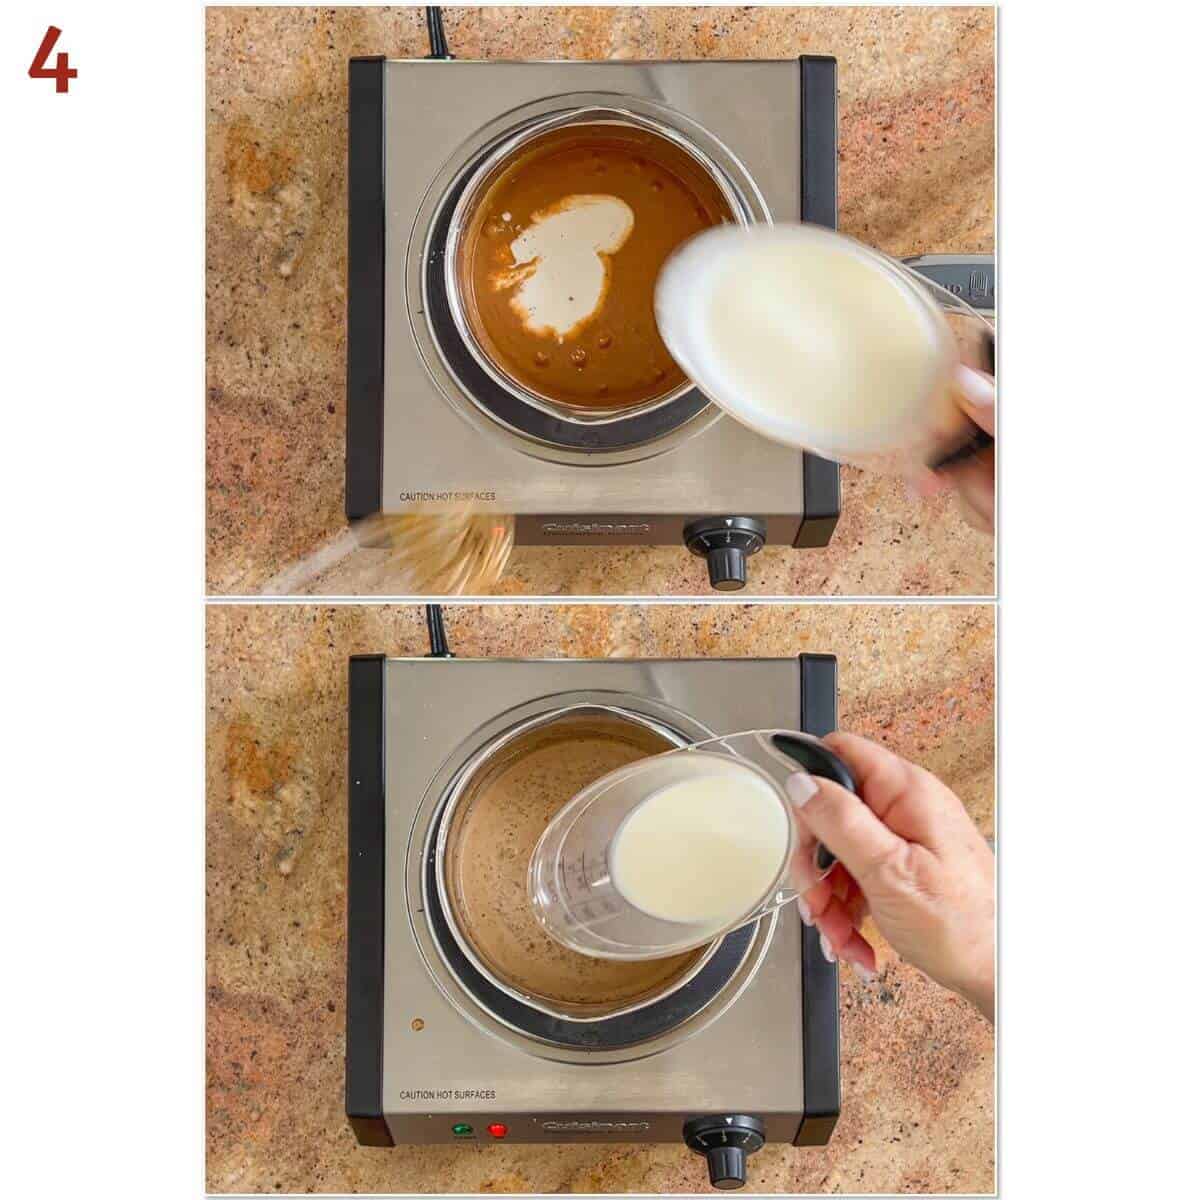
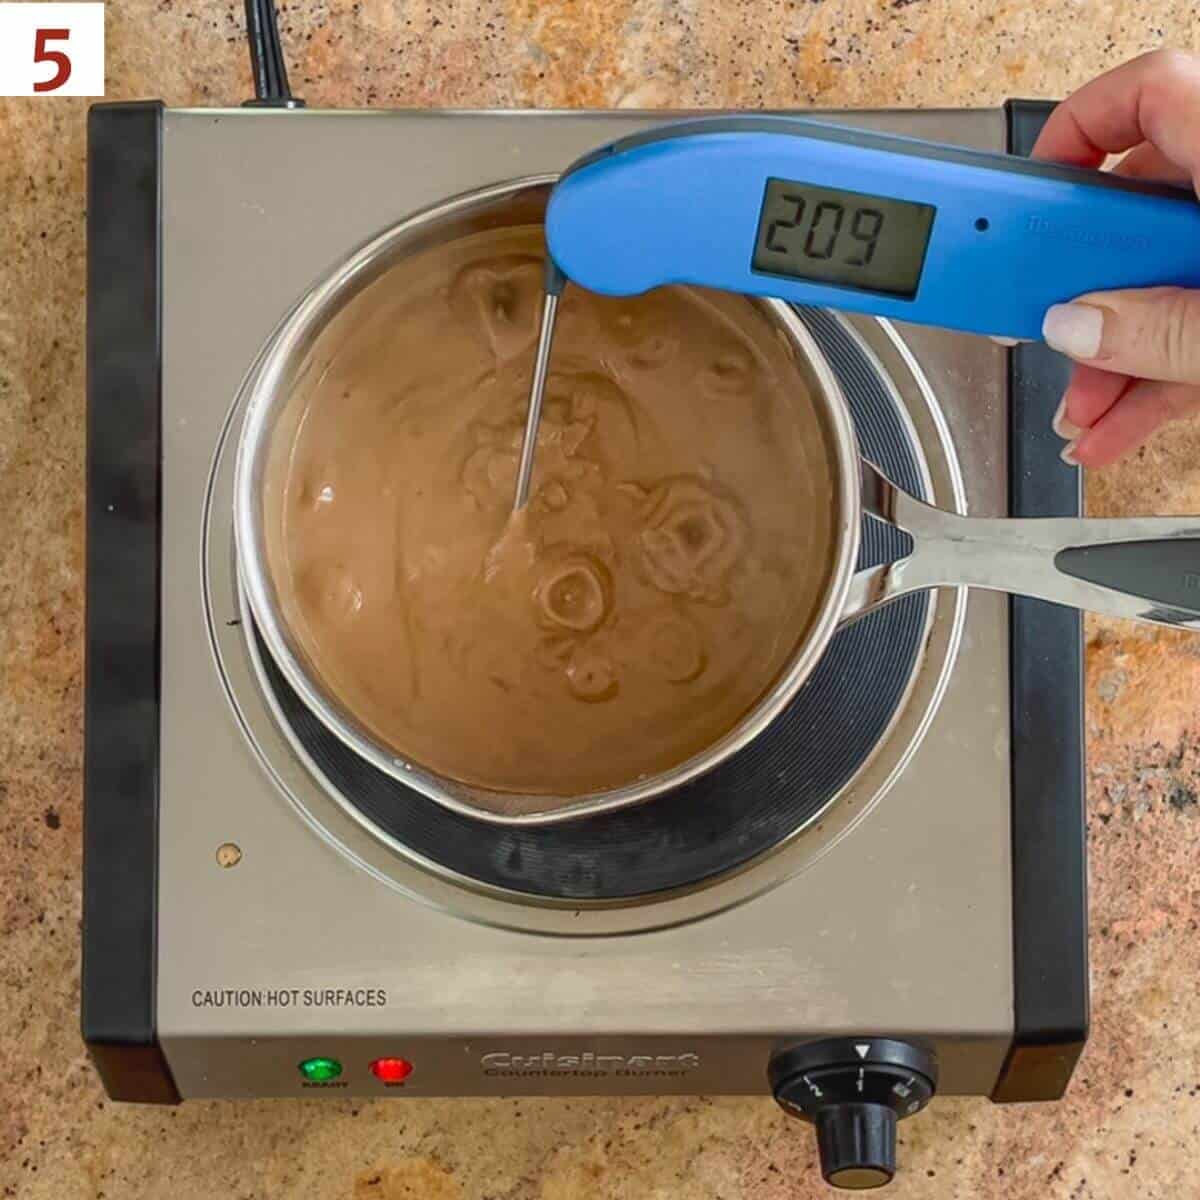
Cook for 1 minute more to ensure the custard is fully done. The finished custard's temperature will be around 200°F when read on a digital thermometer (photo 5).
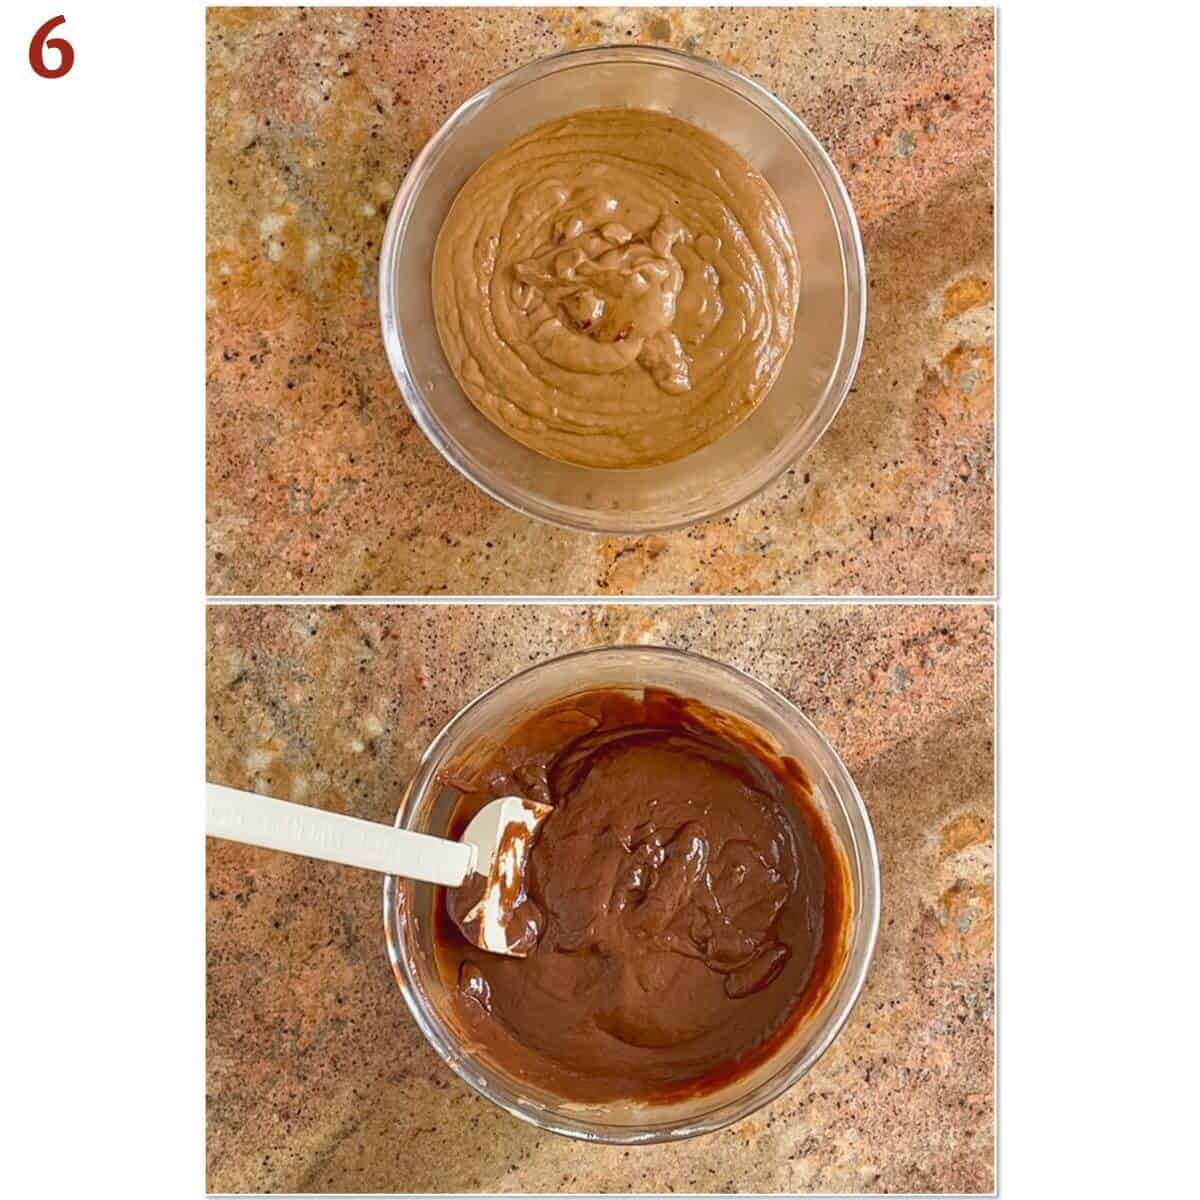
Step 3: Add the chopped chocolate
Remove the pan from the heat and immediately pour the custard over the reserved chopped chocolate mixture. Whisk until the chocolate is melted and the mixture is smooth (photo 6).
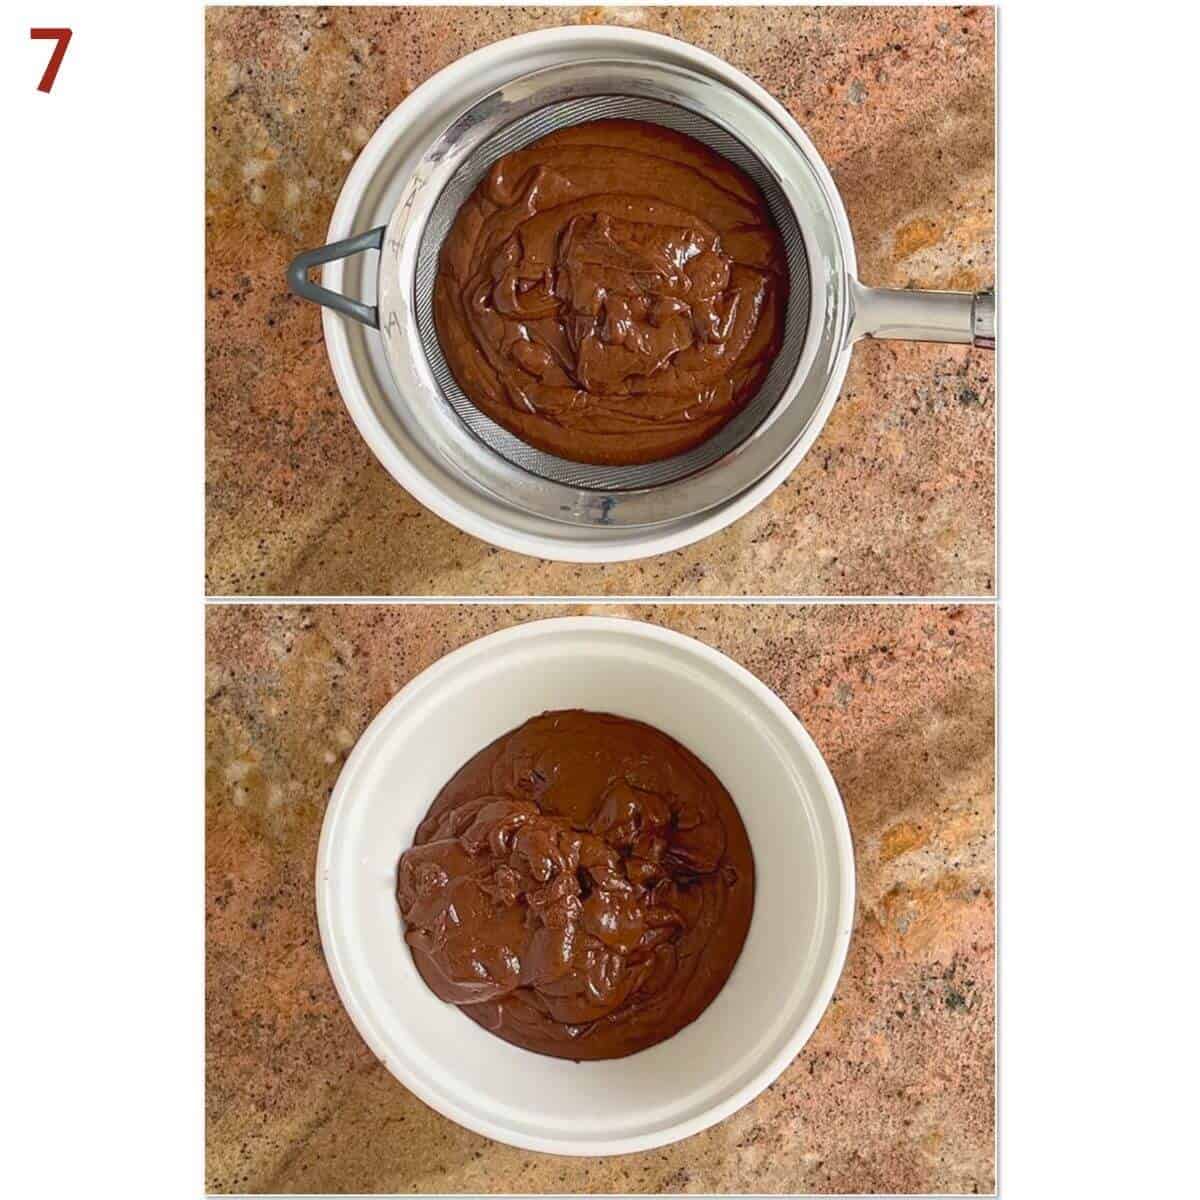
Strain the custard through a fine mesh strainer into a clean bowl to remove any bits of scrambled eggs (photo 7).
Cover the bowl with plastic wrap pressed onto the surface of the custard (this keeps a skin from forming). Chill the custard for at least two hours.
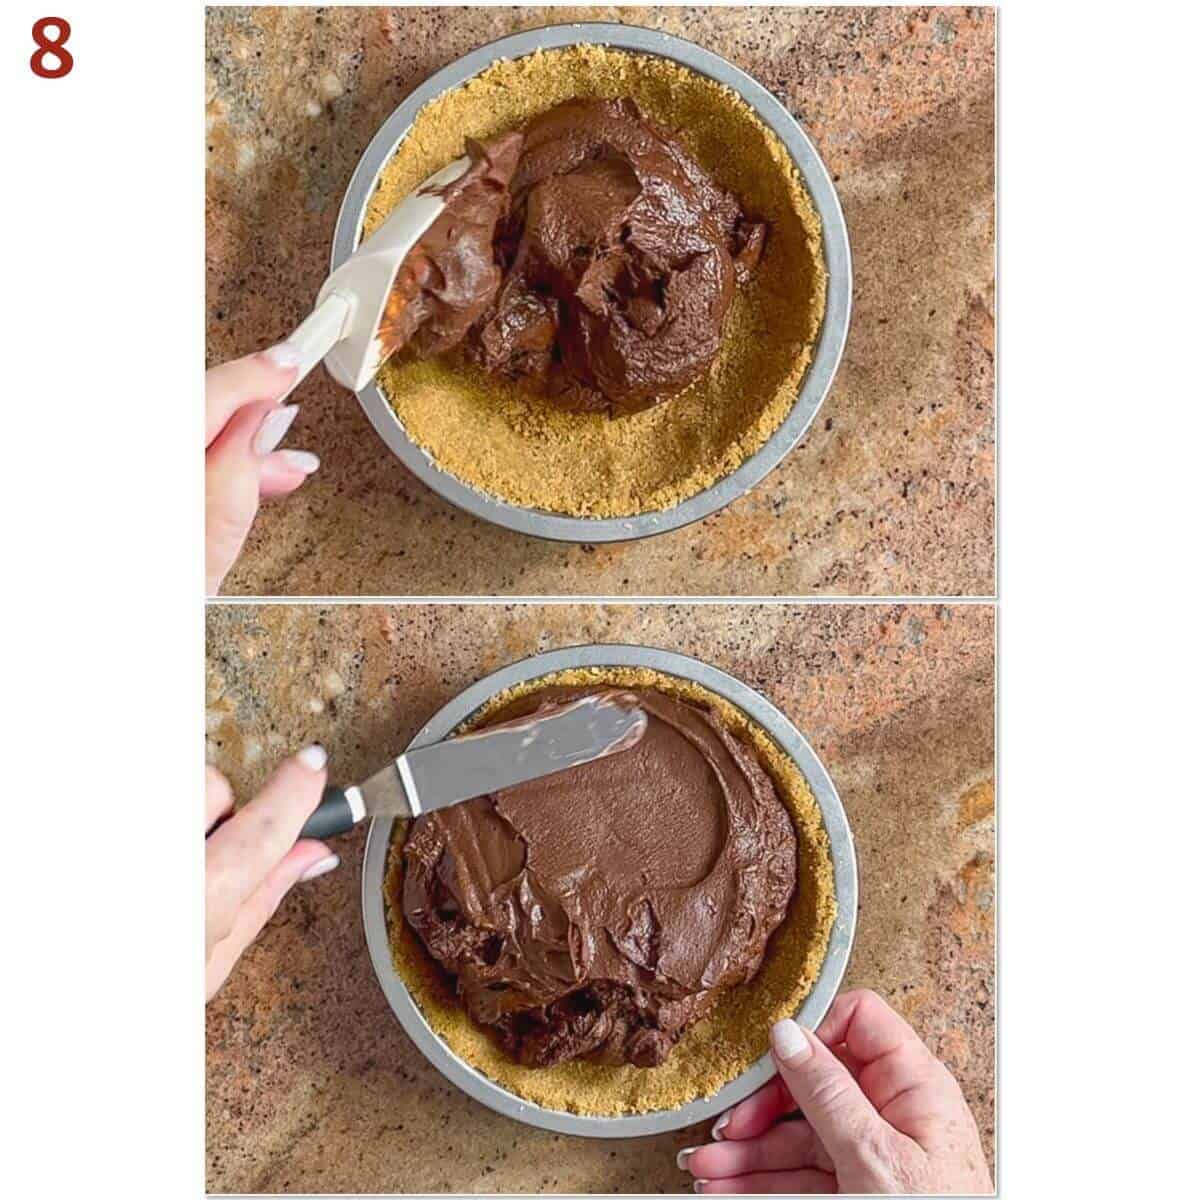
Step 4: Assemble the pie
Transfer the cold chocolate pudding filling into the graham cracker crust. Smooth the top of the pie with a small offset spatula (photo 8).
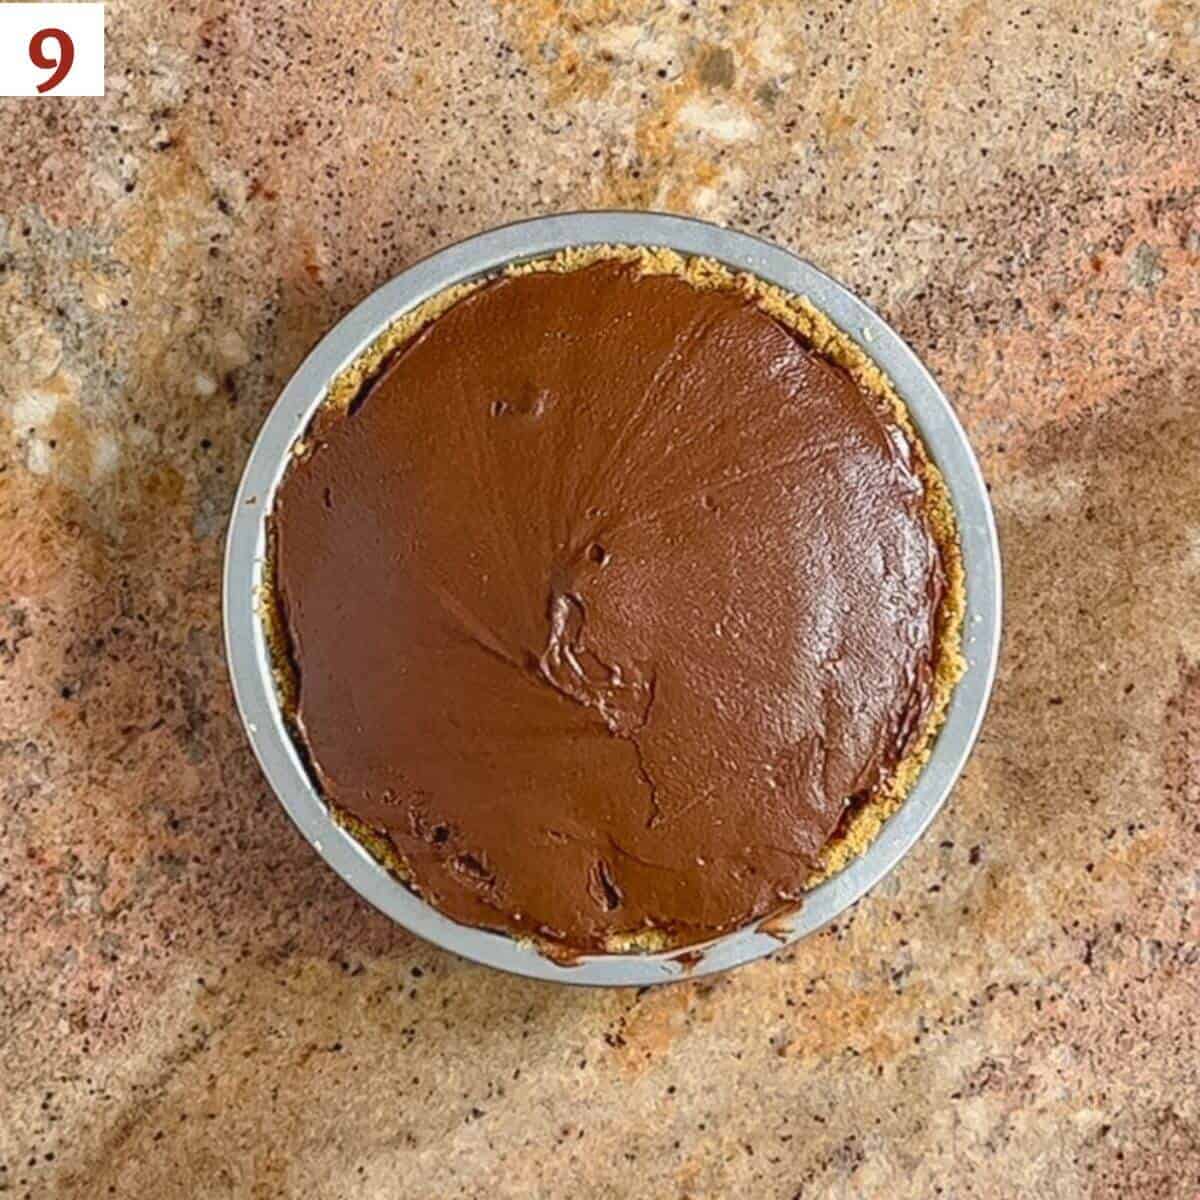
Step 5: Garnish the pie
How you choose to serve the pie is totally up to you. You can serve it plain (photo 9), but I prefer some lightly sweetened whipped cream and a few chocolate shavings or a sprinkle of cocoa powder for garnish.
Spoon or pipe whipped cream on top of the entire pie, or put a dollop on each individual slice. The latter makes it easier to store in the refrigerator, especially if you're not planning on serving the entire pie at once.
Storage Instructions
Wrap the chocolate pie with plastic wrap and refrigerate. It will keep for 2 to 4 days.
Yield Notes
This mini chocolate cream pie is rich, so you can get 6 to 8 small, yet satisfying, slices. If you're serving a larger crowd, make a full-sized pie - just double the ingredient amounts and use a 9-inch pie pan.
Questions asked and answered
Here are some questions that you might have...
With a chocolate cream pie, the fillings is a rich and dense chocolate custard. A chocolate silk pie has a filling with a lighter filling, more like chocolate mousse.
Most likely the custard wasn't cooked long enough to allow the egg yolks and cornstarch to thicken the chocolate cream mixture. Allowing the custard to cook for an extra minute (the bubbles will be thick and heavy) insures that the custard will set.
Didn't find the answer you're looking for?
Ask AI to answer for this specific recipe:
Disclaimer: I am not responsible for the quality of AI information

I hope you like this recipe! Let me know if you have any questions, and don't forget to leave a comment and rating. Thanks!
Slainté! L'chaim! Cheers!
- Tammy
More recipes featuring chocolate to try
Recipe
No-Bake Chocolate Cream Pie
Equipment
Ingredients
For the crust
- ½ recipe graham cracker pie crust, see Recipe Notes
For the chocolate custard
- 4 ounces dark chocolate wafers, or solid dark chocolate, chopped (⅔ cup), see Recipe Notes
- 1 tablespoon unsalted butter
- 1 teaspoon vanilla extract
- ⅓ cup granulated sugar
- 1½ tablespoons cornstarch
- 1 tablespoon cocoa powder, see Recipe Notes
- ½ teaspoon espresso powder, optional, see Recipe Notes
- ⅛ teaspoon kosher salt
- ½ cup heavy cream, divided
- 2 large egg yolks
- 1 cup milk
For the garnish
- whipped cream, lightly sweetened, for garnish
- dark chocolate shavings or cocoa powder
Instructions
- Make the crust: Prepare a half recipe of the no-bake graham cracker crust and press into a 7-inch pie pan and press into a 7-inch pie pan (a pastry dough tart tamper can help this process). Chill the crust in the freezer for 15 minutes to set the melted butter after pressing it into the pan.
- Make the chocolate custard: Place 4 ounces dark chocolate wafers, 1 tablespoon unsalted butter, and 1 teaspoon vanilla extract in a small mixing bowl and set aside.
- In a small saucepan, whisk together ⅓ cup granulated sugar, 1½ tablespoons cornstarch, 1 tablespoon cocoa powder, ½ teaspoon espresso powder, and ⅛ teaspoon kosher salt. Add ¼ cup (60 grams) of the heavy cream, whisking until the mixture is smooth, then whisk in the 2 large egg yolks.
- Place the saucepan on the stove on medium heat. Gradually add the remaining heavy cream and 1 cup milk, then bring mixture to a low boil, stirring constantly, about 4 to 5 minutes. The mixture will thicken quickly towards the end of the cooking time.
- Cook for 1 minute more to ensure the custard is fully done. The finished custard's temperature will be around 200 °F when read on a digital thermometer.
- Remove the pan from the heat and immediately pour the custard over the reserved chopped chocolate mixture. Whisk until the chocolate is melted and the mixture is smooth.
- Strain the custard through a fine mesh strainer into a clean bowl to remove any bits of scrambled eggs.
- Cover the bowl with plastic wrap pressed onto the surface of the custard (this keeps a skin from forming). Chill the custard for at least two hours.
- Assemble the pie: Transfer the cold filling into the graham cracker crust. Smooth the top of the pie with a small offset spatula.
- Keep the pie chilled until you're ready to serve it. To get the best slices, refrigerate the pie overnight.
- Garnish the pie: Spoon or pipe whipped cream on top of the entire pie, or put a dollop on each individual slice. The latter makes it easier to store in the refrigerator, especially if you're not planning on serving the entire pie at once.
- Top the whipped cream with chocolate shavings or a dusting of cocoa powder. Serve and enjoy!
- Storage instructions: Wrap the pie with plastic wrap and refrigerate. It will keep for 2 to 4 days.


Comments
No Comments