

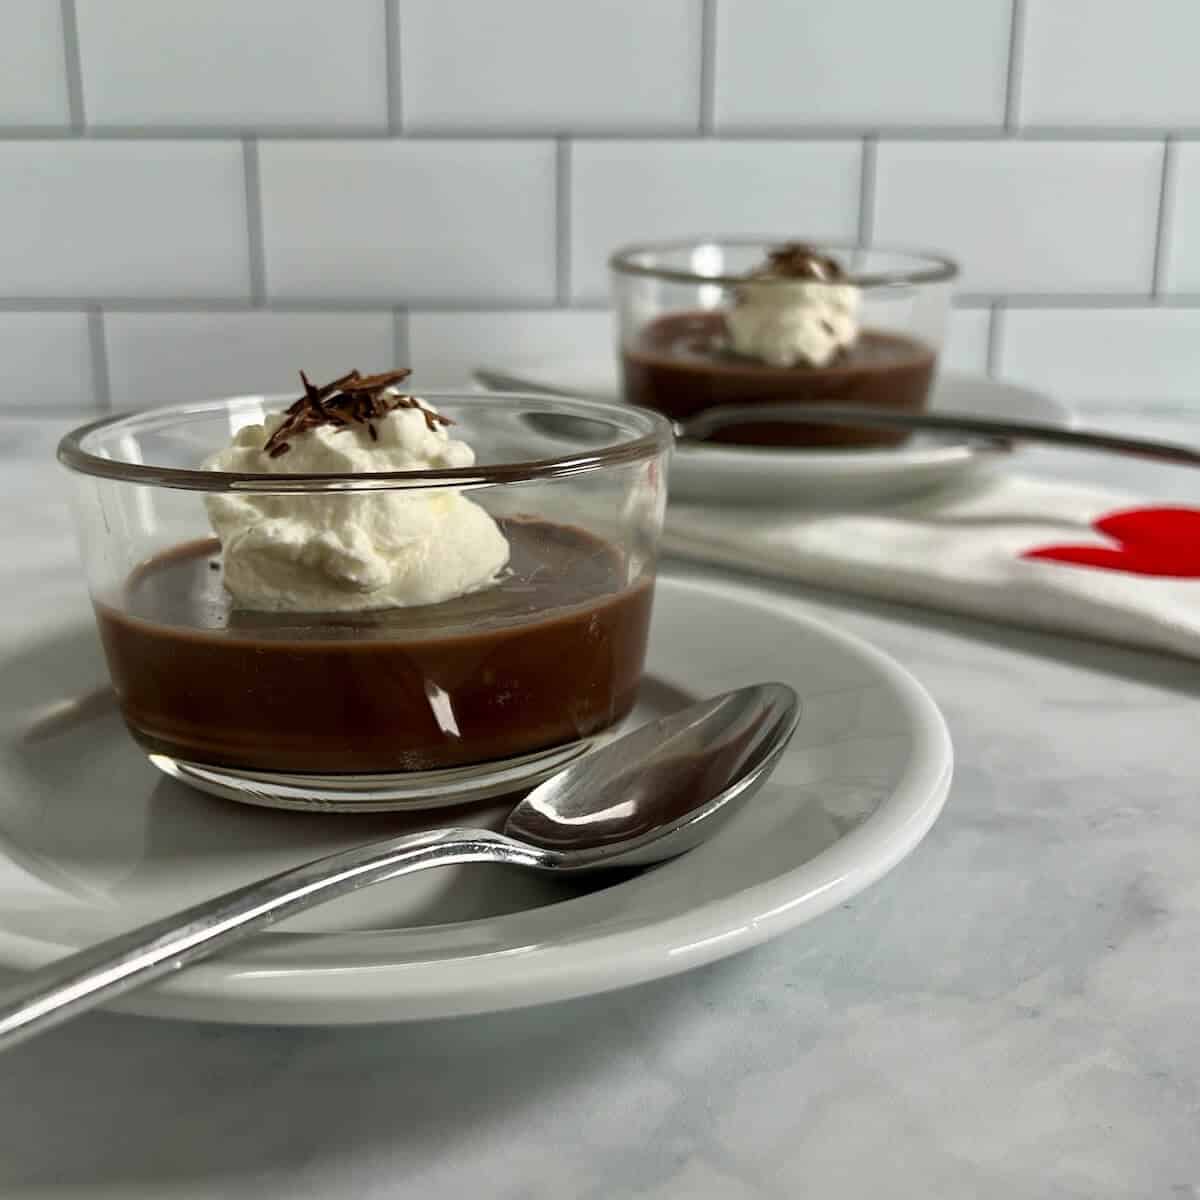
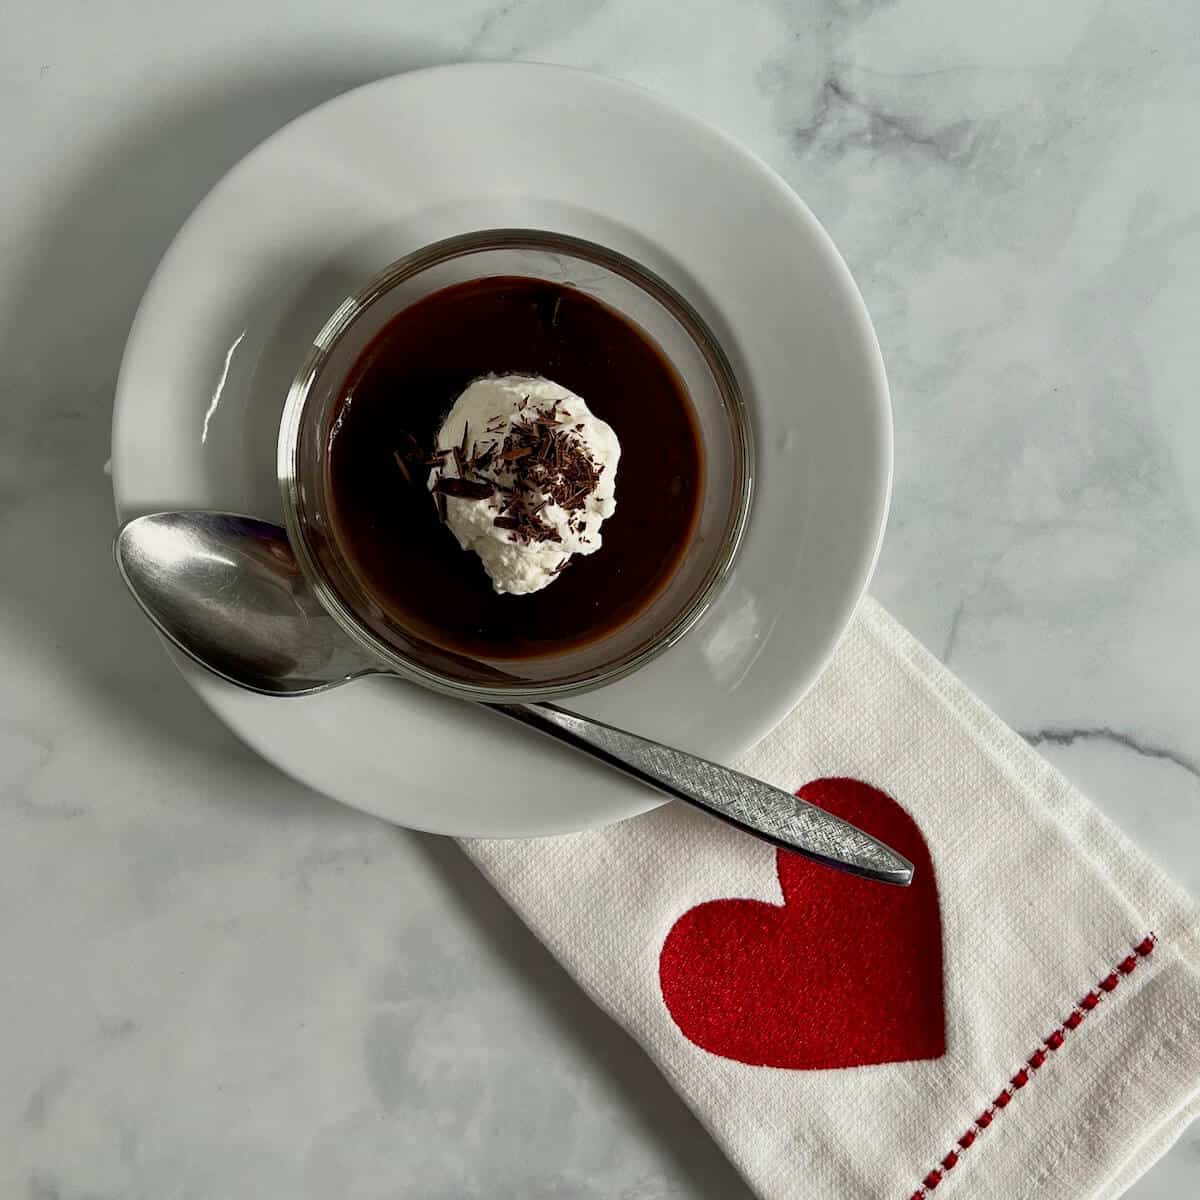
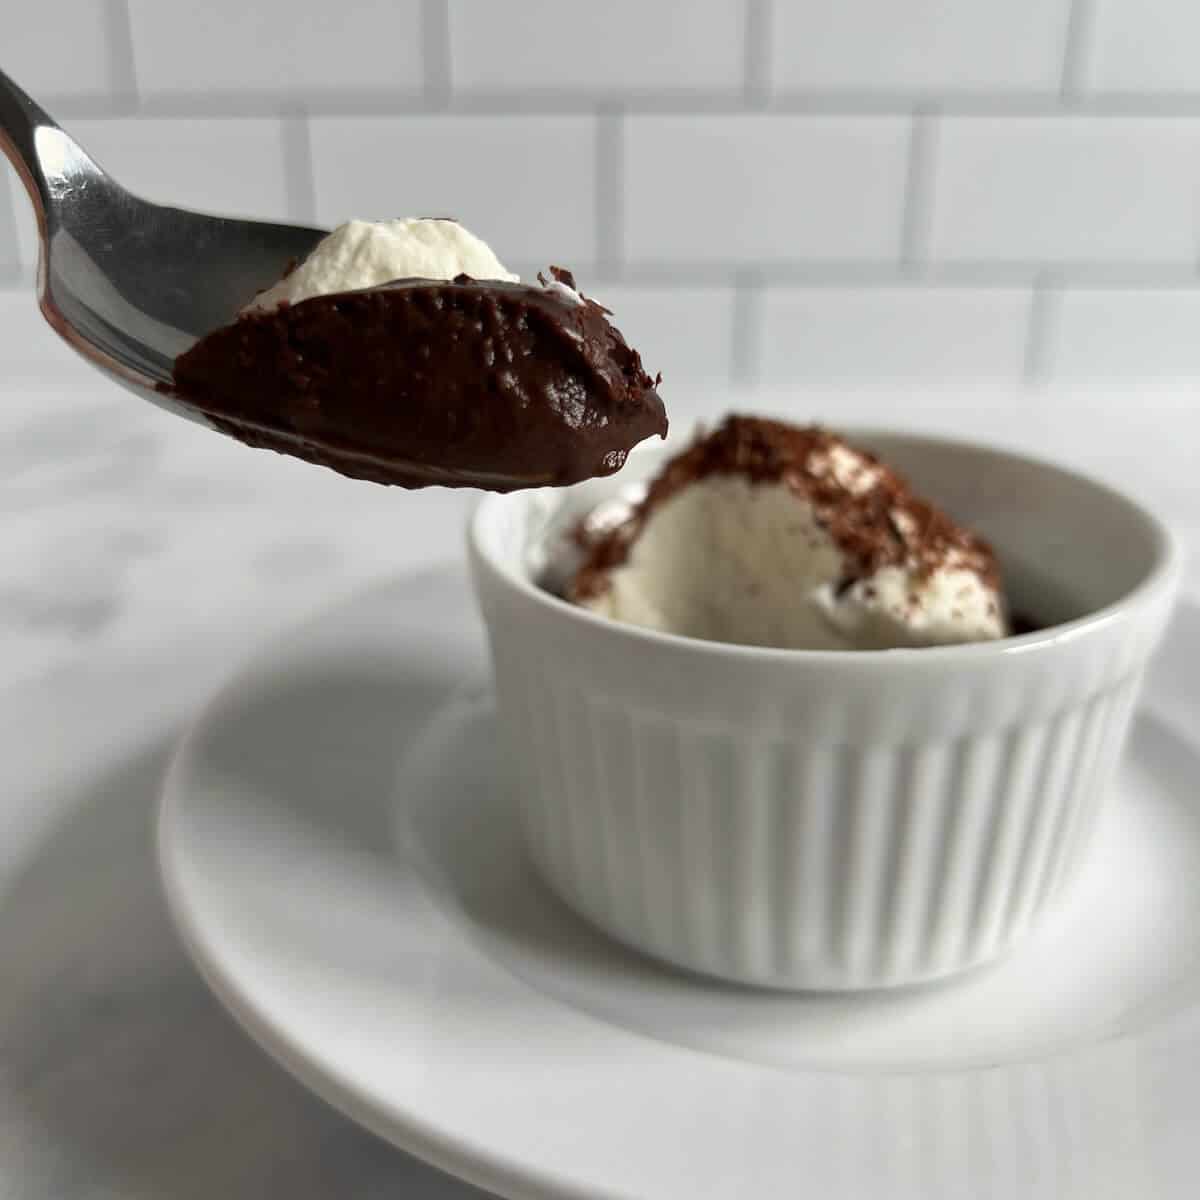
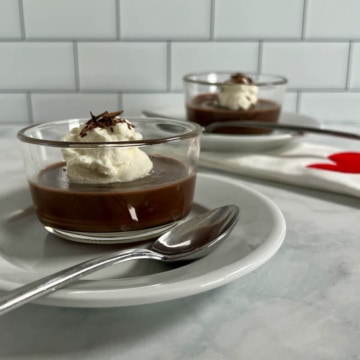
This homemade dark chocolate pudding is silky smooth and creamy, with intense chocolate flavor from both dark chocolate and cocoa powder. Since there are no eggs to temper, it comes together easily with just a few minutes of cooking on the stove. Serve it with whipped cream and chocolate shavings for an easy dessert that's much richer than anything from a box!
Jump to:
Quick Recipe Summary ✨
Homemade Dark Chocolate Pudding (No Eggs): Rich, creamy chocolate pudding made from scratch with deep chocolate flavor and a silky-smooth texture.
Easy stovetop pudding: No eggs to temper and no complicated custard technique - just whisk, cook until thickened, and chill.
Active Time: 15 minutes • Chill Time: 2 to 3 hours • Total Time: About 3 hours 15 minutes (mostly chilling!)
Difficulty Level: ⭐ Easy. Whisk the ingredients together, cook until thickened and bubbling, then chill until set.
Yield: About 2½ cups (6 servings) • Refrigerator-friendly: 3 to 5 days • Make-ahead: Up to 3 days ahead.
👉 Follow the detailed instructions and troubleshooting tips below for smooth, creamy homemade chocolate pudding with rich chocolate flavor - no eggs or boxed mix needed.
SUMMARIZE & SAVE THIS CONTENT ON
Why this recipe works
- Two forms of chocolate: Cocoa powder builds the base while melted chocolate adds richness and body
- Reliable thickening: Cornstarch creates a smooth pudding without masking the chocolate flavor
- Easy to customize: Dark or semisweet chocolate lets you control how bold the finished pudding tastes
When I have a hankering for chocolate pudding, I want it to be unapologetically chocolatey - smooth, creamy, and rich enough to satisfy that chocolate craving.
And while reaching for a box of pudding mix might be convenient, making chocolate pudding from scratch gives you a richer flavor and lets you choose just how chocolatey you want to go.
That's where dark chocolate comes in - combining it with cocoa powder gives this pudding a deep chocolate flavor and a satiny-smooth texture that's rich without feeling overly heavy.
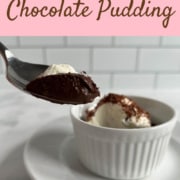
Top it with a little whipped cream and some chocolate shavings, and a simple bowl of pudding becomes a pretty decadent dessert.
Because when it comes to chocolate, more is more!
Recipe Ingredients
You'll need the following ingredients to make this homemade chocolate pudding recipe:
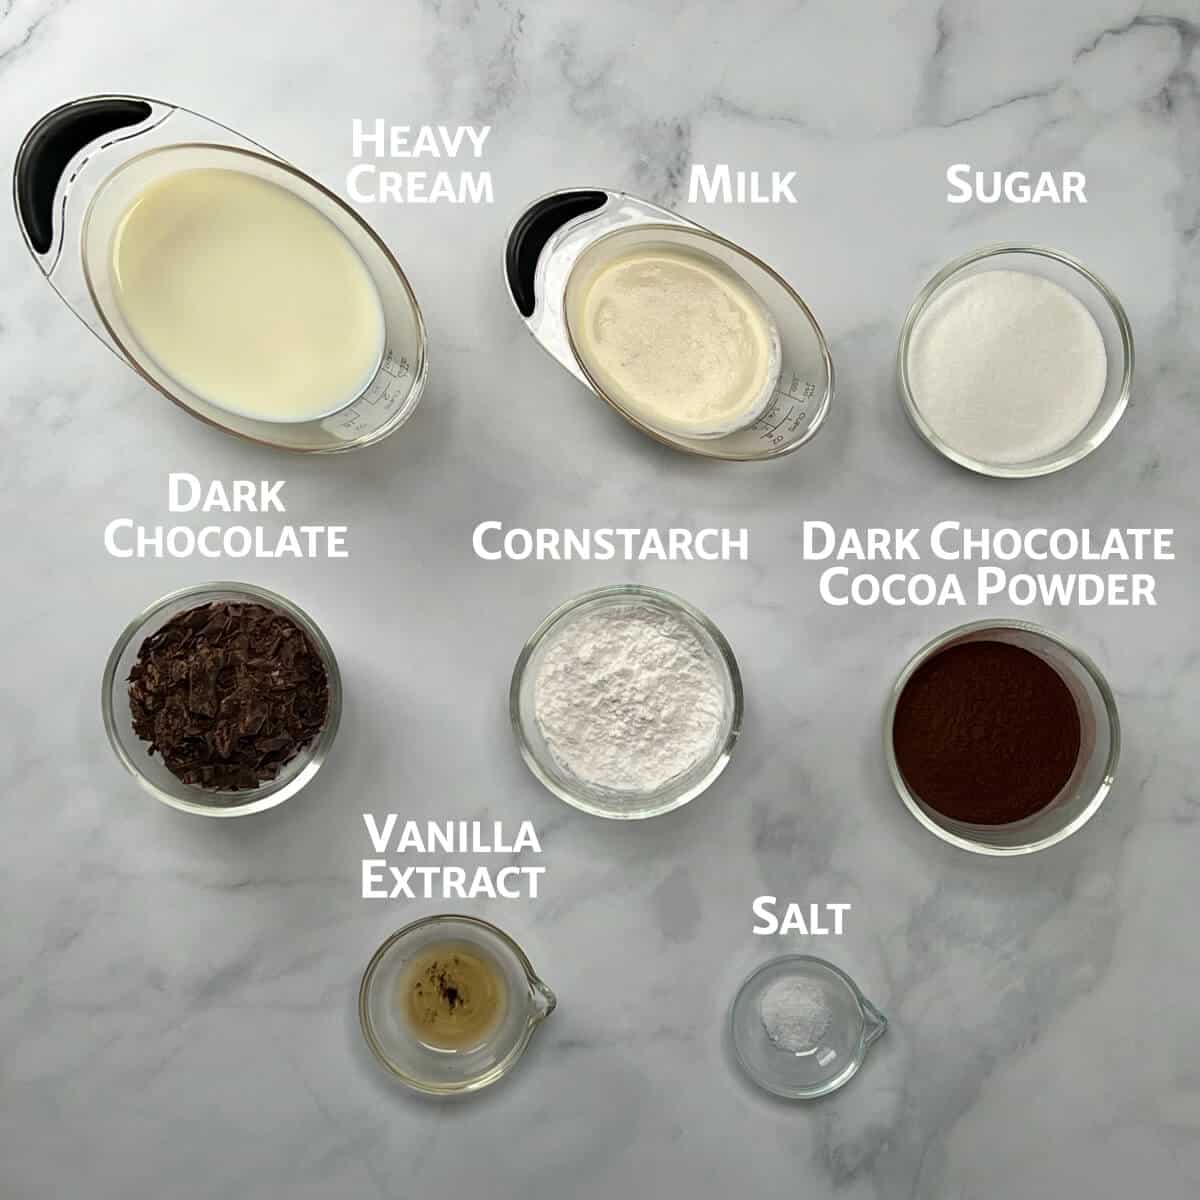
Ingredient Notes
This dark chocolate pudding recipe is essentially a thickened rich chocolate milk.
Chocolate: You'll use chocolate in two forms. Whatever type of chocolate you choose, use the best quality you can find.
- Dark chocolate: While I use dark chocolate (60 to 72% cacao, either as chocolate wafers or from a solid chocolate bar), semisweet chocolate will also work.
- Cocoa Powder: I use dark chocolate cocoa powder to really intensify the chocolate in my homemade chocolate pudding, like when I make brownies or hot fudge. You can reduce the intensity of the flavor by using regular
unsweetened cocoa powder.
Milk and heavy cream: While I like the 3 : 1 ratio of milk to heavy cream given in the recipe, you can use any combination of milk, half & half, and/or heavy cream you prefer. Bottom line, the more fat your dairy has, the richer the pudding will be.
Cornstarch: Since we're not making a custard that's thickened with egg yolks, cornstarch is used to thicken the pudding. While some pudding recipes include or exclusively use flour, cornstarch does the job without masking the taste of the finished product.
See the recipe card for a full list of ingredients and measurements.
How to make homemade chocolate pudding
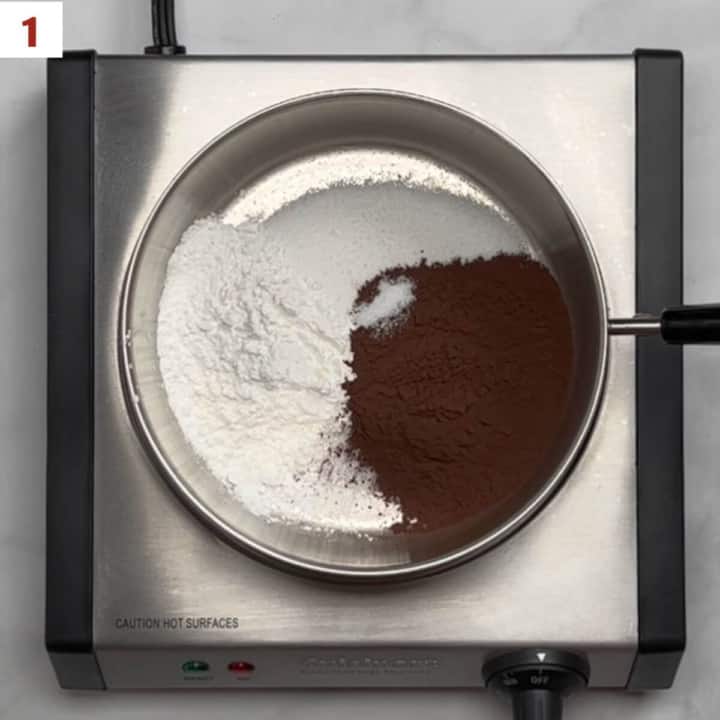
Step 1: Whisk the base ingredients
In a 3-quart heavy saucepan, whisk together the sugar, cornstarch, cocoa powder, and salt (photo 1). Sifting the cocoa powder first helps eliminate lumps for the next step.
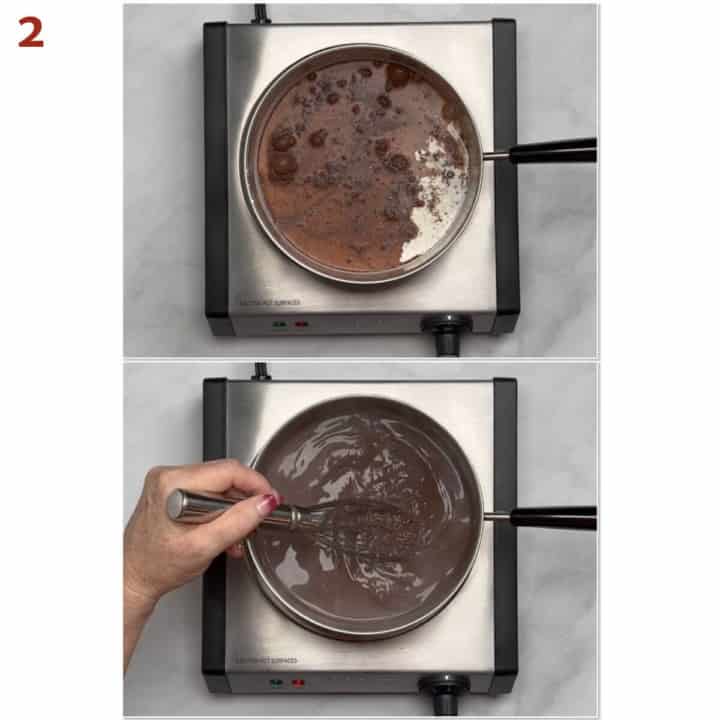
Slowly stream the milk and heavy cream into the sugar mixture, whisking to prevent lumps (photo 2).
Step 2: Cook the pudding
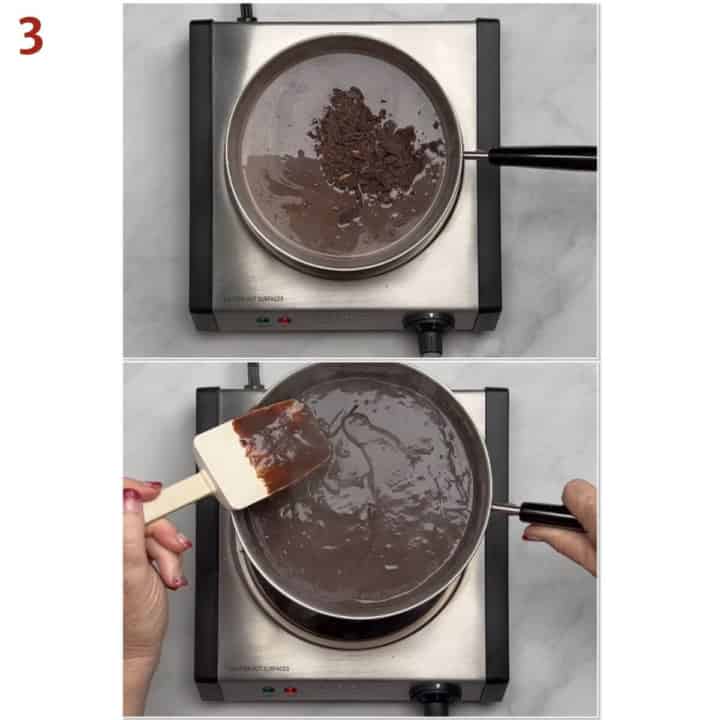
Heat the saucepan on medium high and whisk continuously until the chocolate milk mixture just starts to steam. Add in the dark chocolate wafers or chopped chocolate and continue stirring until the chocolate has melted and the pudding begins bubbling and has thickened enough that the whisk leaves visible trails that don't immediately disappear (photo 3).
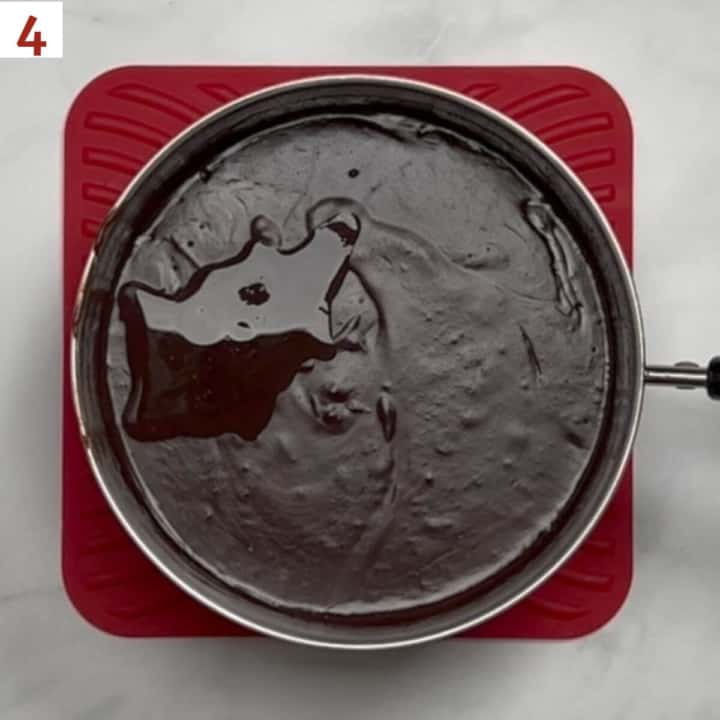
Remove the pudding from the heat and stir in the vanilla extract (photo 4).
Step 3: Portion into ramekins
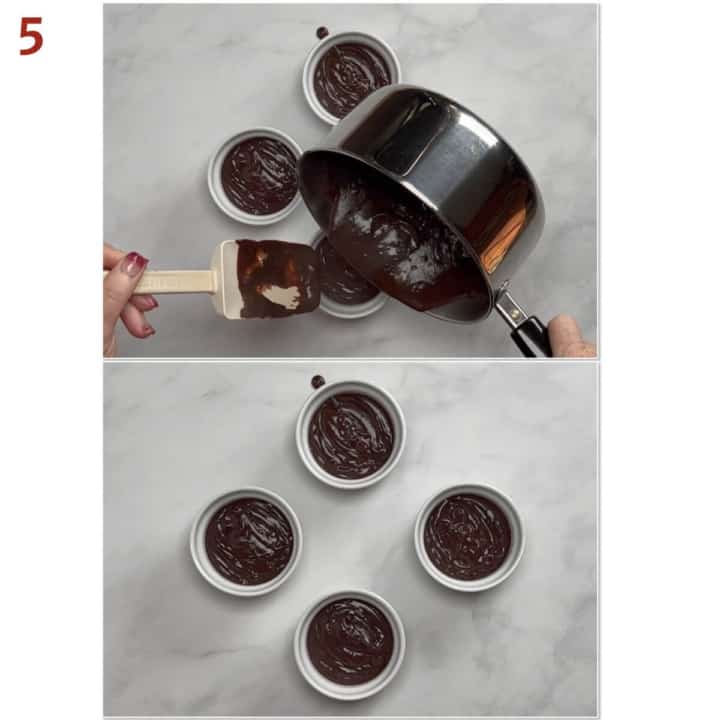
Pour the warm pudding into six 6-ounce ramekins (photo 5).
Cover with plastic wrap and refrigerate until the pudding is completely chilled, about 2 to 3 hours.
Skin or no skin?
That's up to you. If you don't like a skin forming on the top of the pudding, place the plastic wrap directly on the top of the pudding after you pour it into the ramekins. Personally, I kind of like having a thick layer to spoon through in order to get to the creamy center.
Storage information
Chocolate pudding will keep in the refrigerator, covered with plastic wrap, for 3 to 5 days.
Yield Notes
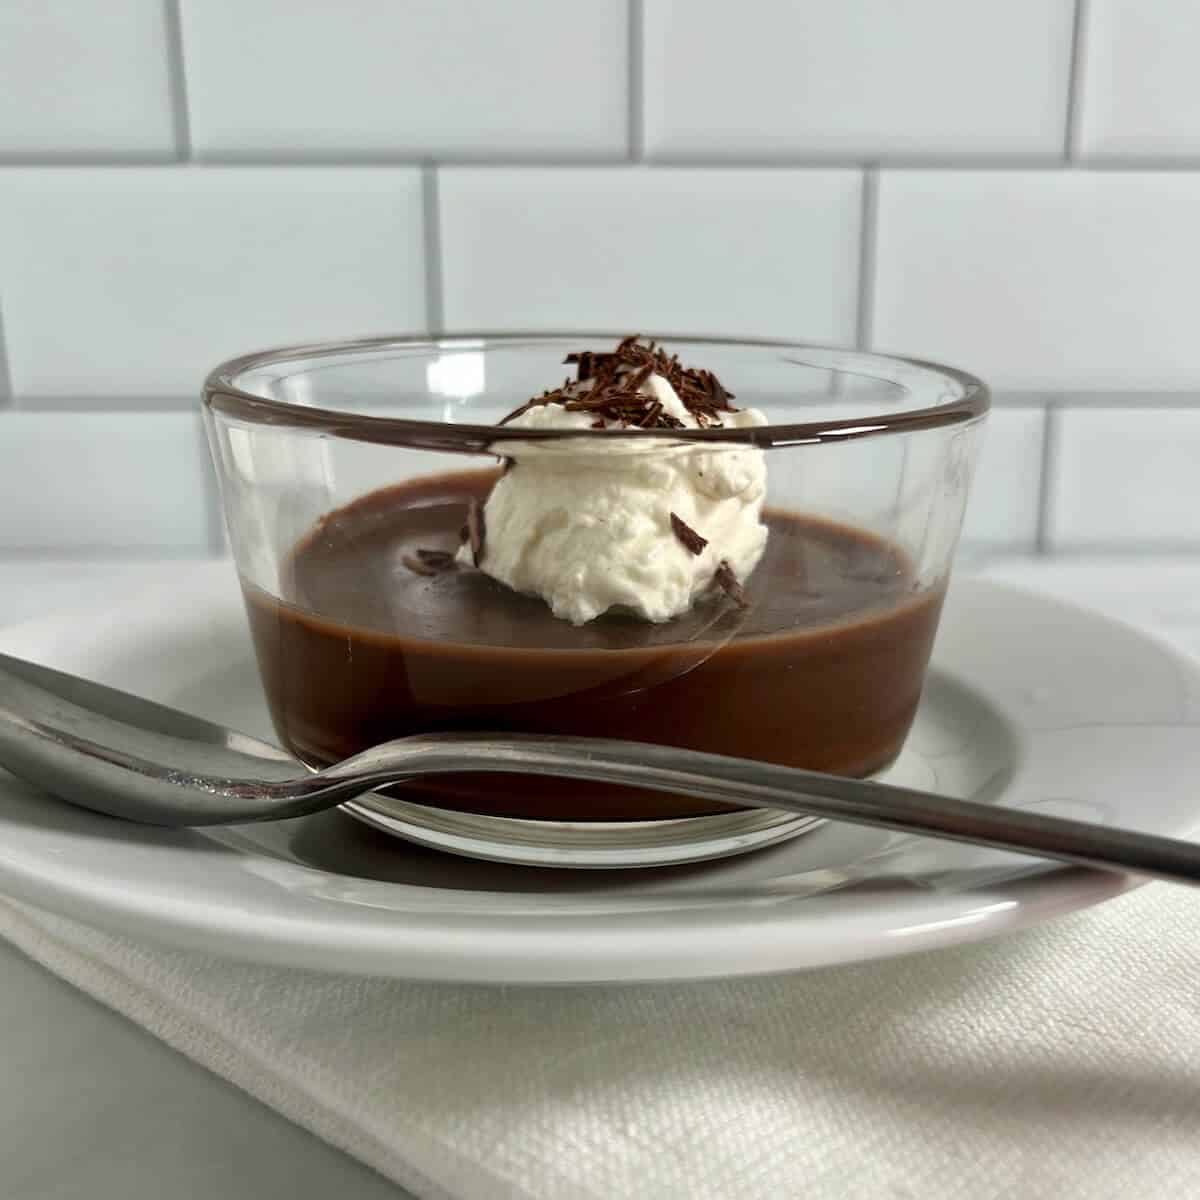
The recipe as written makes about 2½ cups (24 ounces), and is easily halved or doubled.
The number of servings will depend on the size of your ramekins. Use six 6-ounce ramekins filled a little over ½ full (about 4 ounces of pudding), or use 4-ounce ramekins for more servings.
Troubleshooting tips
Here are some issues you might encounter when making homemade chocolate pudding:
- Pudding isn't thickening: Keep cooking until it reaches a bubbling simmer. Cornstarch needs enough heat to fully thicken the pudding.
- Pudding is lumpy: Add the milk gradually while whisking, and sift the cocoa powder first. For stubborn lumps, strain the hot pudding before portioning.
- Pudding is too thick: Whisk in a splash of milk while it's still warm until it reaches the consistency you like.
- Pudding is too thin after chilling: It was likely removed from the heat too soon. Look for bubbling and noticeable whisk trails before taking it off the stove.
- A skin formed on top: Press plastic wrap directly against the warm pudding before chilling - unless you're Team Pudding Skin like me!
Questions asked and answered
Here are some questions you might have...
Whole milk gives chocolate pudding a creamy texture without making it too heavy. Adding half & half or heavy cream makes it richer,
while using lower-fat milk makes the pudding less rich.
Chocolate pudding doesn't need eggs because cornstarch can be used as the thickener instead, like with my eggless Vanilla Pudding. As the milk, heavy cream, and cornstarch cook, the mixture thickens into a smooth, creamy pudding without egg yolks or the extra step of tempering eggs.
Traditional chocolate custards rely partly or entirely on egg yolks for thickening, which means the eggs have to be carefully tempered into the hot milk (like with pastry cream or ice cream). Because this pudding uses cornstarch instead, everything cooks right in the saucepan - no tempering, curdled eggs, or straining required.
Yes! Homemade chocolate pudding can be served warm or chilled. Warm pudding will have a softer, looser consistency, while chilling allows the cornstarch-thickened pudding to fully set for a thicker, creamier texture.
Didn't find the answer you're looking for?
Ask AI to answer for this specific recipe:
Disclaimer: I am not responsible for the quality of AI information

I hope you like this recipe! Let me know if you have any questions, and don't forget to leave a comment and rating. Thanks!
Slainté! L'chaim! Cheers!
- Tammy

Recipe
Homemade Dark Chocolate Pudding (No Eggs)
Equipment
- 2-quart heavy saucepan
Ingredients
- ½ cup granulated sugar
- 3 tablespoons cornstarch
- ¼ cup dark chocolate cocoa powder, sifted, see Recipe Notes
- ⅛ teaspoon kosher salt
- 1½ cups milk, see Recipe Notes
- ½ cup heavy cream, see Recipe Notes
- 2 ounces dark chocolate wafers, or solid dark chocolate, chopped (⅓ cup), see Recipe Notes
- 1 teaspoon pure vanilla extract
- whipped cream, for garnish
- dark chocolate shavings or cocoa powder, for garnish
Instructions
- In a large heavy saucepan, whisk together ½ cup granulated sugar, 3 tablespoons cornstarch, ¼ cup dark chocolate cocoa powder, and ⅛ teaspoon kosher salt. Sifting the cocoa powder first helps eliminate lumps for the next step.
- Slowly stream 1½ cups milk and ½ cup heavy cream into the sugar mixture, whisking to prevent lumps. Heat the saucepan on medium high, whisking continuously, until the chocolate milk mixture just starts to steam.
- Add 2 ounces dark chocolate wafers or chopped chocolate and continue stirring until the chocolate has melted and the pudding begins bubbling and has thickened enough that the whisk leaves visible trails that don't immediately disappear.
- Remove the pudding from the heat and stir in 1 teaspoon pure vanilla extract.
- Pour the warm pudding into 6 6-ounce ramekins. Place plastic wrap directly onto the pudding if you want to prevent a skin from forming.
- Refrigerate until the pudding is completely chilled, about 2 to 3 hours.
- When you're ready to serve, use a vegetable peeler to make small chocolate shavings for the garnish.
- Top each pudding with whipped cream and dark chocolate shavings or cocoa powder (sifted). Serve and enjoy!
- Storage instructions: Pudding will keep in the refrigerator, covered with plastic wrap, for 3 to 5 days.
- Yield Notes: The recipe as written makes about 2½ cups (24 ounces), and is easily halved or doubled.The number of servings will depend on the size of your ramekins. Use six 6-ounce ramekins filled a little over ½ full (about 4 ounces of pudding), or use 4-ounce ramekins for more servings.


Marsha Robertson says
Okay. This was fabulous. I don’t make pudding with a mix since I was in college. I loved the process of watching milk, flour (which is what I used), good cocoa, and good chocolate become something entirely different. This time was special. The texture of this pudding was so luxurious. The six servings of chocolate pudding are now chilling in the fridge. I decorated the pudding with a whole marshmallow.
Thank you for a tremendous recipe.
Tammy Spencer says
Hi Marsha, I’m so glad you like this! The marshmallow on top sounds very cute. Thanks for sharing, and enjoy! 🙂