
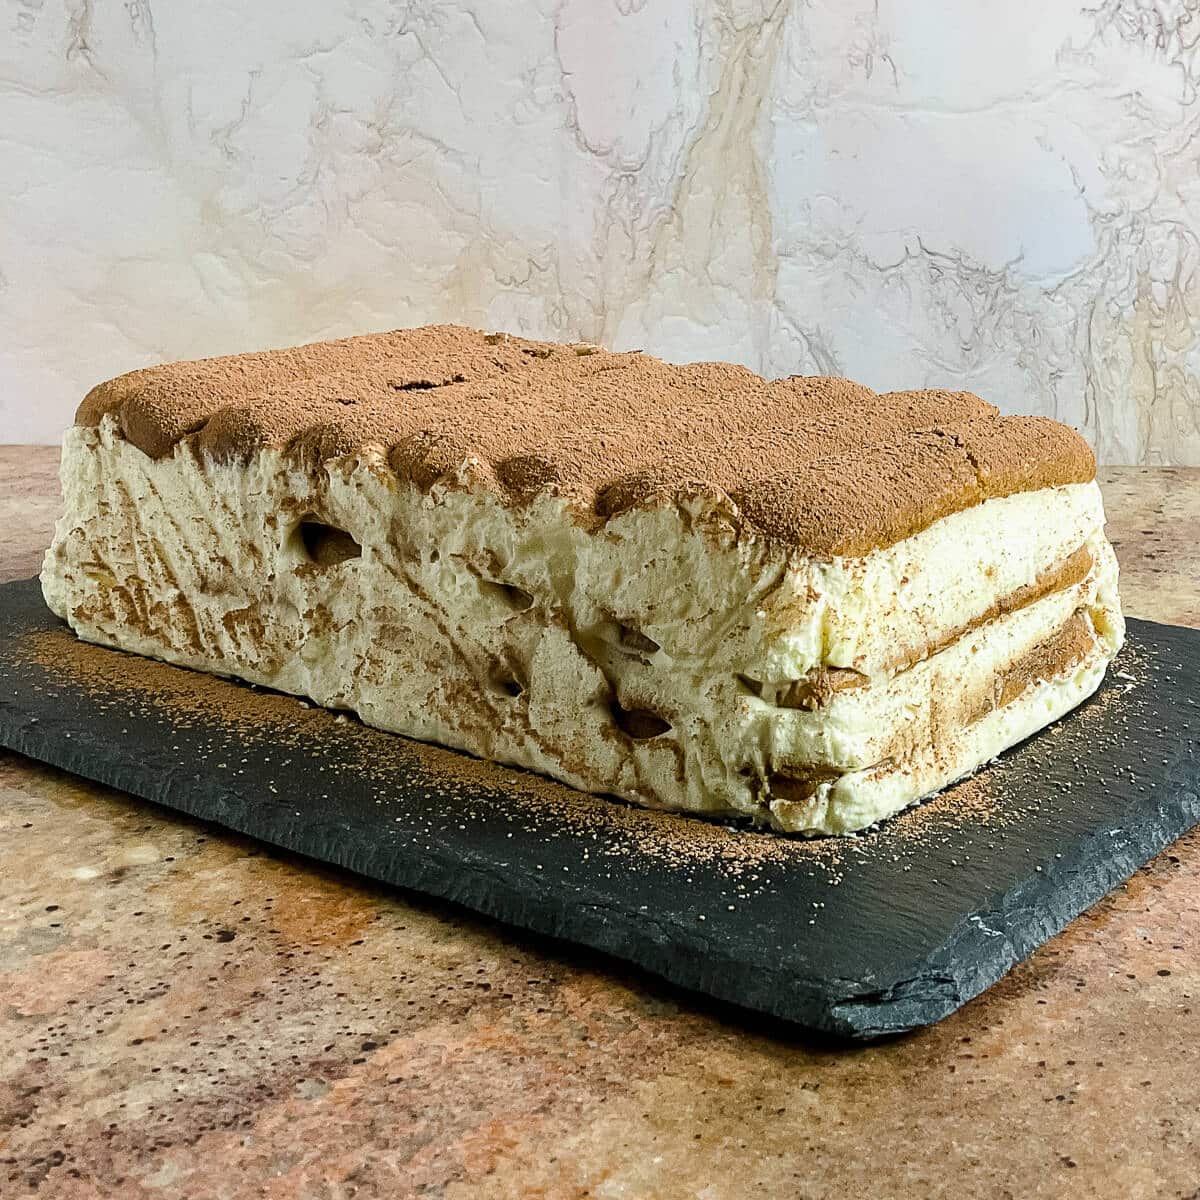
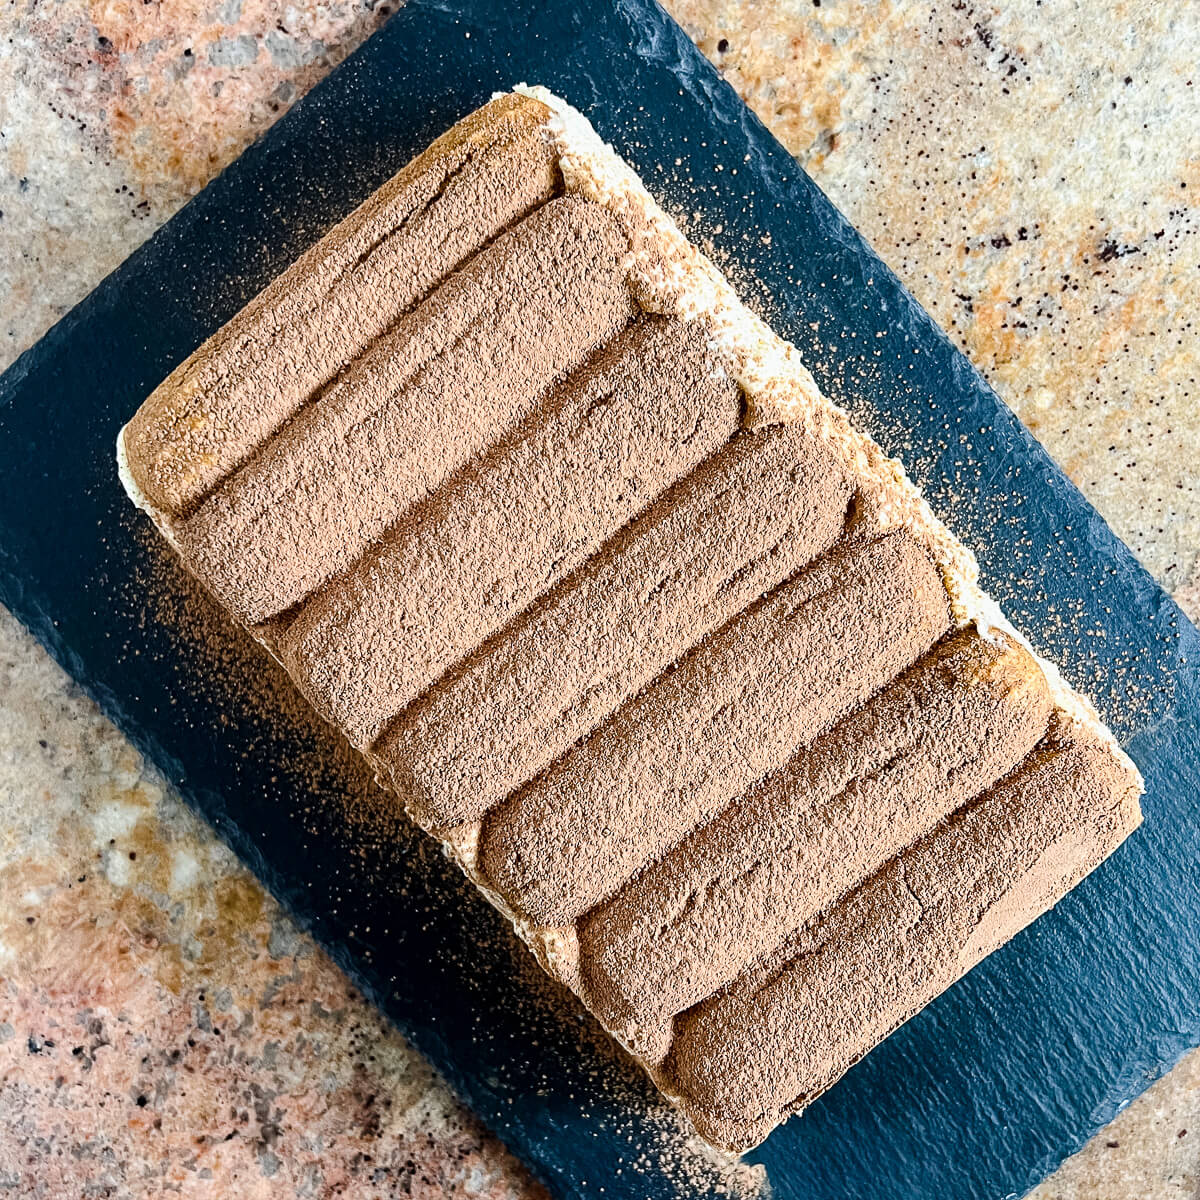
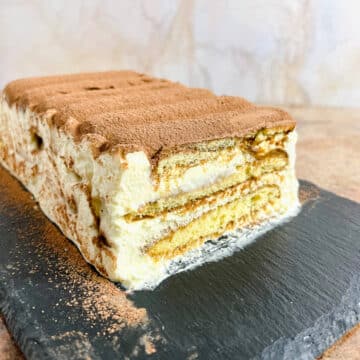
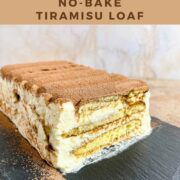
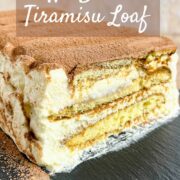
This is tiramisu made in a loaf pan and inverted onto a platter, making it easier to layer and slice. A no-bake tiramisu loaf can be made with or without alcohol, and is a creamy, dreamy, delicious dessert!

Jump to:
Why this recipe works
- An elegant no-bake dessert with a smooth, silky mascarpone cream filling between layers of boozy espresso-soaked ladyfingers
- Made in a loaf pan, this small batch tiramisu is easy to slice and serve
- The egg yolks are cooked and the alcohol can be omitted for a non-alcoholic tiramisu that's pregnancy- and children-friendly
When you want an elegant dessert, and don't want to turn on the oven, a no-bake tiramisu is the answer!
Normally, tiramisu is made in a baking pan and served in squares. However, making it in a loaf pan allows this tiramisu loaf to be inverted onto a platter, making serving cleaner and easier.
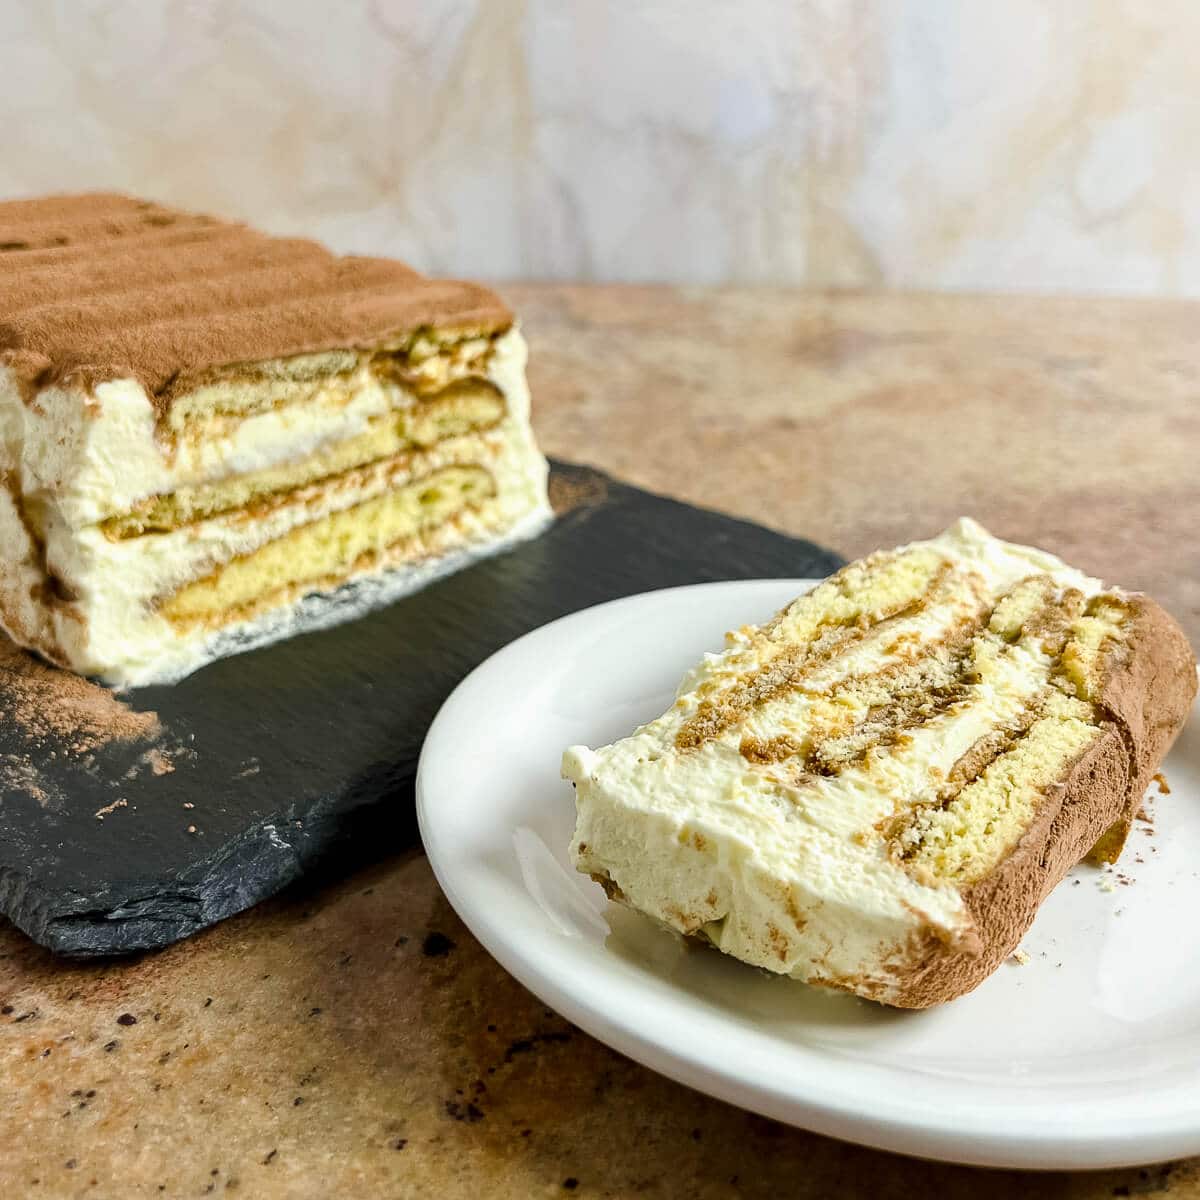
This tiramisu loaf is a creamy, dreamy, treat. The espresso-soaked ladyfingers form the framework of the layers, but the real star is the sweet mascarpone cream. The cocoa powder sprinkled on top adds a hint of rich chocolate tartness (and dryness, if you inhale it by accident!), adding a counterpoint to all that sweetness.
When the components for the mascarpone cream are made in patient steps, the tiramisu itself comes together quite easily. And layering the ladyfingers in the loaf pan is easy - no cutting them to fit.
Perfect for any time of year (especially summer!), I highly recommend you make a tiramisu loaf when you want to impress and delight your guests. Valentine's Day, Mother's Day, Father's Day, Christmas dinner, or just a special celebration will all be enhanced by this delicious dessert!
If you want an easy, finger-friendly version of tiramisu, try my No-Bake Tiramisu Truffles. All the flavor of the classic Italian dessert wrapped in a decadent chocolate shell, and you don't need a spoon.
⭐⭐⭐⭐⭐
Normally I'm not a fan of tiramisu, but after a recent visit to Italy where I had some amazing tiramisu, I thought I'd give this a try and wow! This did not disappoint! The texture was perfect and the flavour was perfectly balanced. I think we actually enjoyed this version even more than the "original recipe" we had in Italy!!
- Ella
Recipe Ingredients
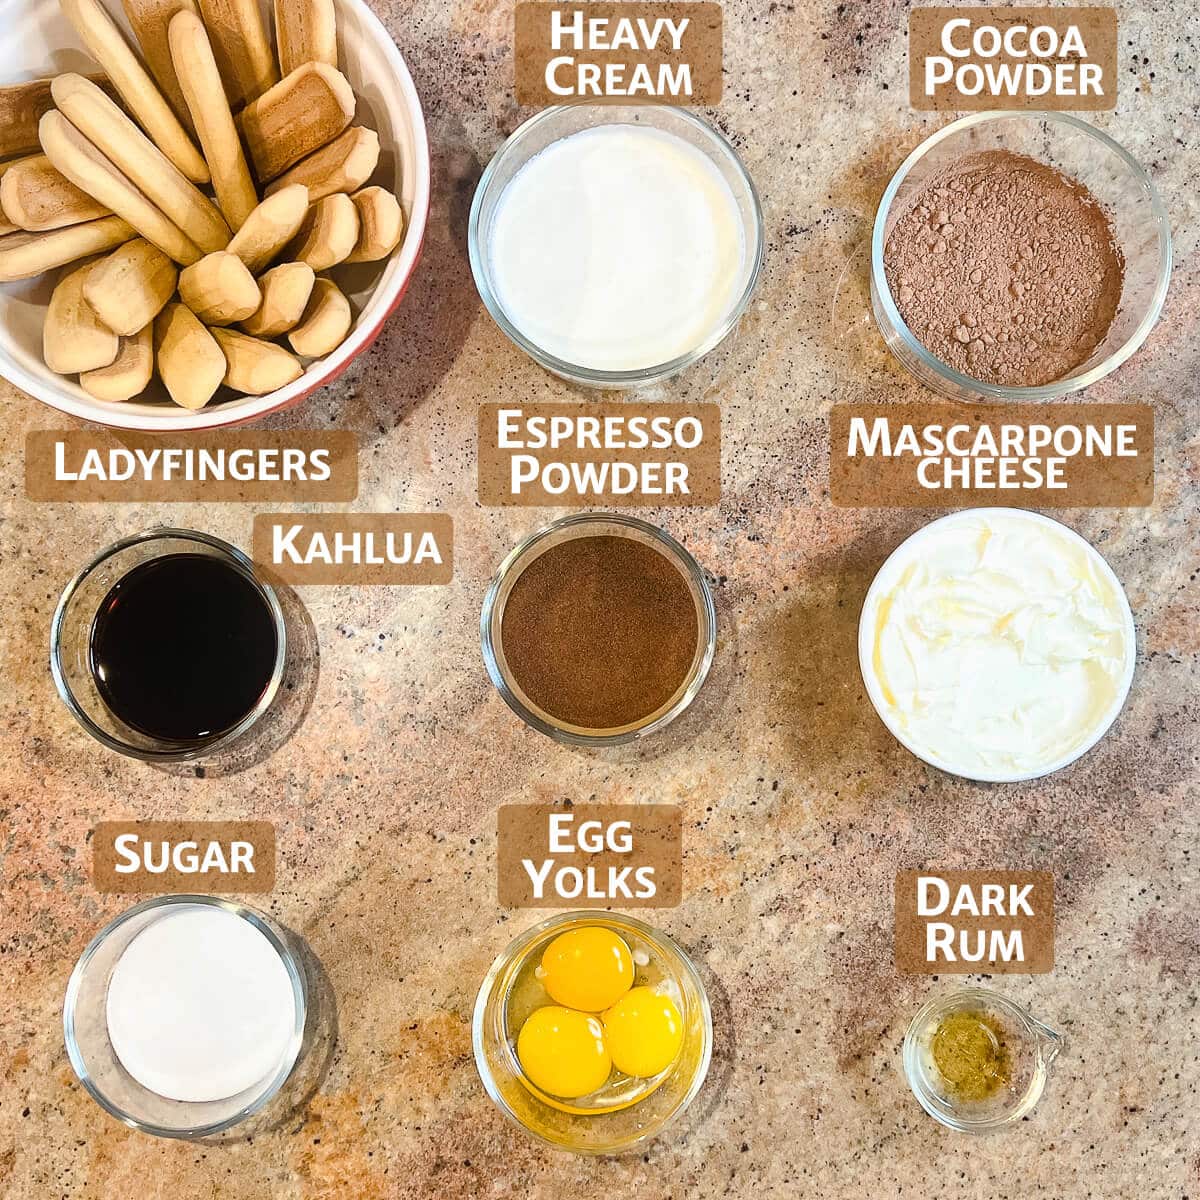
You'll need the following ingredients to make this tiramisu recipe:
Ingredient Notes
Ladyfingers: A classic ingredient for tiramisu, ladyfingers (aka savoiardi or sponge fingers) are long, thick sponge cookies, with a texture that lies between sponge cake and biscotti. For this tiramisu recipe, use the crunchy kind of ladyfingers (not the soft ones). They'll soak up the espresso dip well, yet will help keep the overall structure of the dessert. In the US these usually come in a pacakge of 24, which is the perfect amount for this recipe.
Mascarpone cheese: Another classic ingredient, mascarpone is a silky, spreadable Italian cheese similar to American cream cheese (without the tangy flavor). See below for possible mascarpone substitutions.
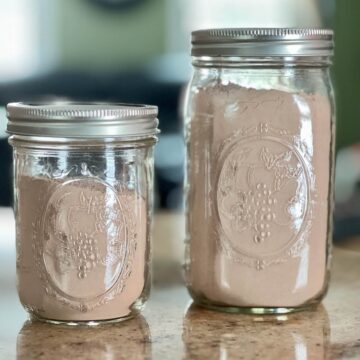
Espresso powder: Mixed with water, espresso powder makes for a very strong liquid used to flavor and soften the ladyfingers. You can also use 1¼ cups strongly brewed espresso or very strong black coffee instead.
Egg yolks: For the mascarpone cream, egg yolks and sugar are whipped together while heating over a double boiler, similar to how you cook the egg yolks in hollandaise sauce (except using sugar instead of butter). The result is a light, thick mixture known as sabayon.
Ok, technically sabayon (or zabaglione, in Italian) also includes a sweet wine. But the cooked base is the same method used in this tiramisu recipe, so I'm going to go ahead and call the cooked-egg-yolk-and-sugar-mixture a sabayon anyway.
The point is that if you make the non-alcoholic version, this use of egg yolks is pregnancy-friendly because the egg yolks are cooked, not raw.
Kahlua: This coffee liqueur gives the tiramisu a boozy kick. Grand Marnier or dark rum can also be used in the espresso dip.
For a kid- and pregnancy-friendly tiramisu, you can make an alcohol-free version of tiramisu (actually, that's how it's traditionally prepared in Italy). Just omit the Kahlua (or dark rum or Grand Marnier) in the espresso dip and replace the dark rum in the mascarpone cream with milk.
See the recipe card for a full list of ingredients and measurements.
Substitutions for mascarpone
Mascarpone cheese may not be easy to find, and might also be pricey. While not perfect substitutes, cream cheese and crème fraîche can be doctored up to replace the mascarpone cheese in this tiramisu recipe. Here are two options to try [Source: Real Simple]:
- Cream cheese: The best alternative to mascarpone is to mix together 12 ounces (336 grams or 1½ blocks) cream cheese (at room temperature), ¼ cup (60 grams) heavy whipping cream, and ¼ cup (60 grams) sour cream.
- Crème fraîche: Mix 8 ounces (227 grams) of crème fraîche with ¼ cup (50 grams) of granulated sugar.
Both of these hacks cut down on the tanginess of the cream cheese and crème fraîche in order to mimic the sweet creaminess of mascarpone.
How to make tiramisu loaf
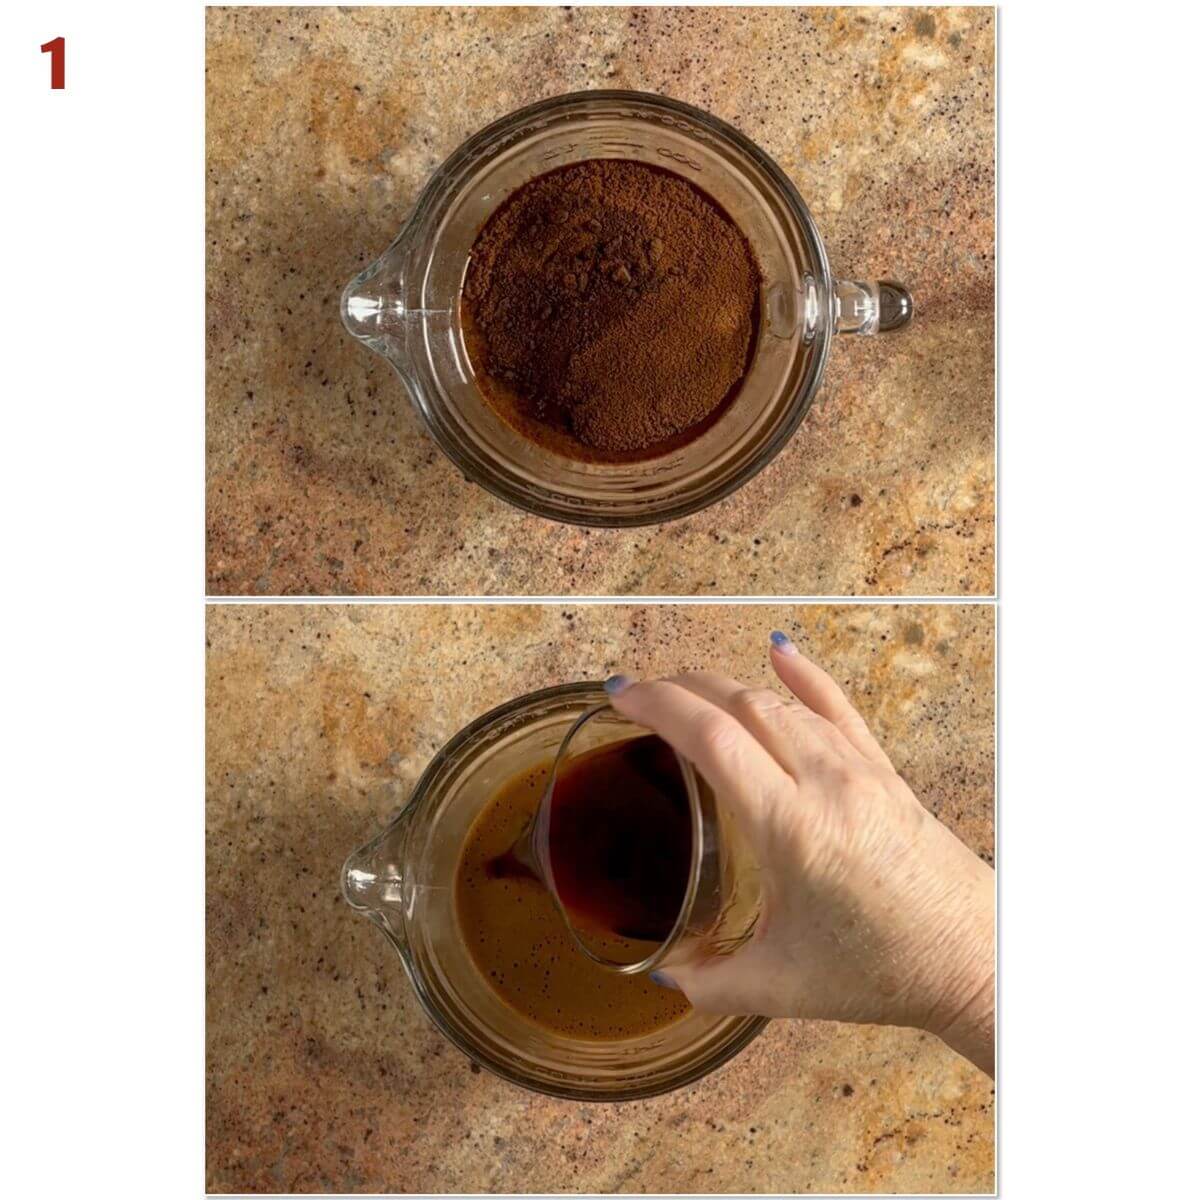
Step 1: Make the espresso dip
Stir the espresso powder into the hot water, then allow to cool to room temperature. Once cooled, stir in the Kahlua, dark rum or Grand Marnier (photo 1).
Pour the dipping mixture into a 9-inch pie pan and set aside.
Step 2: Make the mascarpone cream
Mascarpone cream consists of 3 elements: sabayon (a cooked egg yolk and sugar mixture), spiked whipped mascarpone cheese, and whipped cream.
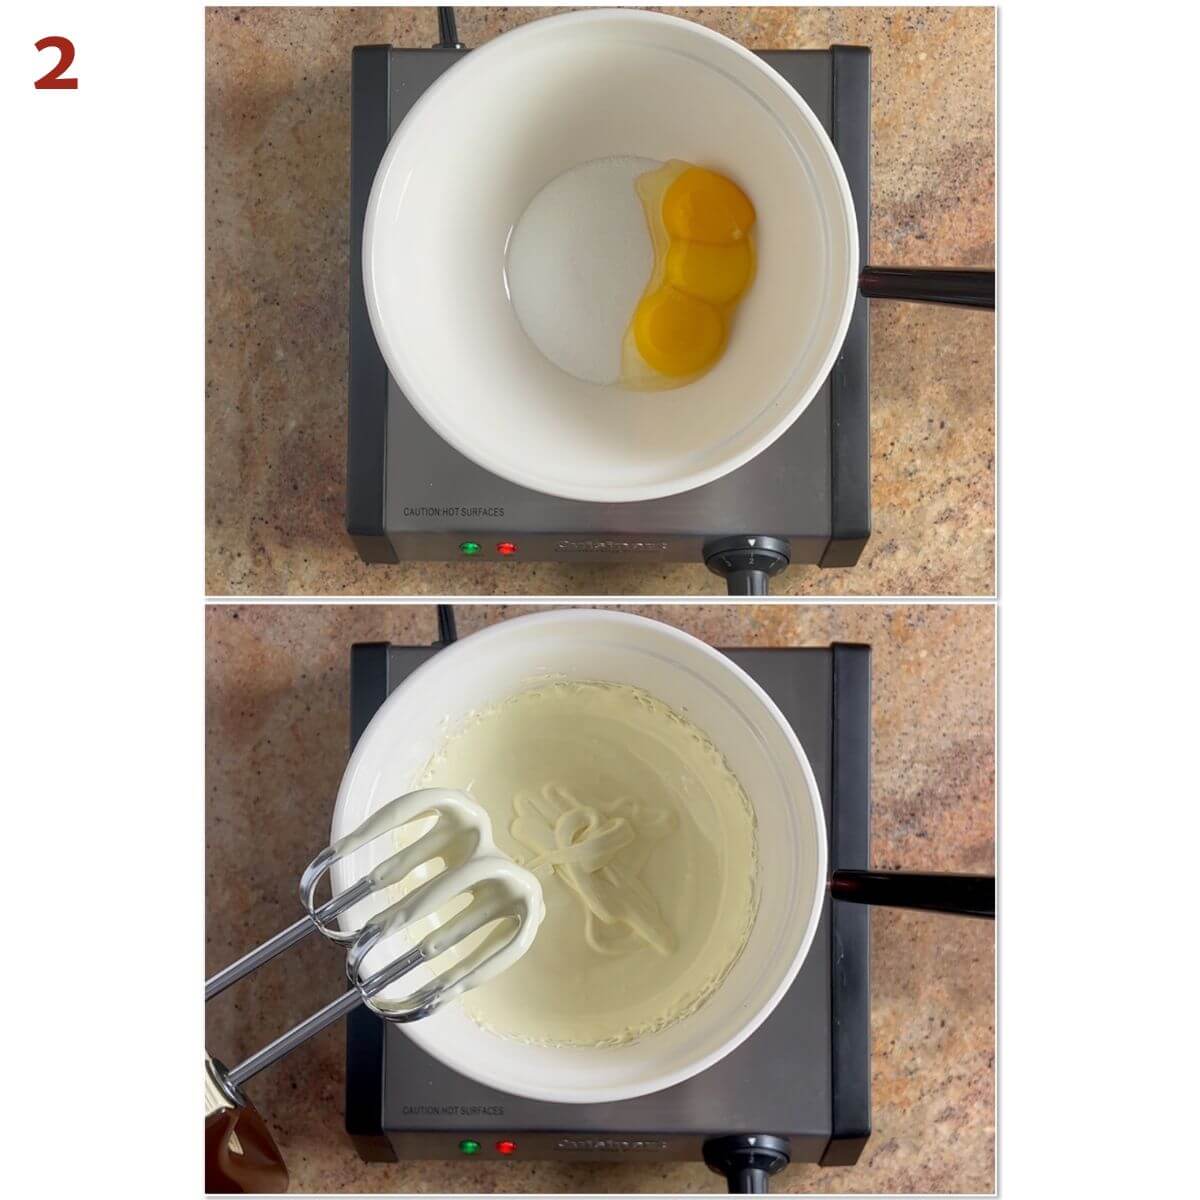
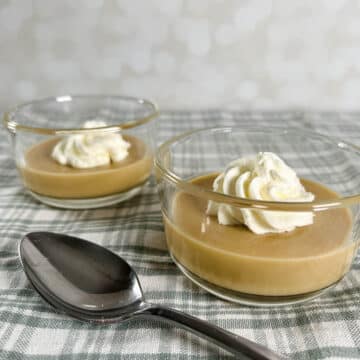
Element 1: Sabayon
Pour 2-inches of water into a saucepan (or bottom of a double boiler) and bring to a simmer over medium-low heat. Using a heat-proof bowl making sure the bottom of the bowl isn't touching the water (or use the top of the double boiler), beat the sugar and egg yolks with a hand mixer on medium-high.
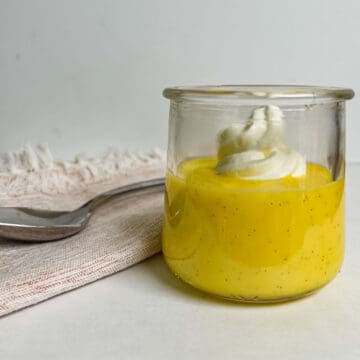
When the mixture is pale yellow, has tripled in volume, and falls back in thick ribbons when the beaters are lifted, the sabayon is ready, about 5 to 7 minutes (photo 2).
Remove the bowl from the heat and whisk the sabayon for a few minutes off the heat to help it cool down, then set aside to cool further.
Element 2: Whipped mascarpone
In a large bowl, beat together the mascarpone and the dark rum just until smooth.
Add the warm sabayon to the mascarpone mixture and beat until combined (photo 3). Don't over-whip or the mixture can curdle.

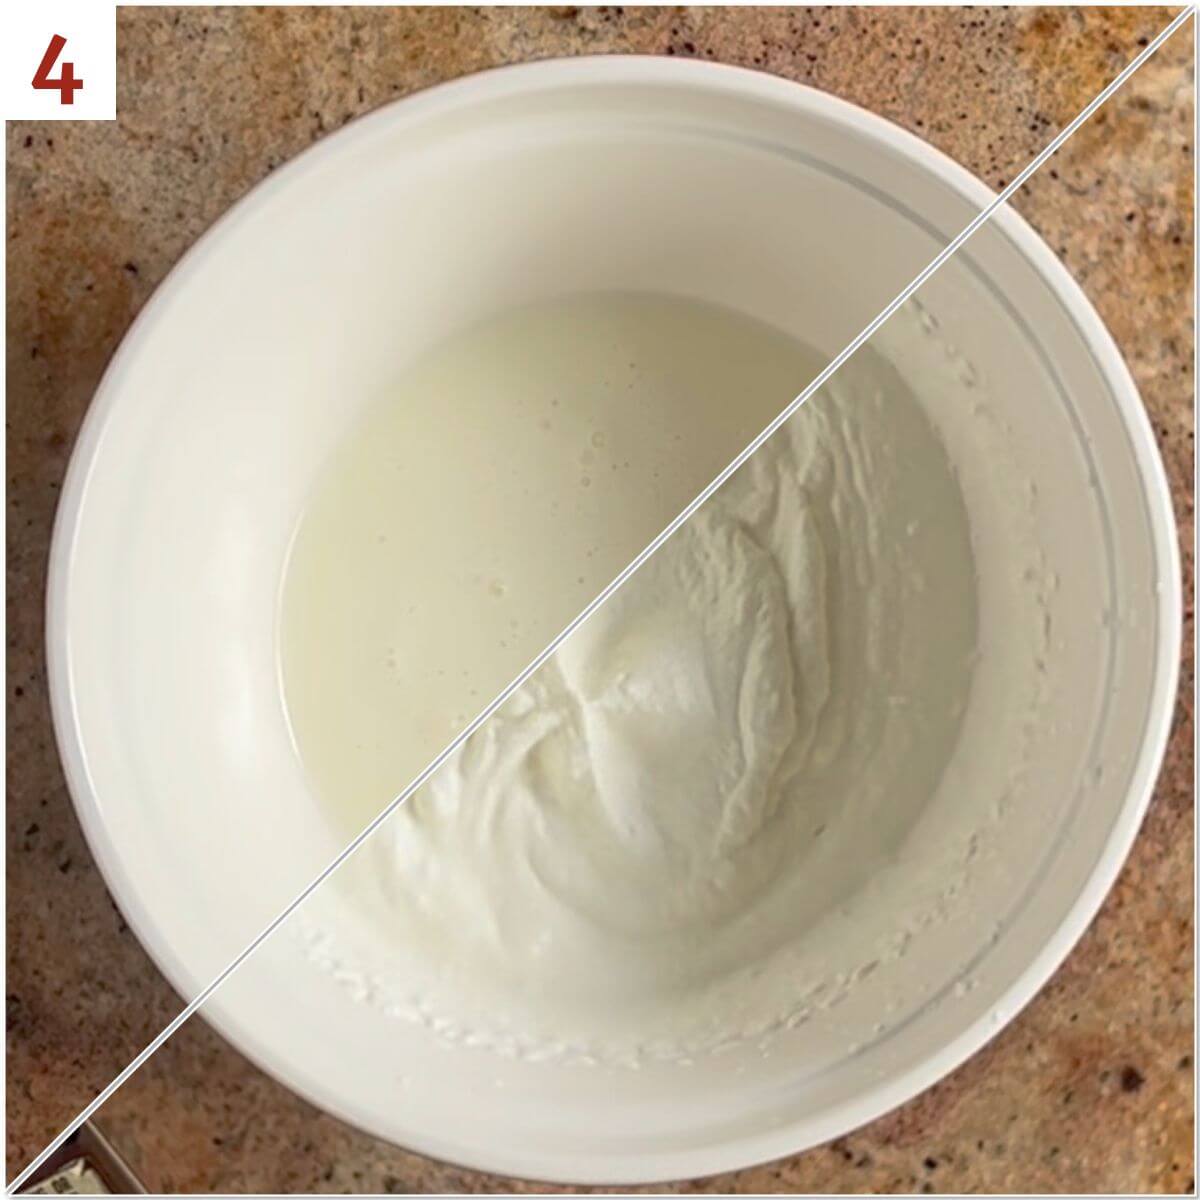
Element 3: Whipped cream
In a separate bowl and using clean beaters, beat the chilled heavy cream starting on low speed, then increasing to medium speed, just until stiff peaks form (photo 4). Beating heavy cream slowly will help it remain more stable without turning watery.
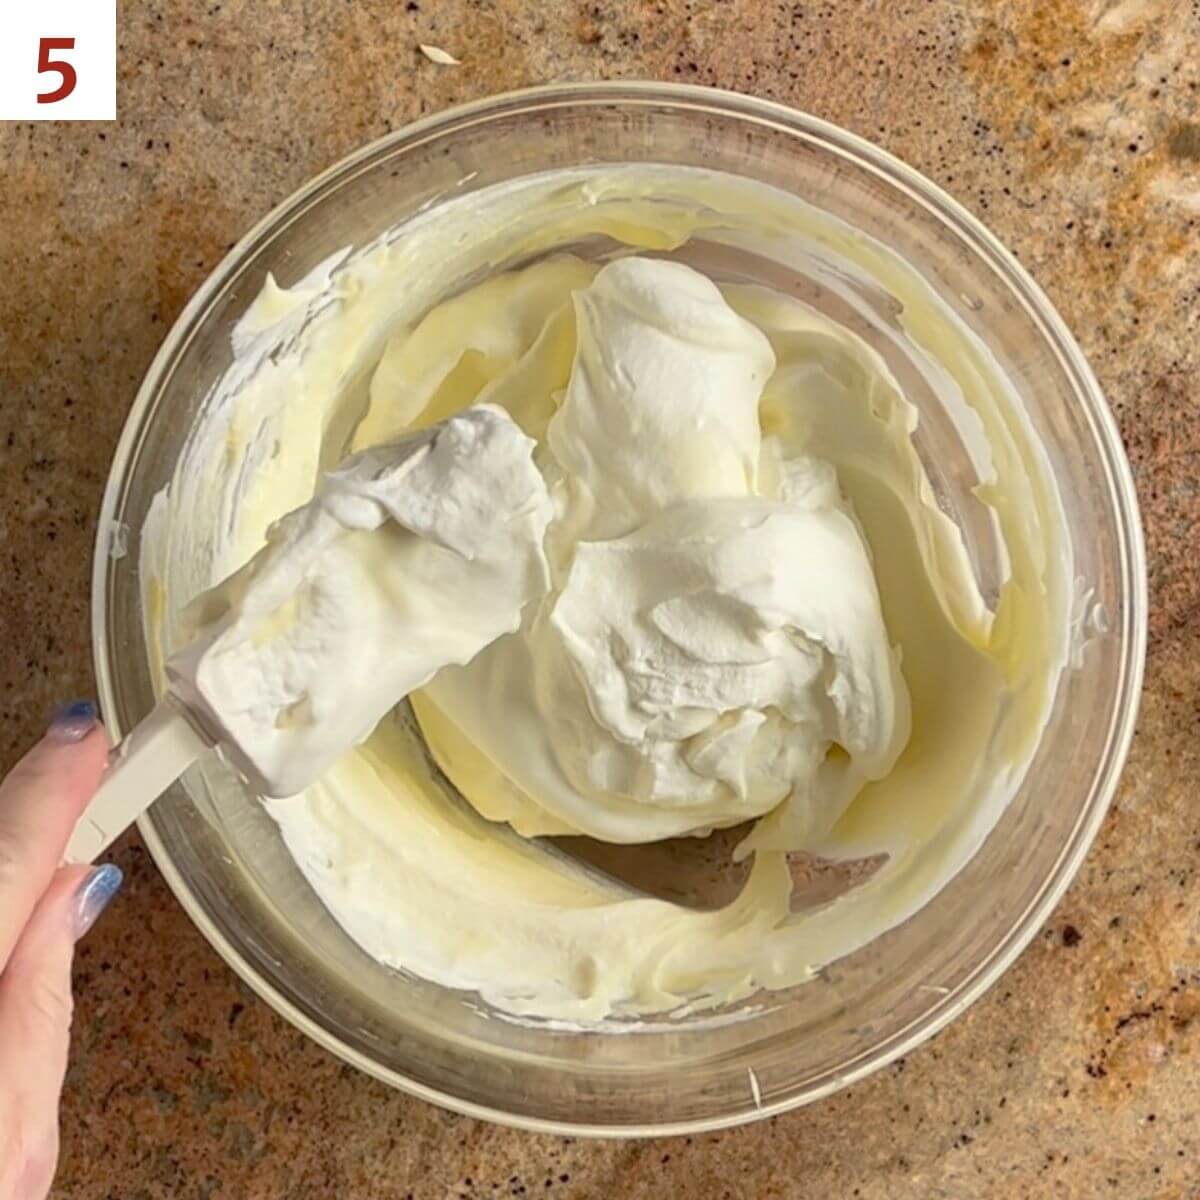
Fold the whipped cream into the mascarpone mixture, half at a time. Again, don't over mix (photo 5).
Step 3: Assemble the tiramisu loaf
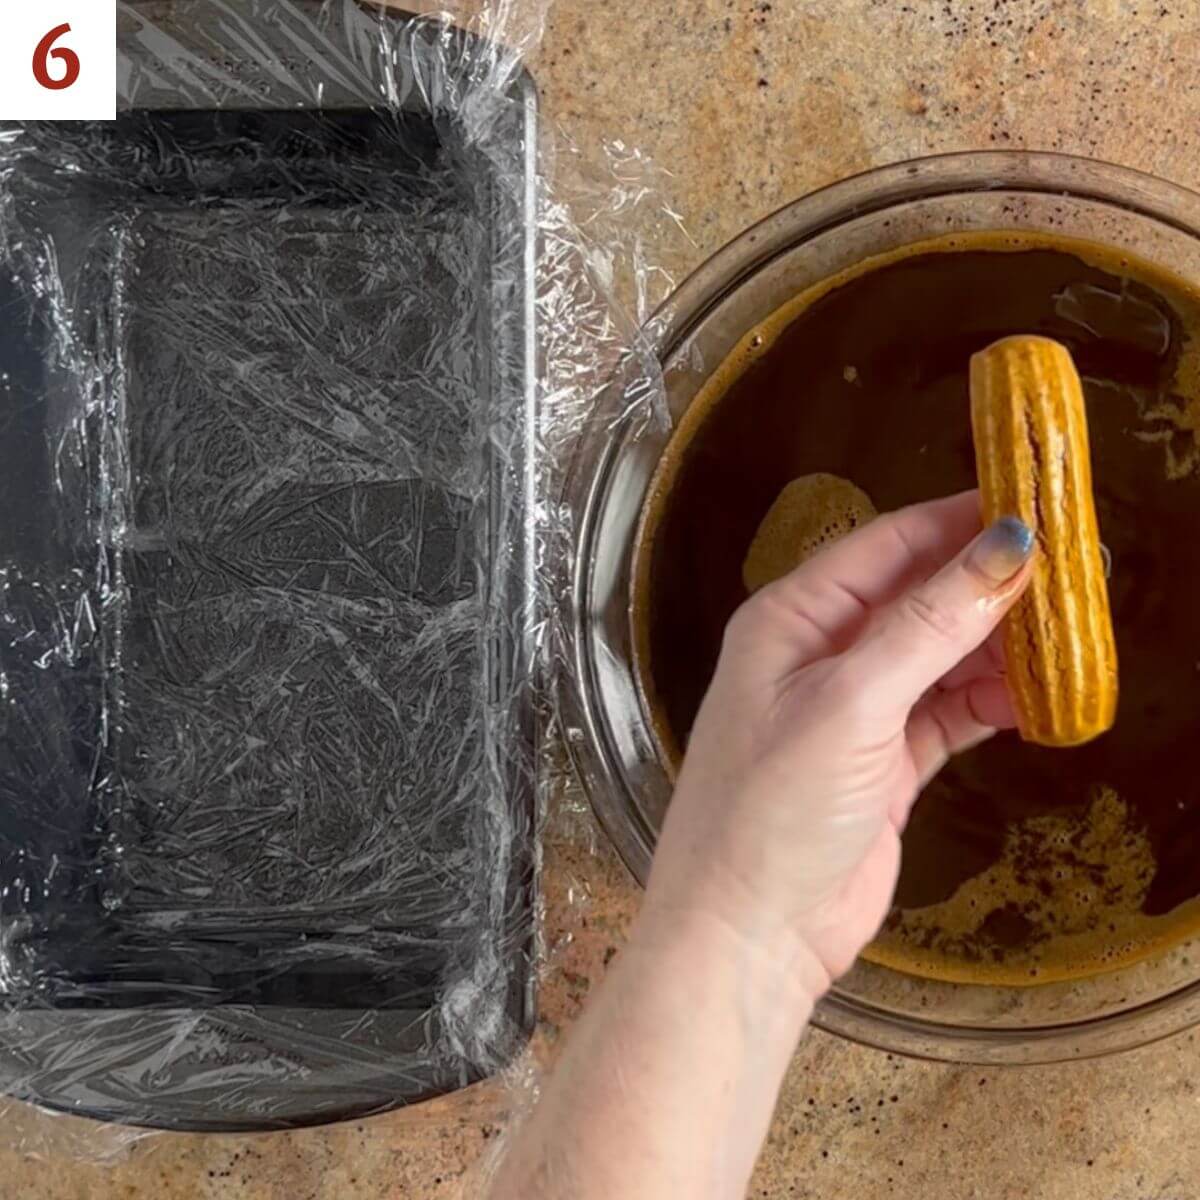
Lightly spray a standard loaf pan with canola oil spray, then line with plastic wrap, leaving plenty of overhang to wrap around the tiramisu later.
For the first layer, take 8 ladyfingers and, one at a time, quickly dip each side into the espresso mixture just long enough for it to soften, 1 to 2 seconds per side. Place them in the prepared pan as you go (photo 6). You want the ladyfingers wet but not soggy, so don't dawdle!
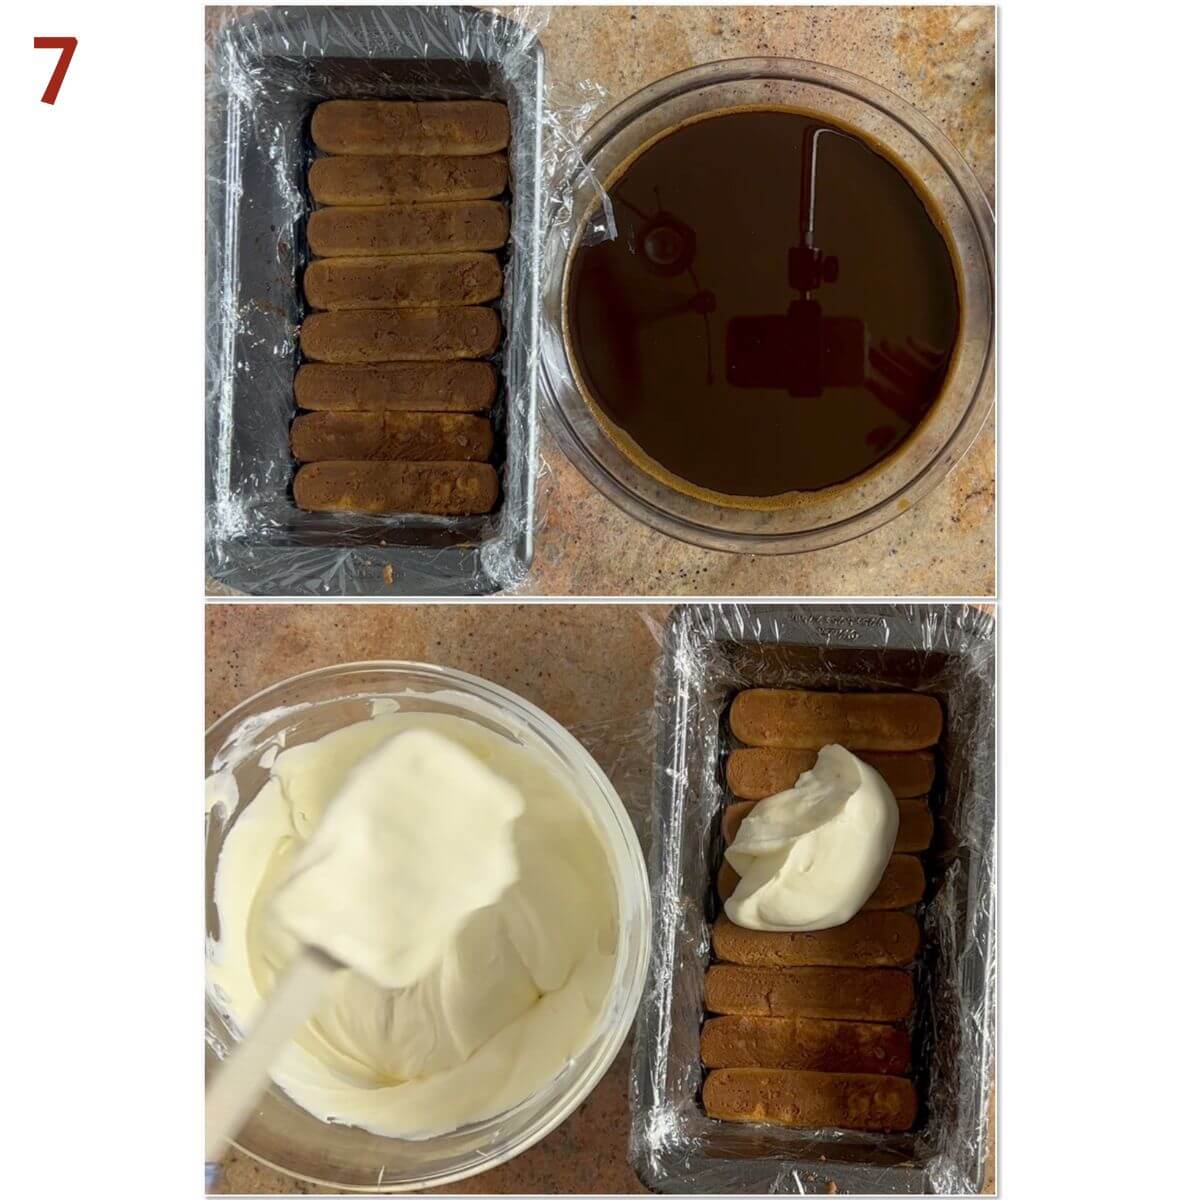
Lay the 8 dipped ladyfingers face down across the bottom of the prepared pan so that they are parallel to the short side of the pan, crowding them together if necessary.
Spread ⅓ of the mascarpone cream over them, smoothing the cream out with a small offset spatula (photo 7).
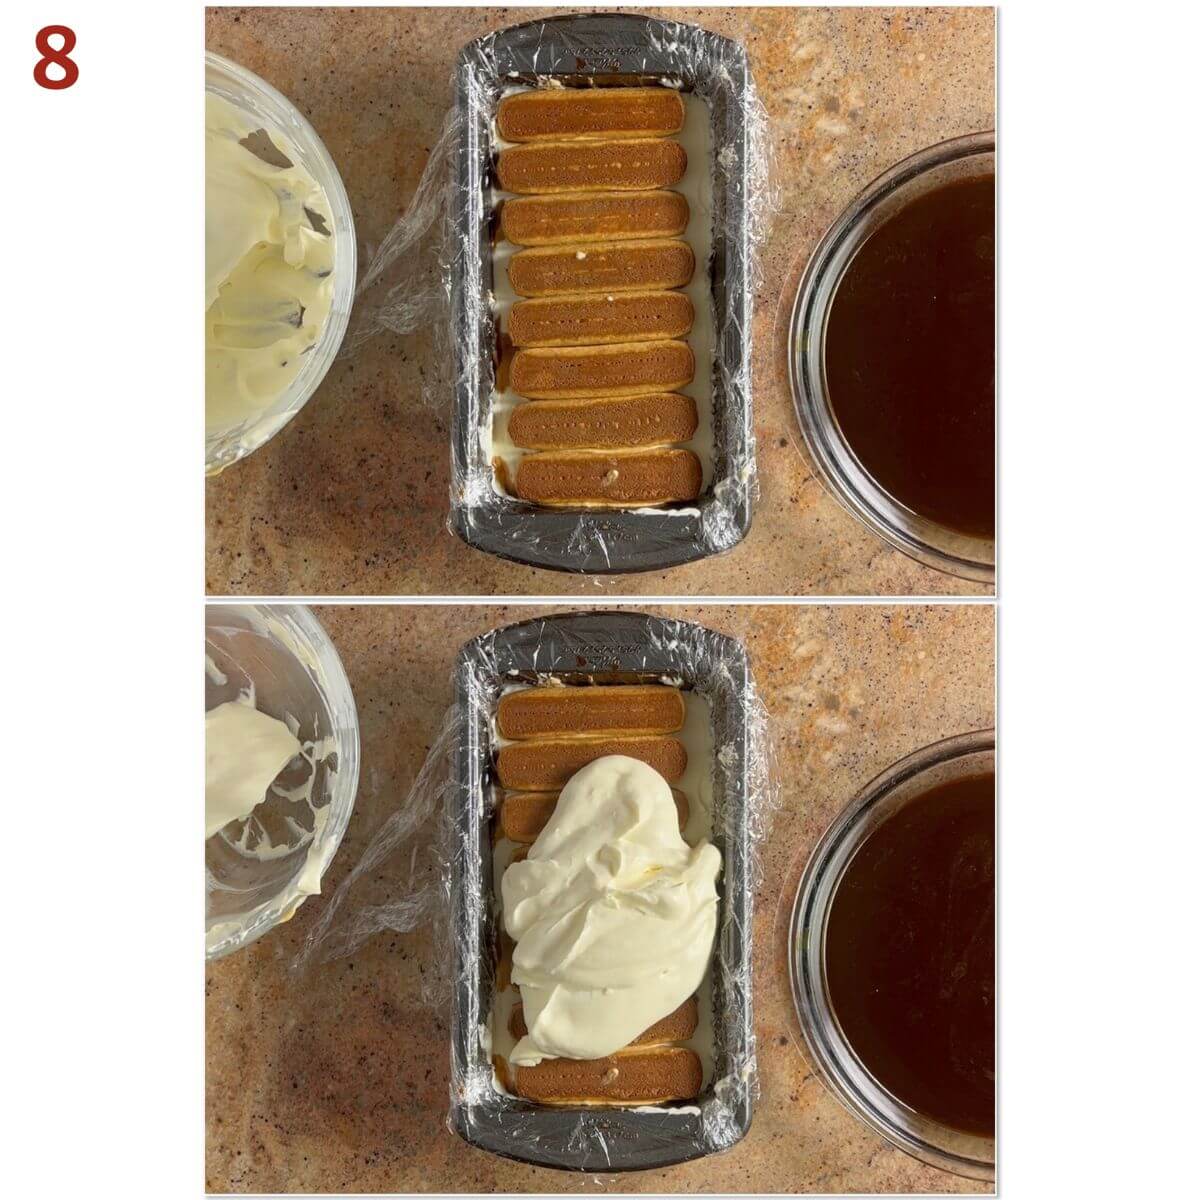
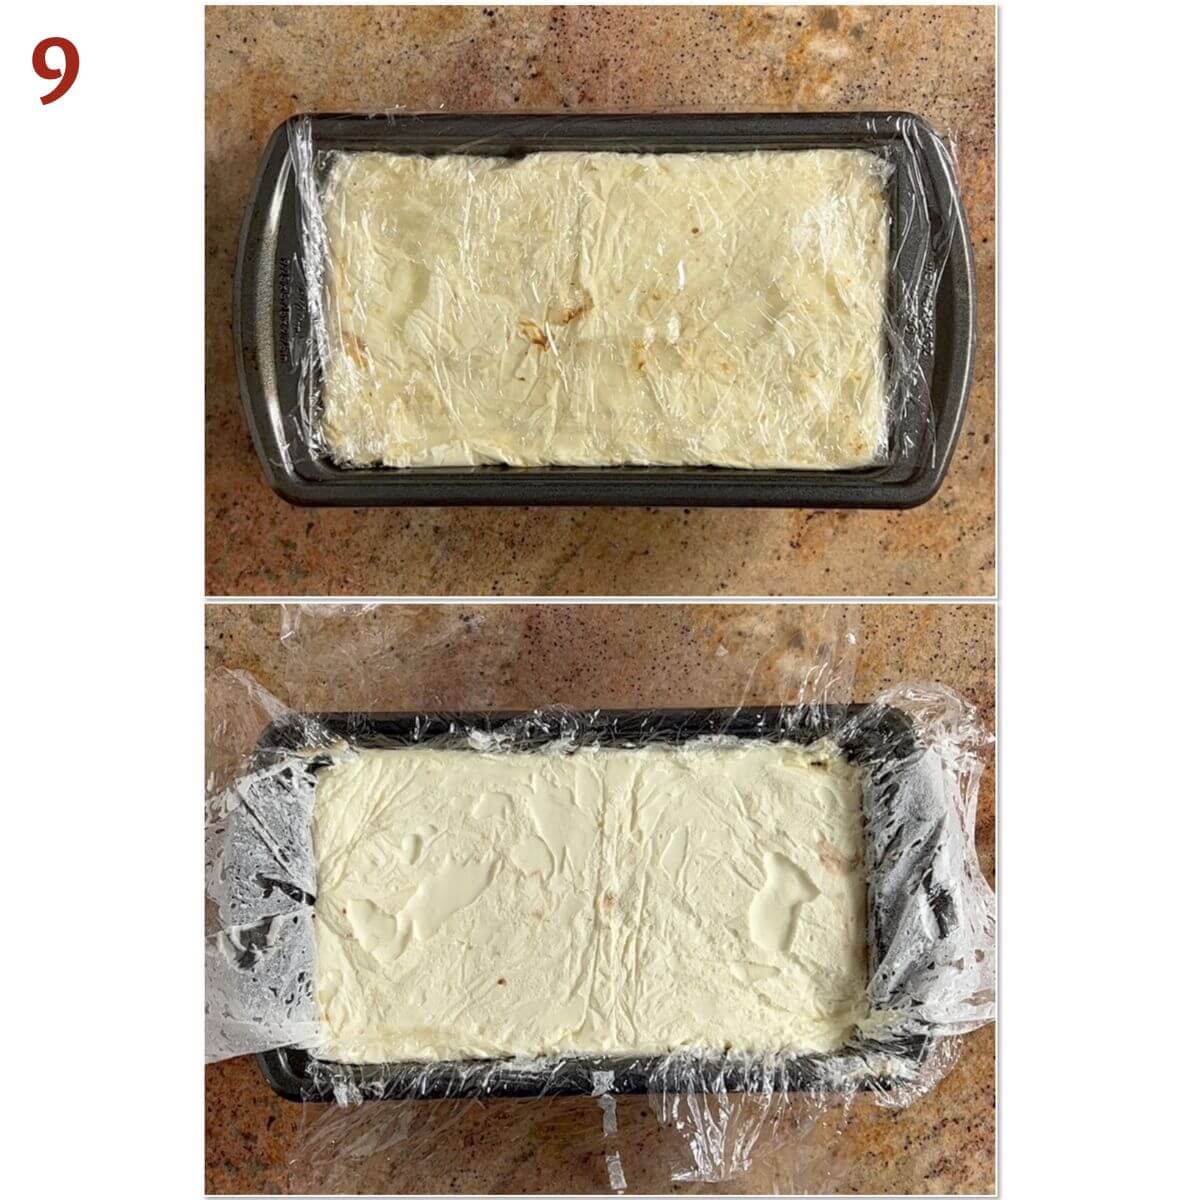
Lay the next layer of 8 dipped ladyfingers on top of the cream, then spread half the remaining cream over them. Repeat for one more layer (photo 8).
Cover the pan with the overhanging plastic wrap and chill the tiramisu for at least 6 hours or overnight. You want the layers to be fully set (photo 9).
Step 4: Prepare the tiramisu for serving
Make sure you give the tiramisu loaf enough time to fully chill before inverting it. Making it a day ahead will give you the best chance for success.
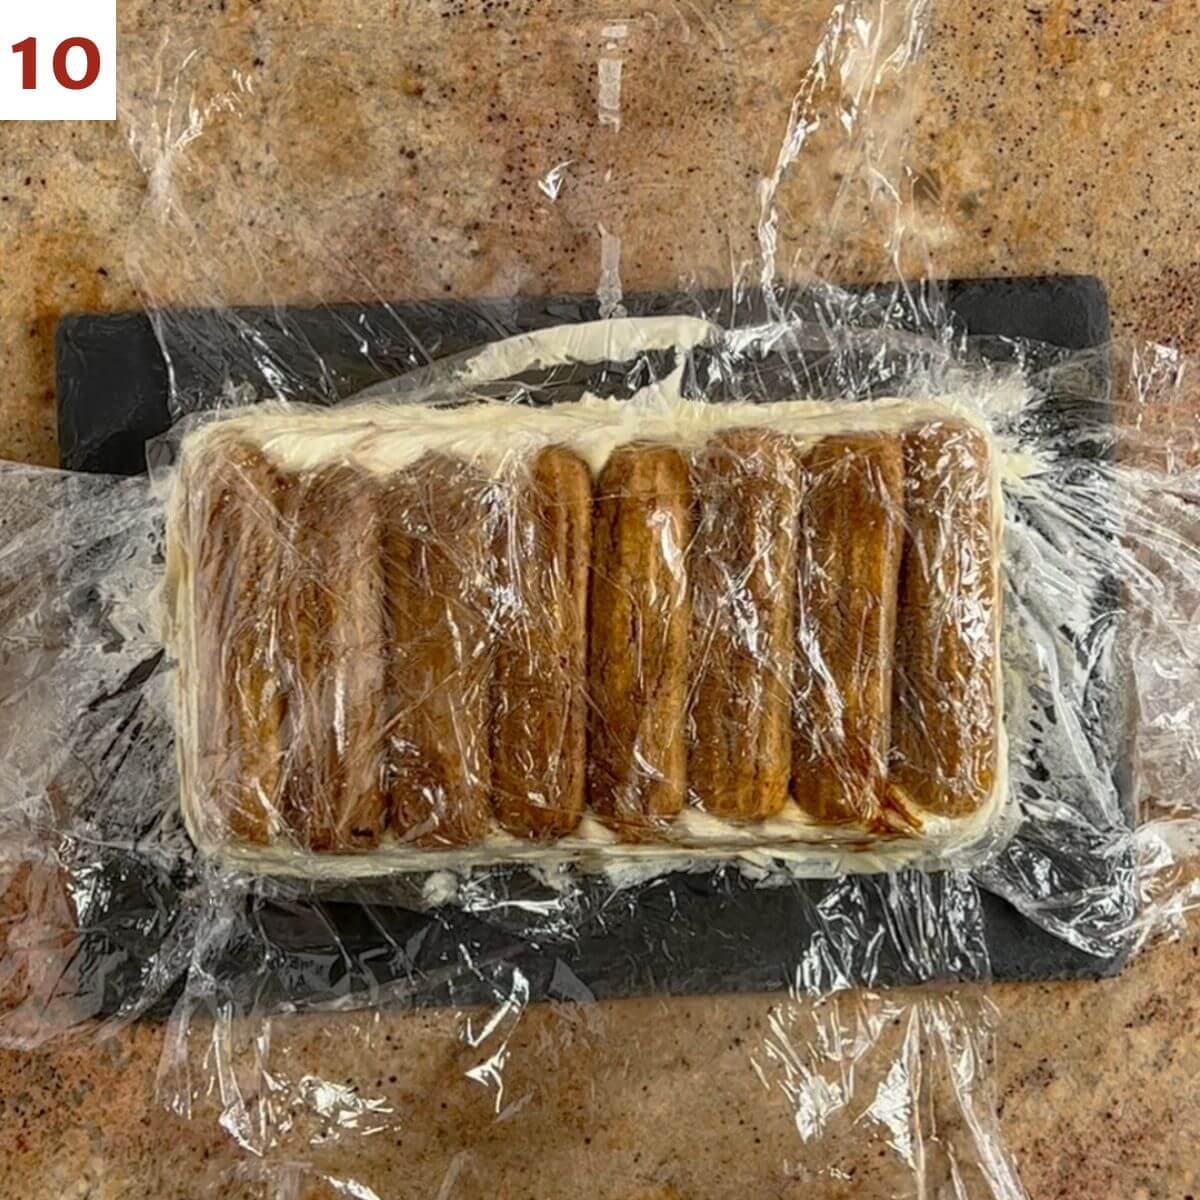
Remove the tiramisu from the refrigerator and unwrap the plastic wrap from the top.
Invert a small platter or large plate over the top of the loaf pan and quickly flip them over. Carefully lift the loaf pan off the tiramisu and remove the plastic wrap (photo 10).
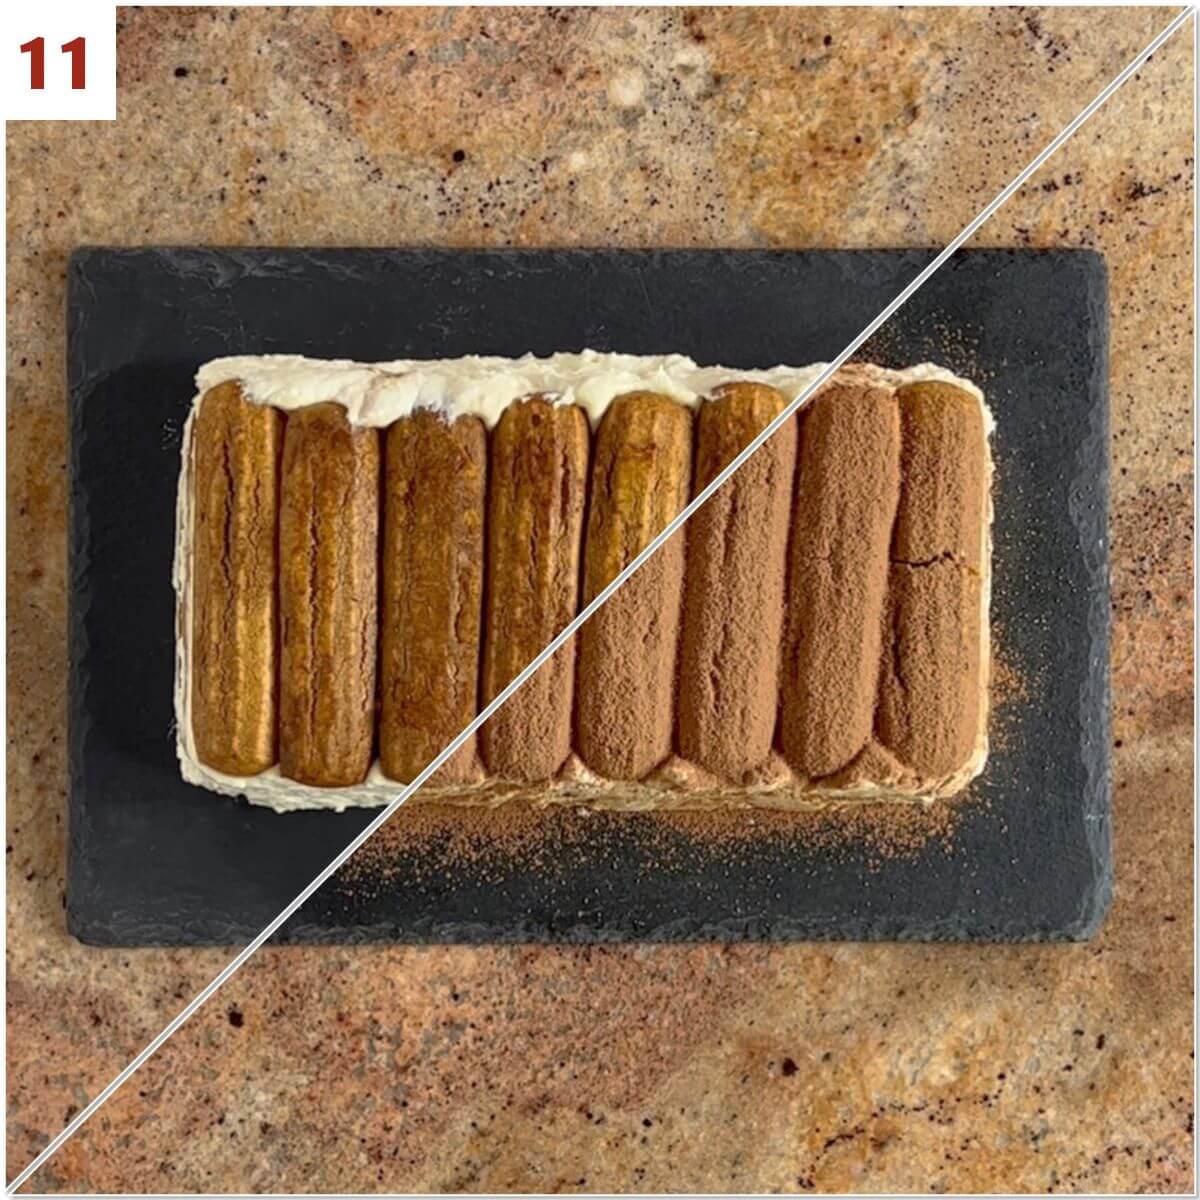
Dust the tiramisu with a generous amount of cocoa powder using a fine mesh strainer. For a pretty presentation, use a pastry brush to wipe off the excess cocoa powder (photo 11).
Serve the tiramisu in slices (cutting between the ladyfingers), cleaning the knife between cuts. Dust with more cocoa powder, if desired.
Storage instructions
Tiramisu can be stored in the refrigerator covered for up to 3 days.
For longer storage, tightly cover before dusting with cocoa powder and freeze for up to 3 months. Remove from the freezer, dust the top with cocoa powder, then thaw in the refrigerator for at least 24 hours, covered or uncovered.
Yield Notes
Tiramisu served in a loaf pan makes 8 easy-to-slice servings.
You can also use a 9- × 9-inch baking pan instead of the loaf pan (omit the plastic wrap lining the pan). Fit the ladyfingers into the pan as best you can, making 2 layers. Serve the tiramisu directly from the pan (don't invert it onto a platter). You'll get about 16 2-inch square servings.
Questions asked and answered
Here are some questions you might have...
Both are smooth and spreadable non-aged cheeses. But mascarpone has a much higher fat content than cream cheese (it's made with cream rather than milk). Also, mascarpone has a buttery flavor, while cream cheese is more tangy.
While both have a similar creamy texture, mascarpone has a higher fat content and is less acidic (read: tangy) than crème fraîche.
Didn't find the answer you're looking for?
Ask AI to answer for this specific recipe:
Disclaimer: I am not responsible for the quality of AI information

I hope you like this recipe! Let me know if you have any questions, and don't forget to leave a comment and rating. Thanks!
Slainté! L'chaim! Cheers!
- Tammy
More custard & sauce recipes to try

Recipe
No-Bake Tiramisu Loaf
Equipment
- hand mixer
Ingredients
- 5 tablespoons espresso powder, see Recipe notes
- 1¼ cups hot water, see Recipe notes
- 6 tablespoons Kahlua, Grand Marnier, or dark rum, see Recipe notes
- ⅓ cup granulated sugar
- 3 large egg yolks, at room temperature
- 1 cup mascarpone cheese, cold, see Recipe notes
- 1 tablespoon dark rum, see Recipe notes
- 1 cup heavy cream, chilled
- 24 ladyfingers, crunchy (not soft)
- cocoa powder, for dusting
Instructions
- Lightly spray a standard loaf pan with canola oil spray, then line with plastic wrap, leaving plenty of overhang to wrap around the tiramisu later.
- Prepare the espresso dip: Dissolve 5 tablespoons espresso powder in 1¼ cups hot water, then allow to cool to room temperature. Once cooled, stir in 6 tablespoons Kahlua (or dark rum or Grand Marnier, if preferred), then pour the dipping mixture into a 9-inch pie pan. Set aside.
- Make the mascarpone cream: This consists of 3 elements - sabayon (a cooked egg yolk and sugar mixture), whipped mascarpone cheese, and whipped cream.
- Element 1 - Sabayon: Pour 2-inches of water into a saucepan (or bottom of a double boiler) and bring to a simmer over medium-low heat. Using a heat-proof bowl making sure the bottom of the bowl isn't touching the water (or use the top of the double boiler), beat ⅓ cup granulated sugar and 3 large egg yolks with a hand mixer on medium-high. When the mixture is pale yellow, has tripled in volume, and falls back in thick ribbons when the beaters are lifted, the sabayon is ready, about 5 to 7 minutes.Remove the bowl from the heat and whisk the sabayon for a few minutes off the heat to help it cool down, then set aside to cool further.
- Element 2 - Whipped mascarpone: In a large bowl, beat together 1 cup mascarpone cheese and 1 tablespoon dark rum just until smooth.Add the warm sabayon to the mascarpone mixture and beat until combined. Don't over-whip or the mixture can curdle.
- Element 3 - Whipped cream: In a separate bowl and using clean beaters, beat 1 cup heavy cream (chilled) starting on low speed, then increasing to medium speed, just until stiff peaks form. Beating heavy cream slowly will help it remain more stable without turning watery.Fold the whipped cream into the mascarpone mixture, half at a time. Again, don't over mix.
- Assemble the tiramisu: For the first layer, take 8 ladyfingers and, one at a time, quickly dip each side into the espresso mixture just long enough for it to soften, 1 to 2 seconds per side. Place them in the prepared pan as you go. You want the ladyfingers wet but not soggy, so don't dawdle!
- Lay the 8 dipped ladyfingers face down across the bottom of the prepared pan so that they are parallel to the short side of the pan, crowding them together if necessary. Spread ⅓ of the mascarpone cream over them, smoothing the cream out with a small offset spatula.
- Lay the next layer of 8 dipped ladyfingers on top of the cream, then spread half the remaining cream over them. Repeat for one more layer.
- Cover the pan with the overhanging plastic wrap and chill the tiramisu for at least 6 hours or overnight. You want the layers to be fully set.
- Serve the tiramisu: Remove the tiramisu from the refrigerator and unwrap the plastic wrap from the top. Invert a small platter or large plate over the top of the loaf pan and quickly flip them over. Carefully lift the loaf pan off the tiramisu and remove the plastic wrap.
- Dust the tiramisu with a generous amount of cocoa powder using a fine mesh strainer. For a pretty presentation, use a pastry brush to wipe off the excess cocoa powder.
- Serve the tiramisu in slices (cutting between the ladyfingers), cleaning the knife between cuts. Dust with more cocoa powder, if desired.
- Storage instructions: Tiramisu can be stored in the refrigerator covered for up to 3 days.For longer storage, tightly cover before dusting with cocoa powder and freeze for up to 3 months. Remove from the freezer, dust the top with cocoa powder, then thaw in the refrigerator for at least 24 hours, covered or uncovered.

Ella says
Normally I'm not a fan of tiramisu, but after a recent visit to Italy where I had some amazing tiramisu, I thought I'd give this a try and wow! This did not disappoint! The texture was perfect and the flavour was perfectly balanced. I think we actually enjoyed this version even more than the "original recipe" we had in Italy!!
Tammy Spencer says
I'm so glad you liked it, Ella! Thanks for sharing 🙂