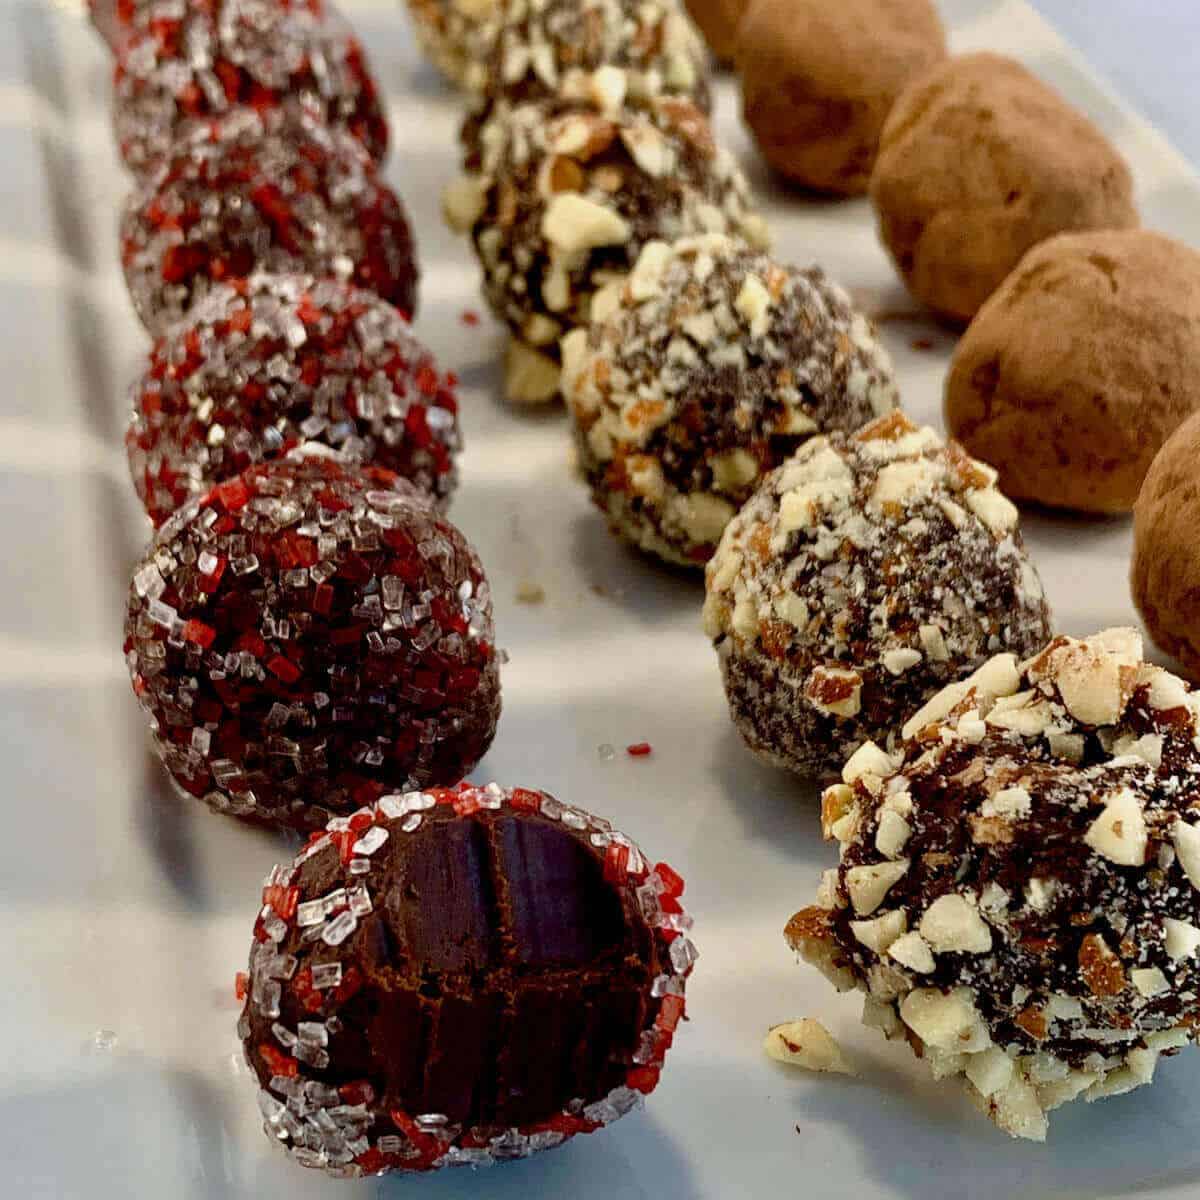
Skip the candy shop and make chocolate truffles your way. Only 4 ingredients are needed, and you can flavor them to your liking. Perfect for Valentine's Day or Date Night, these easy chocolate truffles will make your sweetheart swoon!
Jump to:
Why this recipe works
- Made of a simple chocolate ganache filling
- You can flavor the filling with vanilla or another extract, or use your favorite spirit for a boozy kick
- Customize the topping to complement the filling's flavor
Have you ever thought about making homemade chocolate truffles, but thought it would be too hard? Think again!
Not only are chocolate truffles easy to make, they're fully customizable to suit your taste. No more having to run to an expensive candy shop to buy a treat you can certainly make yourself!
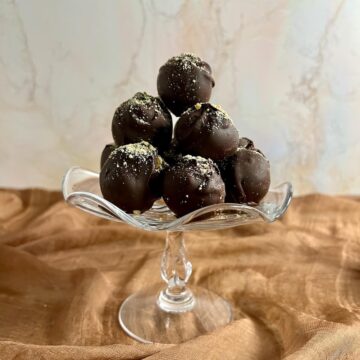
These truffle balls are a melt-in-your-mouth dream. The ganache is velvety soft, and the vanilla underscores the richness of the dark chocolate. Other flavorings will be layered underneath to add more complexity to this treat.
Truffles make a great sharable gift for Valentine's Day, Date Night, Mother's Day, or during the Christmas and Hanukkah holidays. They're also a nice addition for Bridal or Baby Showers. Or, just make a batch anytime you want to treat someone special to something special!
⭐⭐⭐⭐⭐
So delicious. I can vouch for these!
- Wawa
Recipe Ingredients
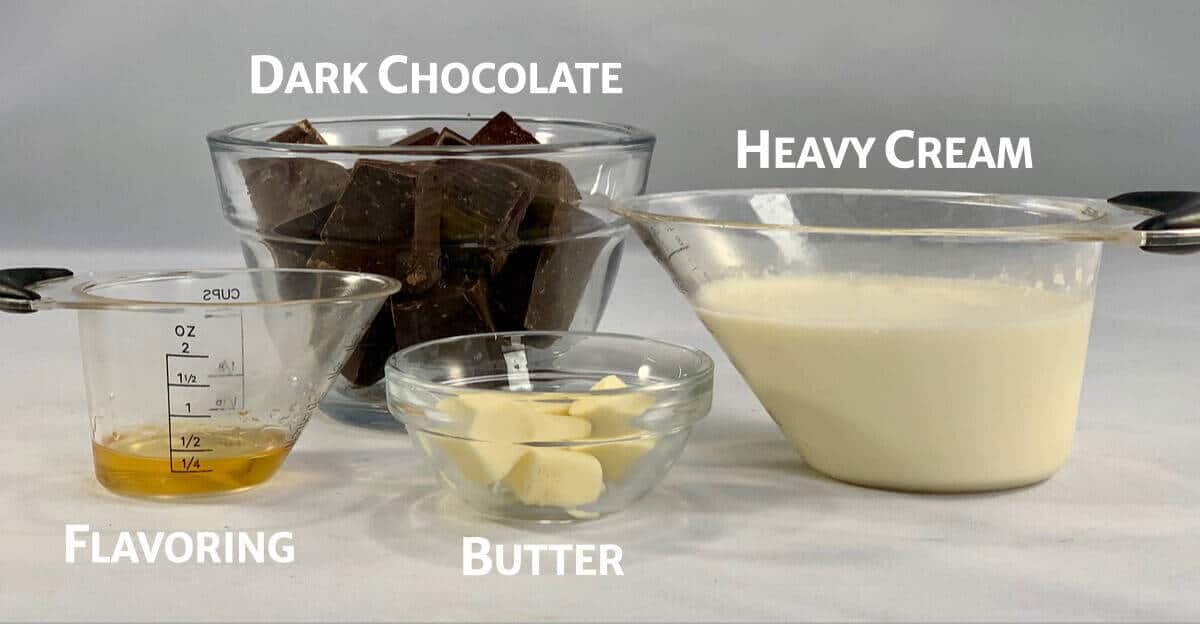
You'll need the following ingredients to make this chocolate truffle recipe:
Ingredient Notes
Chocolate: Use pure chocolate - the higher quality chocolate you purchase, the better your truffles will taste. Semi-sweet or dark chocolate make a very intense chocolate truffle and milk chocolate yields a sweeter truffle. I wouldn't recommend using white chocolate in this recipe because it's too thin.
Notice that I said high quality chocolate. Since chocolate is the main flavor, you don't want it to taste waxy or artificial. The best type of chocolate to use are chocolate wafers or a bar of good chocolate. Candy melts (aka candy wafers, confectionery coating, compound coating, or compound chocolate) use lower quality ingredients than in pure chocolate, producing a lesser flavor profile, in my opinion. And save the chocolate chips for another day - they don't melt as smoothly.
Heavy cream (or heavy whipping cream): It's the only dairy product that will melt the chocolate into the proper truffle consistency, so don't use half & half or milk. If you prefer, you can make non-dairy truffles using canned full-fat coconut milk (not the refrigerated kind). Shake it up and use in the recipe as you would heavy cream.
Flavorings: Here is where you can really customize the truffle. The truffle recipe calls for vanilla extract, but you're not limited to that.
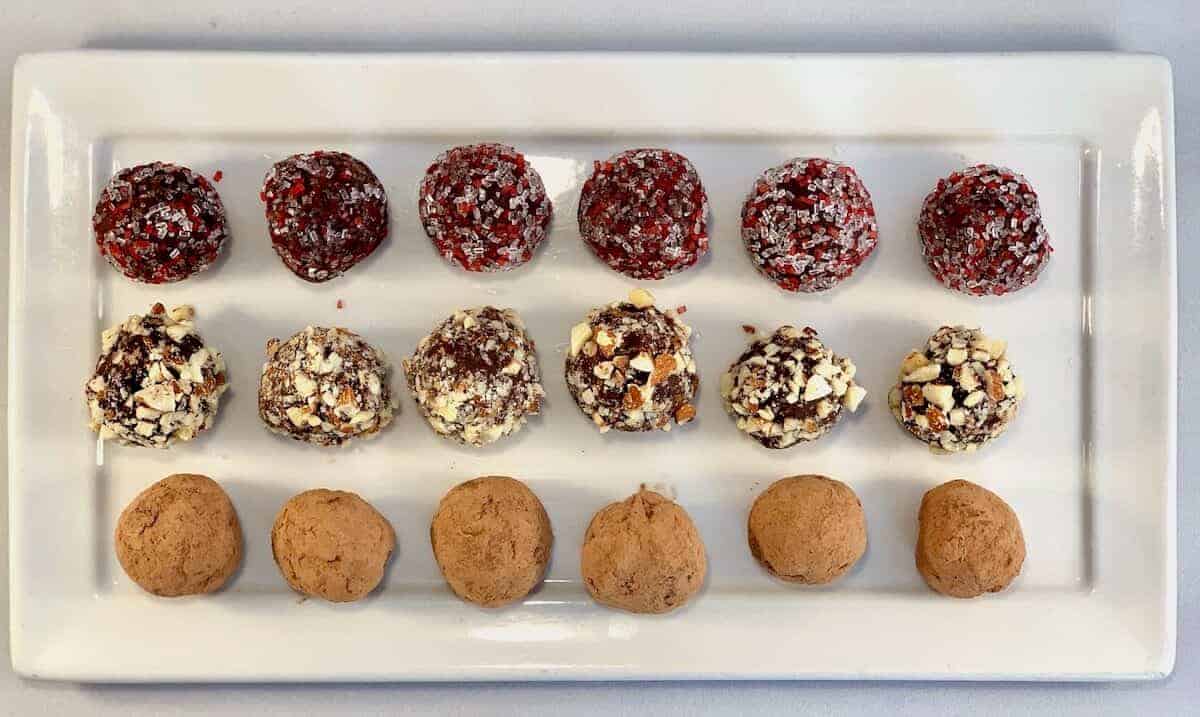
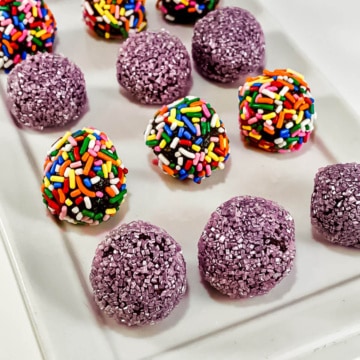
Toppings: use something that's powdered or small. Think cocoa powder (a classic), colorful sprinkles or coarse sugar, or finely chopped nuts. If you're feeling ambitious, you can also dip the rolled truffles in tempered chocolate to give them a hard chocolate shell.
See the recipe card for a full list of ingredients and measurements.
Truffle flavor variations
It's the flavorings in the ganache filling that really differentiate one truffle from another. Here are some flavor variations to try, each one replacing the vanilla extract:
- Mint Truffles: Use ¼ teaspoon of pure mint extract
- Orange-Vanilla Truffles: Use ¼ teaspoon of Fiori di Sicilia extract
- Mocha Truffles: Use 1 to 2 tablespoons of strong coffee (cooled)
- Spirited Truffles: Use 1 to 2 tablespoons of your favorite bourbon, whisky, rum, or Kahlua for a boozy kick. Note: using spirits will make the truffles adults-only. Don't serve them to pregnant women, children, or those avoiding alcohol.
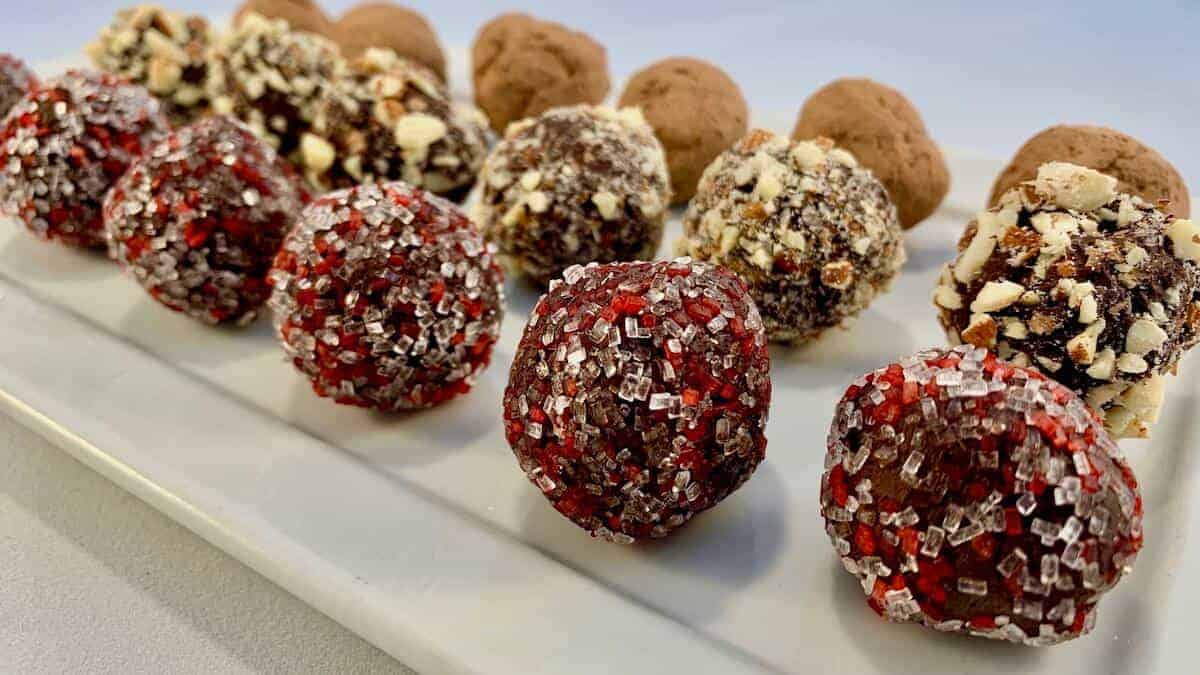
You can also vary the truffle flavors with different types of coatings. Think cocoa powder (a classic), colorful sprinkles or coarse sugar, or finely chopped nuts. Or try shredded coconut, chocolate cookie crumbs, or graham crackers. Let your imagination go wild!
How to make chocolate truffles
Step 1: Make the chocolate ganache filling
If you're using solid chocolate, use a serrated knife to chop the chocolate into small pieces. Put the chocolate and butter in a heat-proof (preferably microwave-safe) bowl and set aside.
Warm the heavy cream in a heavy-bottomed saucepan to just simmering with small bubbles (not boiling). This will be about 140 to 150°F on a digital thermometer.
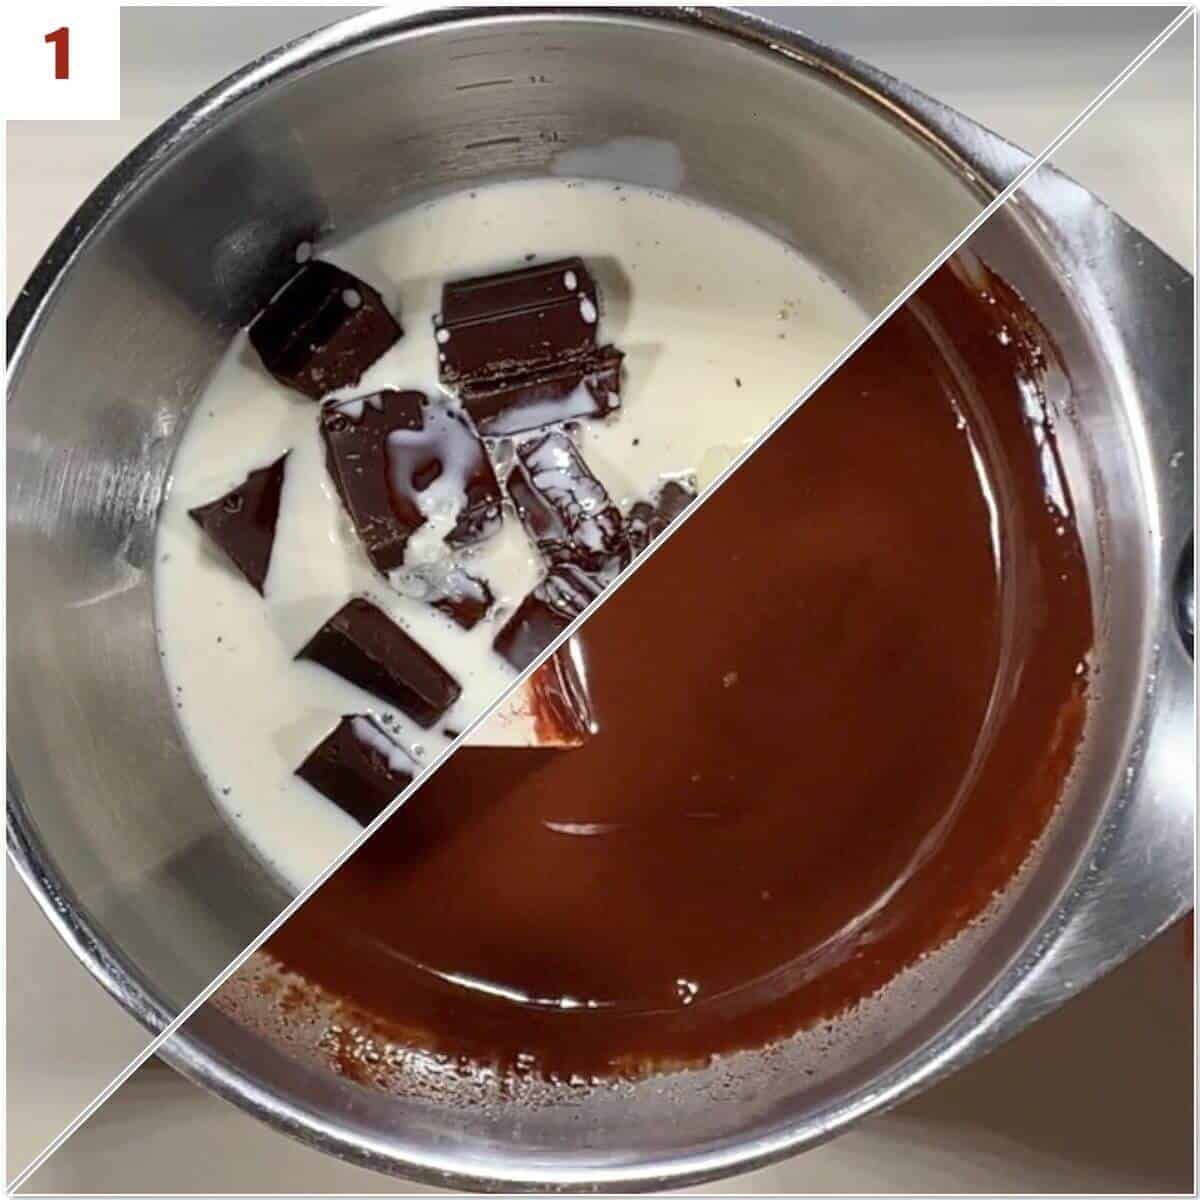
Pour the hot heavy cream onto the chocolate, cover and let it sit for about 2 to 3 minutes, then start stirring (photo 1). At first, the mixture will look grainy, but keep stirring until it is smooth.
If the chocolate isn't fully melting (that is, the heavy cream wasn't hot enough), you can heat the mixture in the microwave on 50% powder for 20 seconds, then stir until the chocolate melts. Repeat if needed. If you're using a non-microwave safe bowl, heat the bowl on the stove over an inch of simmering water (in a saucepan just large enough so the bottom of the bowl isn't touching the water), stirring until the chocolate fully melts.
If you're making more than one flavor of truffle, separate the ganache into different bowls. Add the vanilla or others flavorings each bowl and stir again.
Step 2: Roll the ganache filling into balls
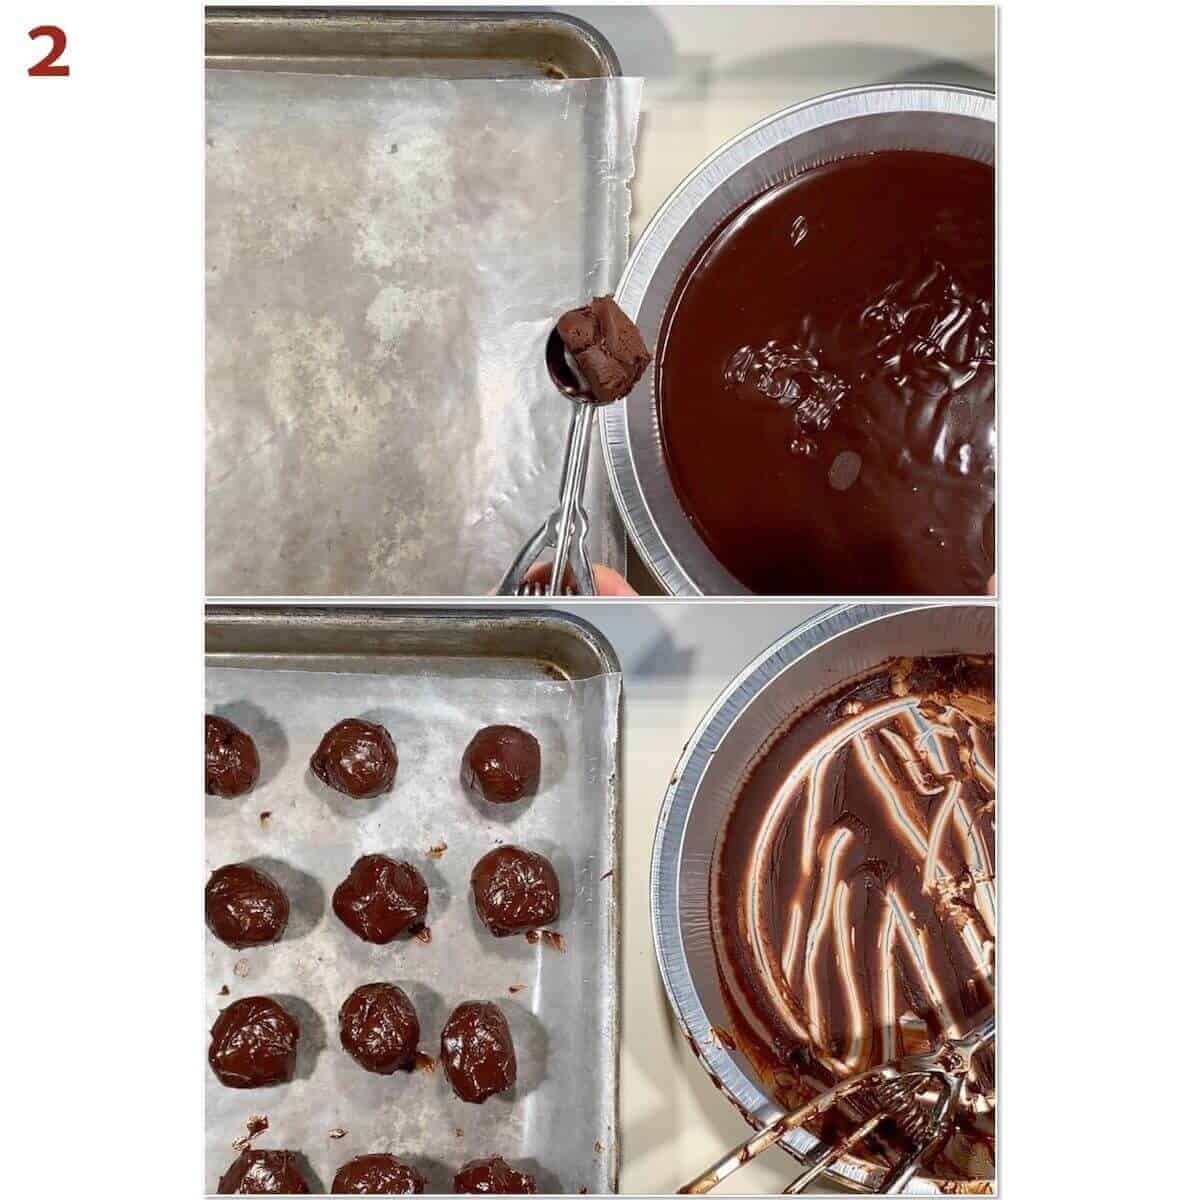
The filling needs to firm up before it can be rolled into balls. To make the rolling easier, pour the ganache into a shallow pan (like a pie pan), then chill for an hour or two.
Once it's set, scoop out 1 tablespoon of filling , and roll into balls about 1-inch in diameter (a small cookie scoop is helpful here). Place the balls onto a half sheet baking pan covered with a Silpat silicone mat, parchment paper, or waxed paper (photo 2).
Chill the balls for 10 minutes to allow them to dry out a bit while you get your toppings ready.
Step 3: Coating the truffles
It's time to cover the truffles with some sort of coating to keep the filling from sticking to your hands when you eat them.
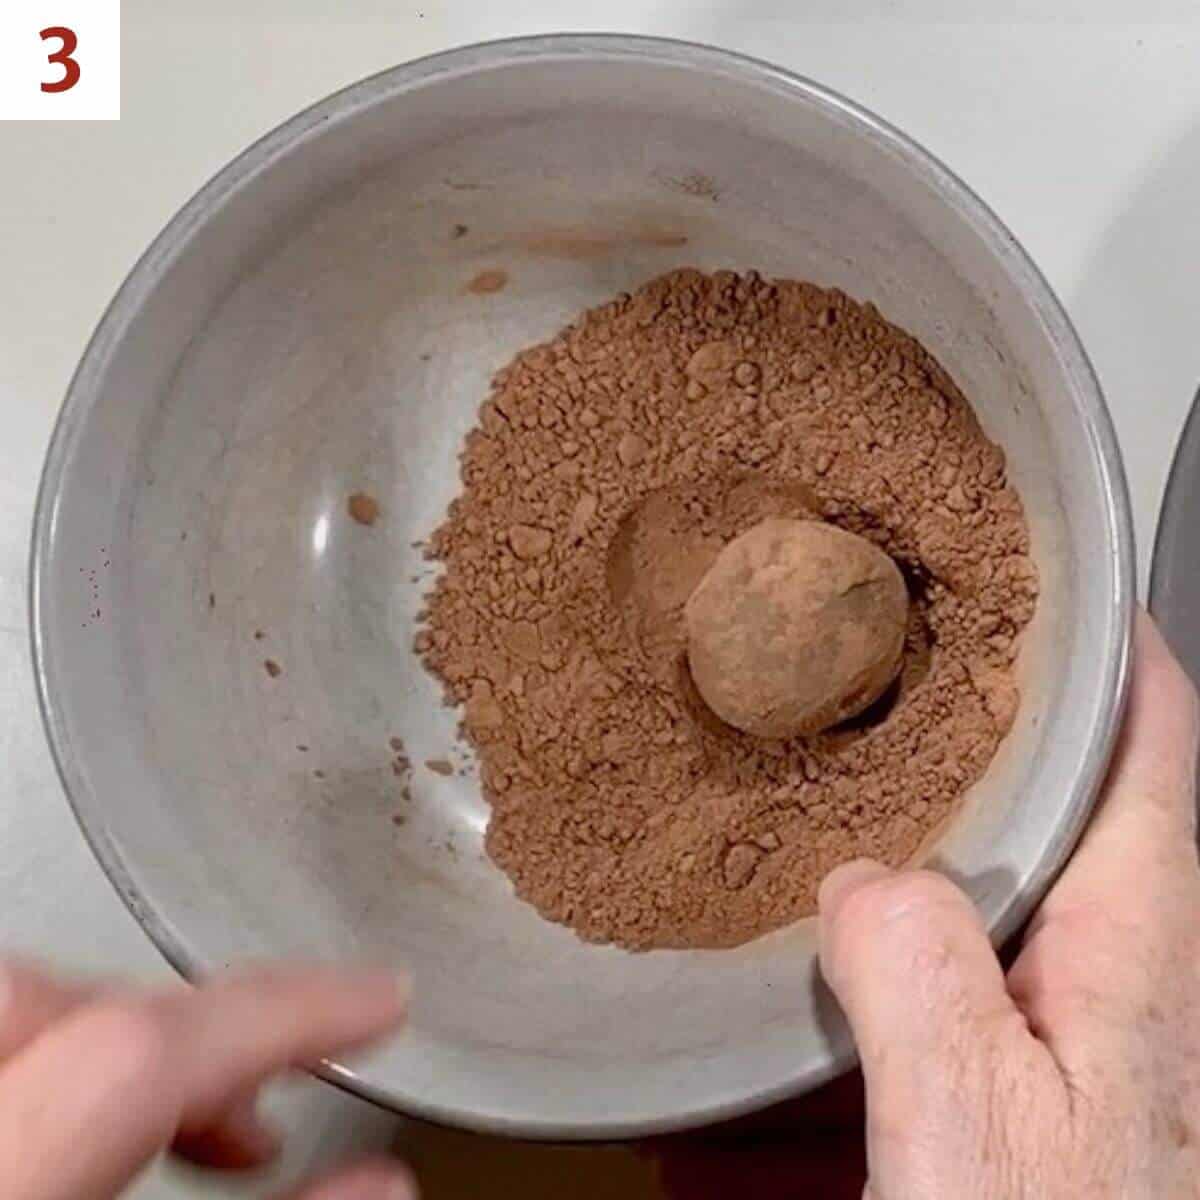
Pour the coating into a small bowl. Working with a few at a time, roll each ball in the bowl (photo 3). If you're going to dip the truffles in melted chocolate, be sure to temper the chocolate first to get a shiny finish and satisfying snap.
Storage and make-ahead instructions
Storage instructions: Place the truffles in an airtight container. Store at room temperature for 3 to 4 days or in the refrigerator for up to 2 weeks. Truffles taste best at room temperature. For longer storage, freeze up to 3 months with or without toppings. Thaw in the refrigerator, then bring to room temperature before enjoying.
Make-ahead instructions: Prepare the truffle filling up to just before scooping them. The mixture must chill in the refrigerator for 1 to 2 hours or up to 3 days. If you're chilling it for longer than 4 hours, let the mixture sit on the counter for several minutes to soften before scooping. You can also store the truffle balls without the coatings in the freezer. Allow them to soften before coating them.
Yield Notes
This chocolate truffle recipe can easily be halved, but rather than doubling the recipe, make 2 separate batches instead. That way the ganache filling will firm up uniformly in the pan.
Questions asked and answered
Here are some questions that you might have...
Truffles are essentially chocolate ganache covered with a coating to keep the ganache from melting in your hand. They're richly flavored with extracts or other flavorings, and have a silky melt-in-your-mouth texture punctuated by the type of topping used.
And what is chocolate ganache? It's a versatile combination of just two ingredients: equal parts chocolate and heavy cream (that is, a 1 : 1 recipe ratio, by weight). Using a kitchen scale is helpful here.
This easy chocolate truffle recipe uses a slightly higher 1½ : 1 chocolate-to-cream recipe ratio, so that the ganache filling will be nice and thick.
Make sure you are using pure chocolate and heavy cream. You need the extra fat to firm up the ganache. Keep the mixture refrigerated for at least 1 to 2 hours to set well. Don't rush!
The filling might be too dry. Try mashing the truffle balls between your palms and re-roll them so they'll be sticky enough for the toppings.
If your truffle filling is too sticky, just scoop it into mounds on your lined baking tray and refrigerate for about 30 minutes so they can dry a bit. You can also use a bit of cocoa powder on your hands as you roll the balls. Finally, don't worry if the truffles aren't perfectly round...these are handmade after all!
More fudge and candy recipes to try
Recipe
Easy Chocolate Truffles (Only 4 Ingredients!)
Equipment
- serrated knife
- digital thermometer optional
Ingredients
For the filling
- 6 ounces dark chocolate wafers, or solid dark chocolate, chopped (1 cup), see Recipe Notes
- 1 tablespoon unsalted butter, softened
- ⅔ cup heavy cream, see Recipe Notes
- ½ teaspoon pure vanilla extract, or other flavorings, see Recipe Notes
For the coating
- cocoa powder, sprinkles, coarse sugar, crushed nuts, or tempered melted chocolate
Instructions
- If you're using solid chocolate, use a serrated knife to chop the chocolate into small pieces. Put the chocolate and butter in a heat-proof (preferably microwave-safe) bowl and set aside.
- Warm the heavy cream in a heavy-bottomed saucepan to just simmering with small bubbles (not boiling). This will be about 140 to 150 °F on a digital thermometer.
- Pour the hot heavy cream onto the chocolate, cover and let it sit for about 2 to 3 minutes, then start stirring. At first, the mixture will look grainy, but keep stirring until it is smooth.
- If the chocolate isn't fully melting (that is, the heavy cream wasn't hot enough), you can heat the mixture in the microwave on 50% powder for 20 seconds, then stir until the chocolate melts. Repeat if needed. If you're using a non-microwave safe bowl, heat the bowl on the stove over an inch of simmering water (in a saucepan just large enough so the bottom of the bowl isn't touching the water), stirring until the chocolate fully melts.
- If you're making more than one flavor of truffle, separate the ganache into different bowls. Add the vanilla or others flavorings each bowl and stir again.
- Pour each ganache flavor into a shallow dish (such as a 8- x 8-inch baking pan or a pie pan, depending on how many flavors of truffles you're making). Place a piece of plastic wrap directly on the surface to avoid condensation. Refrigerate for 1 to 2 hours.
- Scoop the set truffle mixture into 1 tablespoon-sized balls using a small cookie scoop and place on a half sheet baking pan lined with a Silpat silicone mat, parchment paper, or waxed paper. Chill the balls for 10 minutes to allow them to dry out a bit.
- Pour your preferred coating into a small bowl. Working with a few at a time, roll each ball in the bowl. If you're going to dip the truffles in melted chocolate, be sure to temper the chocolate first to get a shiny finish and satisfying snap.
- Storage instructions: Place the truffles in an airtight container. Store at room temperature for 3 to 4 days or in the refrigerator for up to 2 weeks. Truffles taste best at room temperature. For longer storage, freeze up to 3 months with or without the coating. Thaw in the refrigerator, then bring to room temperature before enjoying.
- Make-ahead instructions: Prepare the truffle filling through step 4. The mixture must chill in the refrigerator for 1 to 2 hours or up to 3 days. If you're chilling it for longer than 4 hours, let the mixture sit on the counter for several minutes to soften before scooping. You can also store the truffle balls without the coatings in the freezer. Allow them to soften before coating them.
- This chocolate truffle recipe can easily be halved, but rather than doubling the recipe, make 2 separate batches instead. That way the ganache filling will firm up uniformly in the pan.
Notes
- Mint Truffles: Use ¼ teaspoon of pure mint extract
- Orange-Vanilla Truffles: Use ¼ teaspoon of Fiori di Sicilia extract
- Mocha Truffles: Use 1 to 2 tablespoons of strong coffee (cooled)
- Spirited Truffles: Use 1 to 2 tablespoons of your favorite bourbon, whisky, rum, or Kahlua for a boozy kick. Note: using spirits will make the truffles adults-only. Don't serve them to pregnant women, children, or those avoiding alcohol.




wawa says
So delicious. I can vouch for these!