Want an easy, finger-friendly version of tiramisu? Try No-Bake Tiramisu Truffles. All the flavor of the classic Italian dessert wrapped in a decadent chocolate shell, and you don't need a spoon. A perfect no-bake treat for Valentine's Day or for holiday gift giving!

Jump to:
[January, 2022: I've reworked the recipe and updated this post with all new pictures. Enjoy!]
Why this recipe works
- All the flavors of a classic tiramisu dessert in a portion-controlled bite
- You only need 6 ingredients to make these truffles
- This is a no-bake recipe, perfect for Valentine's Day or for holiday gift giving
Can a tiramisu be finger food?
Normally, a recipe for tiramisu is made with spiked espresso-dipped ladyfingers layered with a whipped mixture of eggs, sugar, and mascarpone cheese, then topped with cocoa powder. It’s delicious, but not really something you can eat without a spoon.
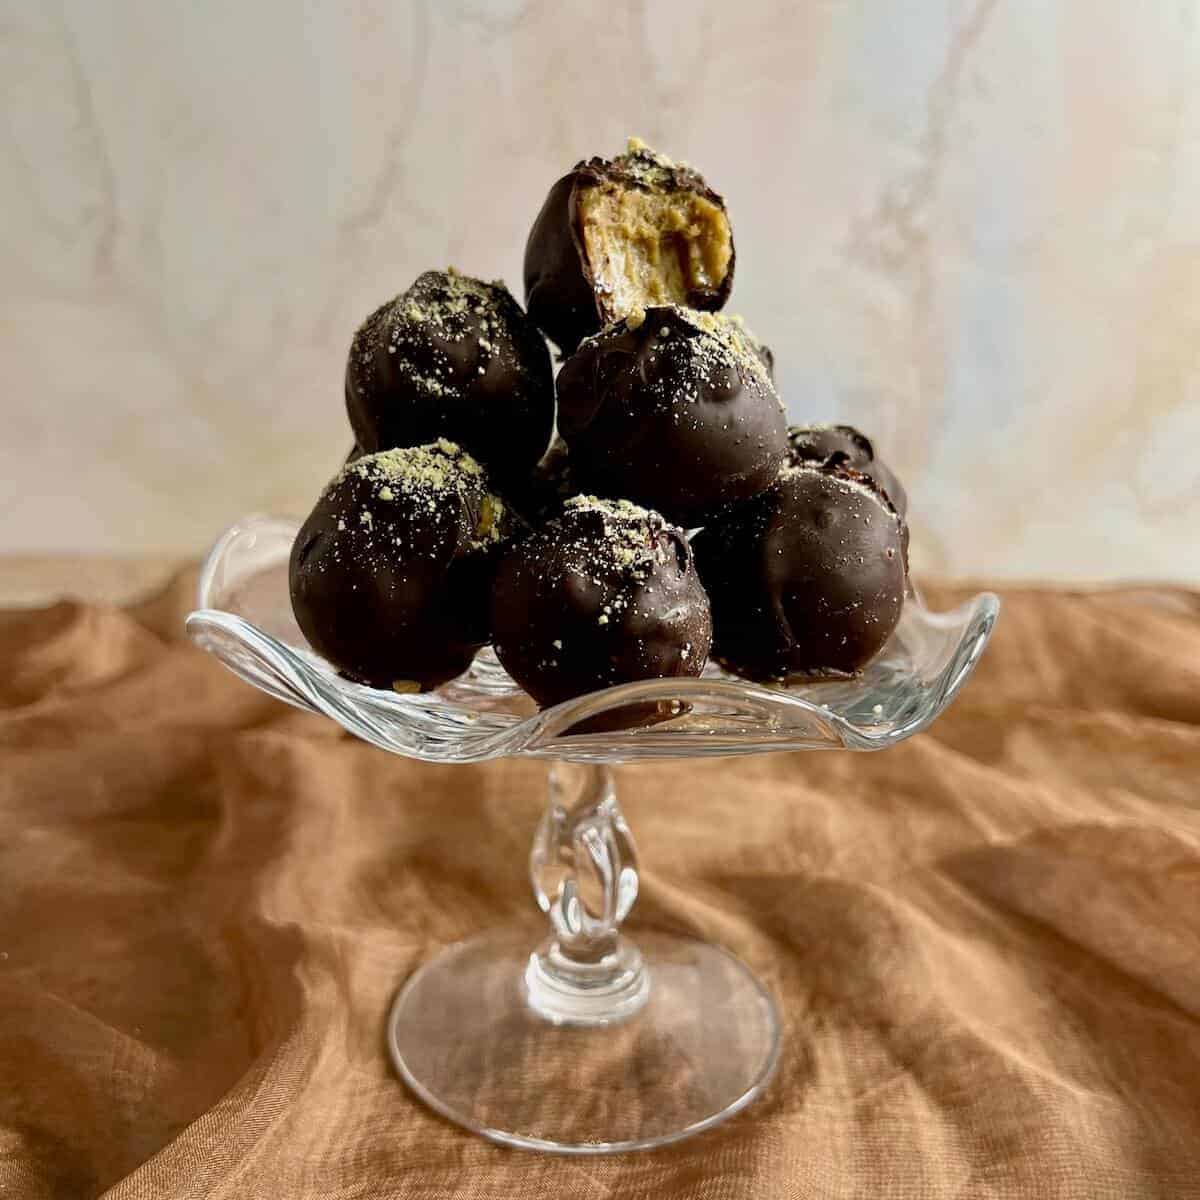
Enter finger-friendly no-bake Tiramisu truffles. All the flavor of the classic Italian dessert dipped in a decadent chocolate shell - no spoon required!
These tiramisu chocolate balls have the flavor of a tiramisu dessert in a bite-sized portion. The filling is soft and sweet with coffee undertones, and the tempered dark chocolate gives a nice snap when you bite into it with a subtle mocha flavor.
Although there is Kahlua in the filling, it's not noticeably strong. Still, avoid giving these boozy truffles to kids and pregnant women. You can always make them with just strong espresso.
Truffles are such an easy way to have small bites of goodness (I'm looking at you, chocolate cake pops and lemon truffles). They're fun to share on Valentine's Day, Date Night, or whenever you want to treat someone special to something special. They're also a perfect no-bake treat for holiday gift-giving.

These were so yummy, and the presentation was just beautiful!
- Shira
Recipe Ingredients
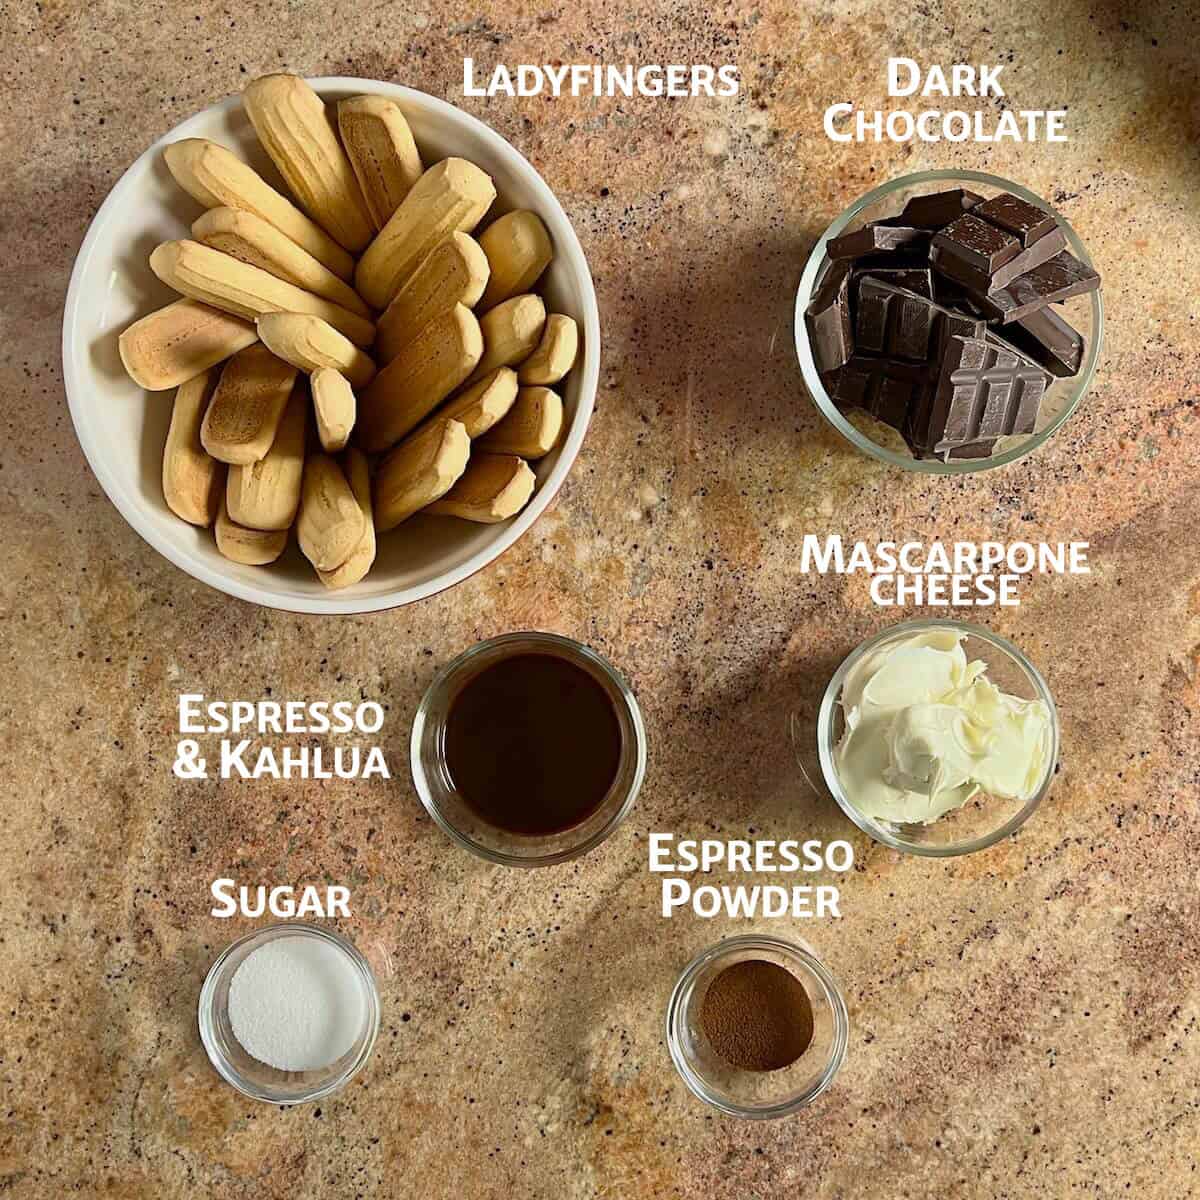
You'll need the following ingredients to make this tiramisu truffles recipe:
Ingredient Notes
Ladyfingers: A classic ingredient for tiramisu, ladyfingers (aka savoiardi or sponge fingers) are long, thick sponge cookies, with a texture that lies between sponge cake and biscotti. For this tiramisu truffles, use the crunchy kind of ladyfingers (not the soft ones) - you'll be pulverizing them instead of dipping them in espresso
Mascarpone cheese: Another classic ingredient, used here to bind the crumbs for the truffle filling. You can substitute ¾ cup of cream cheese (170 grams) for the mascarpone, if desired.
Kahlua and espresso: Using strong espresso and/or coffee liqueur adds moisture and a little booziness to the filling. A combination of 2 tablespoons Kahlua and 1 tablespoon strong espresso gives muted coffee flavor to the truffles.
For a little more sweetness and booziness, skip the espresso and go with 3 tablespoons Kahlua (just avoid giving these boozy truffles to kids and pregnant women). You can also skip the Kahlua entirely and use just strong espresso for a stronger coffee presence.
Espresso powder: Adding a little bit of espresso powder to the chocolate enhanced the chocolate flavor, giving it a mocha undertone.
Chocolate: Use pure dark or semisweet chocolate since you'll want to temper it (to get that nice shininess and satisfying snap). The best type of chocolate to use are chocolate wafers or a bar of chocolate.
See the recipe card for a full list of ingredients and measurements.
How to make tiramisu truffles
Like with a chocolate truffle recipe, you'll start by making the filling, rolling it into balls, then making the coating in which to dip them.
Step 1: Make the ladyfinger crumbs
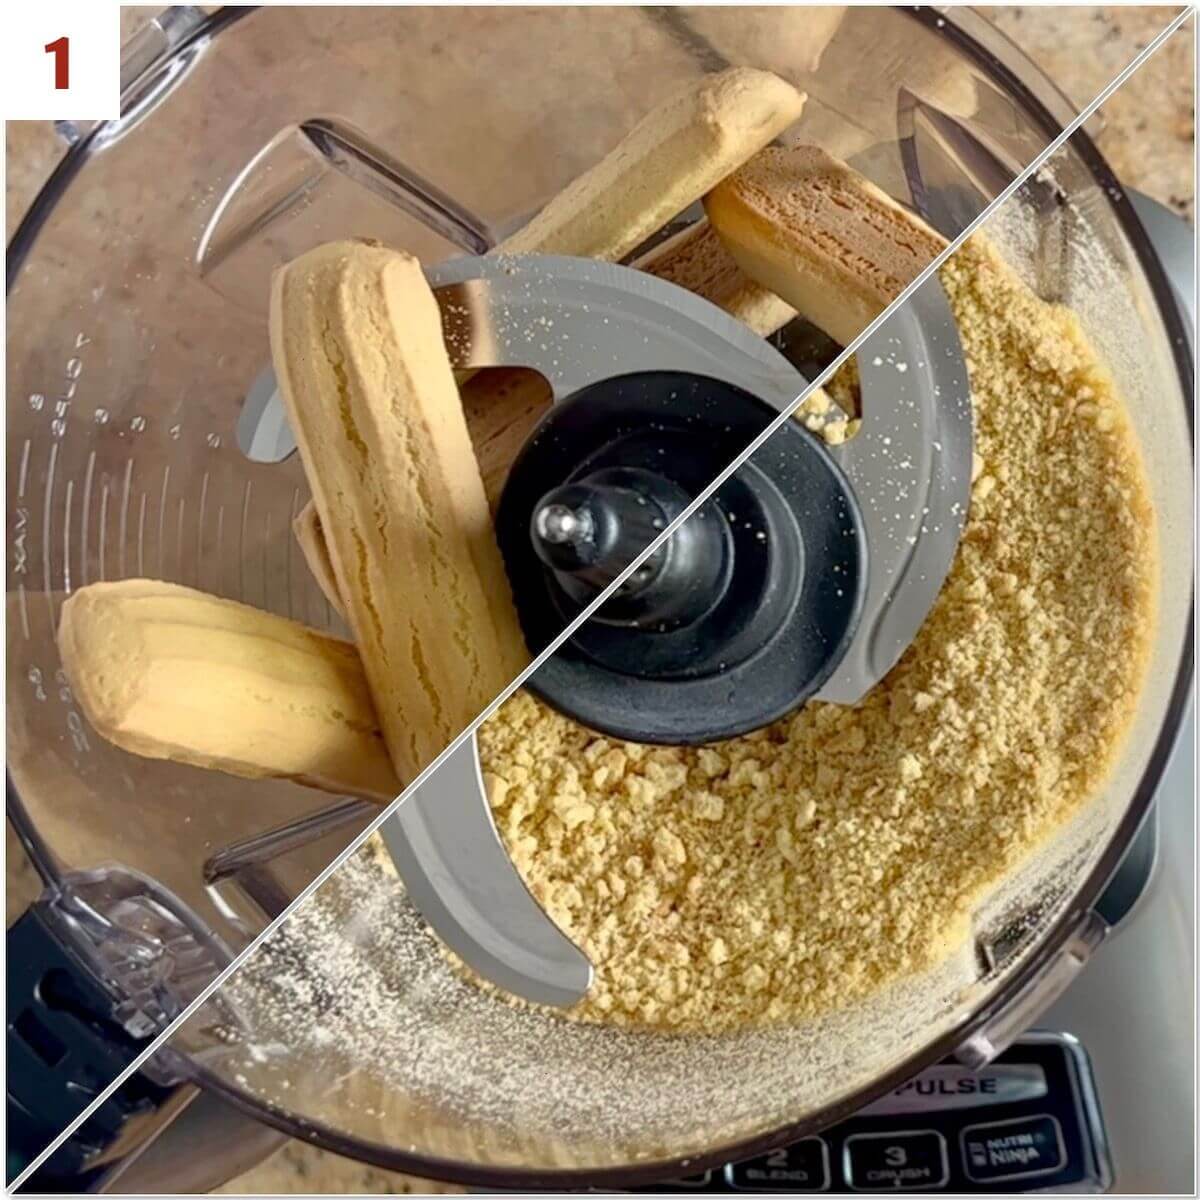
In a food processor, pulse the ladyfingers, half the package at a time, into fine crumbs (photo 1).
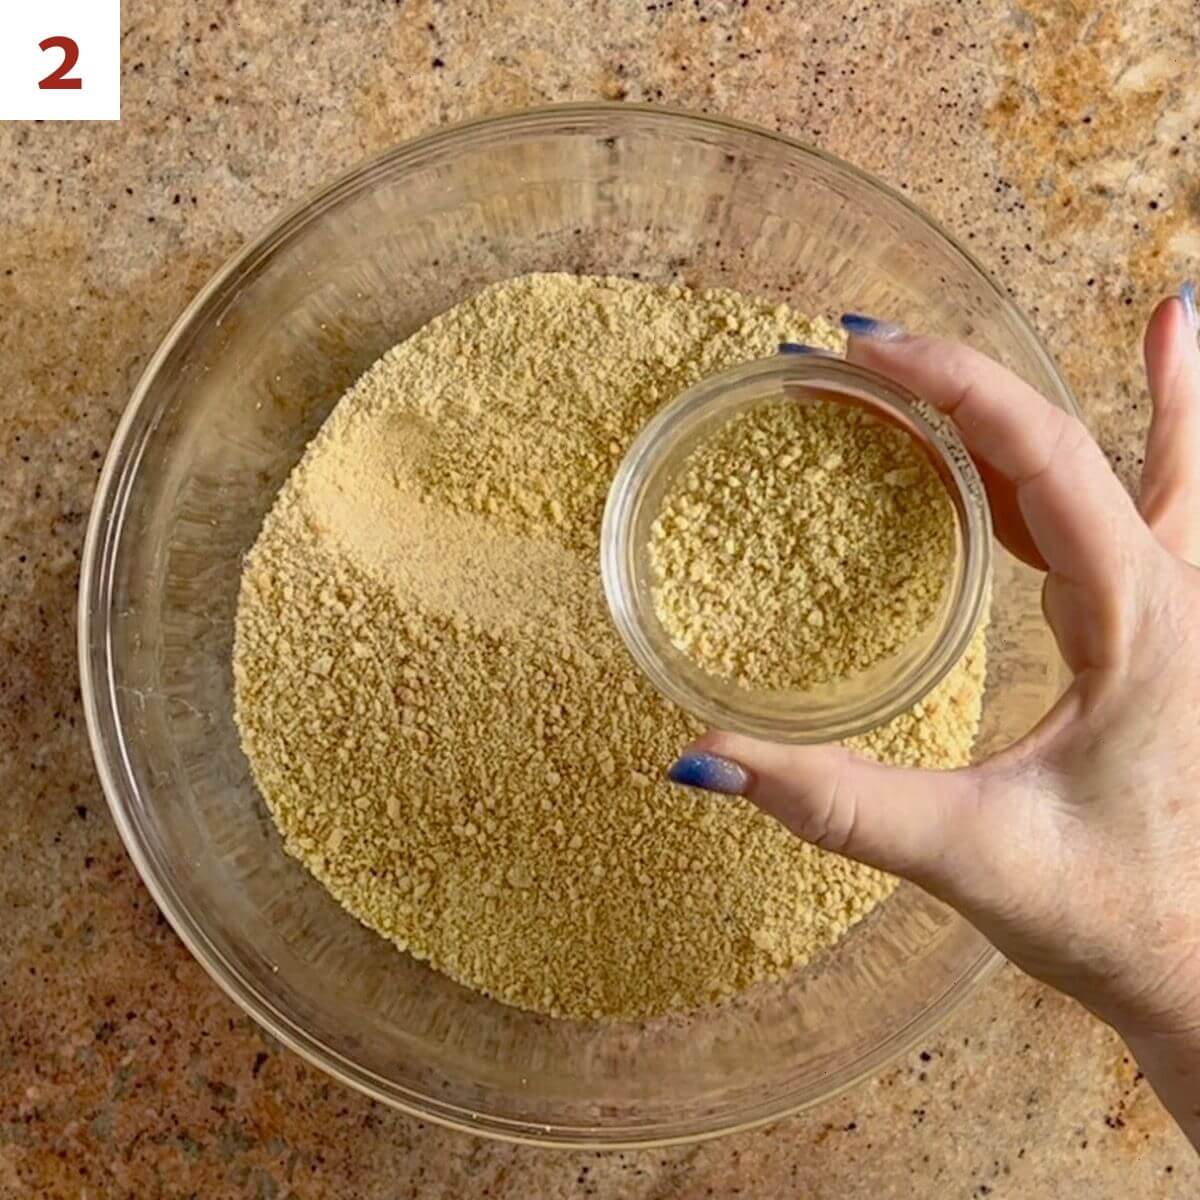
Reserve 2 tablespoons to sprinkle on the truffles later (photo 2).
Step 2: Make the filling
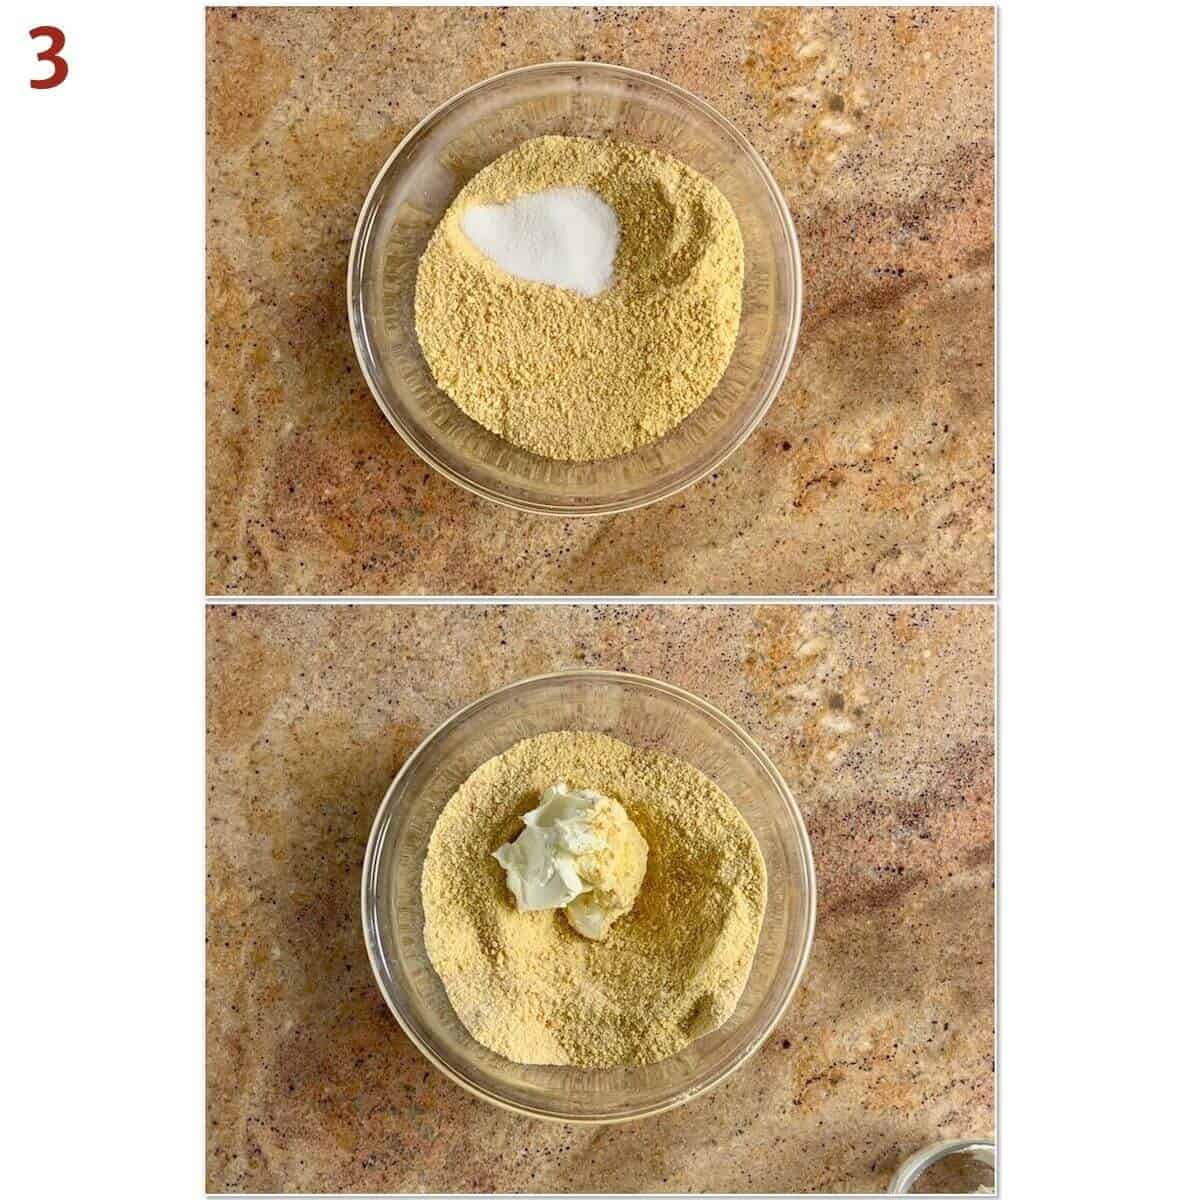
Add the sugar and whisk until combined, then beat in the mascarpone cheese (photo 3).
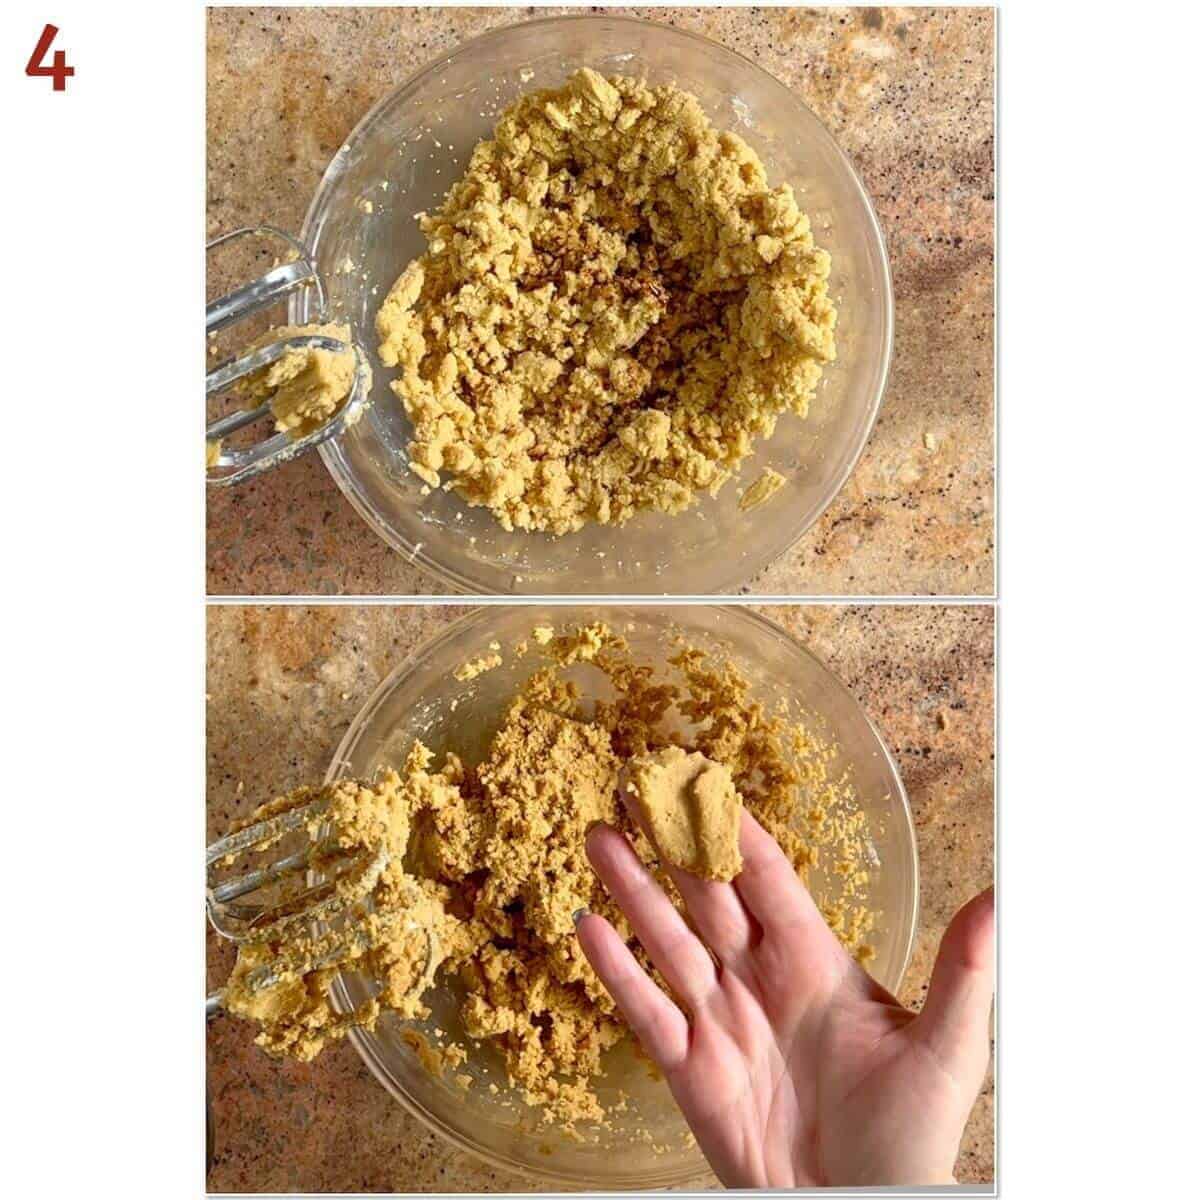
Add the espresso and/or liqueur, one tablespoon at a time, until the texture is like a soft cookie dough (photo 4). Cover with plastic wrap and chill for at least 1 hour.
Step 3: Roll the filling into balls
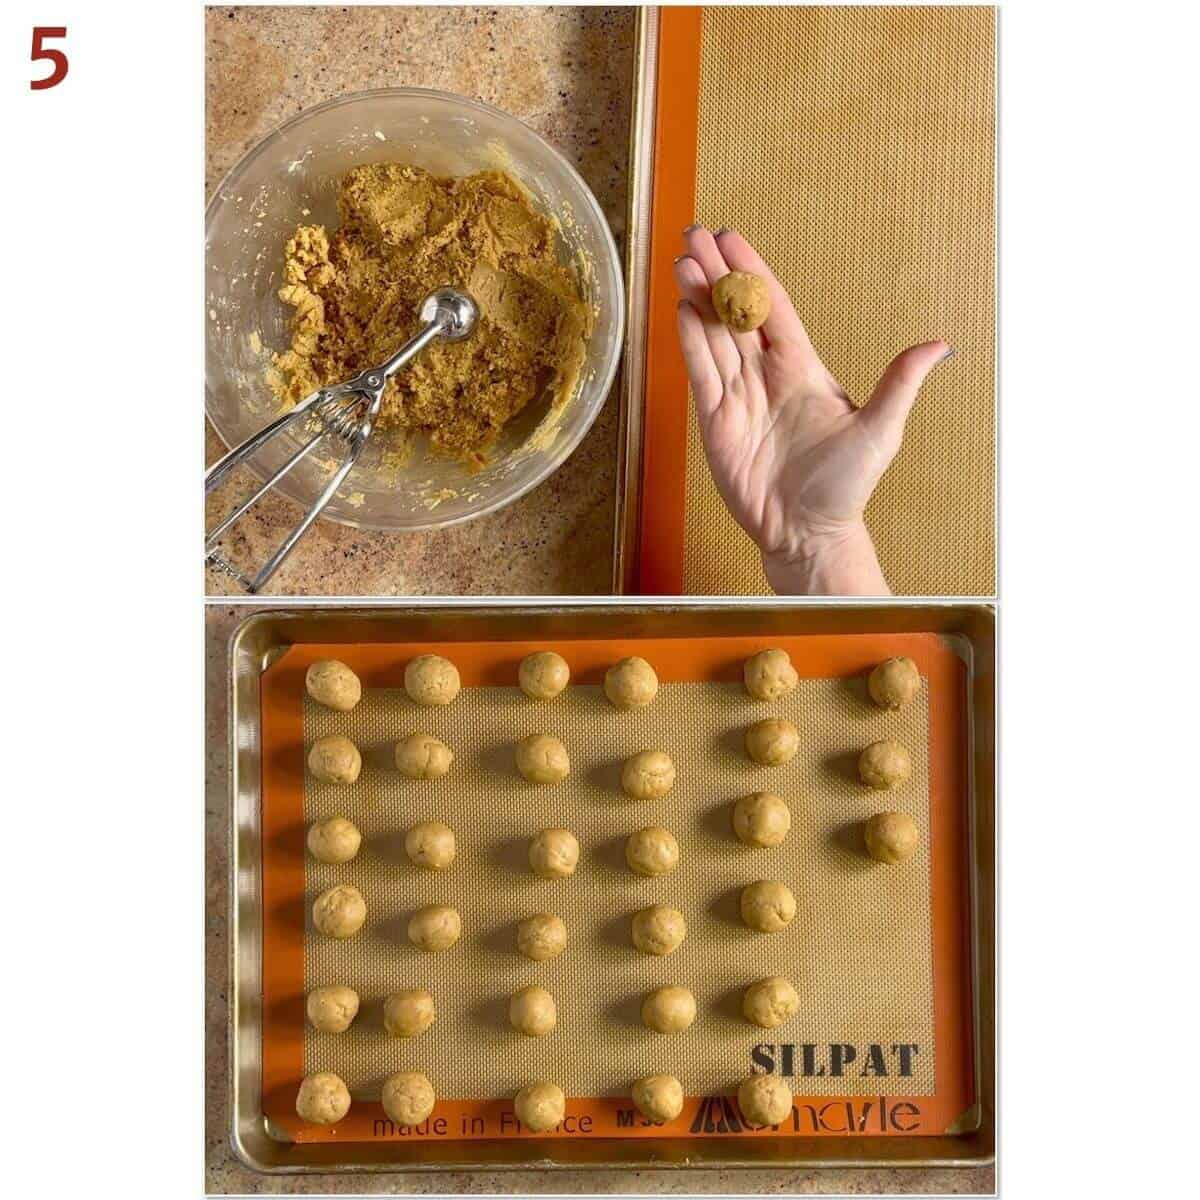
Using a small cookie scoop, shape the filling into 1-inch balls and place them on a half sheet baking pan lined with a Silpat silicone mat or parchment paper (photo 5).
Step 4: Prepare the chocolate coating
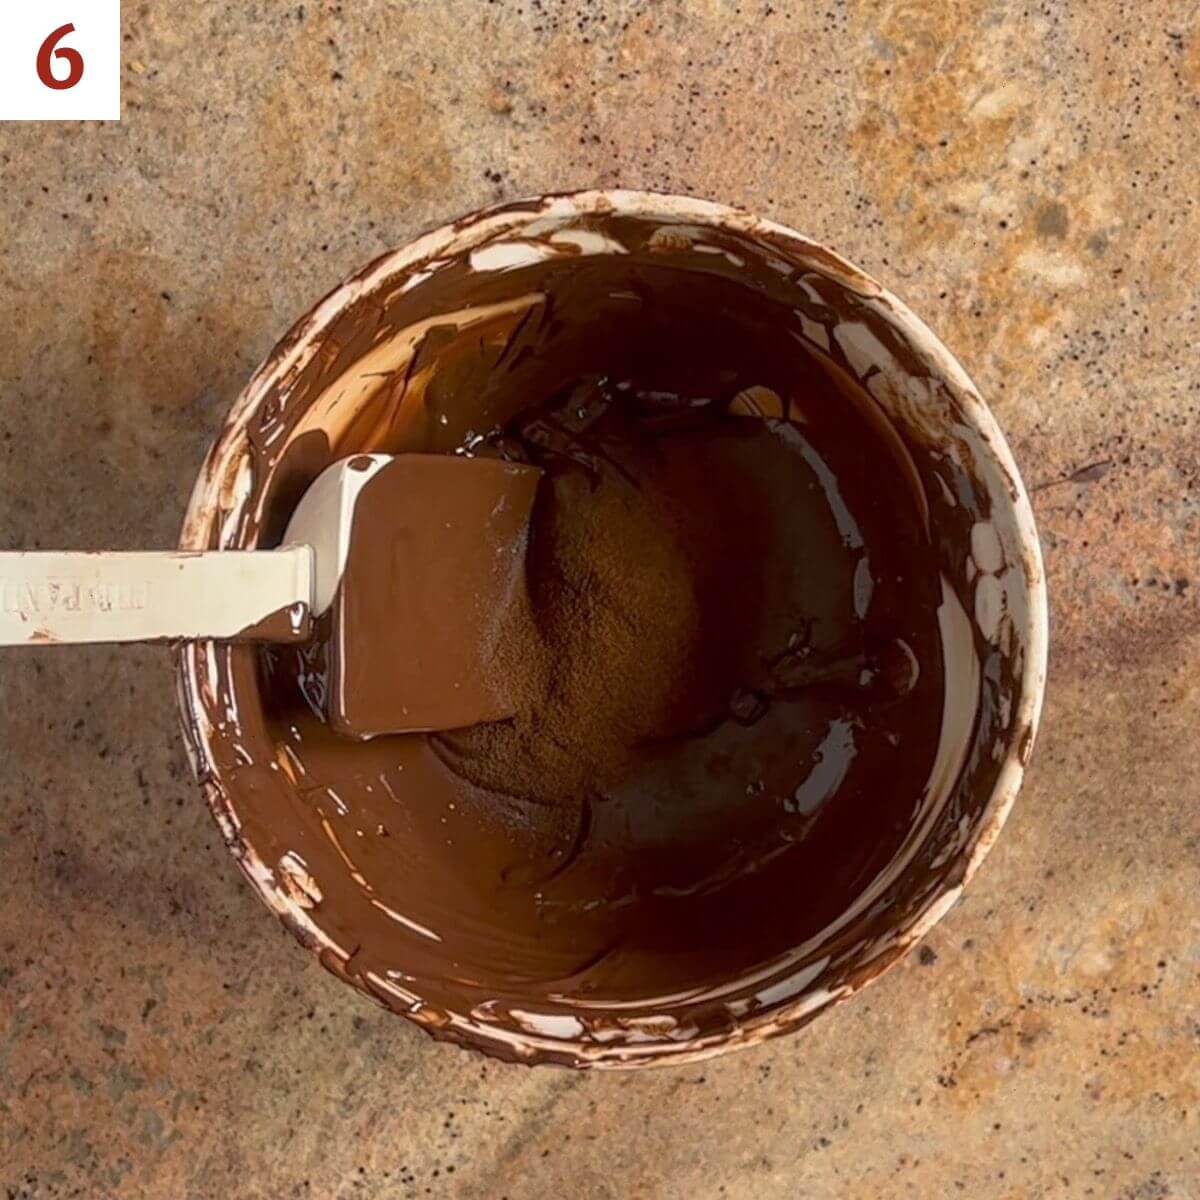
Melt and temper the chocolate, then stir in the espresso powder (photo 6). Chill the balls for 20 to 30 minutes or freeze for 10 minutes, then transfer the balls to a plate (you'll need the baking pan for dipping the truffles).
Tempering the chocolate will take the longest amount of time because you want to get that nice snap when you bite into it. Don't skip this step, and be patient.
Step 5: Dip the balls into the tempered chocolate
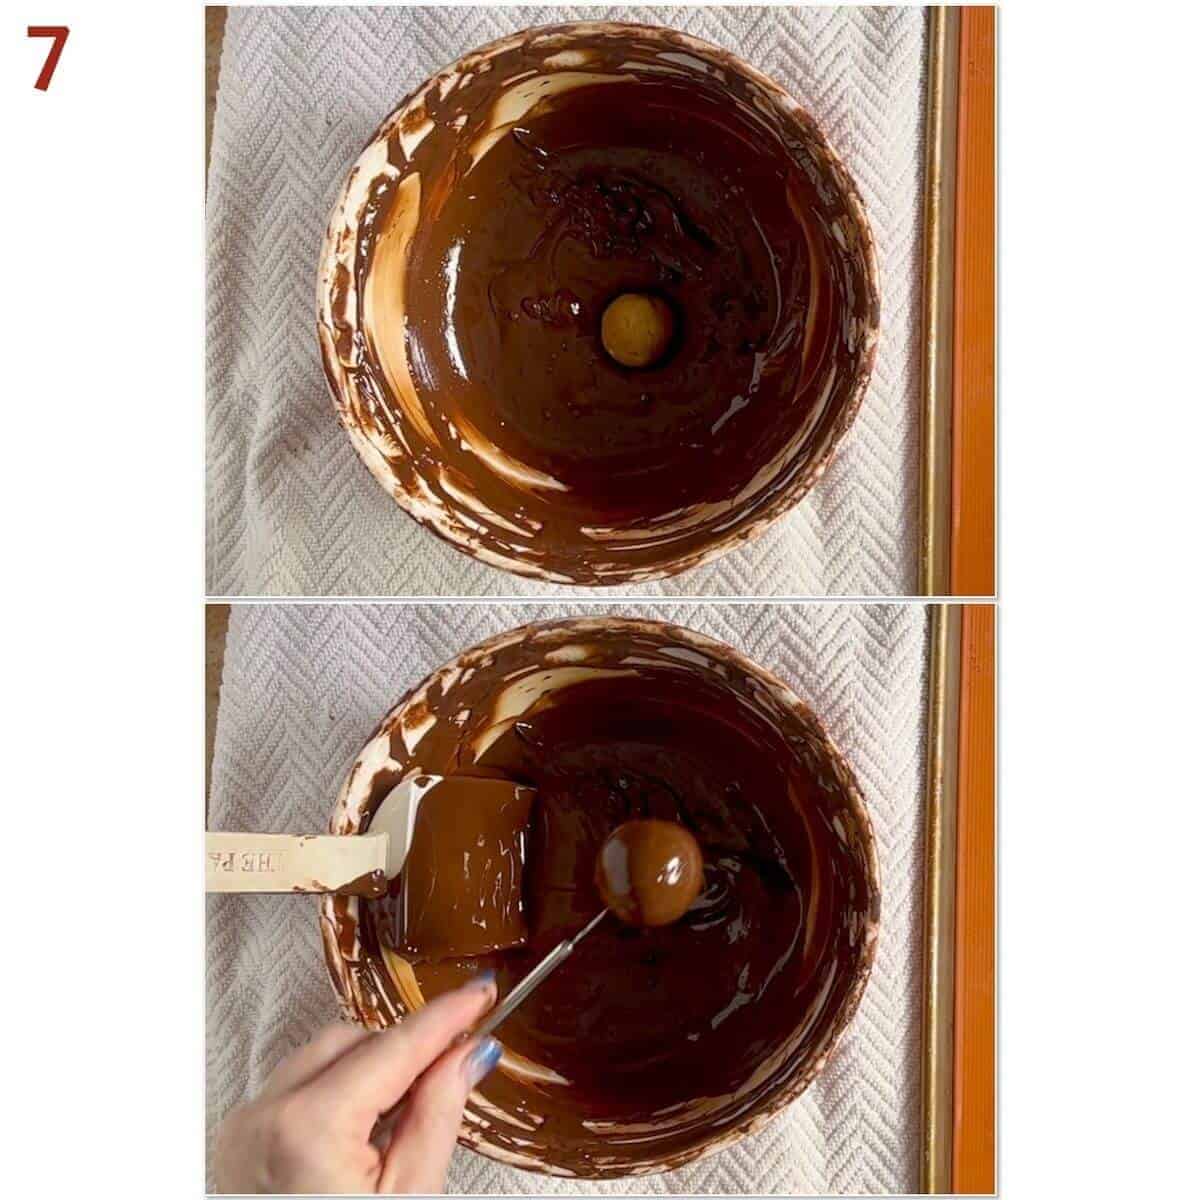
Dip a cold truffle ball into the tempered chocolate and remove using a dipping tool (photo 7).
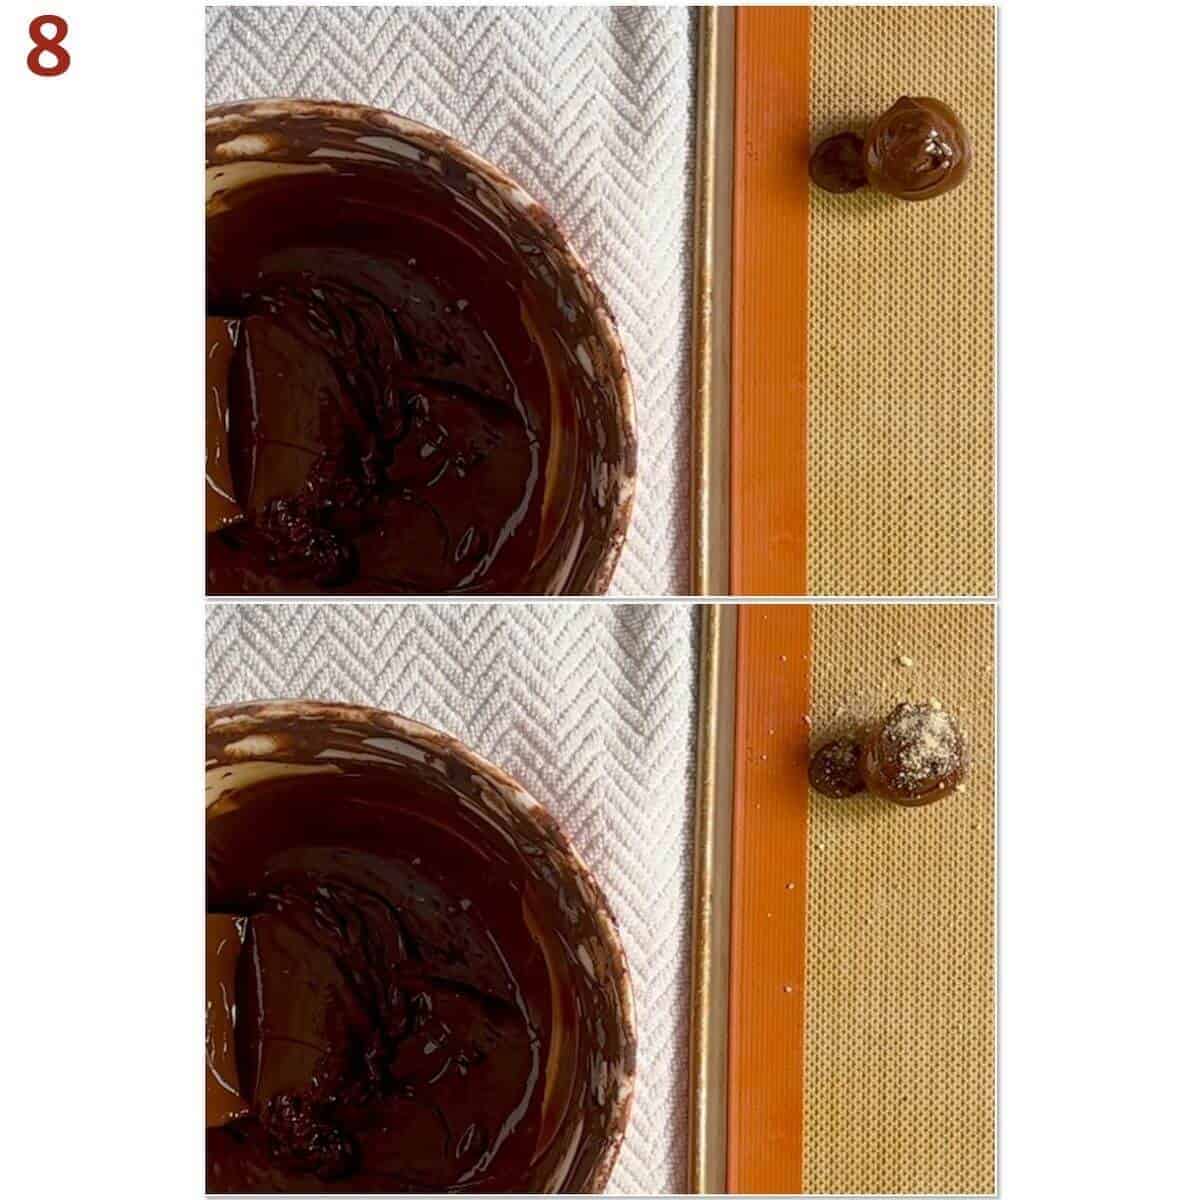
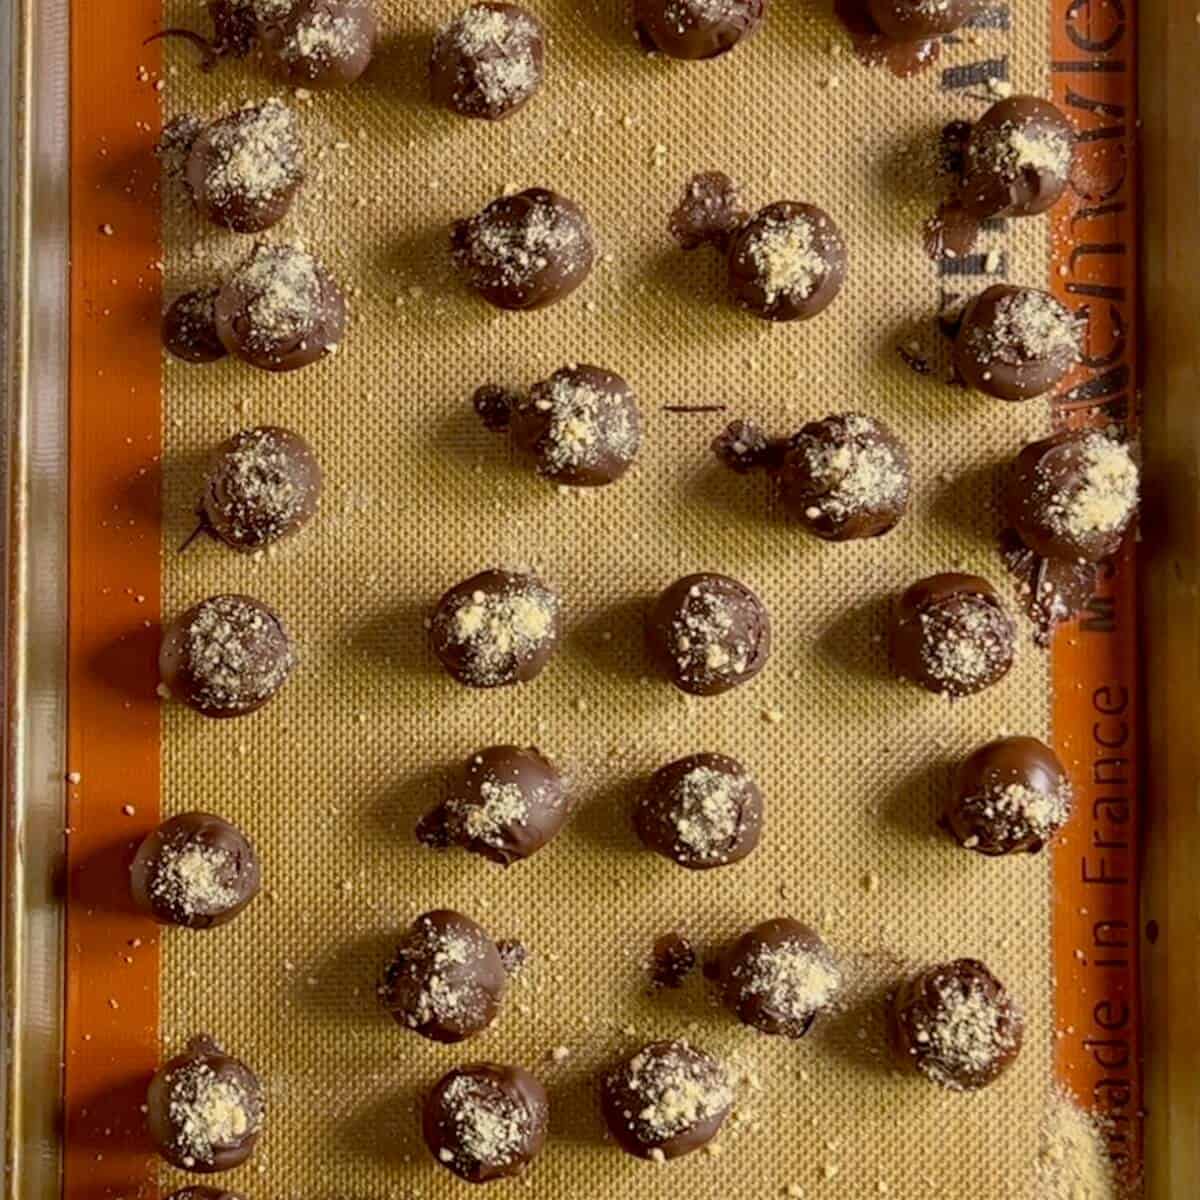
Transfer the dipped ball back to the baking pan. Sprinkle the truffle with the ladyfinger crumbs you set aside earlier (photo 8). Repeat for the remaining truffles.
Storage and make-ahead instructions
Storage instructions: Store the tiramisu truffles in an airtight container in the refrigerator for about a week. Bring them to room temperature before serving.
Make-ahead instructions: Store the un-dipped truffle balls in a closed container for 2 days, or freeze them in a ziplock bag for up to 3 months.
What is tempered chocolate?
Tempering chocolate is when you heat and cool melted chocolate to specific temperatures (based on the type of chocolate you’re using) in order to get the cocoa crystals to align properly.
Why do you need to temper chocolate? Because untempered chocolate has a dull finish, doesn’t snap (it breaks feebly or bends instead), and can develop a whitish powdery substance on the surface (called blooming). It's fine, but not great.
In other words, just melting chocolate and sticking stuff into it just won’t cut it if you want a quality product. Tempering the chocolate gives you a coating that will have a satisfying snap when broken (or bitten into), and the coating is shiny and attractive. That's pro-level results!
Questions asked and answered
Here are some questions you might have...
In classic tiramisu, espresso and cocoa play a predominant role. To a lesser extent, there is usually an alcoholic component as well. For these truffles, we use espresso in 2 forms (in the filling and in the melted chocolate). Kahlua adds a boozy kick, although it's mild and can be skipped, if desired.
Mascarpone cream and ladyfingers dipped in espresso usually appear in a layered tiramisu dessert. Tiramisu truffles emulate that with a filling made of ladyfinger crumbs mixed with mascarpone cheese and strong espresso.
More fudge and candy recipes to try
Recipe

No-Bake Tiramisu Truffles
Equipment
- food processor
Ingredients
For the filling
- 24 ladyfingers, see Recipe Notes
- 2 tablespoons granulated sugar
- ⅔ cup mascarpone cheese, at room temperature, see Recipe Notes
- 3 tablespoons espresso, and/or coffee liqueur, see Recipe Notes
For the coating
- 12 ounces dark chocolate wafers, or solid chocolate bar, chopped (2 cups), see Recipe Notes
- 2 teaspoons espresso powder
Instructions
- In a food processor, pulse the ladyfingers, half the package at a time, into fine crumbs. Reserve 2 tablespoons to sprinkle on the truffles later. Transfer the remaining crumbs to the bowl of a stand mixer or a large bowl. Add the sugar and whisk until combined.
- Using a stand mixer fitted with a paddle attachment or a hand mixer, beat in the mascarpone cheese. Add the espresso and/or liqueur, one tablespoon at a time, until the texture is like a soft cookie dough. Cover with plastic wrap and chill for at least 1 hour.
- Line a half sheet baking pan with a Silpat silicone mat or parchment paper. Remove the filling from the fridge. Using a small cookie scoop, shape the filling into 1-inch balls and place them on the prepared baking pan. Chill the balls for 20 to 30 minutes or freeze for 10 minutes, then transfer the balls to a plate (you'll need the baking pan for dipping the truffles).
- Melt and temper the chocolate and stir in the espresso powder. Dip a cold truffle ball into the tempered chocolate and remove using a dipping tool and transfer it back to the baking pan. Sprinkle the truffle with the ladyfinger crumbs you set aside earlier. Repeat for the remaining truffles.
- Chill the truffles for 15 to 20 minutes to allow the chocolate to set.
- Storage instructions: Store the tiramisu truffles in an airtight container in the refrigerator for about a week. Bring them to room temperature before serving.
- Make-ahead instructions: Store the un-dipped truffle balls in a closed container for 2 days, or freeze them in a ziplock bag for up to 3 months.





Briana says
These were delicious, even worth the hassle of tempering the chocolate!
Tammy says
I'm so glad you liked them! 🙂
Catherine says
I’m not usually a big fan of tiramisu, but these truffles were delicious!! Had some issues tempering the chocolate but once I figured that out, everything went smoothly, I definitely want to make these again!
Shira Spencer says
These were so yummy, and the presentation was just beautiful!