Tempering chocolate requires time and patience, but the shiny snap of tempered chocolate is worth the effort. Here's how to temper chocolate, plus tips and techniques to help you get professional level results!

Jump to:
Why these instructions work
- Using the seeding method to temper chocolate is the easiest for the home chef
- Your treats will be glossy, smooth, with a sharp mouth-pleasing snap when bitten
Working with chocolate puts me in a temper (Hahaha!...wait, you don’t get the joke? Keep reading, then…).
That’s not to say that I don’t love eating the food of the gods. Good dark chocolate is one of the pleasures in life. It’s healthy, too, full of anti-oxidants and flavonoids and all sorts of other buzzwords that I use to justify my nibbles.
No, it’s tempering melted chocolate that’s the problem. Water is your enemy in that it will make your chocolate seize up, and temperature, well, let’s say that being precise is just the beginning.
While the process to get the chocolate in temper might be tedious, the results are definitely worth it. Be the hero of your social circle by bringing in some chocolate dipped goodies.
If you do, let me know how it goes. I’ll be calm and even-tempered by then!
What is tempered chocolate?
The answer lies with science. Specifically, the crystalline fat structure that makes up a piece of chocolate.
[Nerd alert: Here comes the science-y stuff!]
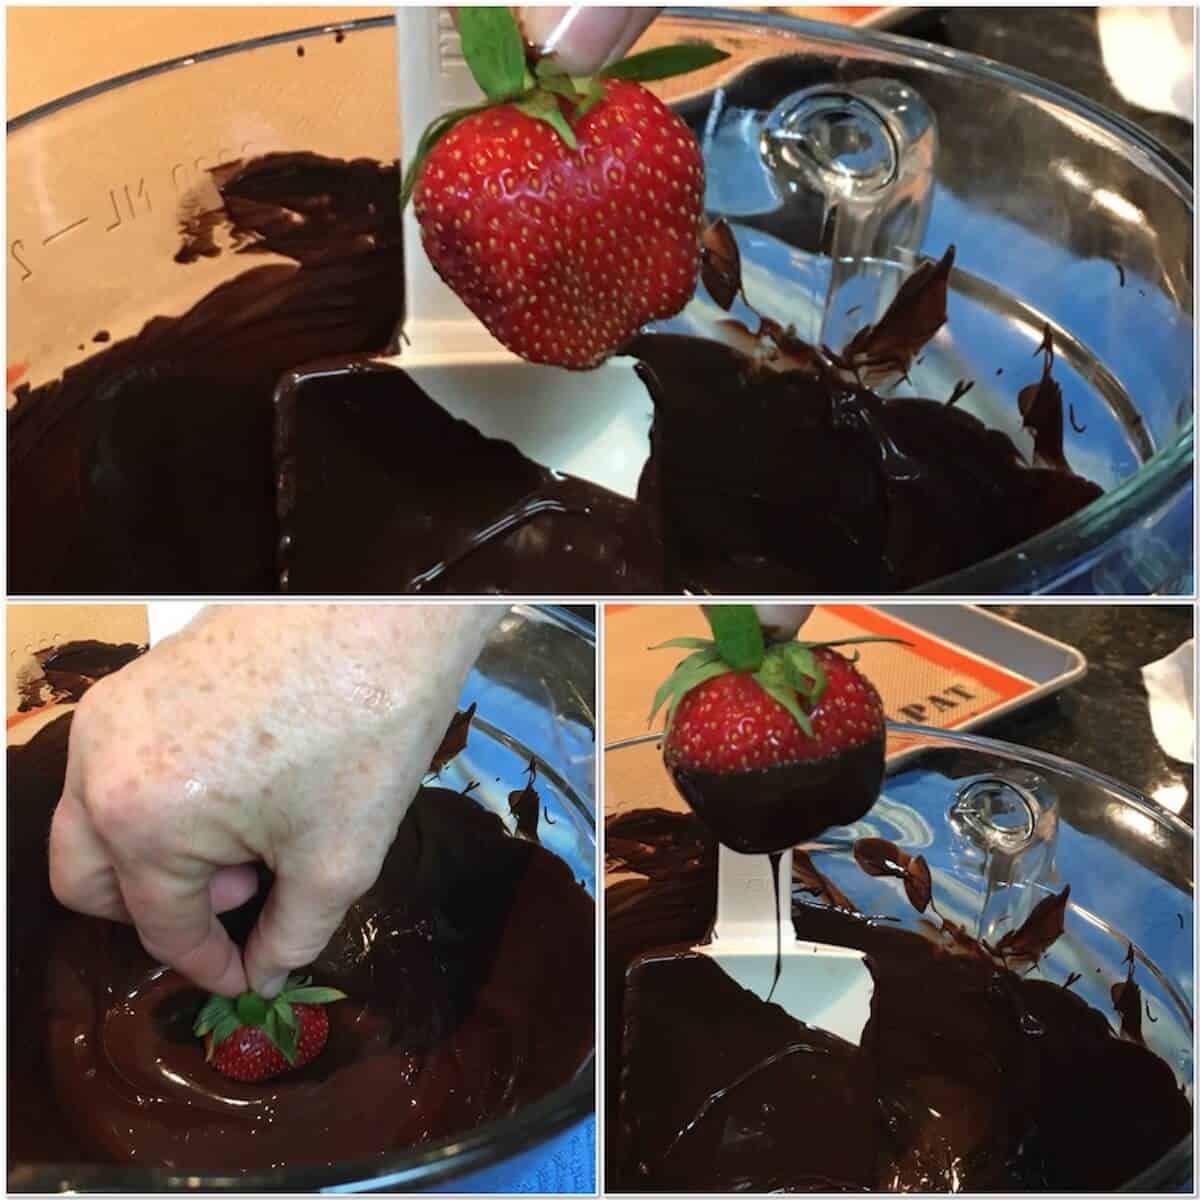
In untempered melted chocolate, the cocoa butter crystals (specifically the beta crystals) have not been aligned, leading to some undesirable qualities. When that chocolate is used for dipping, say, a strawberry, you get a dull finish, a wimpy, bendy bite, and a general air of “I-just-melted-some-chocolate-to-dip-stuff-in-leave-me-alone” hanging about.
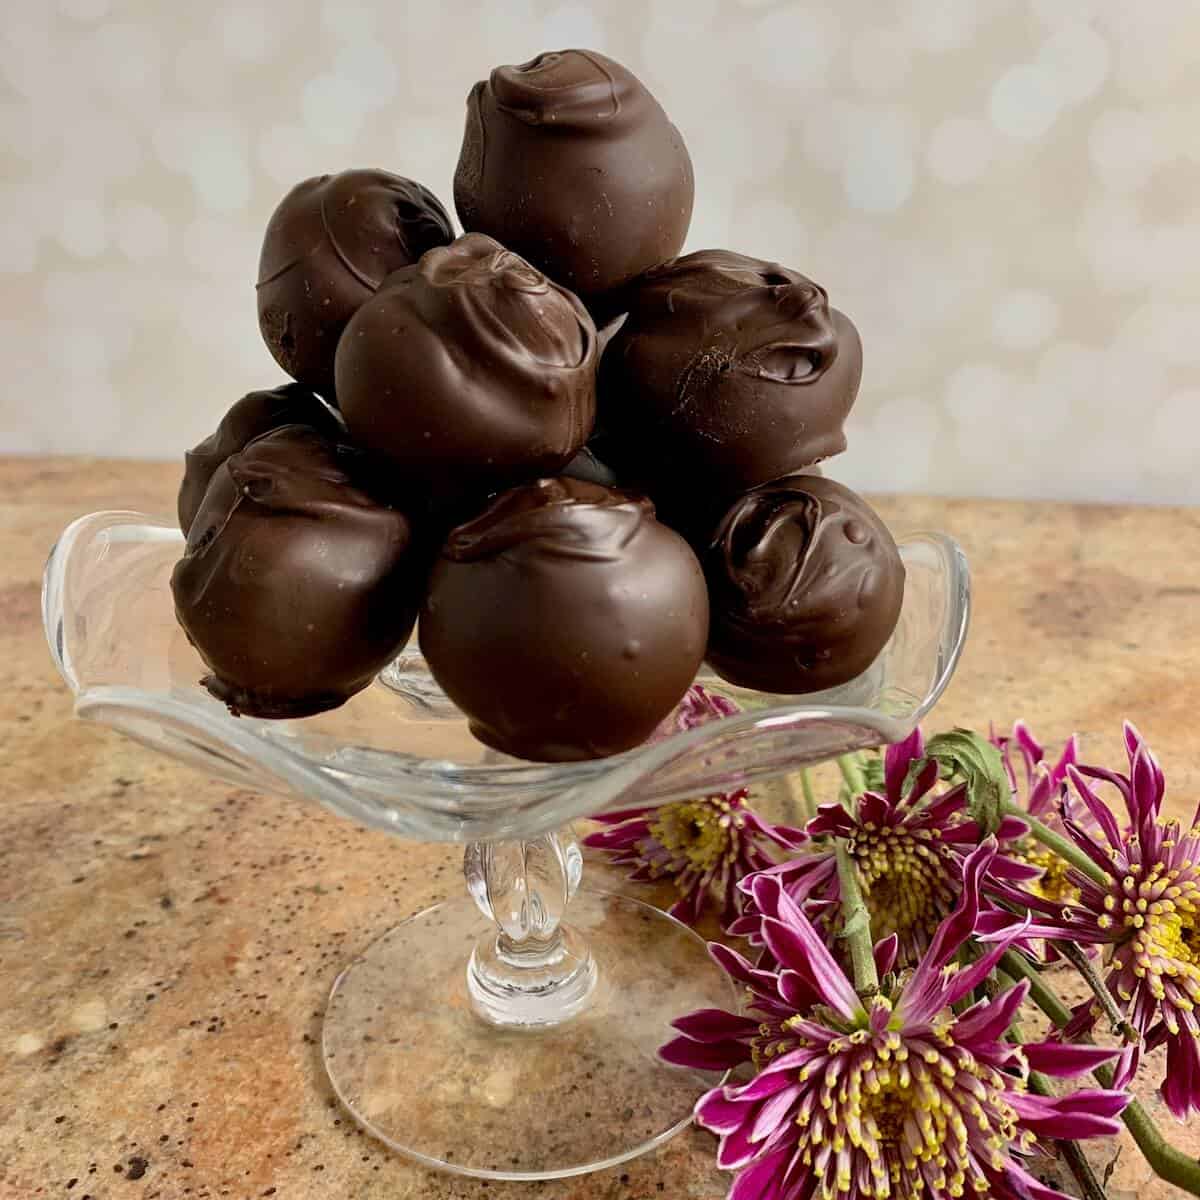
Why temper chocolate? Doing so brings those fat crystals into line, and the heavens open and the angels sing. Those chocolate dipped strawberries are showstoppers - glossy, smooth, with a sharp mouth-pleasing snap when bitten.
Recipe Ingredients
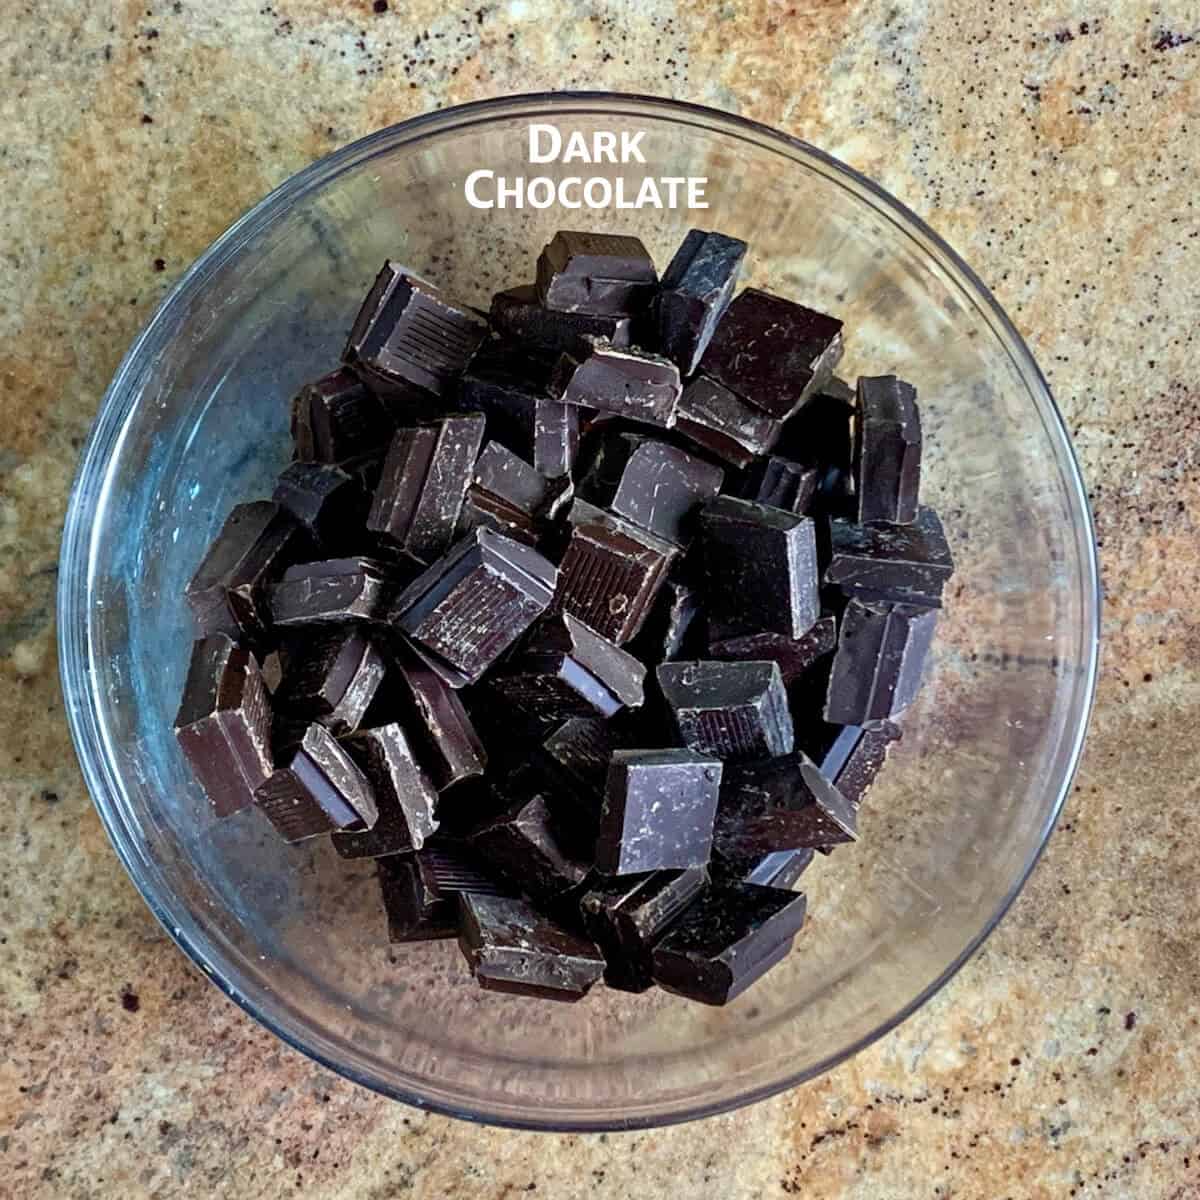
You only need one ingredient to temper chocolate:
Ingredient Notes
Chocolate: Any type - dark, semisweet, milk, or white chocolate. And yes, technically white chocolate isn't chocolate, but it still works better for dipping when it's tempered.
You might be tempted to use chocolate chips instead of chopping a block of chocolate, but try to avoid that impulse. Many types of chocolate chips have ingredients (stabilizers and preservatives) that interfere with tempering. Best to stick with high quality chocolate for tempering, like chocolate wafers or a solid bar of chocolate, and leave the chips in the pantry this time.
There are candy melt products (aka chocolate compound products) on the market that mimic the snap of tempered chocolate, but they contain additives and hydrogenated oils. The finished product will have an artificial taste that isn't appealing (in my opinion), no matter the convenience.
Equipment Notes
When tempering chocolate, the proper equipment is very helpful to achieve success.
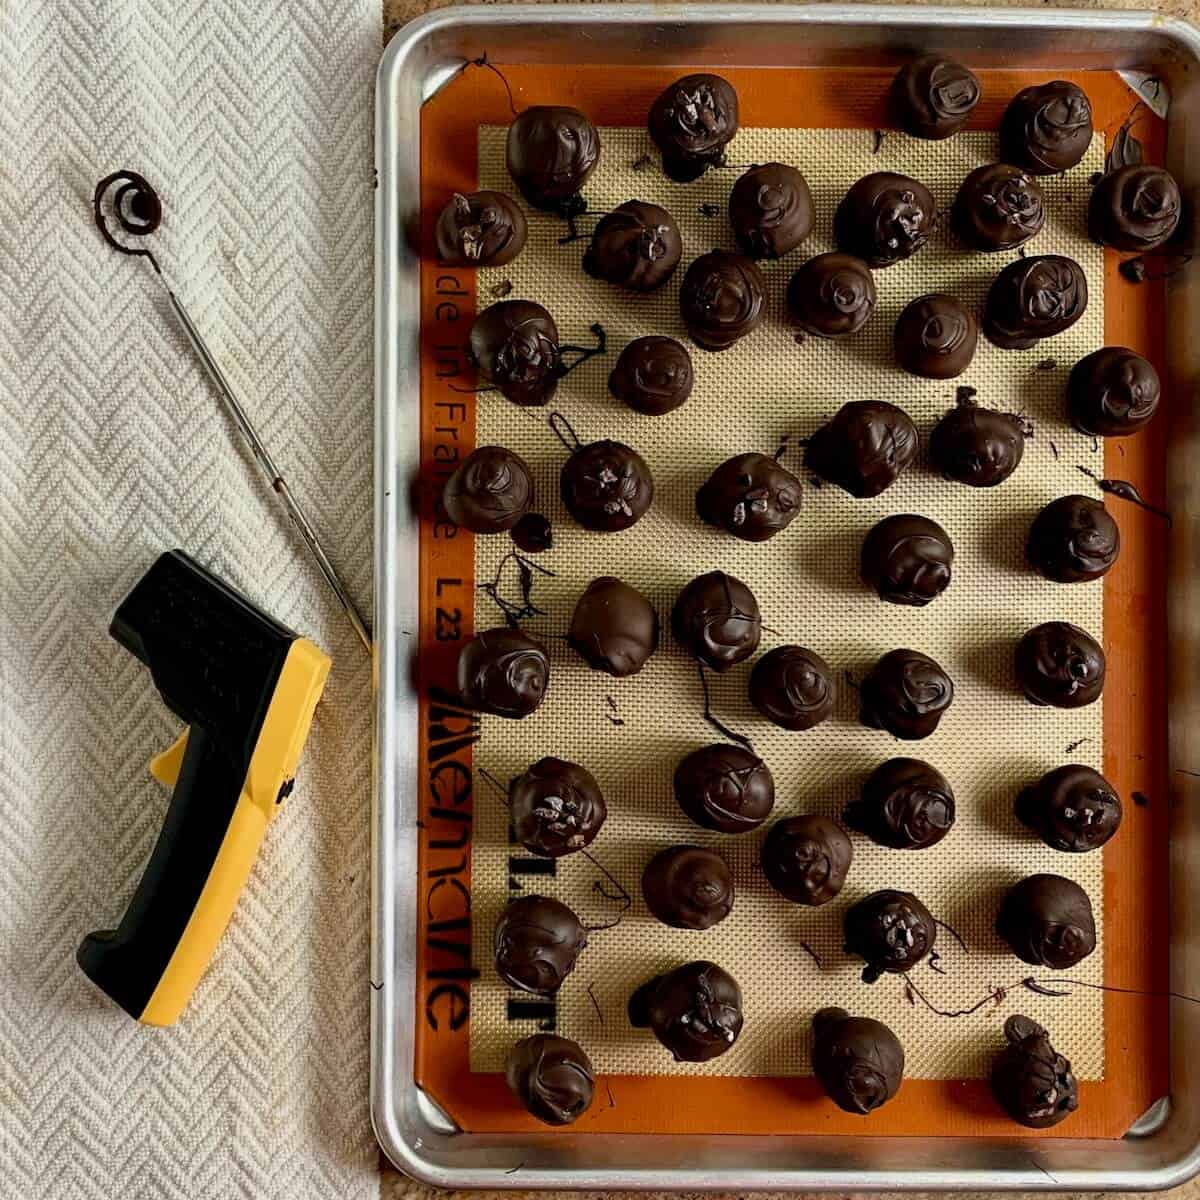
Thermometer: This is the time to invest in a good digital thermometer or an infrared temperature gun. Precision is key here.
Dipping tools: While you can use your fingers or a fork, special dipping tools will be helpful when you dip small, slippery items.
How to temper chocolate
To temper chocolate, you heat it until it’s fully melted, then cool it down until it reaches a specific temperature range. That range differs for different types of chocolate.
After you get the melted chocolate to the correct temperature, you have to keep it at that temperature (i.e. not let it cool) while you’re working with it or the chocolate becomes too hard to work with.
This process is not for the faint of heart (or the impatient).
Tempering chocolate temperatures
You can temper white, milk, semisweet, and dark chocolate using the appropriate temperatures:
| Chocolate Type | Melting Temp | Cooling Temp | Holding Temp |
| Dark or Semisweet | up to 122ºF (50ºC) | 82 to 84°F (28 to 29°C) | 88 to 91°F (31 to 33°C) |
| Milk or White | up to 113ºF (45ºC) | 79 to 81ºF (26 to 27ºC) | 84 to 86ºF (28 to 30ºC) |
The seeding method
Searching the internet will yield many sites with instructions on how to temper chocolate. King Arthur Baking had a good, clear overview of the topic and methods. There are several ways, but I’ll focus on what's called the seeding method because it's the easiest for the home chef.
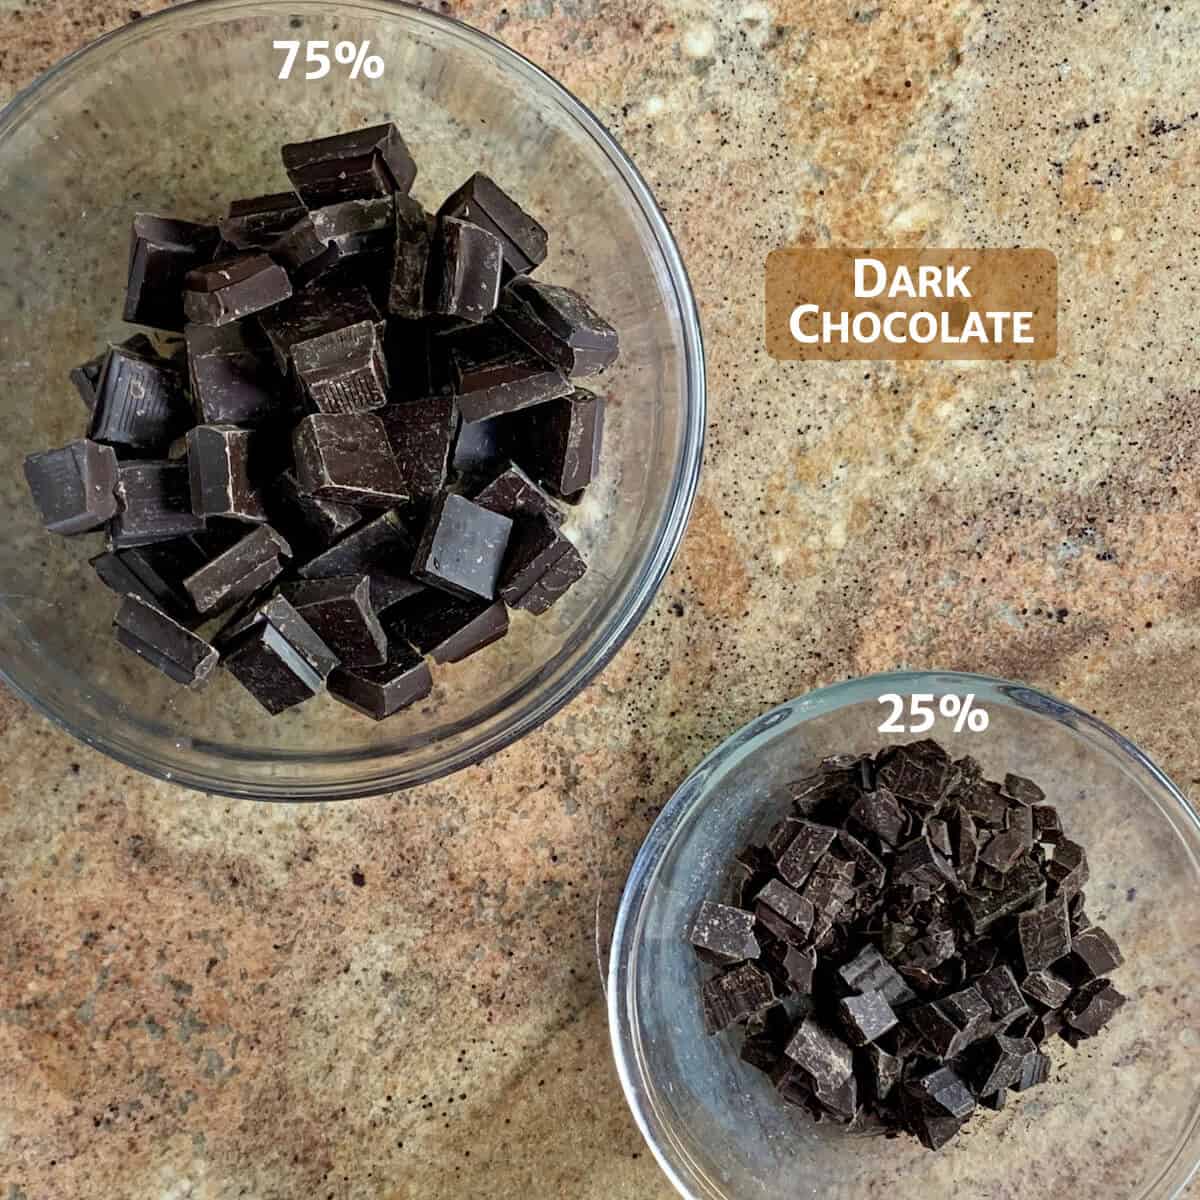
With the seeding method, you melt most of the chocolate, then use the remainder to gradually bring the temperature down. This encourages the melted chocolate to get into alignment, so to speak.
Step 1: Melting the chocolate
If you're using a chocolate bar, chop it using a serrated knife. Finely chopped chocolate melts faster and more evenly, but at least chop it into small chunks.
Start by melting ¾ of your chocolate. For most home tempering projects, one pound is a good amount to work with, two pounds are even better (photo 1). Use a digital thermometer or an infrared temperature gun to make sure the melted chocolate doesn’t go over 122°F (50ºC) for dark and semisweet chocolate or 113°F (45ºC) for milk and white chocolate.
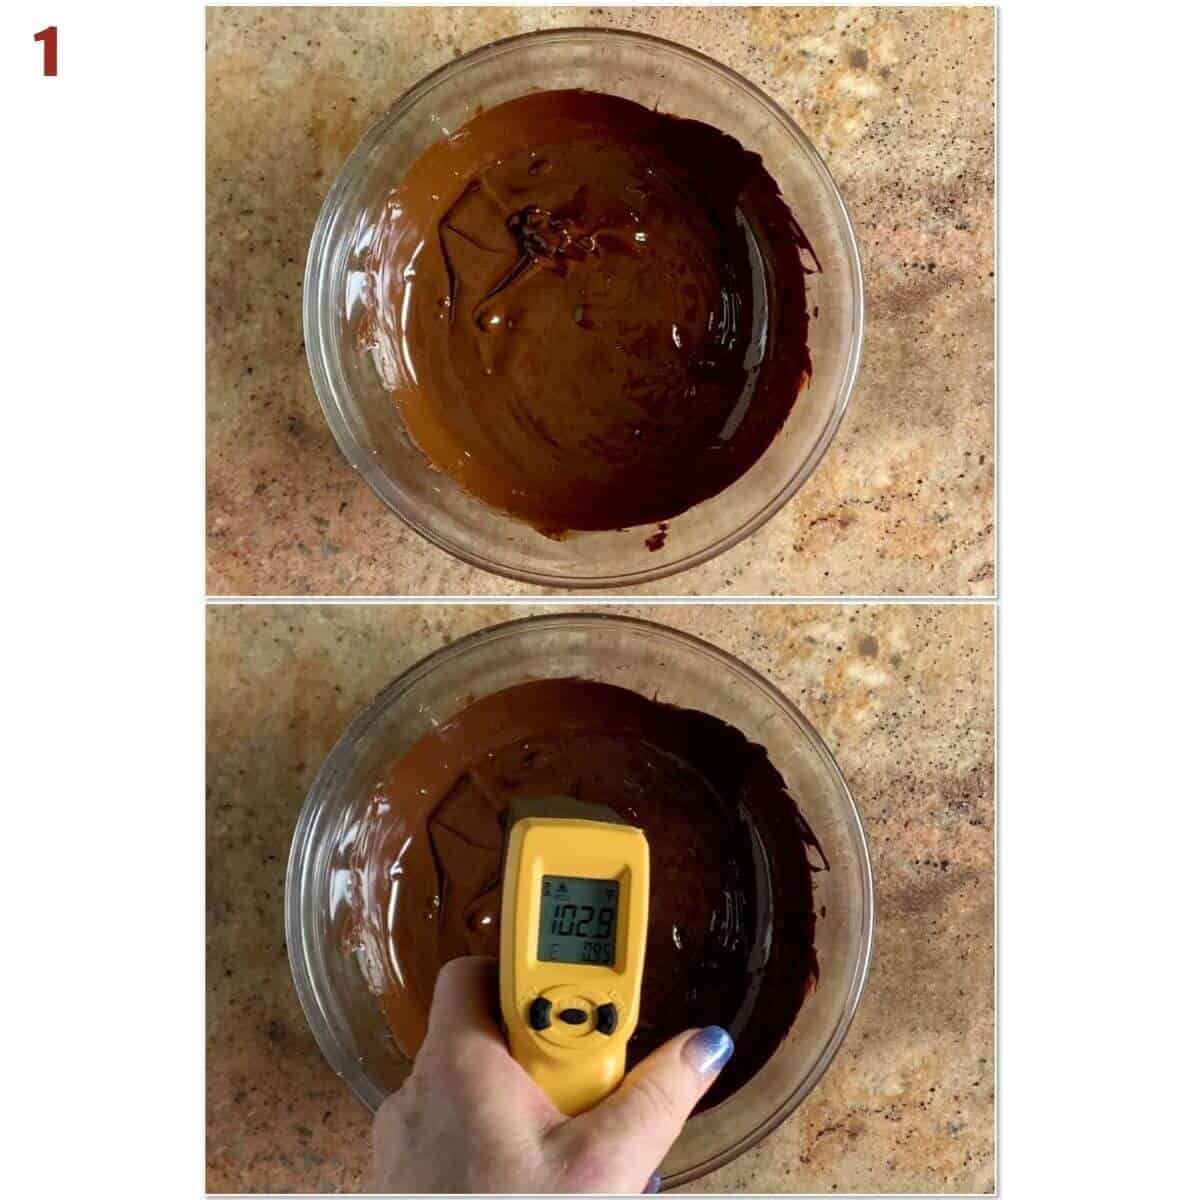
How to melt chocolate
Here are three methods you can use. Whichever method you choose, be careful not to heat the chocolate above 122°F or it will burn.
- Use a microwave-safe bowl and melt in 20 to 30 second bursts at half power until the chocolate is almost melted. Remove from the microwave and stir until the chocolate is completely melted.
- Use a saucepan or large bowl set above 1-inch of simmering water, being careful that the bottom isn't sitting in the water itself and being careful that no water gets in the chocolate.
- Use a tempering machine set to 120°F. Remove the bowl from the machine once the chocolate is mostly melted and stir until it is completely melted.
Step 2: Cooling the chocolate
Once the chocolate is melted, add the reserved chocolate, a bit at a time, and stir until the chocolate cools to 82 to 84°F (28 to 29°C) for dark and semisweet chocolate or 79 to 81ºF (26 to 27ºC) for milk and white chocolate. When the chocolate reaches the correct temperature, check to see if the chocolate is ready (photo 2).
This is the step that takes the longest, and it's really when your patience gets tested.
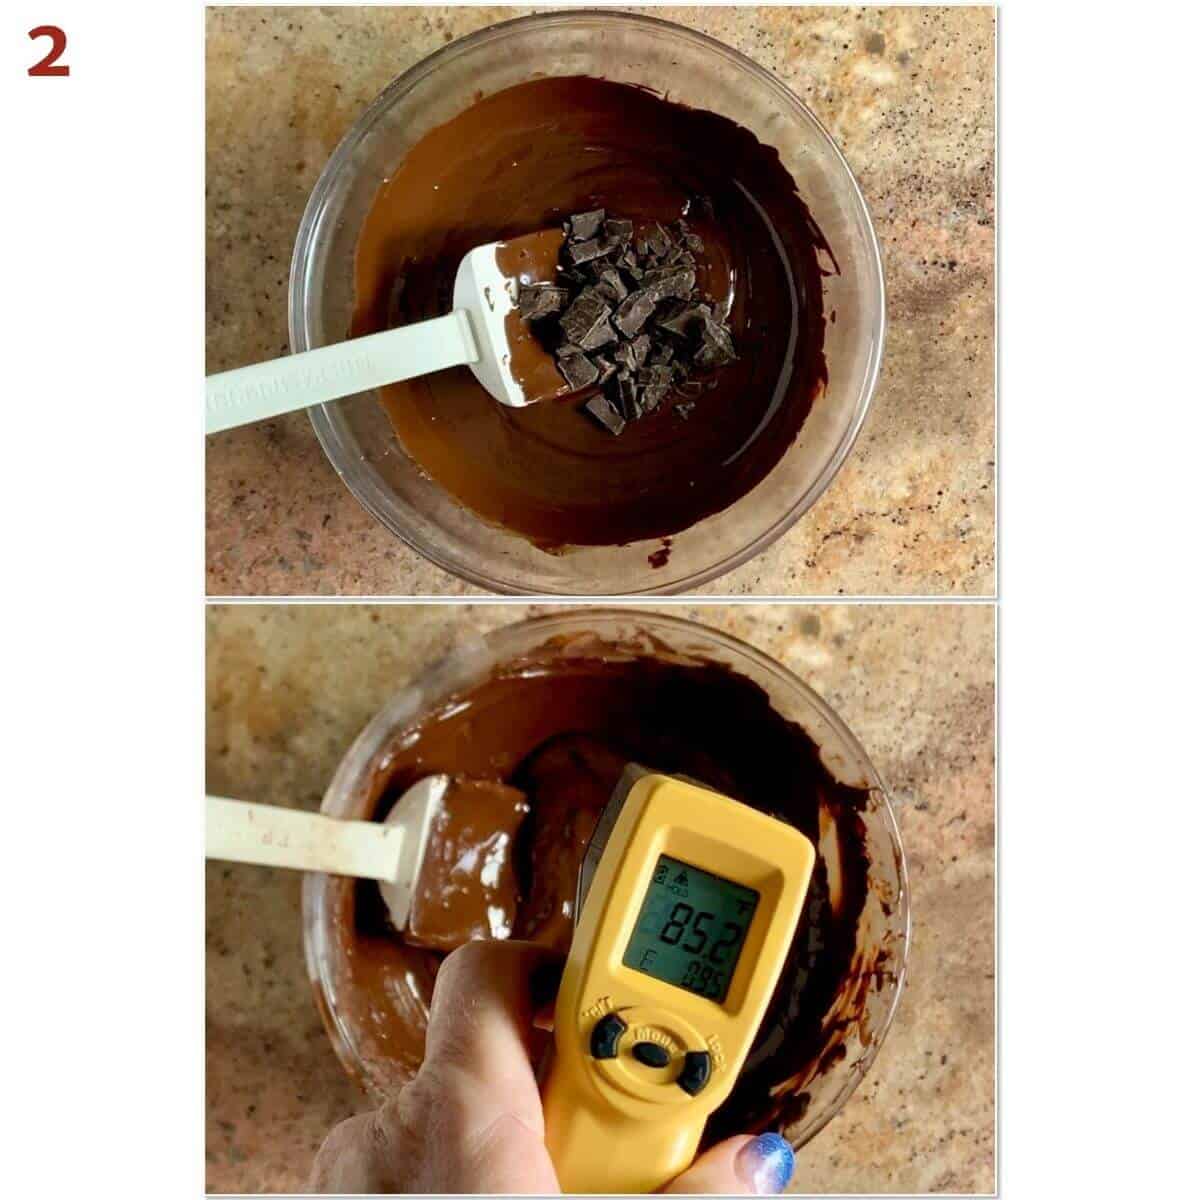
Step 3: Testing the temper
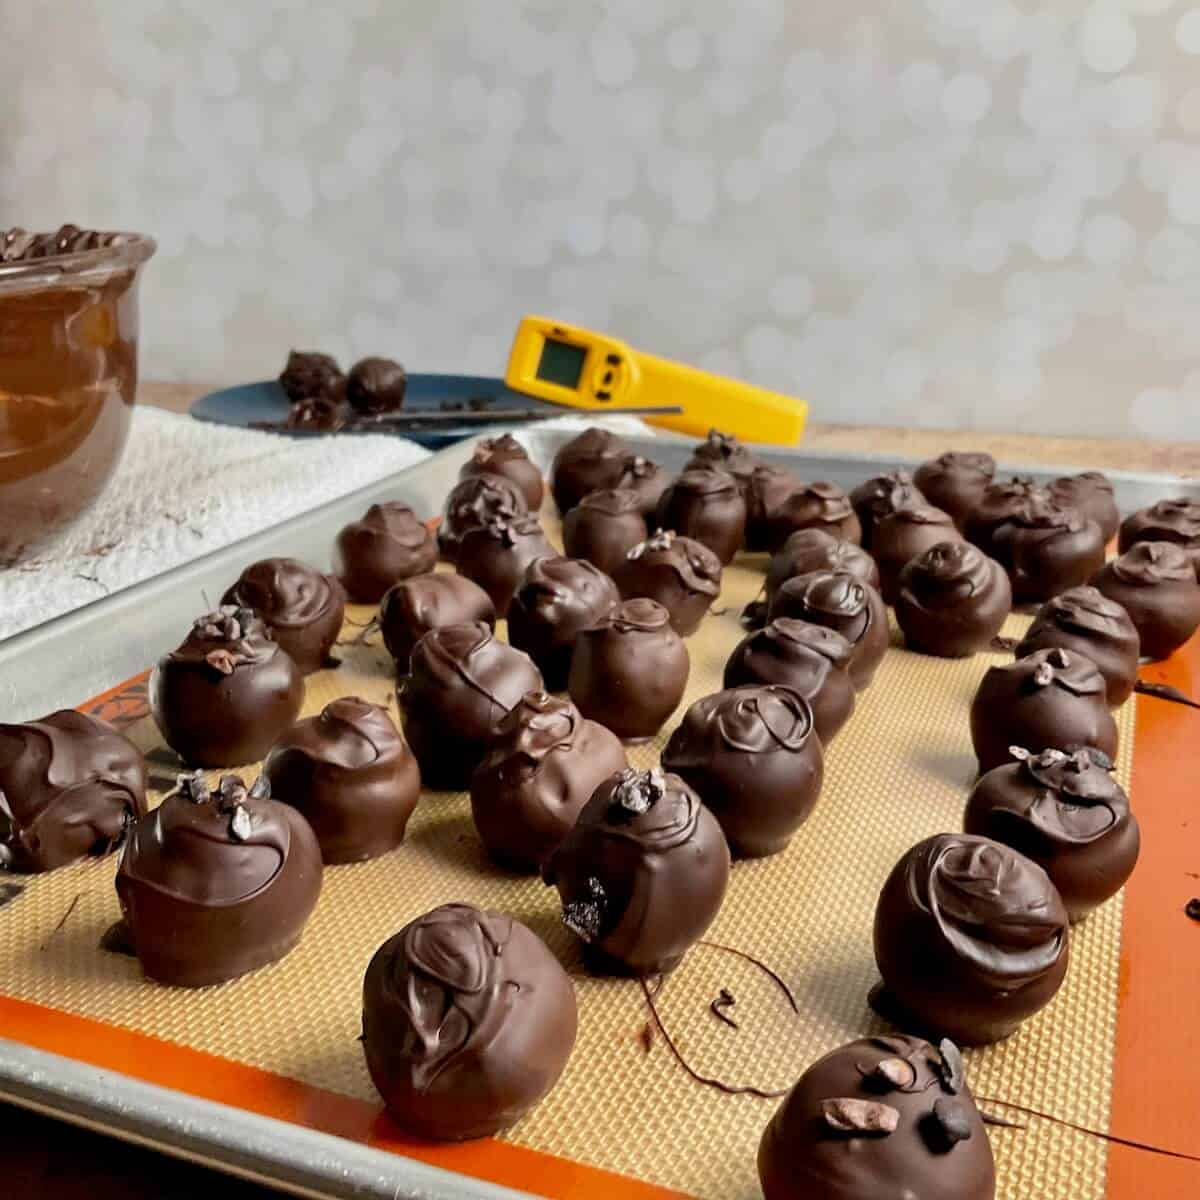
To test if the chocolate is in temper, place a small amount on a half sheet baking pan lined with a Silpat silicone mat or parchment paper and wait for it to dry, about 3 to 5 minutes. If the chocolate appears shiny, and it snaps when broken in half, it's ready for use for dipped your treats (photo 3).
If the sample appears dull or bends but doesn't snap, the chocolate isn't in temper. Unfortunately, you'll have to start over by melting and seeding again.
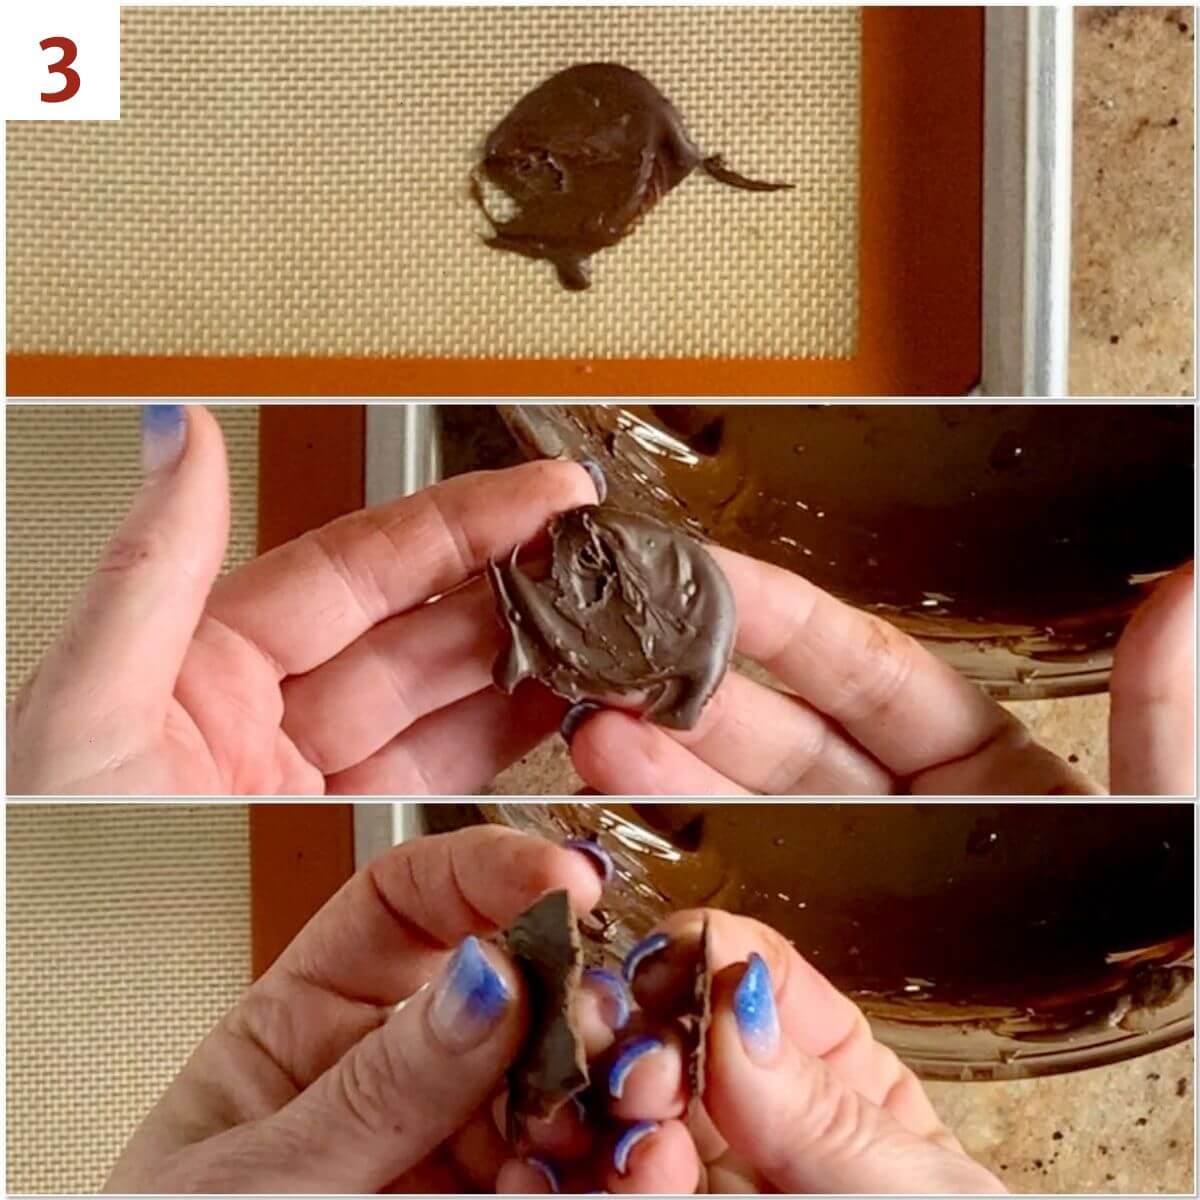
Step 4: Holding the chocolate
Once you've cooled the chocolate to the correct temperature, you need to hold it there.
Keep the chocolate in the correct holding temperature range: 88 to 91°F (31 to 33°C) for dark and semisweet chocolate or 84 to 86ºF (28 to 30ºC) for milk and white chocolate. Check your temperature occasionally to be sure you’re still within range (photo 4).
Whatever method you choose, always check the chocolate's temperature with a digital thermometer or infrared temperature gun to ensure you don't go above 91°F. Otherwise, you're out of temper and have to start again.
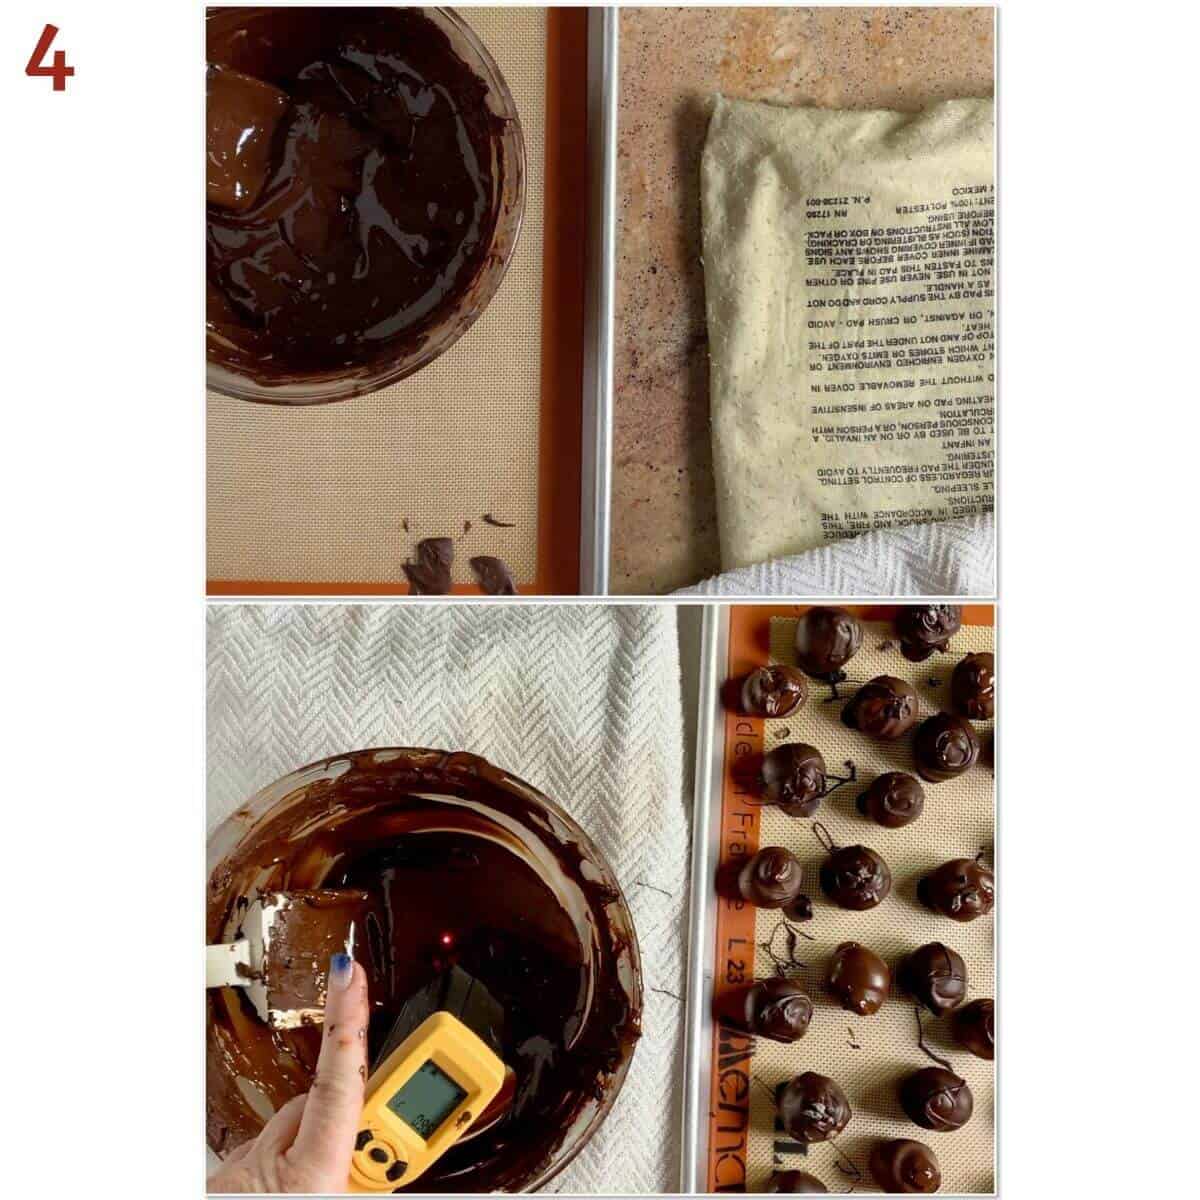
How to hold chocolate in temper
This requires a bit of ingenuity, and there are numerous ways to hold your chocolate at the correct temperature. Here are three ideas:
- Use a double boiler or a short burst at half powder in the microwave (about 15 to 20 seconds) to rewarm the chocolate
- Place your bowl on a regular heating pad turned to medium heat and covered with a dish towel
- Use a tempering machine to hold the temperature
Always keep that digital thermometer handy as you don't want to warm the chocolate too much. That will take the chocolate out of temper and you'll have to start over again.
If you just need to warm the surface of the chocolate, you can use a hair dryer set to low heat for a few seconds.
What items should I dip?
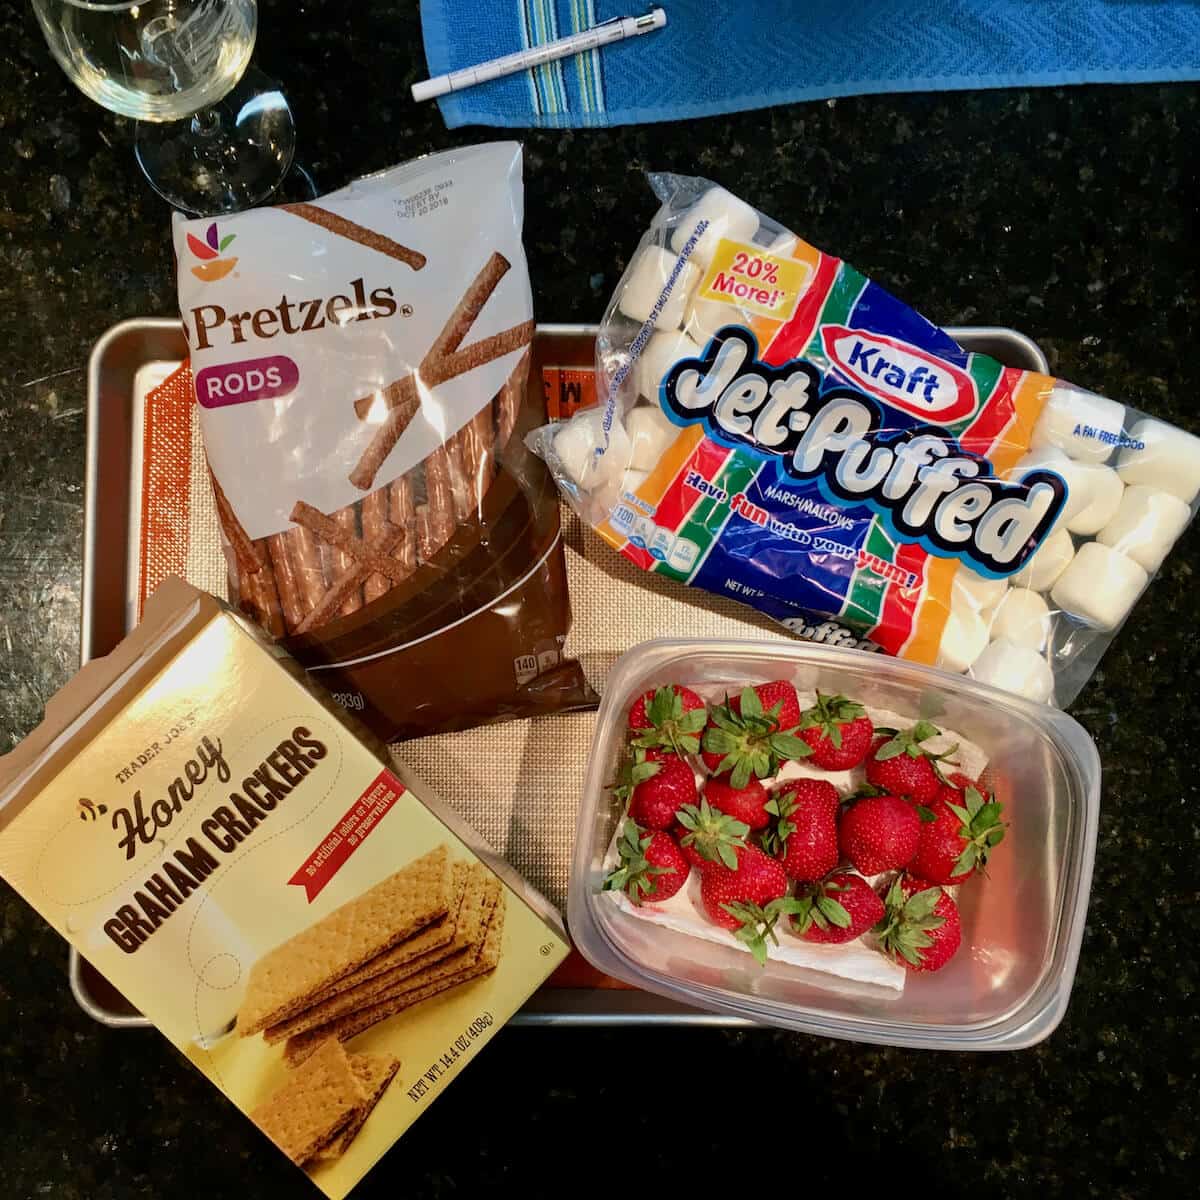
Now it’s time to dip to your heart’s content! Deciding on what to dip might require some thought. Some options can be:
- Fresh fruits: Strawberries or other berries (an obvious choice)
- Dried fruit: Dried apricots or dehydrated orange slices
- Cookies: Oreos, shortbread, Mandel Bread, and biscotti
- Snack food: Pretzel rods, graham crackers, marshmallows, and potato chips
- Truffles: Easy Chocolate Truffles (with only 4 ingredients), Chocolate Cake Truffles (which can also be made into Cake Pops), and No-Bake Tiramisu Truffles
Also, when the bowl is almost empty, you can make chocolate bark. Just spoon the remaining chocolate onto a Silpat silicone mat or parchment paper, then press things into it like chopped nuts, granola, dried fruit, or crushed-up pretzels.
The nice thing about completely covering the item in chocolate is that they'll stay fresh and won't require refrigeration. Win!
How to fix seized chocolate
Chocolate and water don't mix!
If you want to avoid disaster, never expose melted chocolate directly to water! Any water will cause the melted chocolate to seize up and get lumpy instead of smooth, ruining the entire batch. This is true whether you are tempering the chocolate or just melting it.
If your recipe requires adding ingredients that contain a liquid (butter or a flavoring liquid, like coffee or spirits), place those ingredients in with the solid chocolate and melt them at the same time.
If your chocolate does seize up, you can rescue it by adding a small amount of melted butter, oil, or water back into the mixture and stirring vigorously. However, the fixed melted chocolate won't be suitable for tempering, so save it for another purpose and start tempering over again with new chocolate.
Questions asked and answered
Here are some questions you might have...
Look for high quality chocolate wafers or a solid chocolate bar for dipping projects. There are many brands, like Guittard, Vahrhona, Ghiradelli, or Callebaut, but the word you're looking for is couverture. That is, chocolate meant for melting and dipping. In a pinch, look for chocolate with a minimal amount of soy lecithin.
You might be tempted to use chocolate chips instead of chopping a block of chocolate, but try to avoid that impulse. Many types of chocolate chips have ingredients (stabilizers and preservatives) that interfere with tempering. Best to stick with high quality baking chocolate and leave the chips in the pantry this time. I'd also avoid those candy coating disks from the store. They might be good for a quick or small project, but it won't have the same texture as true chocolate, and frankly will have little taste.
Take a small amount and spread it on wax paper, parchment paper, or a Silpat silicone mat and let it cool and harden, about 5 minutes. If the cooled chocolate is shiny and has a snap when you bend it, you're chocolate is in temper.
Yes, but melting that chocolate untempers it, and you have to get the chocolate back in temper.
More fudge and candy recipes to try
Recipe

How to Temper Chocolate Like a Pro
Equipment
- serrated knife
- microwave safe bowl
- heating pad
Ingredients
- 1 to 2 pounds chocolate, dark, semisweet, milk, or white, see Recipe Notes
Instructions
- Chop the chocolate into small pieces using a serrated knife. Set aside ¼ of the total for seeding the chocolate later.
- Melt the remaining chocolate (see the Recipe Notes on methods). Use a digital thermometer or an infrared temperature gun to make sure the melted chocolate doesn’t go over 122 °F for dark and semisweet chocolate or 113 °F for milk and white chocolate.
- Once the chocolate is melted, add the reserved chocolate, a bit at a time, and stir until the chocolate cools to 82 °F to 84 °F for dark and semisweet chocolate or 79 °F to 81 °F for milk and white chocolate. When the chocolate reaches the correct temperature, check to see if the chocolate is ready.
- To test to see if the chocolate is in temper, place a small amount on a half sheet baking pan lined with a Silpat silicone mat or parchment paper and wait for it to dry, about 3 to 5 minutes. If the chocolate appears shiny, and it snaps when broken in half, it's in temper and ready for use for dipped your treats. Place your dipped treats on the Silpat or parchment paper to dry and harden.
- If the sample appears dull or bends but doesn't snap, the chocolate isn't in temper. Unfortunately, you'll have to start over by melting and seeding again.
- Keep the chocolate in the correct holding temperature range: 88 °F to 91 °F for dark and semisweet chocolate or 84 °F to 86 °F for milk and white chocolate. This requires a bit of ingenuity, so see the Recipe Notes for some ideas. Check your temperature occasionally to be sure you’re still within range.
Notes
- Use a microwave-safe bowl and melt in 20 to 30 second bursts at half powder until the chocolate is almost melted. Remove from the microwave and stir until the chocolate is completely melted.
- Use a saucepan or large bowl set above 1-inch of simmering water, being careful that the bottom isn't sitting in the water itself and being careful that no water gets in the chocolate.
- Use a tempering machine set to 120°F. Remove the bowl from the machine once the chocolate is mostly melted and stir until it is completely melted.
- Use a double boiler or a short burst at half powder in the microwave (about 15 to 20 seconds) to rewarm the chocolate
- Place your bowl on a regular heating pad turned to medium heat and covered with a dish towel
- Use a tempering machine to hold the temperature






Elizabeth Dasilva says
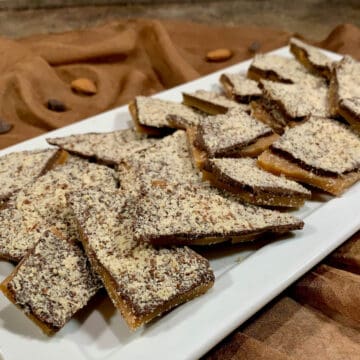
I dipped sponge toffee squares into milk chocolate, but the result was less than perfect. After the chocolate hardened and dried a few days later, it developed a clouded look and not very appealing. It looked like a bloom to me. It looked like the chocolate was old. Can you help me?
Tammy Spencer says
Hi Elizabeth, chocolate bloom is certainly frustrating, usually occurring from extreme temperature changes. Even though it’s unsightly, the chocolate itself is safe to eat. As far as how to avoid it, I found this article that goes into detail what to do about it. Good luck!