Jump to:
Why this recipe works
- An adaptation of bakery classic black and white cookies
- Easy to make light, spongy yellow cake
- You get a delicious mouthful of chocolate and vanilla icing in every slice
Many people love the black and white cookies that are found in bakeries and corner delis. The ones that have black and white icing (one on each side) on a soft, cake-like cookie. Usually jumbo-sized, these cookies have a slight lemony flavor to balance out the sweetness of the icings.
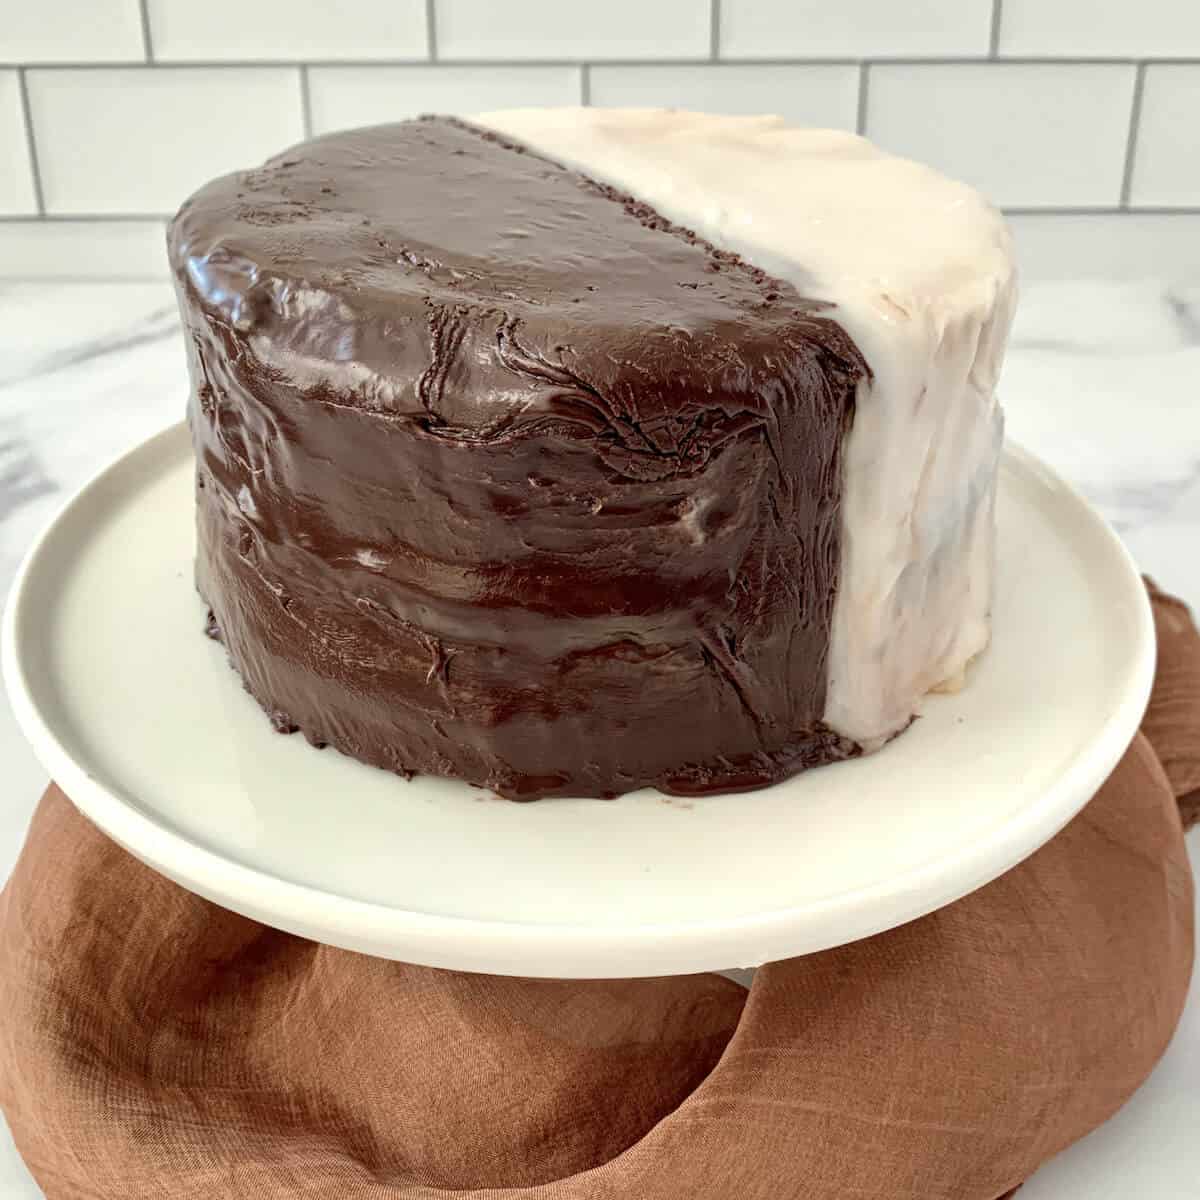
What is a Black and White Cake then? Is it vanilla cake with chocolate frosting? Sometimes, but not this time. Here, it's all about the icings.
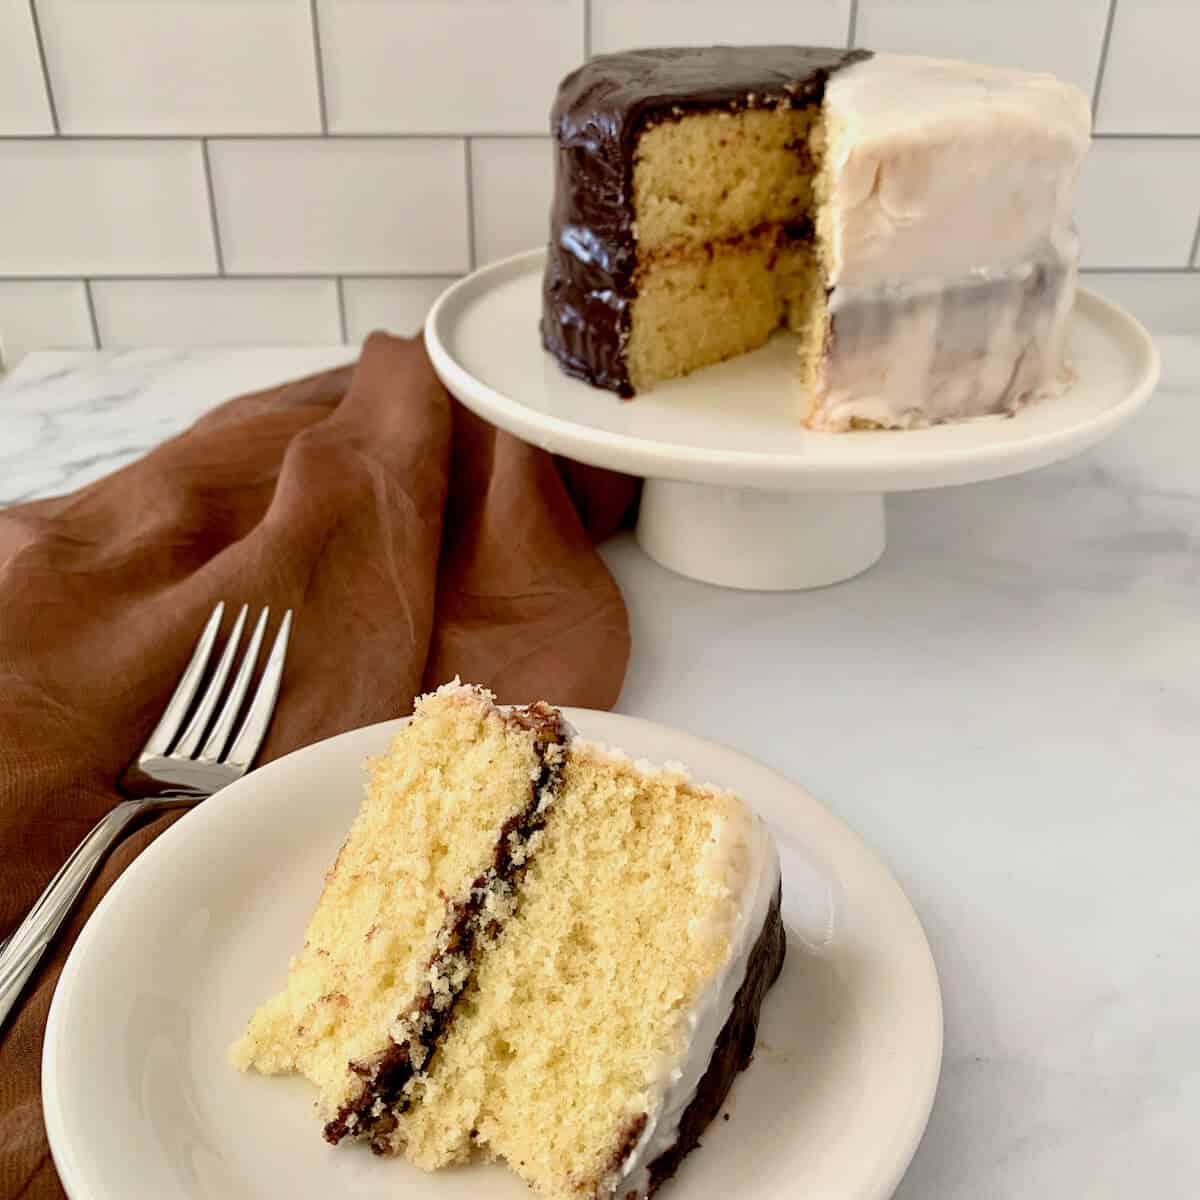
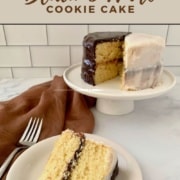
The idea is to make a light, spongy yellow cake (the "cookie" part) and frost it with chocolate icing on the one side and vanilla icing on the other. The filling have the opposite icings. What you want is for every slice to have chocolate and vanilla icing in it.
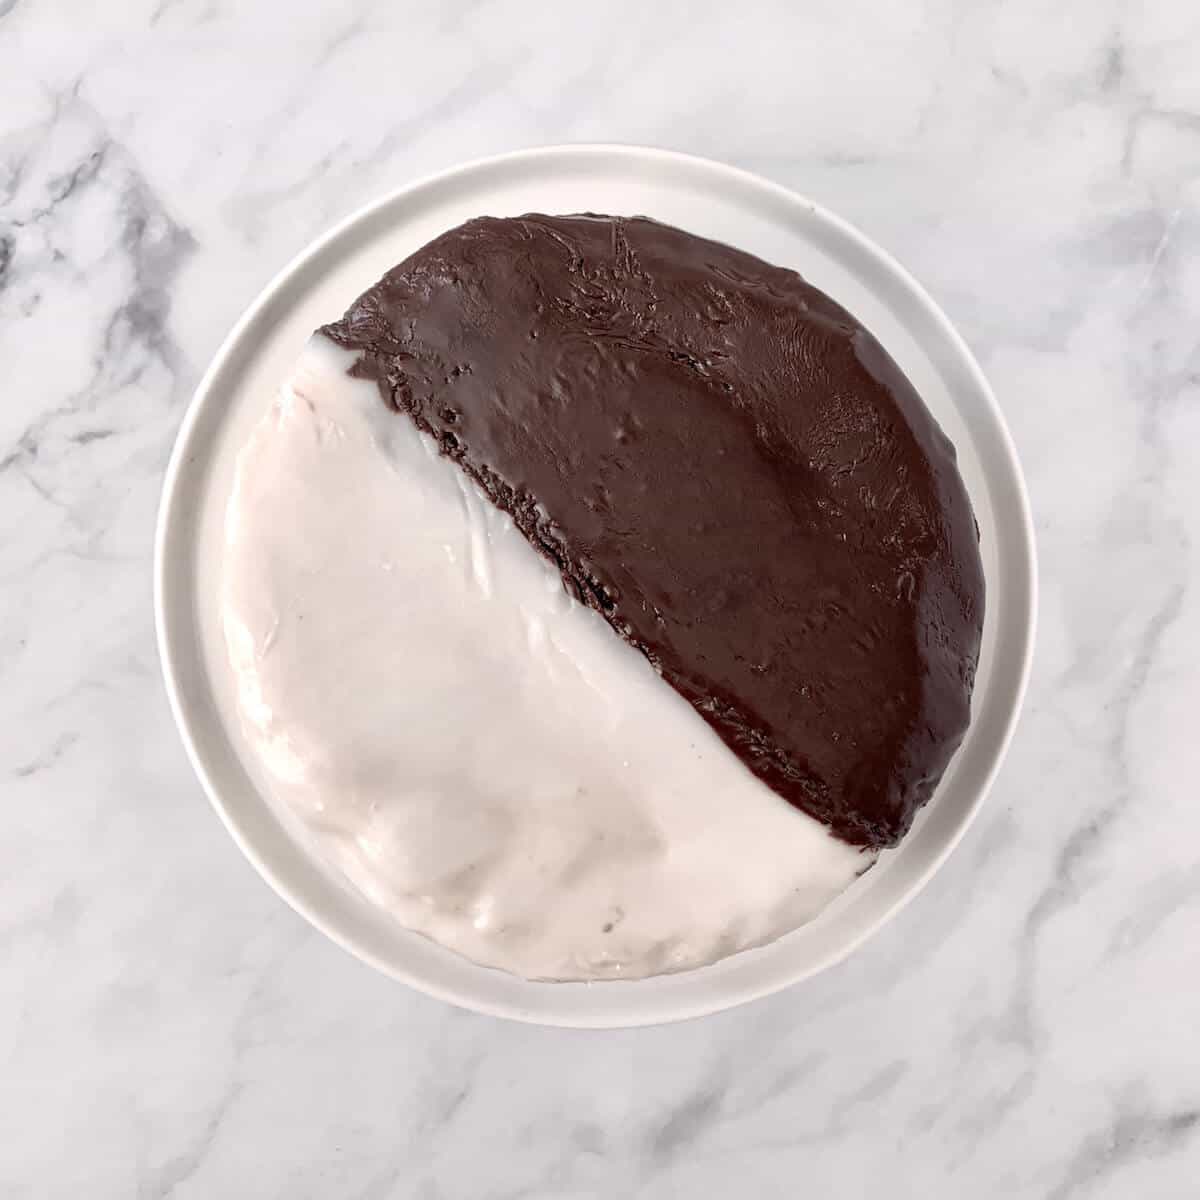
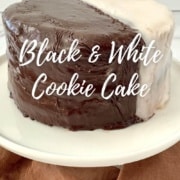
This Black and White Cookie Cake turns that beloved cookie into a cake!
The cake is light and springy, and the icings are sweet without being cloying. The white icing has a lemon flavor to offset its sweetness. Adjust the amount of lemon juice to your liking. The chocolate icing is so fudgy and delicious, it's hard to not just grab a spoon and "forget" to frost the cake!
It's such a fun cake, and so different than the usual layer cake. All you black and white cookie lovers will love it!
⭐⭐⭐⭐⭐
I made this for my niece's birthday. She loves the black and white cookies. It was a huge hit! The cake batter (yes I ate it!) tasted exactly like the cookie. I did struggle with the frosting because she is allergic to citrus so I did all vanilla, no lemon. It was incredible! It has been requested multiple times since then.
- Tara
Recipe Ingredients
You'll need the following ingredients to make this Black and White Cookie Cake recipe:
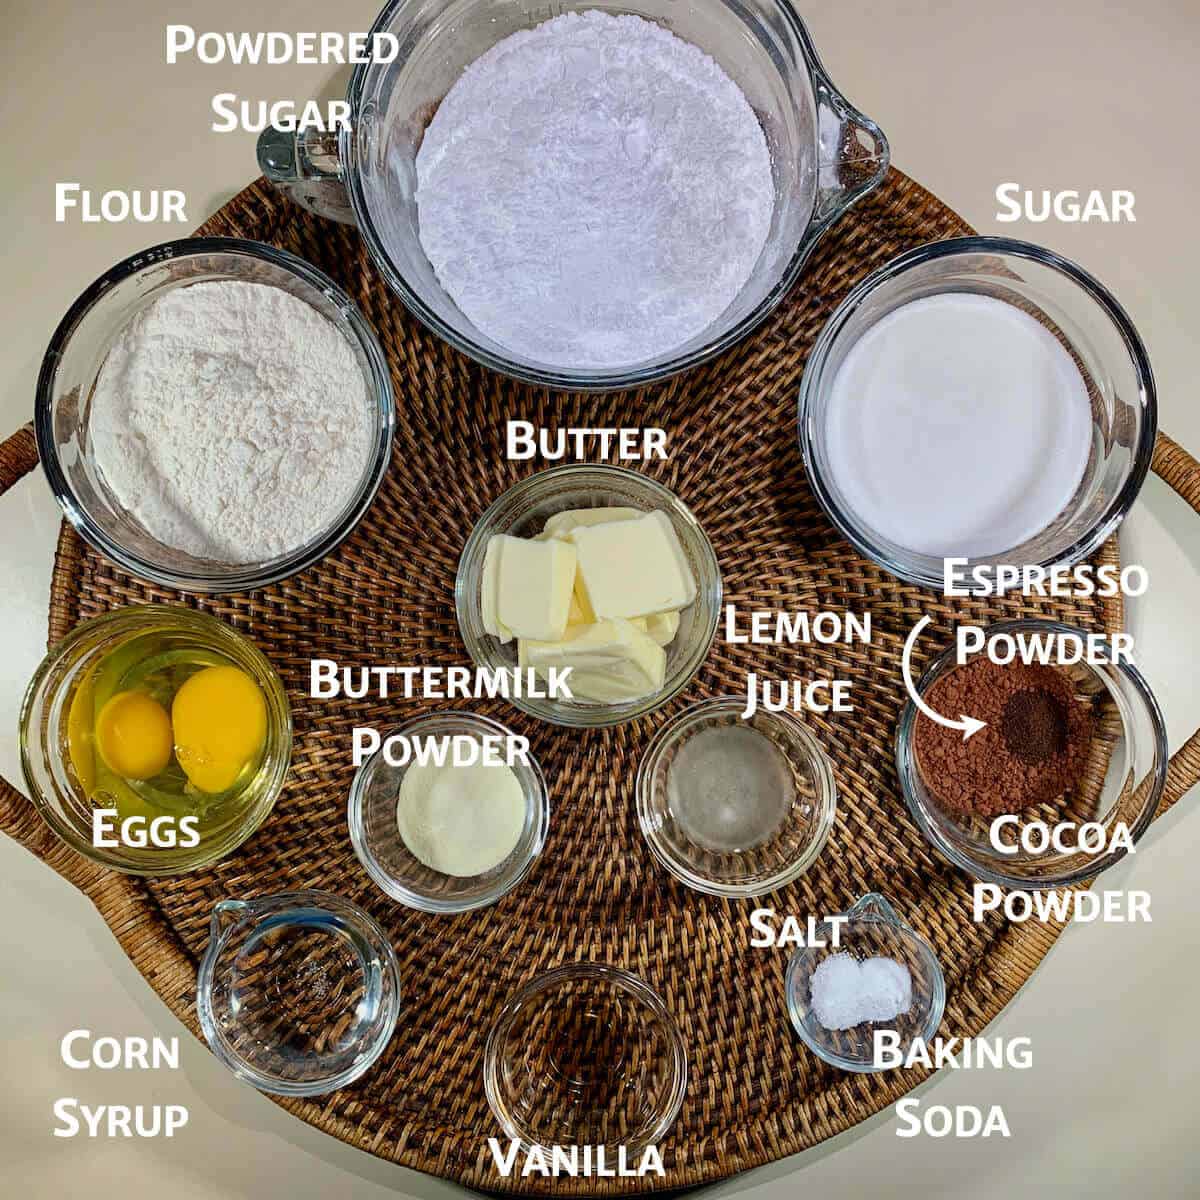
Ingredient Notes
The ingredients for the yellow cake are very similar to the vanilla cake used in a Checkerboard Cake: flour, baking soda, salt, sugar, butter, eggs, and vanilla extract.
Buttermilk Powder: The purpose of buttermilk in a cake is to give an acid for the baking soda to react with, thus lifting the cake. I use buttermilk powder because it is easy to keep in the pantry. You can use fresh buttermilk (and omit the water), or use one of the buttermilk substitutes below.
Lemon juice: The powdered sugar-based icings are lightly flavored with lemon juice. Use a light hand - you want the taste to be barely noticeable. It’s to cut the overwhelming sweetness of the icing without making it taste too lemony.
Corn syrup: Used in the icings to give them body.
Espresso powder: Adding espresso powder to the chocolate icing deepens the chocolate flavor. It's optional, but totally worth it!
See the recipe card for a full list of ingredients and measurements.
Substitutions for buttermilk
If you don't keep buttermilk or buttermilk powder at hand, there are a couple of substitutions you can use instead. For 1 cup of buttermilk in a recipe:
- Use ½ cup each water and sour cream (or plain Greek yogurt). Stir well.
- For 1 cup of milk, remove 1 teaspoon and replace it with 1 teaspoon lemon juice or white vinegar. Let sit for 5 minutes before using.
Don't forget to omit the water from the recipe if you're using buttermilk or one of these substitutes instead of buttermilk powder.
How to make a Black & White Cookie Cake
Part 1: Make the cake
Line the bottom of two 9-inch round cake pans with parchment paper sprayed with baking spray.
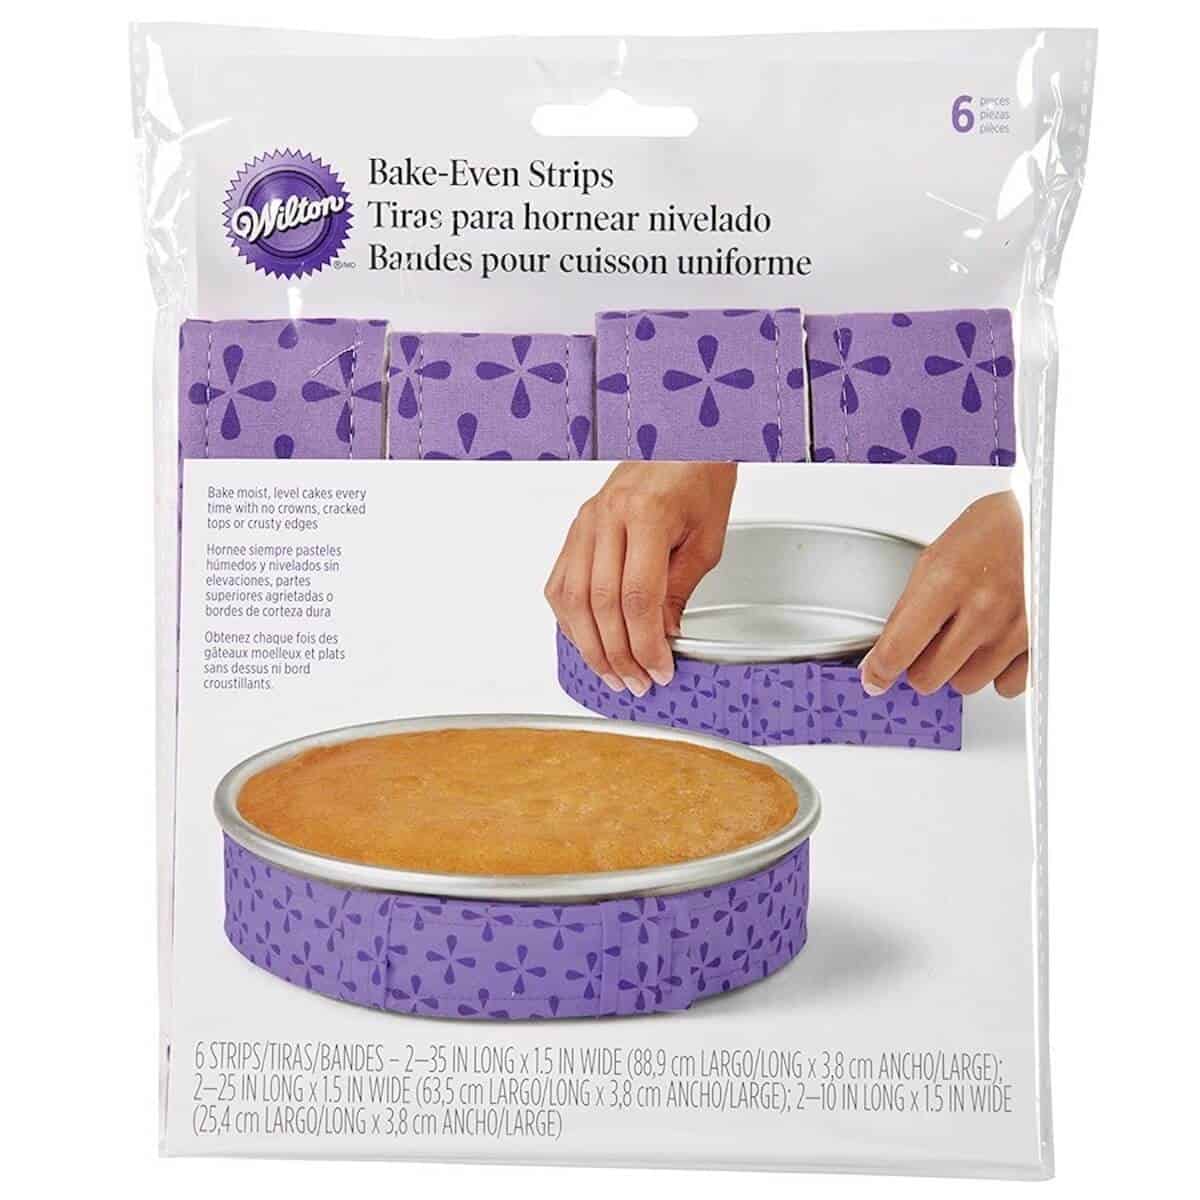
For best results to keep the cake layers level, soak Bake-Even Strips in cold water for 5 minutes, then rap them around the outside of the cake pans (see the FAQs for more about this helpful item).
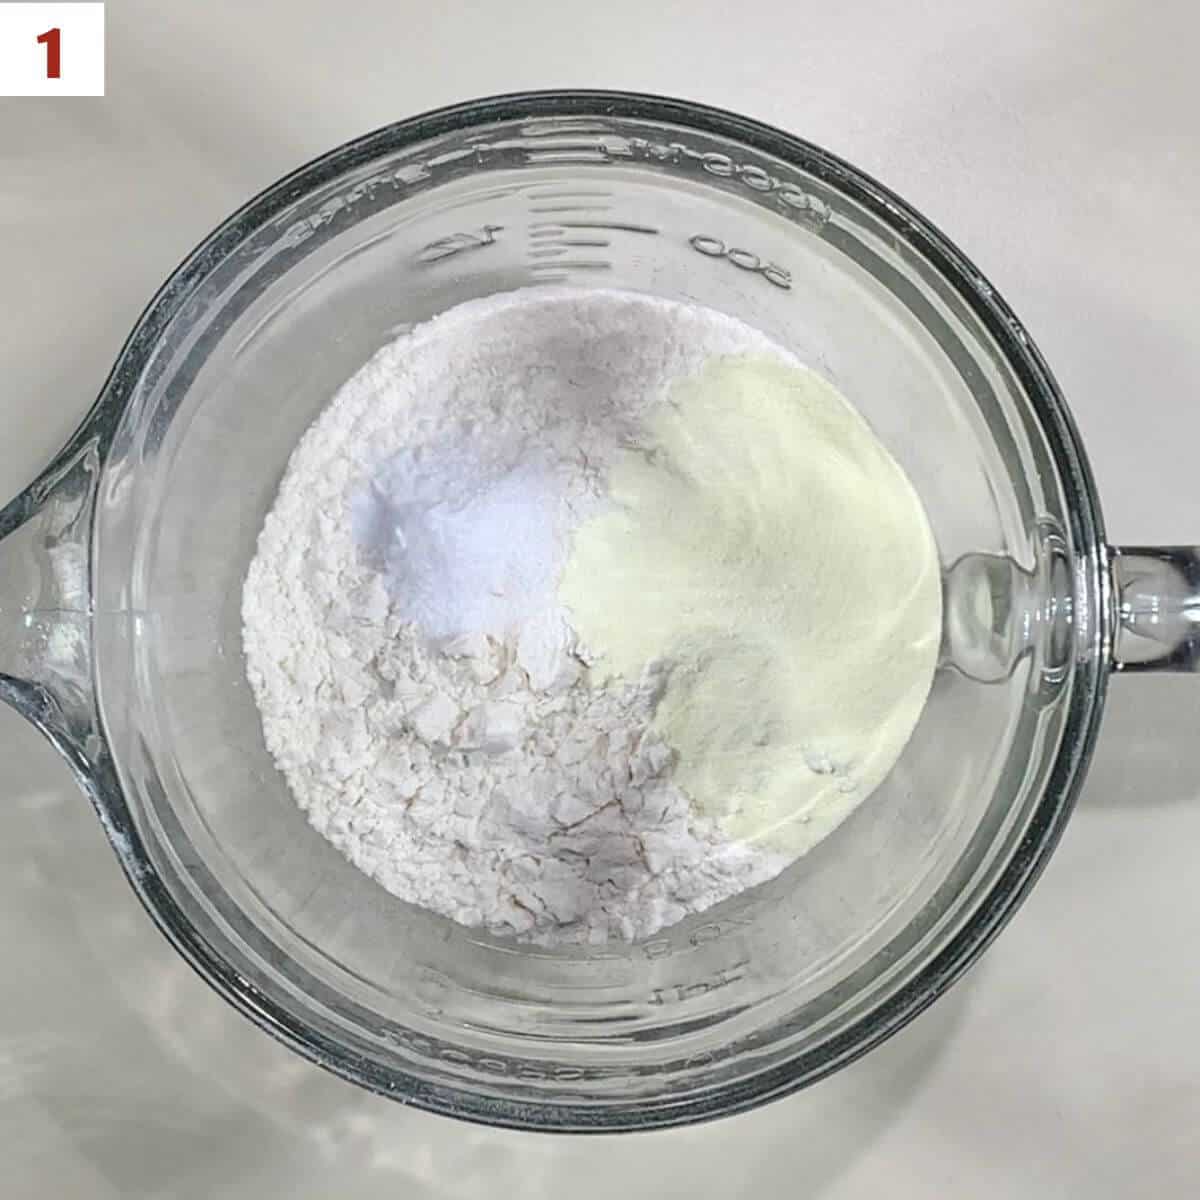
Stir together the flour, buttermilk powder (if not using fresh buttermilk), baking soda, and salt (photo 1). Set aside.
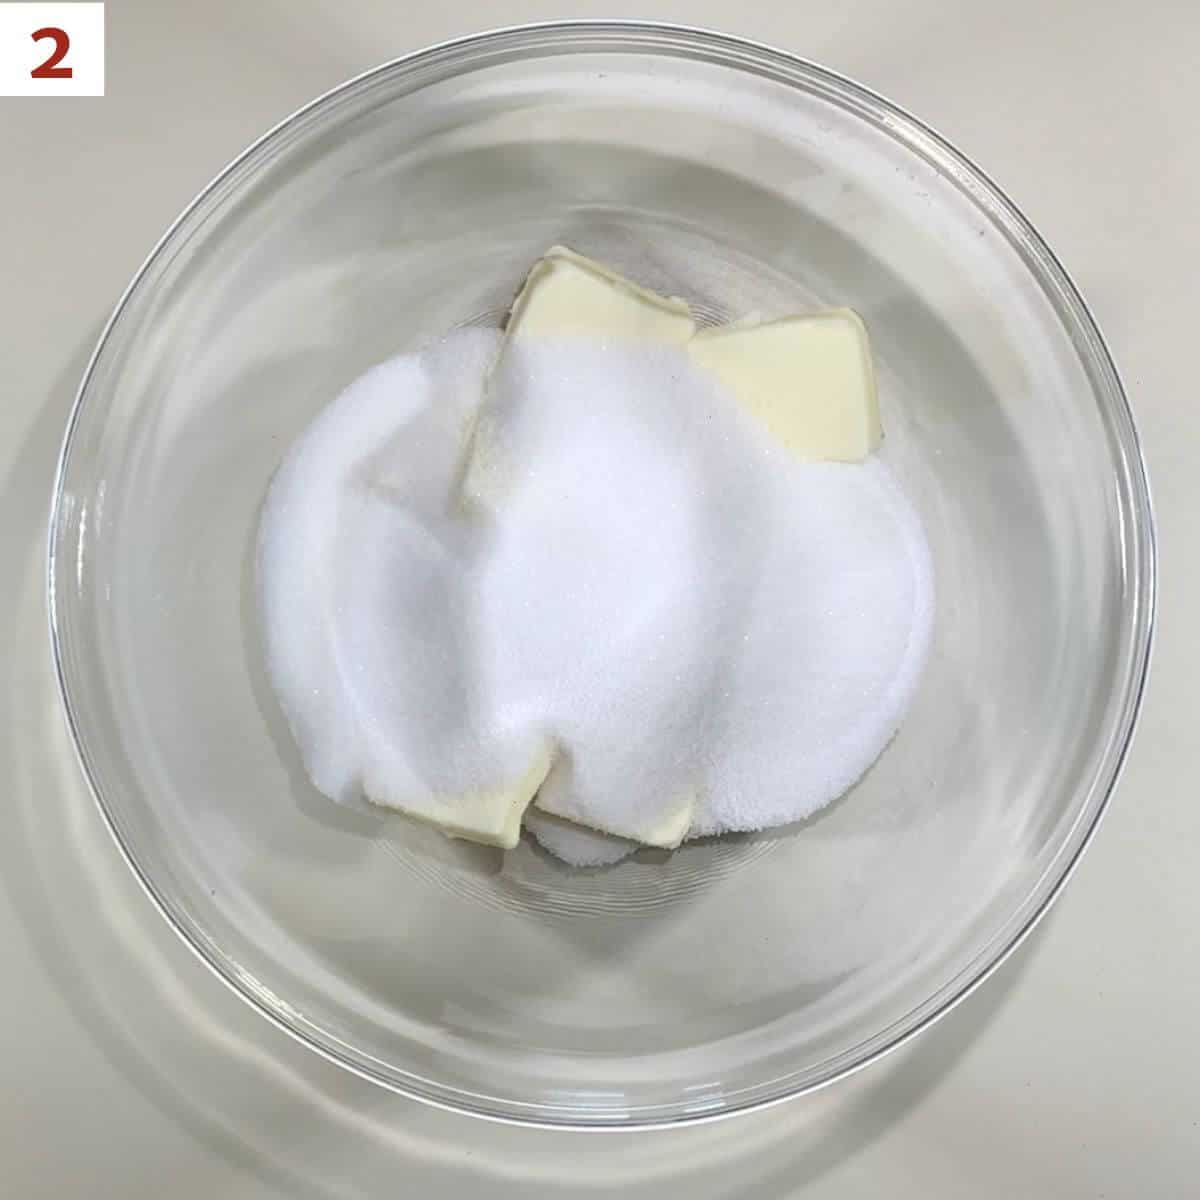
Place the sugar and butter in a large bowl and beat on medium speed for about 5 minutes, or until very soft and light (photo 2).
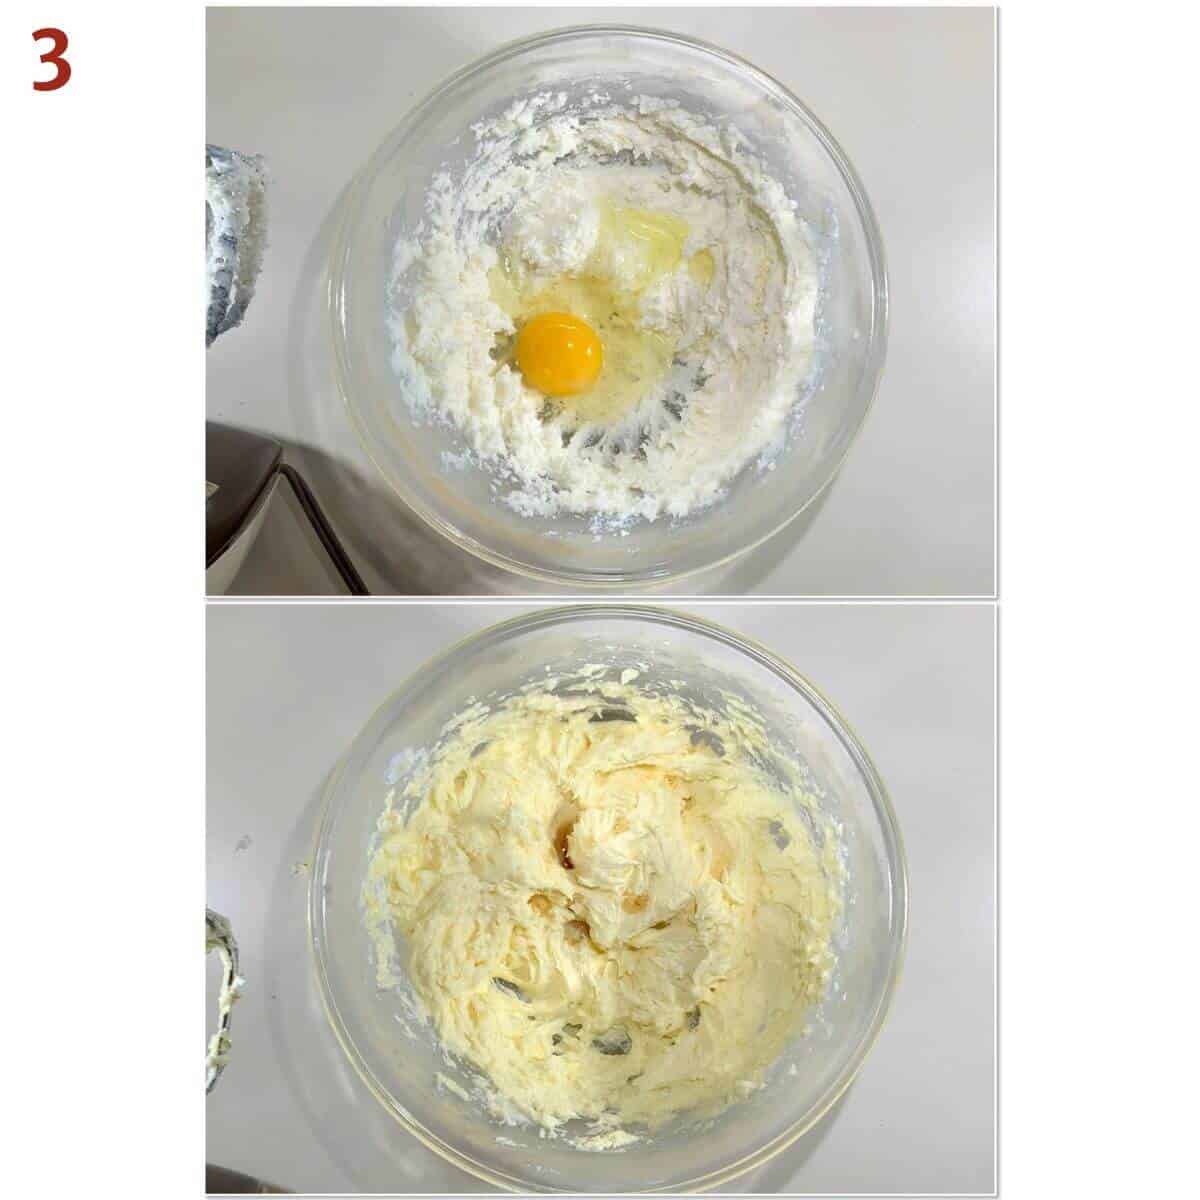
Beat in the eggs one at a time, beating well after each addition, then beat in vanilla (photo 3).
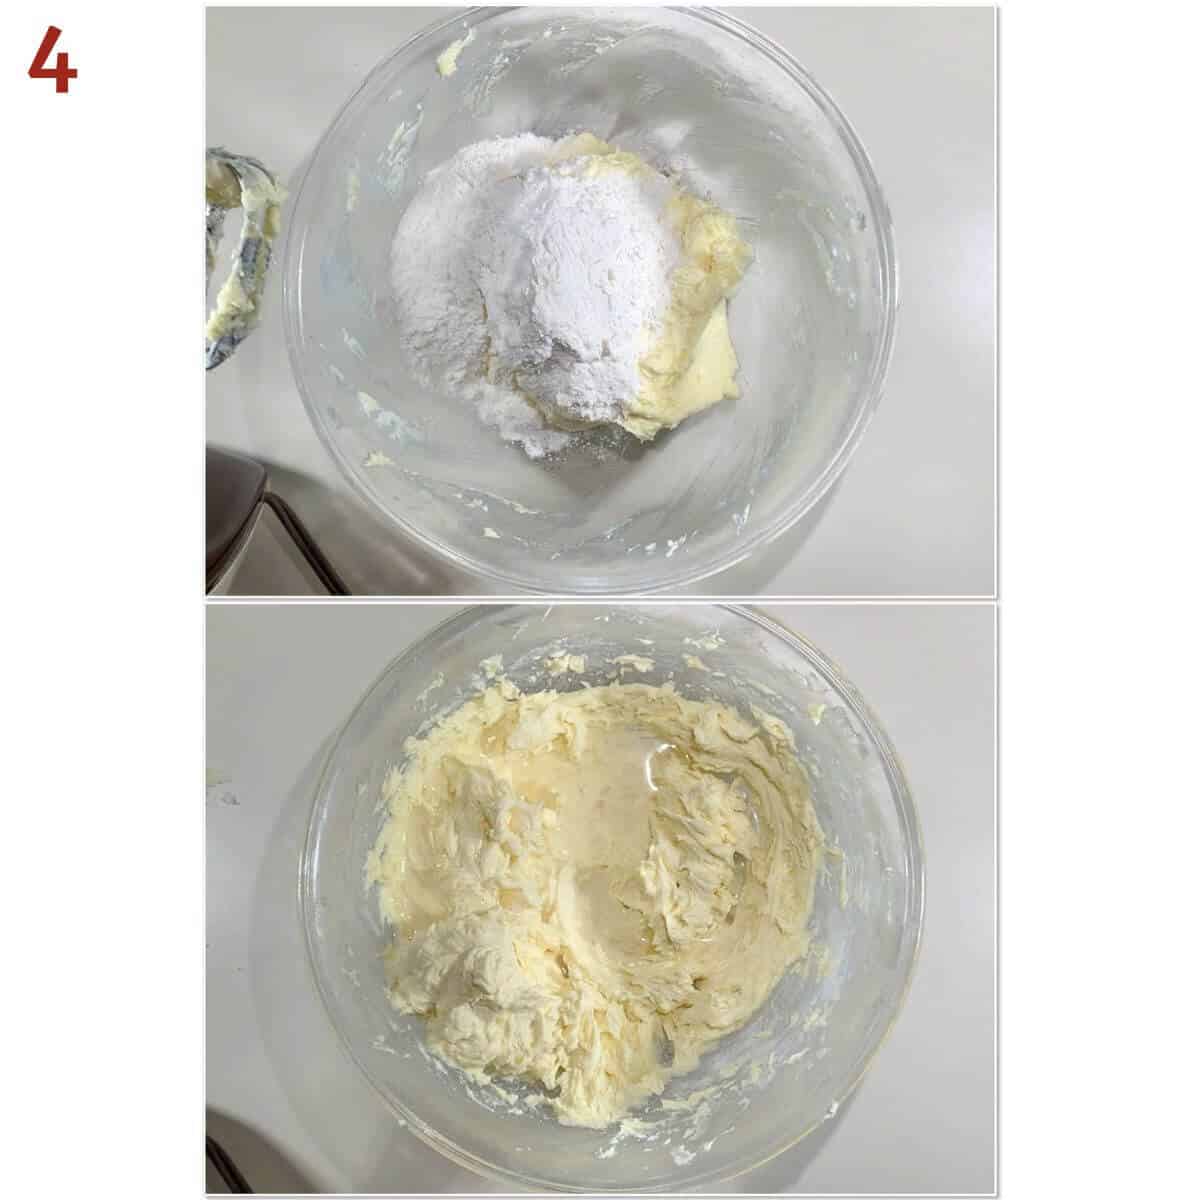
Reduce the speed to low and beat in ⅓ of the flour mixture, then ½ the water (or buttermilk, sour cream/water mixture, or your substitution of choice), stopping and scraping down the bowl and beater after each addition (photo 4). Beat in another third of the flour, then the remaining liquid, stopping and scraping again. Finally, beat in the remaining flour mixture.
The trick to a light cake is to not to overdo it when blending the dry ingredients into the wet ingredients. Alternating the liquid with the flour mixture is also important as it keeps the batter moist as the flour is mixed in.
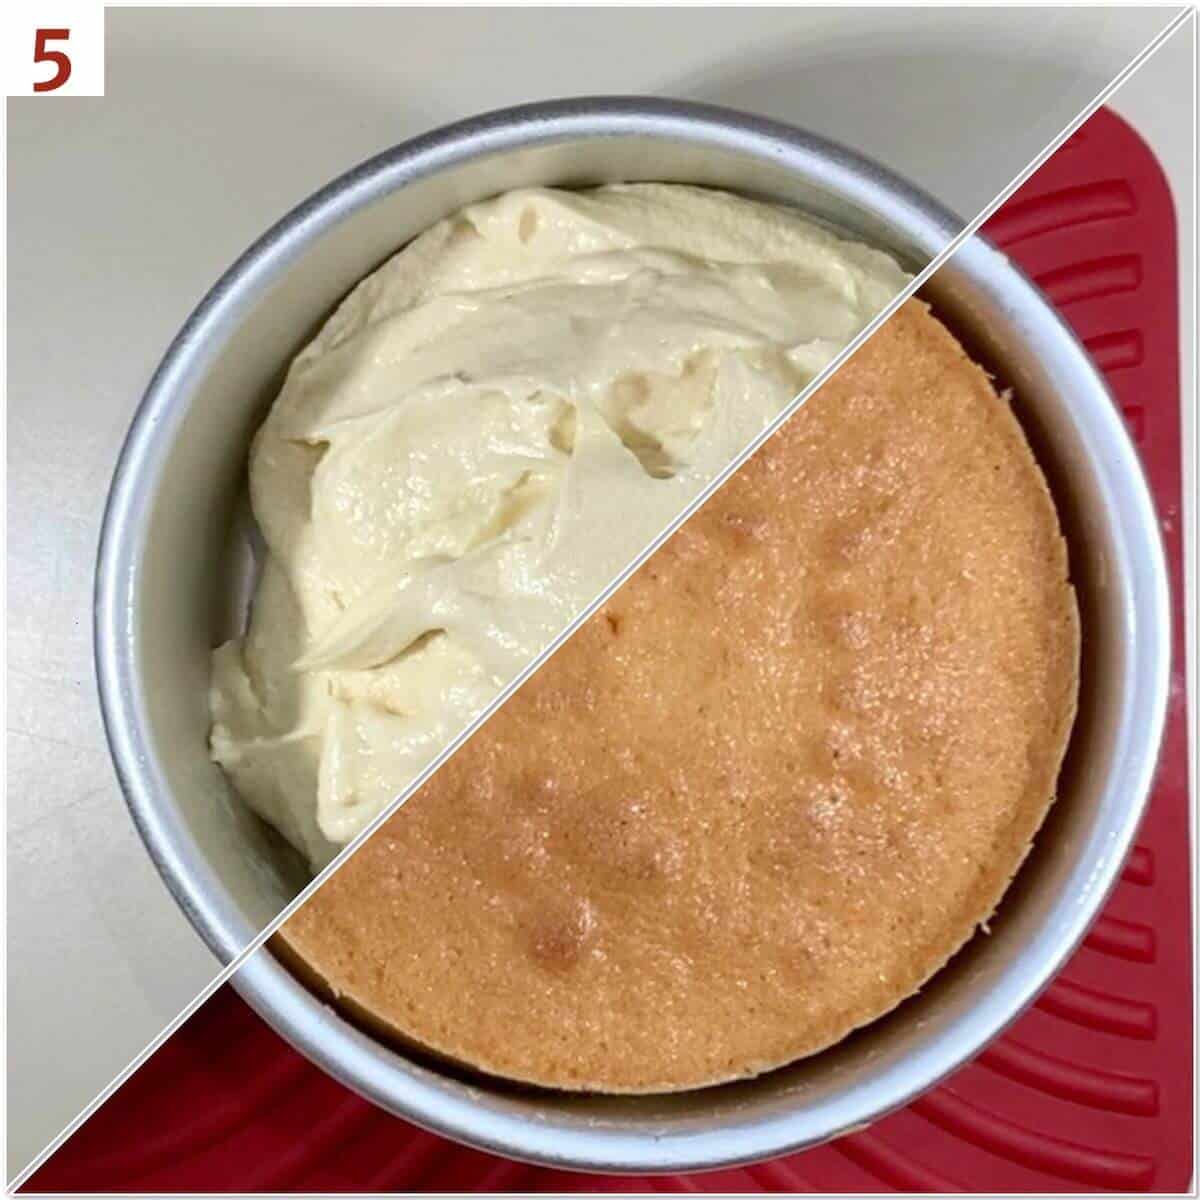
Divide the batter evenly between the two round cake pans, and smooth the top with a small offset spatula for even baking.
Bake the layers at 350˚F for about 30 to 35 minutes, until they are firm and a cake tester inserted in the center emerges clean (photo 5). Cool the layers in the pans on racks for 5 minutes, then transfer onto the racks to finish cooling completely before icing.
Trim the top of each cake layer to flatten, if needed. You won't need to trim them if you follow my advice about the Bake-Even Strips. I'm not kidding, they really work!
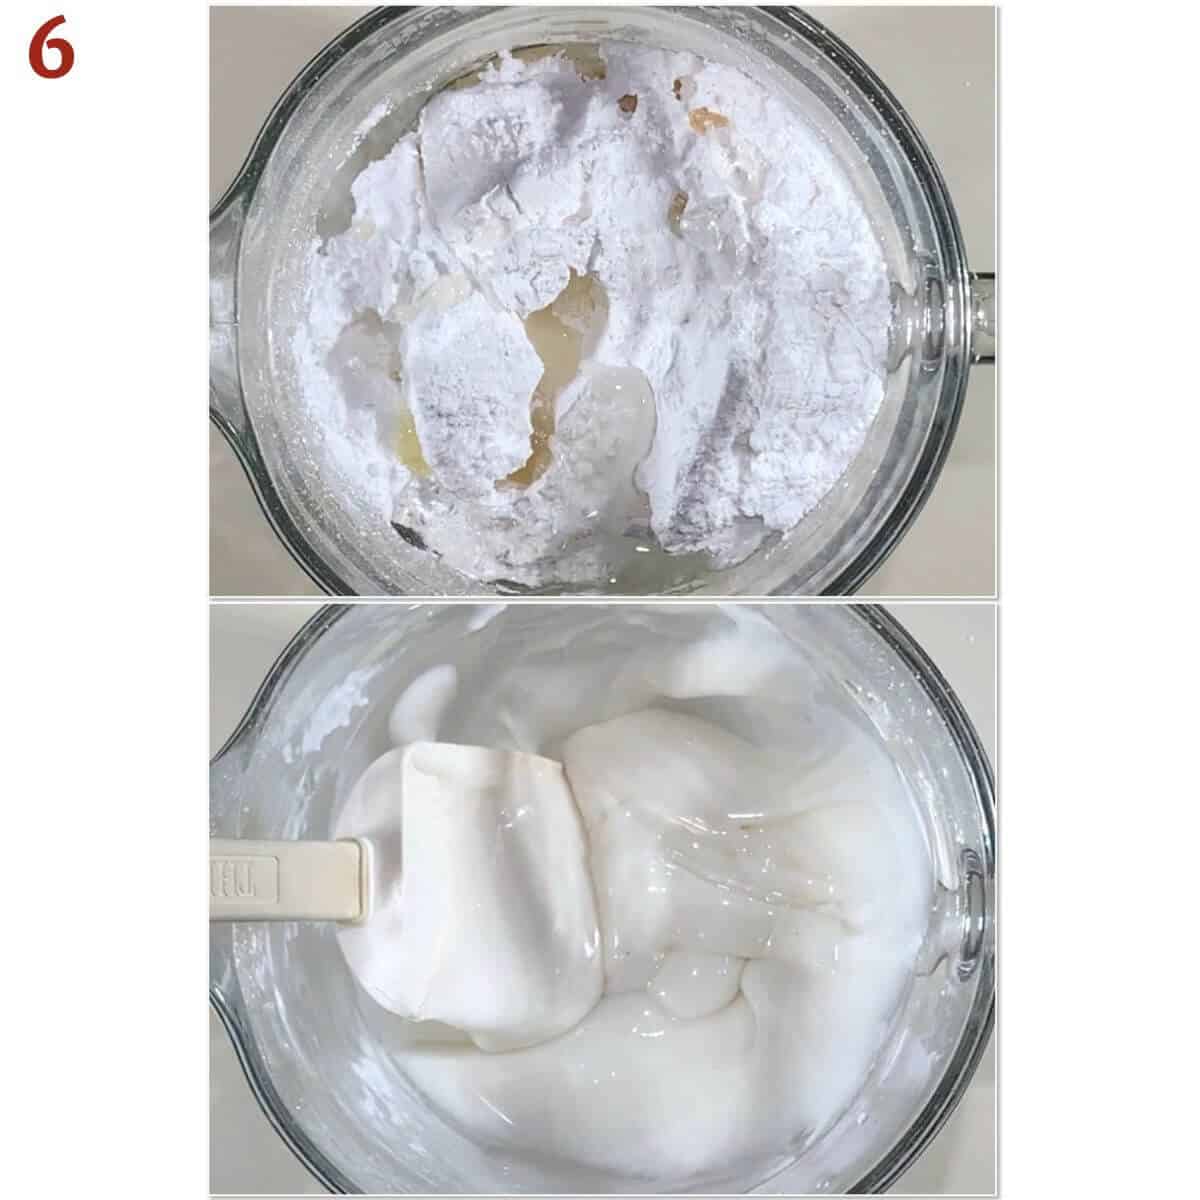
Part 2: Make the icings
Stir together powdered sugar, corn syrup, lemon juice, vanilla, and 1 tablespoon water in a small bowl until smooth (photo 6).
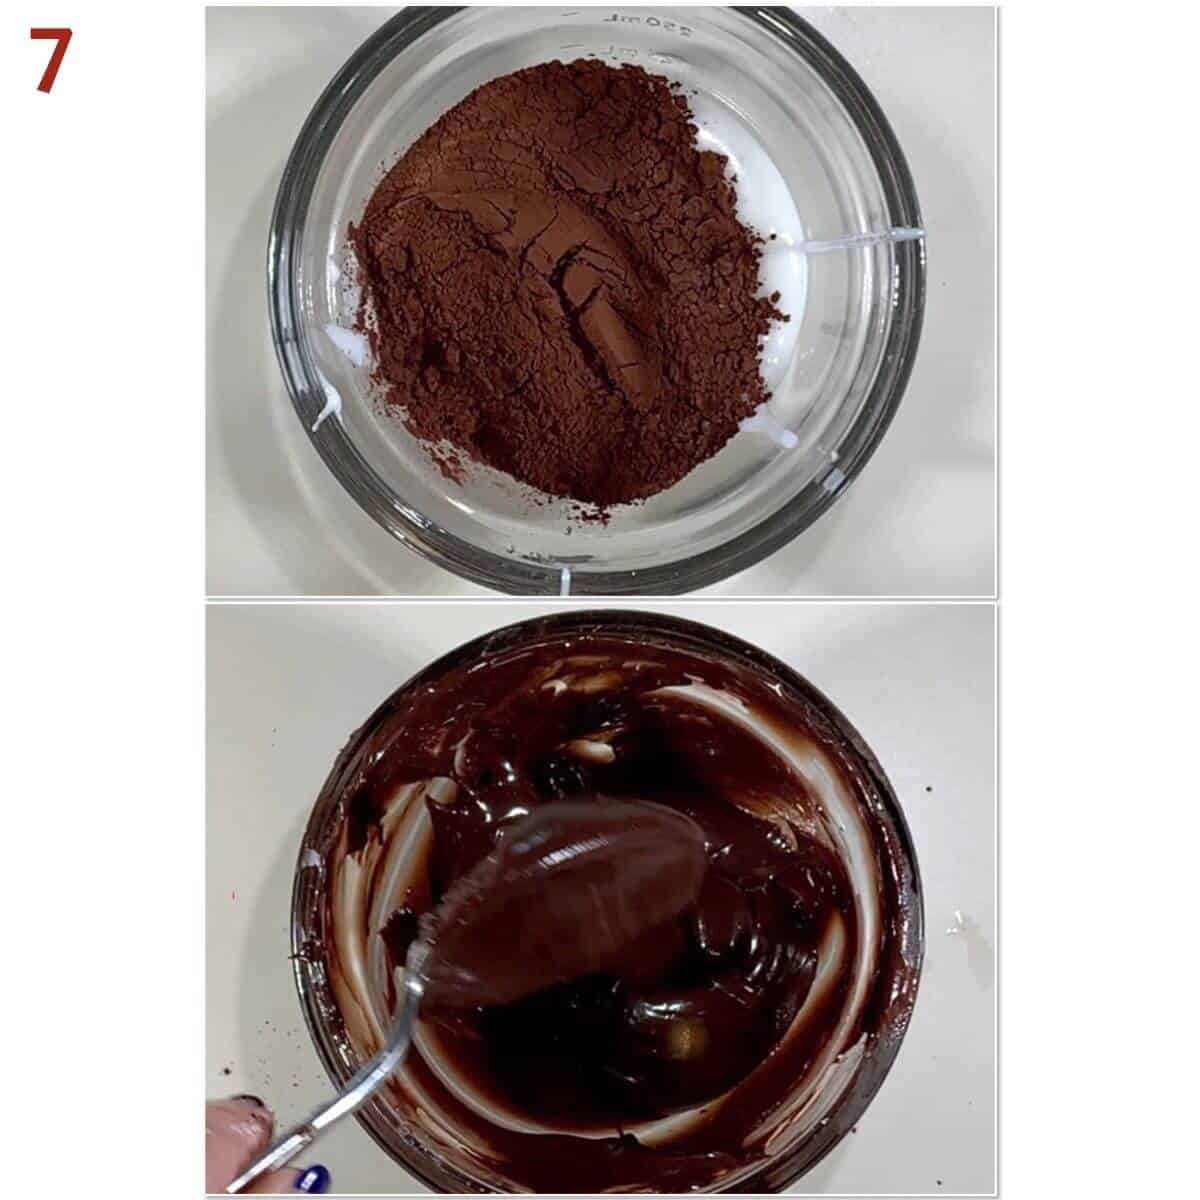
Transfer half of the icing to another bowl and stir in cocoa powder and espresso powder (if using), adding more water, ½ teaspoon at a time, to thin to same consistency as the vanilla icing (photo 7).
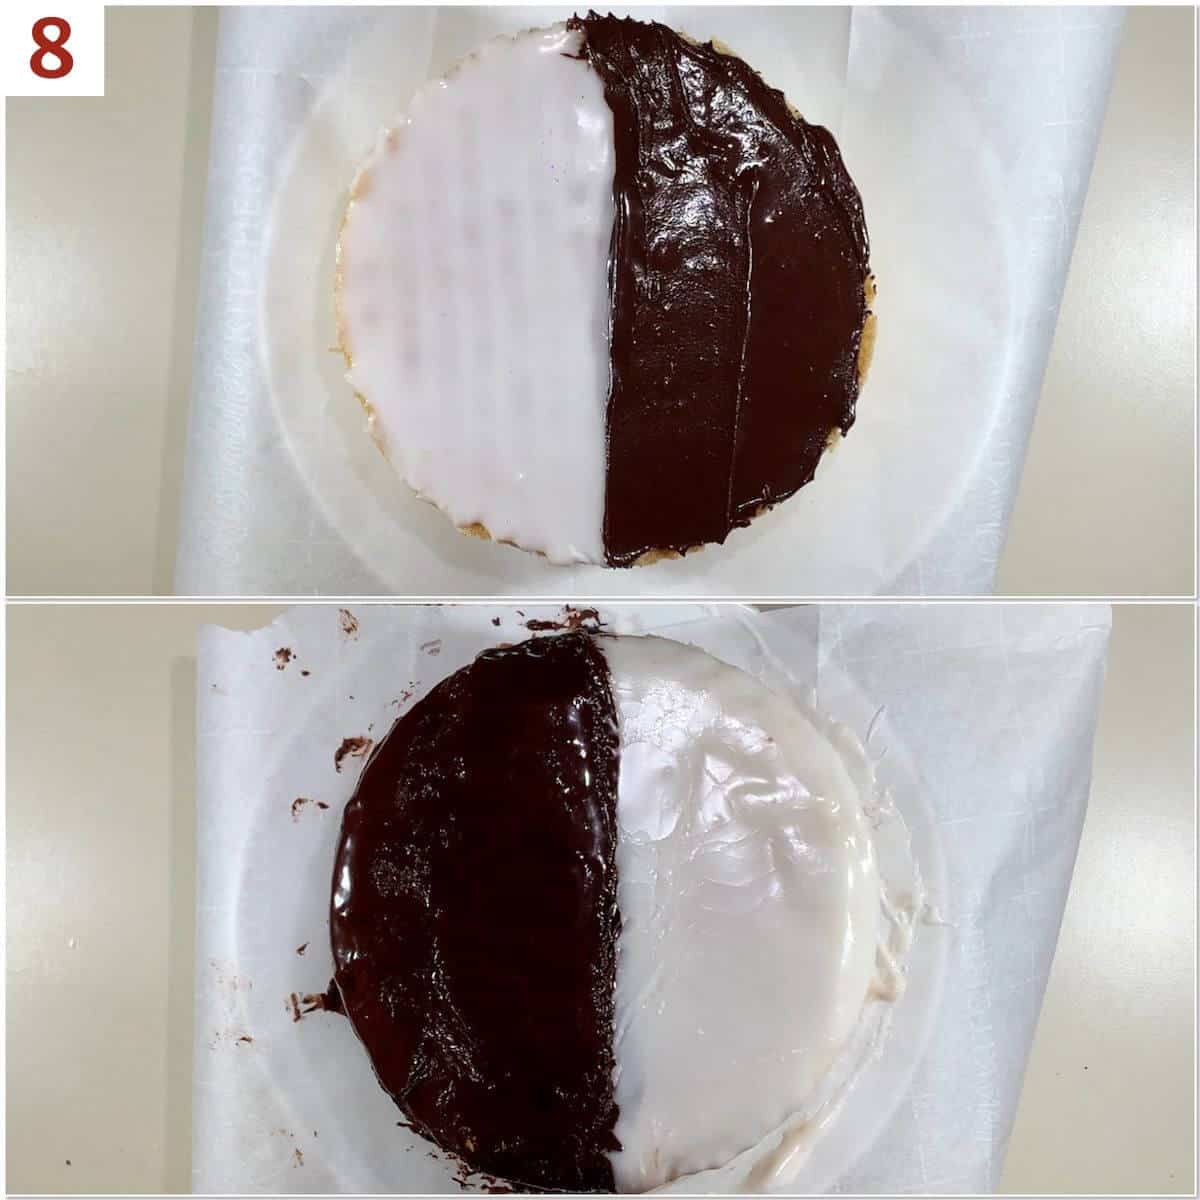
Ice the bottom layer half white and half black. Place the top layer on top using cake lifters. Frost the opposite sides of the top layer white and black so you’ll get both black & white icing in every bite (photo 8).
Storage and make-ahead instructions
Storage Instructions: This cake can be stored well covered in the refrigerator for up to a week.
Make Ahead Tips: You can make the cakes layers ahead of time, then wrap the layers individually with plastic wrap and refrigerate or freeze until you’re ready to assemble. Let the cakes defrost in the refrigerator before using. It's best to make the icings fresh so they don't harden.
Questions asked and answered
Here are some questions that you might have...
Have you ever wondered how to level a cake without a knife? Well, when a cake layer bakes, it develops a dome on top. If you want to stack those layers, you have to level the cake by cutting off the dome, otherwise the layered cake sags. The doming happens because the outside of the cake bakes and sets faster than the inside, so the middle has more time to rise. I've found that Bake-Even Strips solve this problem by insulating the outside of the cake, thus allowing the cake to bake evenly. End result…level cakes! (And there was much rejoicing.)
Yes! Just divide all the ingredients in half and use two 6-inch round cake pans. (Hint...that's what's pictured here and in the video.)
More converted cake recipes to try
Recipe
Black and White Cookie Cake
Equipment
Ingredients
For the cake
- 2¾ cups all-purpose flour
- 2 tablespoons buttermilk powder, or 1 cup buttermilk, see Recipe Notes
- ½ teaspoon baking soda
- ½ teaspoon kosher salt
- 2 cups granulated sugar
- 1 cup unsalted butter, at room temperature
- 4 large eggs, at room temperature
- 2 teaspoons vanilla extract
- 1 cup water, omit if using buttermilk, see Recipe Notes
For the icing
- 3 cups powdered sugar
- 2 tablespoons light corn syrup
- 1 to 2 tablespoons lemon juice, adjust to taste, see Recipe Notes
- ½ teaspoon pure vanilla extract, add more to taste
- 4 to 8 teaspoons water
- 4 tablespoons cocoa powder
- ½ teaspoon espresso powder, optional, see Recipe Notes
Instructions
- Line the bottom of two 9-inch round cake pans with parchment paper sprayed with baking spray. Line the pans with 9-inch parchment paper rounds, then spray the paper. Position rack in the middle of oven and preheat to 350 °F.
- Soak the Bake-Even Strips in cold water for 5 minutes, then rap around the outside of the cake pans.
- Make the cake: In a medium bowl, stir together the flour, buttermilk powder (if not using fresh buttermilk), baking soda, and salt. Set aside.
- Place the sugar and butter in a large bowl and beat on medium speed for about 5 minutes, or until very soft and light. Beat in the eggs one at a time, beating well after each addition, then beat in vanilla.
- Reduce the speed to low and beat in ⅓ of the flour mixture, then ½ the water (or buttermilk, sour cream/water mixture, or your substitution of choice), stopping and scraping down the bowl and beater after each addition. Beat in another third of the flour, then the remaining liquid, stopping and scraping again. Finally, beat in the remaining flour mixture.
- Pour the batter into the prepared pans and smooth the tops with a small offset spatula.
- Bake the layers for about 30 to 35 minutes, until they are firm and a cake tester inserted in the center emerges clean. Cool the layers in the pans on racks for 5 minutes, then unmold onto racks to finish cooling completely before icing.
- Trim the top of each cake layer to flatten, if needed. You won't need to trim them if you follow my advice about the Bake-Even Strips. I'm not kidding, they really work!
- Make the icing: Stir together powdered sugar, corn syrup, lemon juice, vanilla, and 1 tablespoon water in a small bowl until smooth.
- Transfer half of the icing to another bowl and stir in cocoa powder and espresso powder (if using), adding more water, ½ teaspoon at a time, to thin to same consistency as the vanilla icing.
- Finish the cake: Ice the bottom layer half white and half black. Place the top layer on top using cake lifters.
- Frost the opposite sides of the top layer white and black so you’ll get both black & white icing in every bite. Serve & enjoy!
- This recipe makes one 9-inch cake, but you can easily half the amounts to make a 6-inch cake using two 6-inch round cake pans.
- Storage Instructions: This cake can be stored well covered in the refrigerator for up to a week.
- Make Ahead Tips: You can make the cakes layers ahead of time, then wrap the layers individually with plastic wrap and refrigerate or freeze until you’re ready to assemble. Let the cakes defrost in the refrigerator before using. It's best to make the icings fresh so they don't harden.
Notes
- Use ½ cup each water and sour cream (or plain Greek yogurt). Stir well
- For 1 cup of milk, remove 1 teaspoon and replace it with 1 teaspoon lemon juice or white vinegar. Let sit for 5 minutes before using




Tara says
I made this for my niece's birthday. She loves the black and white cookies. It was a huge hit! The cake batter (yes I ate it!) tasted exactly like the cookie. I did struggle with the frosting because she is allergic to citrus so I did all vanilla, no lemon. It was incredible! It has been requested multiple times since then.
Tammy Spencer says
Hi Tara, I’m so glad you were able to adapt the recipe to your needs, and that it was a hit! Thanks for sharing 🙂
Heather says
Looks like a grown up version of a Jewish deli staple, what a great idea!