

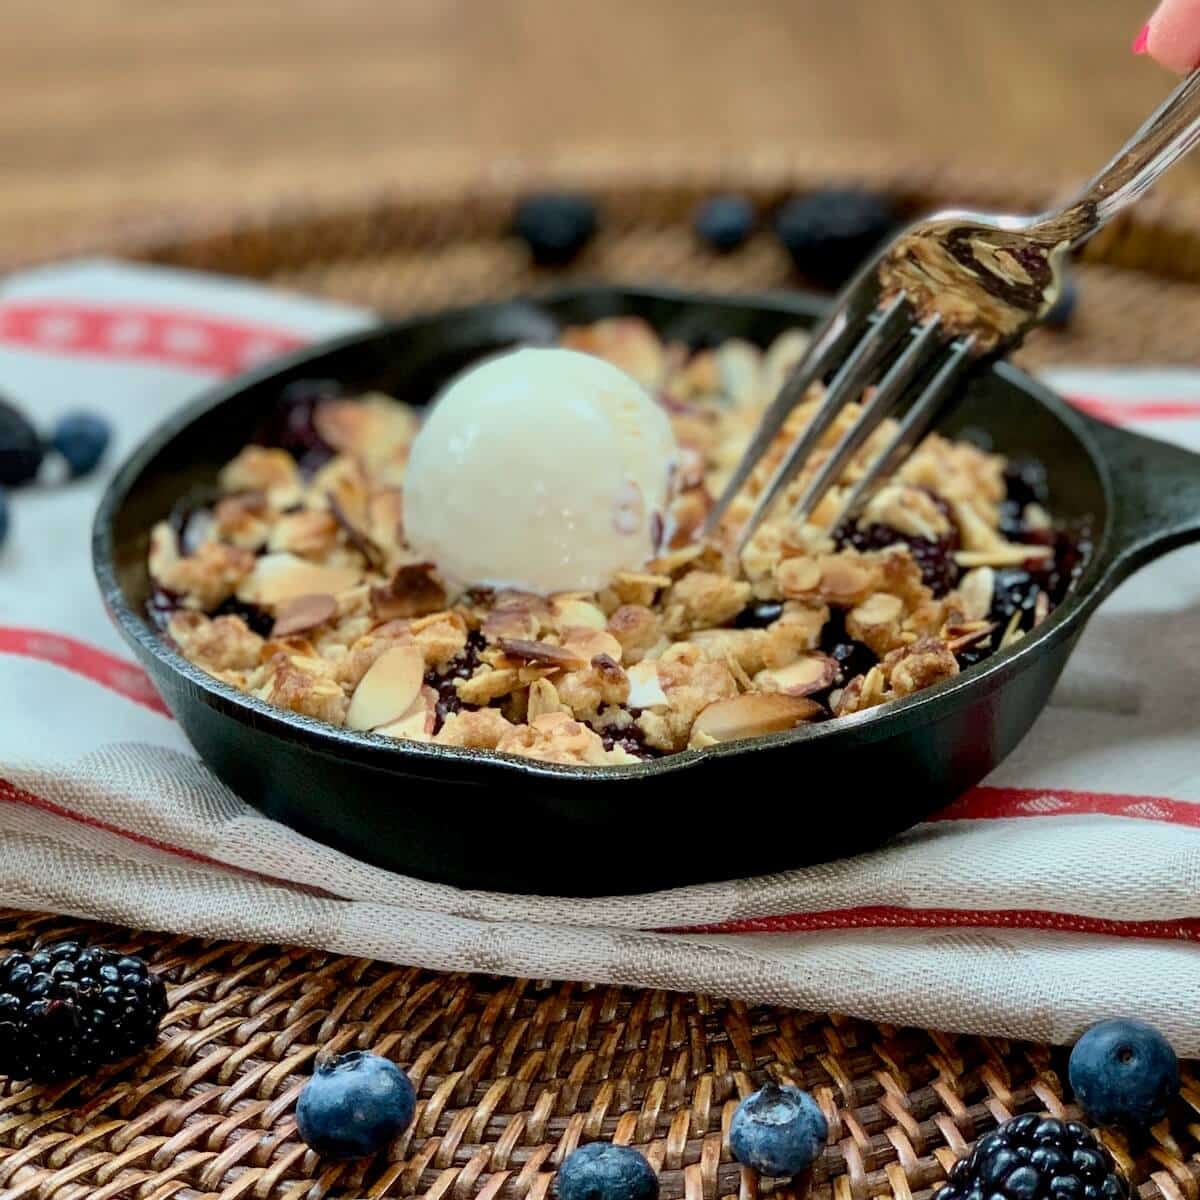
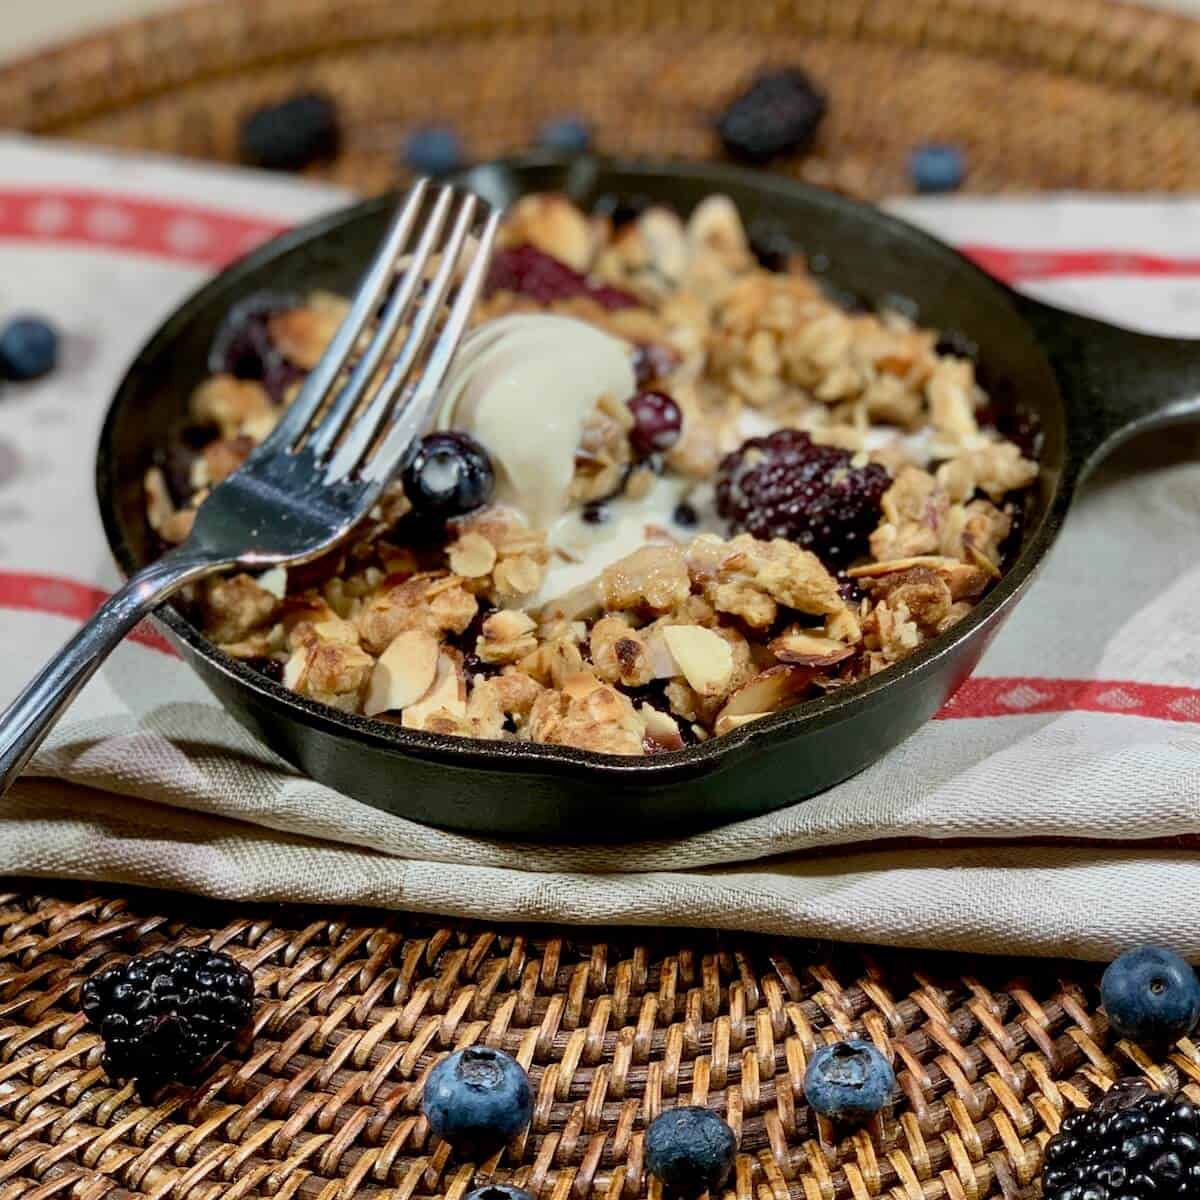
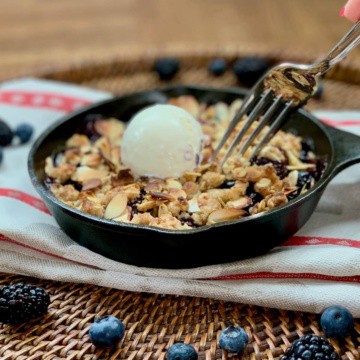
Warm, juicy berries bubbling beneath a buttery oat topping make this Mini Skillet Mixed Berry Crisp an easy dessert that's ready in about 20 minutes. Baked in a mini cast iron skillet, it's perfect when you're craving homemade berry crisp without making a full-sized pan!
Jump to:
Quick Recipe Summary ✨
Mini Skillet Mixed Berry Crisp for Two: Juicy mixed berries bake beneath a buttery oat topping in a mini cast iron skillet for an easy individual dessert that's just the right size for two.
Fresh or frozen berries: Use whatever berries you have on hand. The topping also works with dairy-free butter if needed.
Quick homemade dessert: No pie crust or mixer required. Simply stir together the filling, sprinkle on the topping, and bake until golden and bubbly.
Active Time: About 10 minutes • Bake Time: About 10 minutes • Total Time: About 20 minutes
Difficulty Level: ⭐ Easy. A simple fruit dessert that's perfect for beginner bakers.
Yield: 2 generous servings • Freezer-friendly: Berry filling can be frozen before baking • Make-ahead: Assemble several hours ahead and bake before serving.
👉 Follow the detailed instructions and troubleshooting tips below for a berry crisp with bubbling fruit and a perfectly crisp oat topping every time.
SUMMARIZE & SAVE THIS CONTENT ON
Why this recipe works
- The mini skillet makes just enough for two without a pan full of leftovers
- The oat topping bakes crisp and buttery while the berries become thick and jammy
- Fresh or frozen berries both work, so you can enjoy berry crisp year-round
- A cast iron skillet helps the filling bubble evenly while browning the topping beautifully
- It's easy to customize with your favorite berry combination or dairy-free butter
It's a warm evening in August, and I want dessert.
Not just any dessert, mind you. I want the dessert that speaks to me of summer and all the summer berries that are ripe just now. A blueberry pie sounds good, but I don't feel like making pie crust. I could always spread some homemade berry jam on a graham cracker, but I want something more.
Maybe I'll go for a mixed berry cobbler.
Except, I don't want to get out the mixer to make a batter topping (like with my Sugar Cookie Peach Cobbler, although, it is delicious!). Nor do I want to grate frozen butter for a sweet biscuit topping (like Strawberry Blueberry Shortcake).
No, I want the laziest berry dessert there is: a Mixed Berry Crisp (aka Mixed Berry Crumble). A berry crisp is made by baking juicy fruit beneath a buttery oat streusel topping until the filling is thick and bubbly.
And since it's just for me, I'm making a small batch berry crisp in a mini cast iron skillet. Ok, maybe I'll share with my husband - make it a mini berry crisp for two!
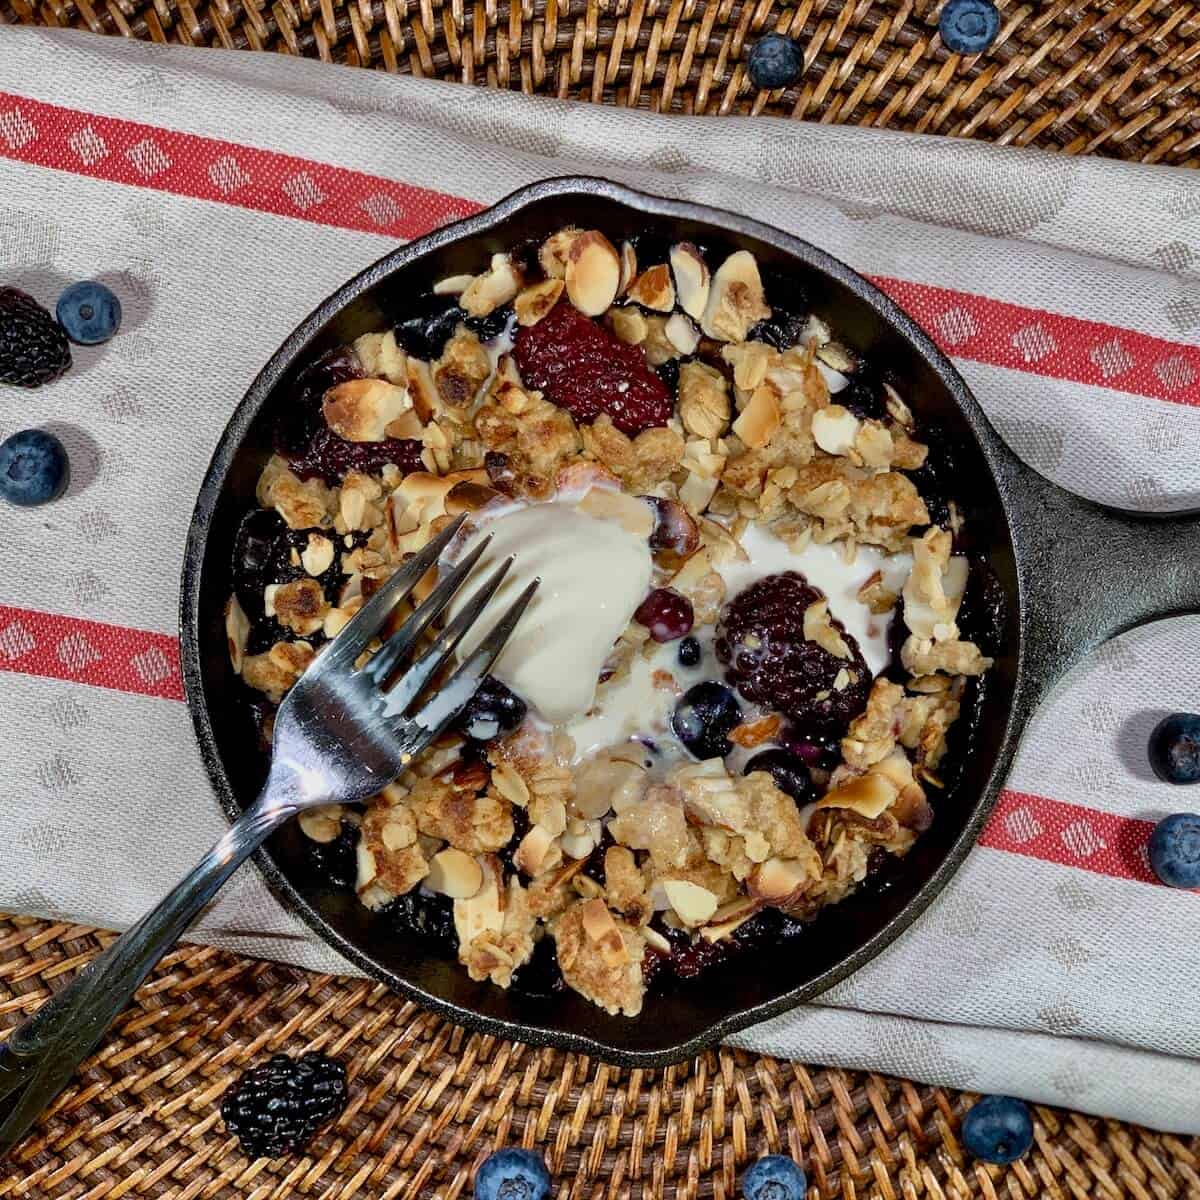
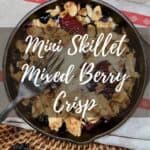
The berry crisp pictured here has juicy blueberries and blackberries bubbling under a crunchy, buttery topping. It's utterly delicious, and it's easier than making a berry pie (and that's saying a lot, coming from me!).
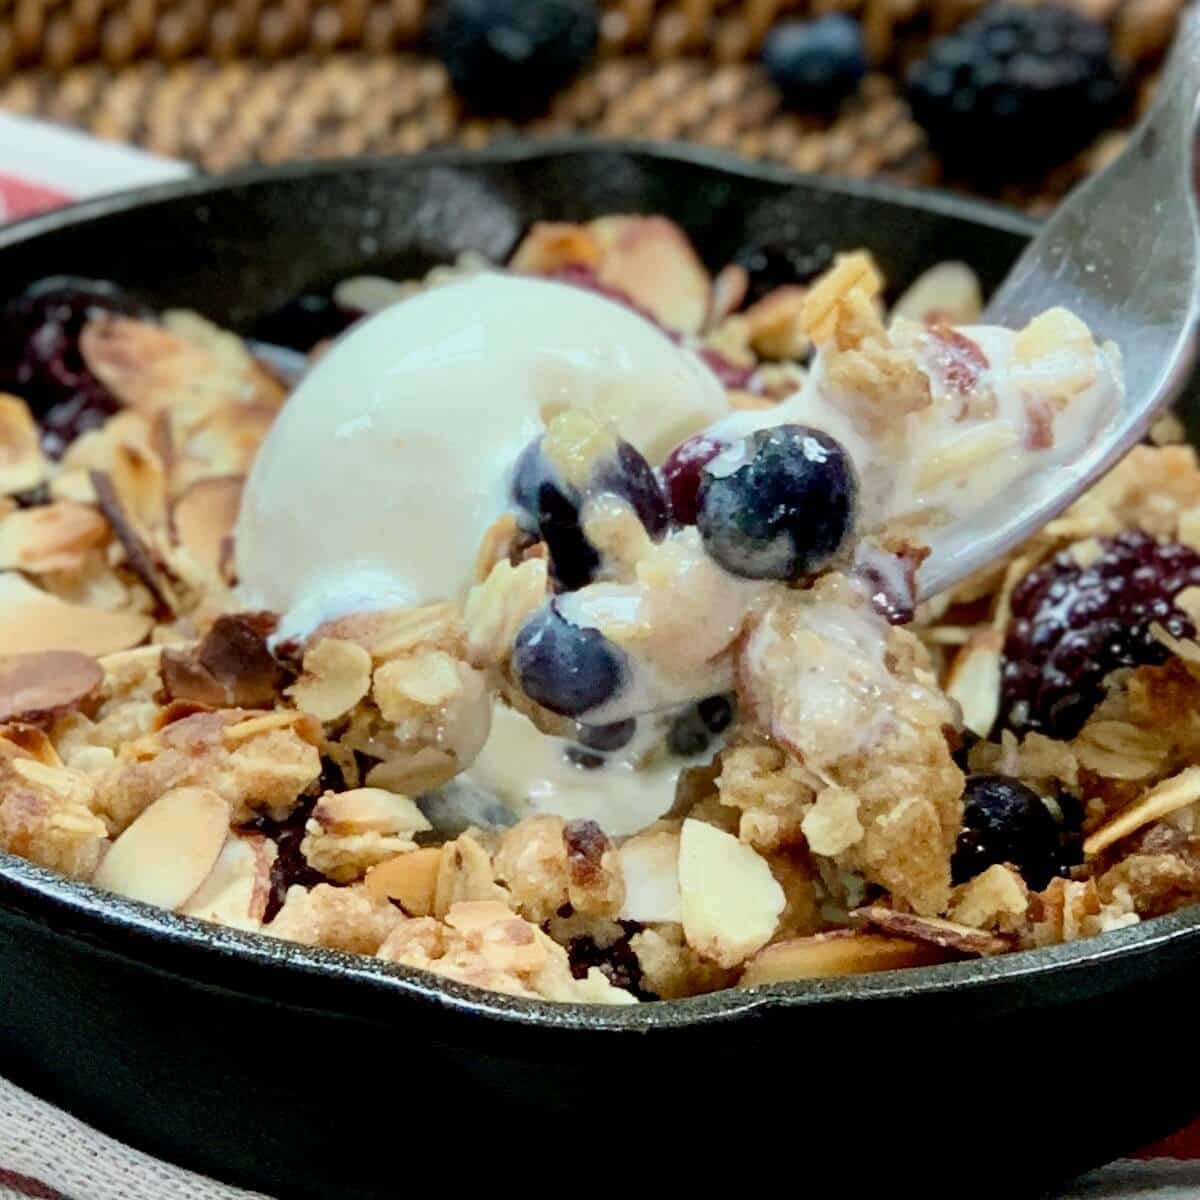
Whether you're making a cobbler, crisp, or crumble, this warm berry dessert practically begs for a scoop of vanilla ice cream. Use homemade vanilla ice cream or store bought, regular or dairy-free.
With a dairy-free butter substitute and an appropriate ice cream, you can also have a vegan berry crumble.
Either way, enjoy this taste of summer berries without all the work with this Mixed Berry Crisp for two!
Crisp vs crumble vs cobbler
These three fruit desserts all feature warm, baked fruit, but the topping is what sets them apart. While the names are often used interchangeably, there are a few traditional differences.
A cobbler is topped with biscuit dough or cake batter (or even sugar cookie dough) that bakes into a soft, tender crust. A crisp has a buttery streusel crumb topping made with flour, butter, sugar, and rolled oats, while a crumble uses a similar streusel topping without the oats.
Cobblers have been around since the mid-19th century, and crisps became popular in the U.S. in the early 1900s. In everyday conversation, you'll often hear "crisp" and "crumble" used interchangeably, and that's how I use the terms. I won't tell if you won't!
Here's an quick look at the differences:
| Cobbler | Crisp (this recipe) | Crumble |
| Topped with biscuit dough or cake batter | Topped with an oat streusel | Topped with a streusel (no oats) |
| Soft, biscuit-like or cake-like topping | Crisp, buttery topping with a little chew | Buttery, crumbly topping |
| Fruit is baked beneath the topping | Fruit is baked beneath the topping | Fruit is baked beneath the topping |
| Rolled oats aren't traditionally used | Rolled oats are a defining ingredient | No rolled oats |
| Soft, comforting texture | Crunchy topping contrasts with juicy fruit | More tender, sandy crumb topping |
| Examples: Peach Cobbler, Blackberry Cobbler | Mixed Berry Crisp, Apple Crisp | Apple Crumble, Rhubarb Crumble |
Recipe Ingredients
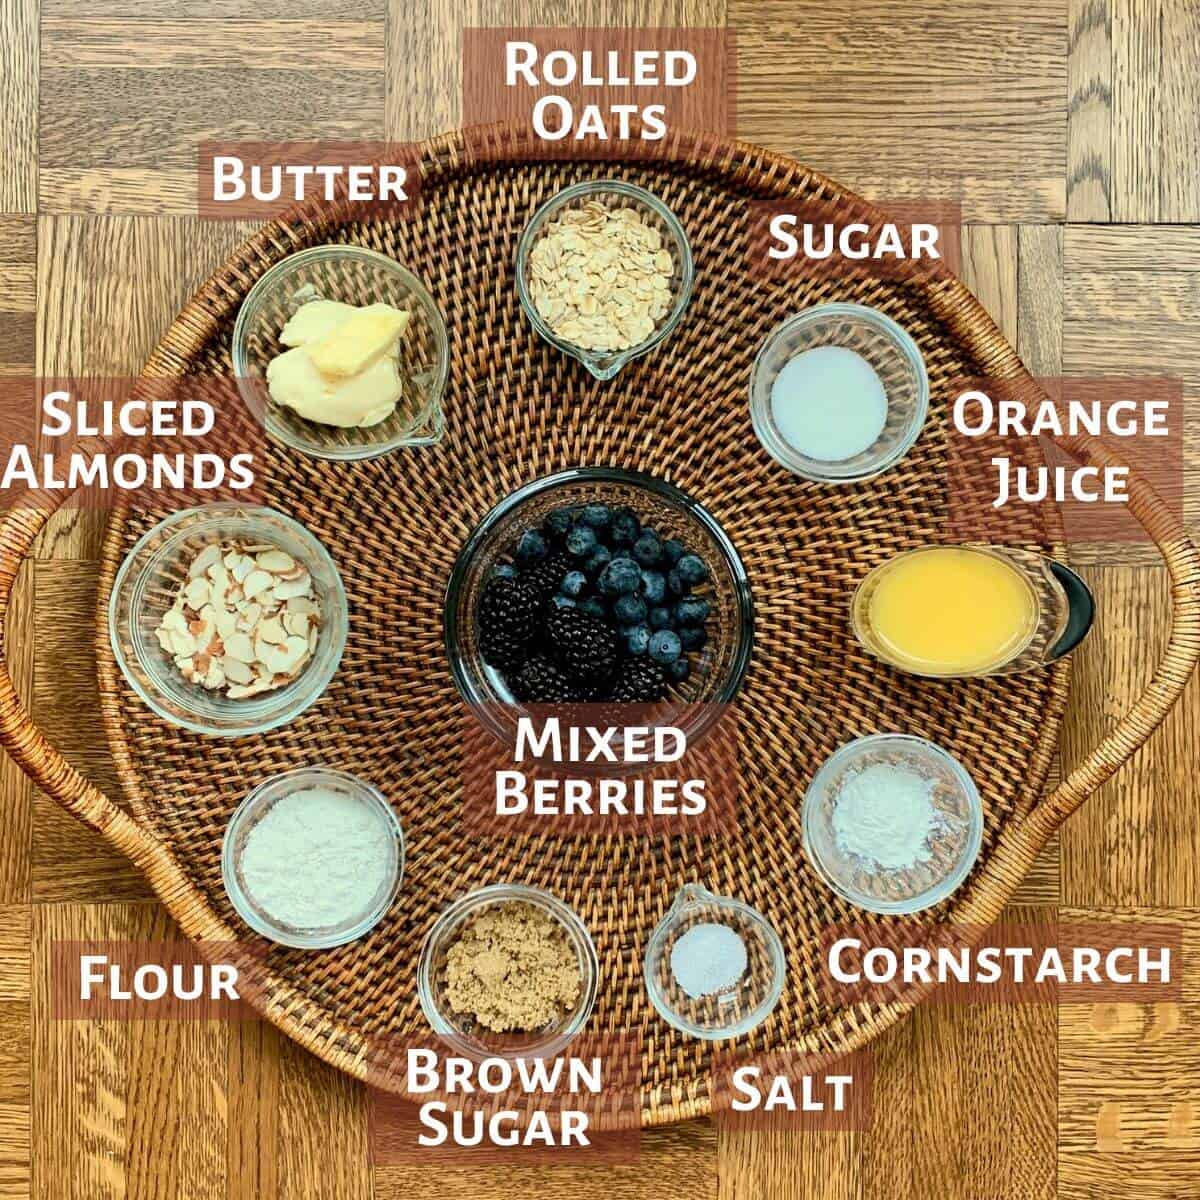
You'll need the following ingredients to make this small batch mixed berry crisp recipe:
Ingredient Notes
Berries: Use any combination of one or more fresh or frozen berries you prefer, like blueberries, blackberries, strawberries, and/or raspberries. Since this is a mini mixed berry crisp, you only use a handful of berries - great for cleaning out the fruit drawer!
As far as the berry combinations, blueberries and blackberries hold their shape best during baking, while raspberries and strawberries soften more. Mix and match your favorites depending on the texture you'd like.
Also, both fresh or frozen berries work well in this crisp. Fresh berries hold their shape a little better, while frozen berries soften more as they bake. If you're using frozen berries, thaw and drain them first to prevent excess liquid from making the filling runny.
Orange juice: Adds sweetness and moisture to the filling.
Cornstarch: Thickens the filling so it isn't too runny.
Streusel topping: The topping contains flour, brown sugar, and salt.
Butter: You can use butter in the streusel topping, or use a dairy-free butter substitute if you prefer.
Rolled oats and almonds: Added for texture and crunch, and give the crisp its...uhm...crispness. I like the crunch of nuts in the topping, but they're optional. Use any sliced or chopped nut you'll like, or leave them out altogether.
See the recipe card for a full list of ingredients and measurements.
Why make a mini berry crisp?
A berry crisp recipe bakes so quickly compared to a cobbler, the longest part will be waiting for the oven to heat. But wait, I'm making a Mini Skillet Mixed Berry Crisp using a 6½-inch cast iron skillet. This pan is perfect for small batch baking (I use it for my Mini Skillet Hot Fudge Pudding Cake and Small Batch Skillet Cornbread).
Since the pan is small enough to bake in the toaster oven, the kitchen stays cool. Score!
Why you'll love this mini berry crisp
- Ready in about 20 minutes
- Easy way to use a handful of fresh berries
- Perfect dessert for two
- No leftovers
No mini skillet? No problem! Bake this crisp in two 8-ounce ramekins or your favorite small baking dish instead.
How to make a berry crisp
Step 1: Make the fruit filling
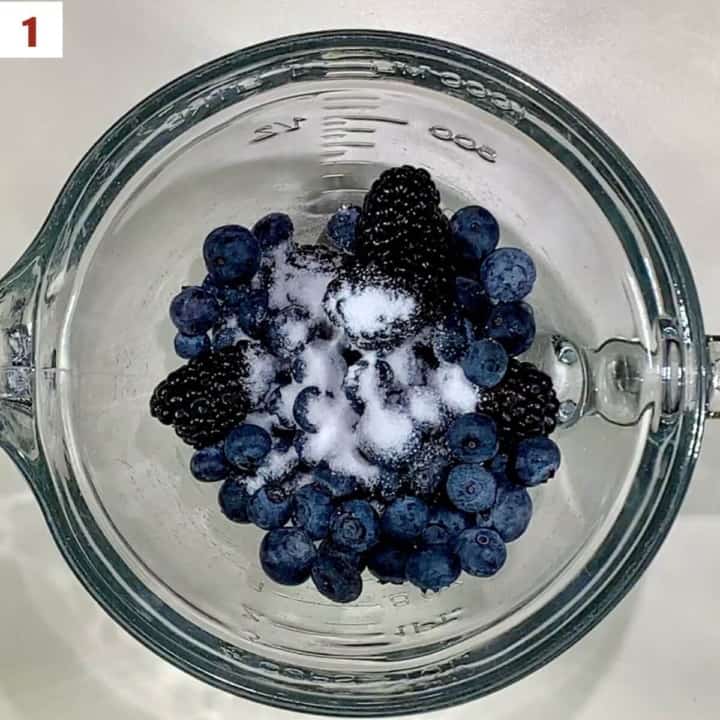
If you're using frozen, thawed berries, strain them with a fine mesh strainer before adding in the sugar. Toss the berries with the granulated sugar (photo 1).
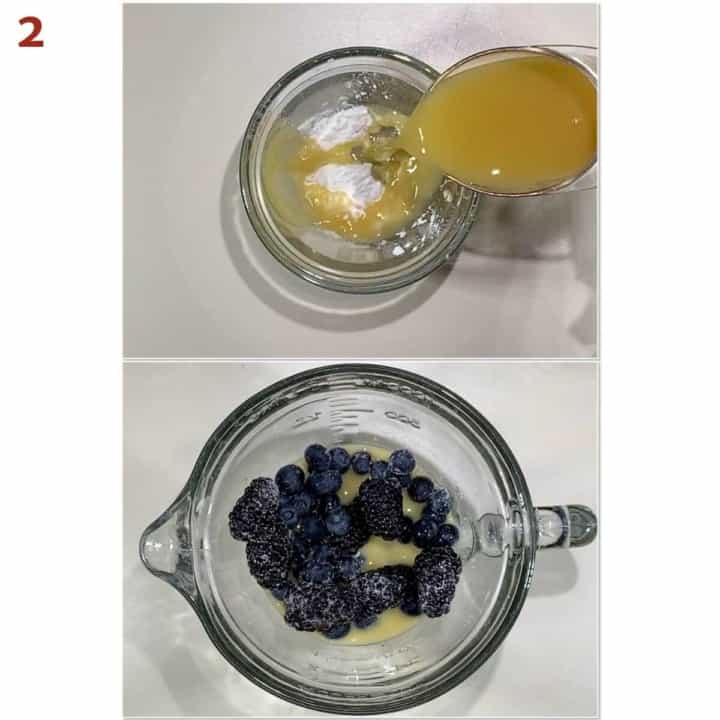
Whisk the orange juice and cornstarch until smooth, then add to the berries and stir gently (photo 2).
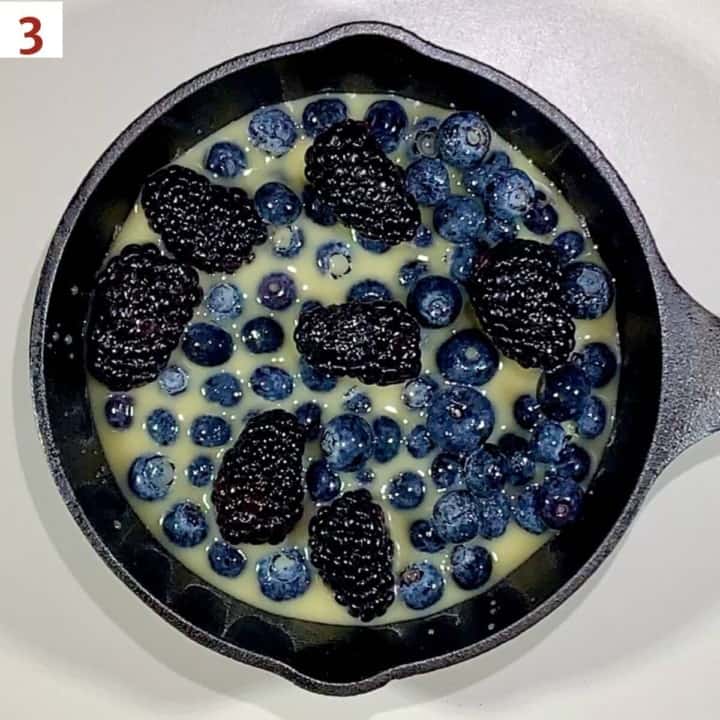
Pour the berry mixture into the 6½-inch skillet (photo 3). Set aside.
Step 2: Make the topping
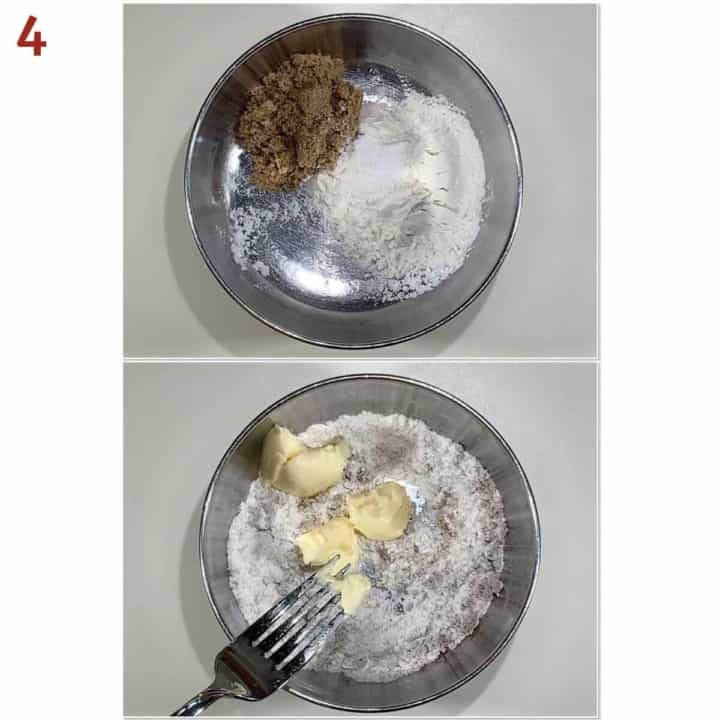
Combine the flour, brown sugar, and salt. Rub in the butter with a fork until the mixture is clumpy (photo 4).
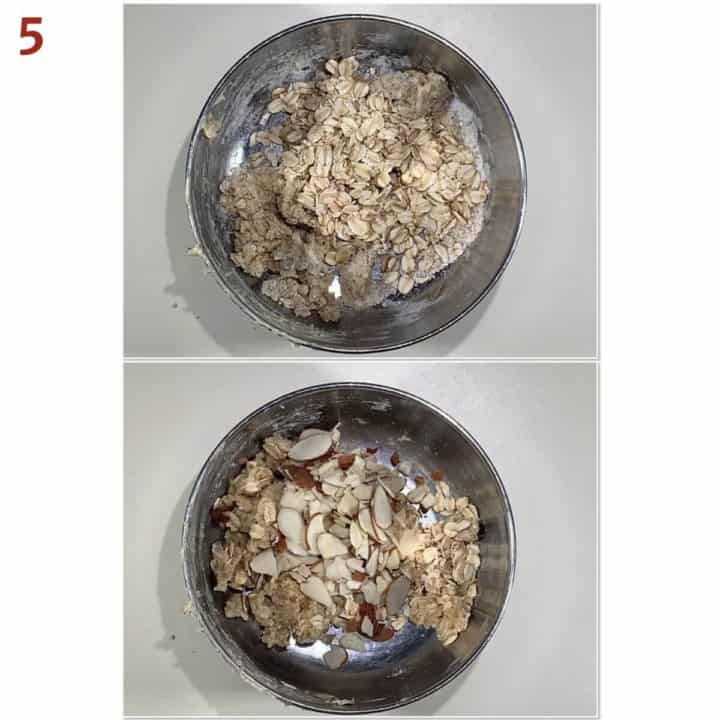
Toss in the rolled oats and almonds, gently mixing them in with your hands (photo 5).
Step 3: Bake the crisp
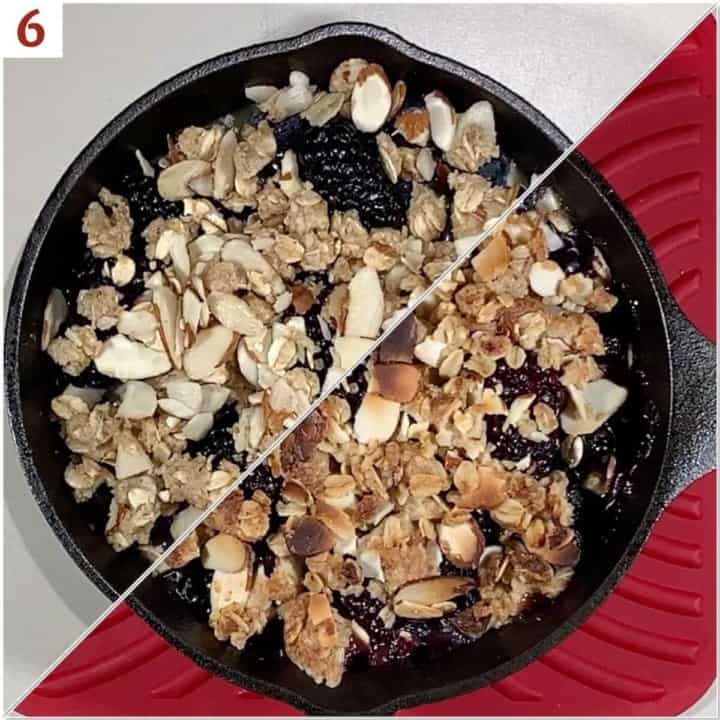
Crumble the topping onto the berry mixture. Bake at 325˚F for 10 to 12 minutes or until the topping in browned and fruit is bubbling (photo 6). You can reduce the heat to 300°F if the topping is browning too fast.
Let the crisp cool 2 to 3 minutes, and serve warm.
Storage instructions
Fruit crisps are best the same day. You can make the berry crisp beforehand, however the topping won't be quite as crisp though. Store at room temperature for up to 3 days.
Berry crisps will keep in the freezer, well wrapped, for up to 1 month. Thaw overnight in the refrigerator, then reheat at 350 °F for 15 to 20 minutes or until heated through.
Yield Notes
In a mini skillet, this berry crisp recipe will easily serve 2 to 4 people. If you are baking for a larger crowd, just double the recipe and use a 10¼ inch cast iron skillet or a 9- x 9-inch baking pan.
More fruit crisp variations
A fruit crisp should really be called any-fruit-you-want crisp, because the fruit you use is entirely customizable to what you have on hand. Here are some ideas for more fruit crisp recipes:
- Peach Crisp: Use 1 cup fresh or frozen peaches, chopped into ½-inch cubes. If the peaches are hard, cook them first. Whisk together the orange juice and cornstarch. Melt 1 tablespoon of butter or your favorite butter substitute in the cast iron skillet. Sauté the peaches until slightly softened. Add the sugar and orange juice mixture and cook until the liquid has thickened and reduced. For the topping, add ½ teaspoon cinnamon with the flour if desired. Top the fruit with the topping and bake as directed.
- Peach-Bourbon Crisp: Make the Peach Crisp as above, replacing 2 tablespoons of the orange juice with bourbon.
- Apple Crisp or Apple-Bourbon Crisp: Replace the peaches above with chopped, peeled apples.
- Rhubarb Strawberry Crisp: Use fresh strawberries and fresh rhubarb to make a classic sweet and sour dessert.
Troubleshooting tips
Here are some issues you might encounter when making a mixed berry crisp:
- The filling is too runny: Frozen berries should be thawed and well drained before measuring.
- The berries taste too tart: Sprinkle a little extra sugar over the fruit before adding the topping.
- The topping browns too quickly: Loosely cover with foil for the last few minutes of baking.
- The filling bubbled over: Place the skillet on a sheet pan to catch any drips.
- The topping isn't crisp: Bake until the fruit is actively bubbling around the edges. The filling should be hot enough to fully cook the topping.
Questions asked and answered
Here are some questions you might have...
Berries release a lot of liquid when they're heated, so if you don't use a thickening agent, such as cornstarch or Instant ClearJel (like with this apple pie), you can end up with a soupy filling. This is especially true if you're starting with frozen berries. It's best to thaw and strain the berries before starting to make the filling.
This version is baked in a mini cast iron skillet as a baking vessel (in the toaster oven) so the oat topping becomes crisp and golden. While some fruit desserts can be cooked on the stovetop, baking creates the classic crisp texture.
Didn't find the answer you're looking for?
Ask AI to answer for this specific recipe:
Disclaimer: I am not responsible for the quality of AI information

I hope you like this recipe! Let me know if you have any questions, and don't forget to leave a comment and rating. Thanks!
Slainté! L'chaim! Cheers!
- Tammy
More pie, tart, & cobbler recipes to try
Recipe
Mini Skillet Mixed Berry Crisp for Two
Ingredients
For the filling
- 1 cup mixed berries, fresh or frozen (thawed), see Recipe Notes
- 1 tablespoon granulated sugar
- ¼ cup orange juice
- 1 teaspoon cornstarch
For the topping
- 2 tablespoons all-purpose flour
- 1 tablespoon brown sugar, packed
- pinch kosher salt
- 2 tablespoons unsalted butter, or dairy-free butter substitute, slightly softened
- 2 tablespoons rolled oats
- 2 tablespoons almonds, sliced, optional, see Recipe Notes
- vanilla ice cream, homemade or store-bought, regular or dairy-free, optional
Instructions
- Preheat oven to 325 °F. With a 6½-inch skillet, you can use the toaster oven. If you're using frozen, thawed berries, strain them with a fine mesh strainer before adding in the sugar
- Make the filling: In a medium bowl, toss 1 cup mixed berries with 1 tablespoon granulated sugar. In a small bowl, whisk ¼ cup orange juice and 1 teaspoon cornstarch until smooth, then add to the berries and stir gently.
- Pour the berry mixture into the 6½-inch skillet. Set aside.
- Make the topping: In a medium bowl, combine 2 tablespoons all-purpose flour, 1 tablespoon brown sugar, and a pinch kosher salt. Rub in 2 tablespoons unsalted butter with a fork until the mixture is clumpy. Toss in 2 tablespoons rolled oats and 2 tablespoons almonds, gently mixing them in with your hands.
- Crumble the topping onto the berry mixture.
- Bake for 10 to 12 minutes or until the topping in browned and fruit is bubbling. Reduce the heat to 300 °F if the topping is browning too fast.
- Let the crisp cool 2 to 3 minutes. Serve warm with a scoop of vanilla ice cream, if desired.
- Storage instructions: Fruit crisps are best the same day. You can make the berry crisp beforehand, however the topping won't be quite as crisp though. Store at room temperature for up to 3 days. Berry crisps will keep in the freezer, well wrapped, for up to 1 month. Thaw overnight in the refrigerator, then reheat at 350 °F for 15 to 20 minutes or until heated through.
Notes
- Peach Crisp: Use 1 cup fresh or frozen peaches., chopped into ½-inch cubes. If the peaches are hard, cook them first. Whisk together the orange juice and cornstarch. Melt 1 tablespoon of butter or your favorite butter substitute in the cast iron skillet. Sauté the peaches until slightly softened. Add the sugar and orange juice mixture and cook until the liquid has thickened and reduced. For the topping, add ½ teaspoon cinnamon with the flour if desired. Top the fruit with the topping and bake as directed.
- Peach-Bourbon Crisp: make the Peach Crisp as above, replacing 2 tablespoons of the orange juice with bourbon.
- Apple Crisp or Apple-Bourbon Crisp: Replace the peaches above with chopped, peeled apples.




Comments
No Comments