

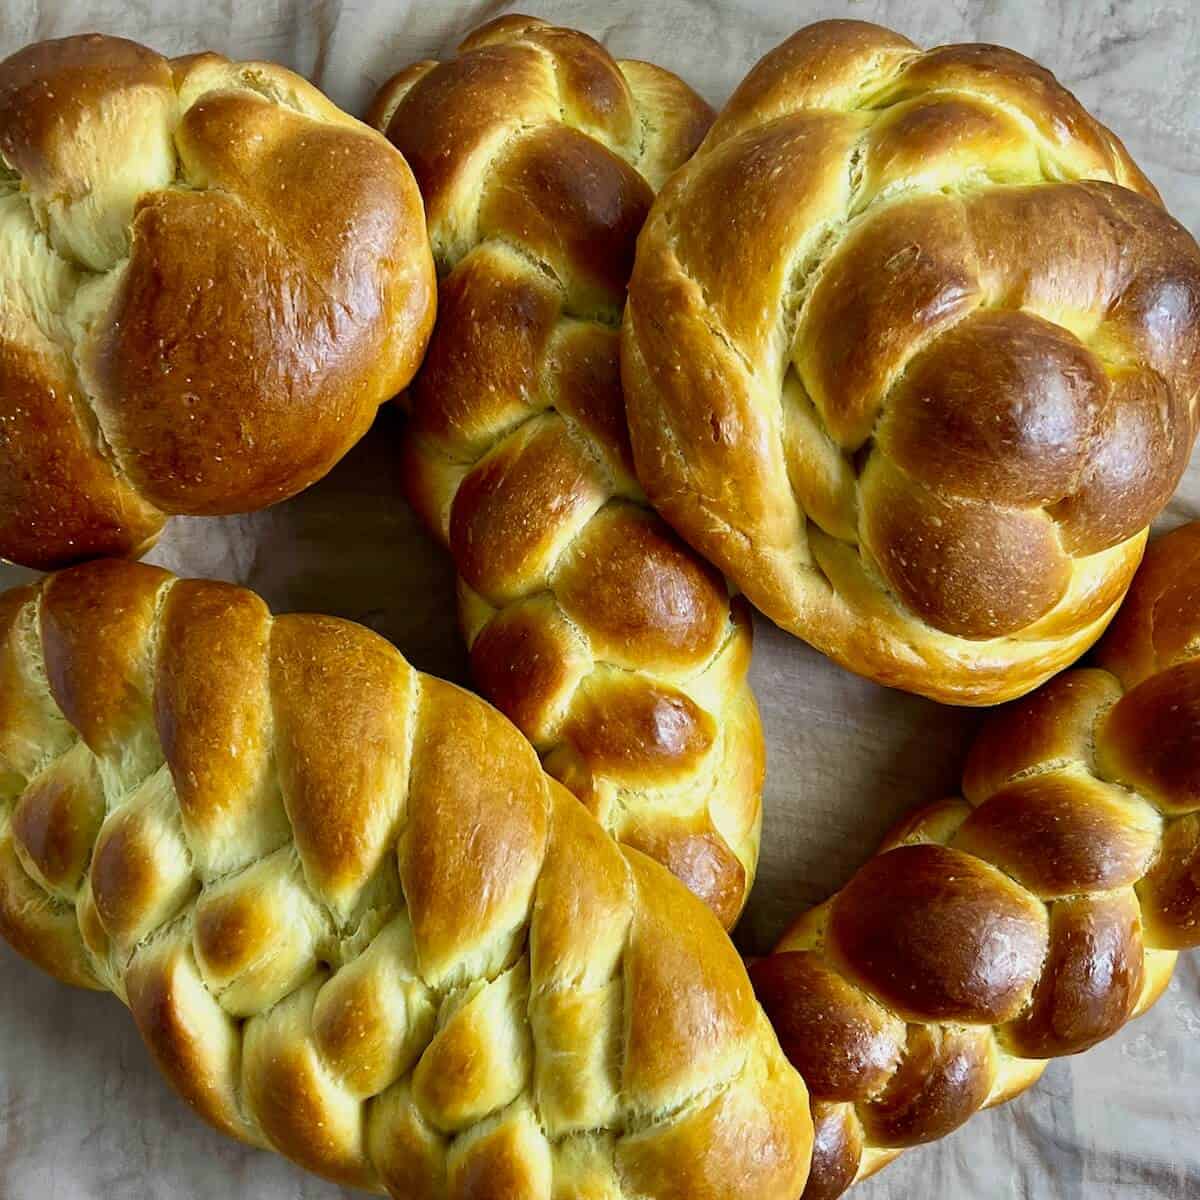
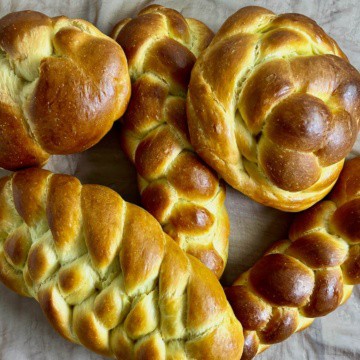
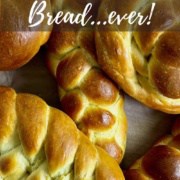
This time-tested challah bread is soft, chewy, and lightly sweet, with a beautifully glossy braided crust. The flexible dough can be shaped into an oblong loaf for Shabbat, a round challah for Rosh Hashanah, or two smaller loaves for sharing. And should any survive dinner, the leftovers make truly glorious French toast!
Jump to:
Quick Recipe Summary ✨
Best Homemade Challah Bread: A traditional braided egg bread with a soft, chewy crumb, lightly sweet flavor, and glossy golden crust.
Flexible shaping: Make one large loaf or two smaller loaves, then shape the dough into a straight or round braid using three or more strands.
Customize the flavor: Add mix-ins and toppings like raisins, chocolate chips, seeds, cinnamon sugar, or leave it deliciously plain.
Active Time: About 30 minutes • Rise Time: About 3 hours 45 minutes • Bake Time: 25 to 35 minutes • Total Time: About 4 hours 35 minutes
Difficulty Level: ⭐⭐ Easy to Medium. The dough is straightforward to mix and knead; start with a simple three-strand braid if you're new to shaping challah.
Yield: 1 large or 2 smaller loaves, about 16 slices • Freezer-friendly: 4 to 6 months • Make-ahead: Let the dough complete its first rise in the refrigerator overnight.
👉 Follow the detailed instructions and braiding guides below to make a soft, golden homemade challah for Shabbat, Rosh Hashanah, holiday meals, or some seriously delicious French toast.
SUMMARIZE & SAVE THIS CONTENT ON
Why this recipe works
- Bread flour gives the braid structure: The stronger gluten helps the dough hold its shape while keeping the crumb pleasantly chewy
- The water amount is adjustable: Starting with less water lets you account for humidity instead of wrestling with an overly sticky dough
- Eggs and oil keep the loaf tender: They enrich the dough without adding dairy, so the challah remains appropriate alongside either meat or dairy meals
- Two rises create a lighter loaf: The first develops the dough, while the second lets the finished braid become puffy before baking
- A thermometer removes the guesswork: At 190°F in the center, the loaf is baked through without becoming dry
Challah is a traditional Jewish braided egg bread that's similar to brioche. Both are enriched with eggs, but challah uses oil instead of butter, giving it a soft, chewy texture and making it naturally dairy-free.
My slightly sweet homemade challah has been a family favorite for years, and it's earned more than a few votes for "best homemade challah ever." I'm hardly going to argue with such excellent judgment!
I've made this challah recipe for Shabbat, Rosh Hashanah (the Jewish New Year), classroom baking projects, and plenty of ordinary days that simply needed better bread.
Shape the dough into one bakery-sized loaf or two everyday loaves, then choose a simple three-strand braid or something more elaborate. Finish it with raisins, chocolate chips, seeds, cinnamon sugar, or leave it plain.
The dough also makes a wonderful base for my Apples and Honey Babka, Chocolate Babka, and Cranberry Cinnamon Swirl Bread. And yes, any leftover slices make fantastic French toast, although "leftover challah" can be a rather optimistic concept.
So give yourself a real treat and make the best homemade challah bread!
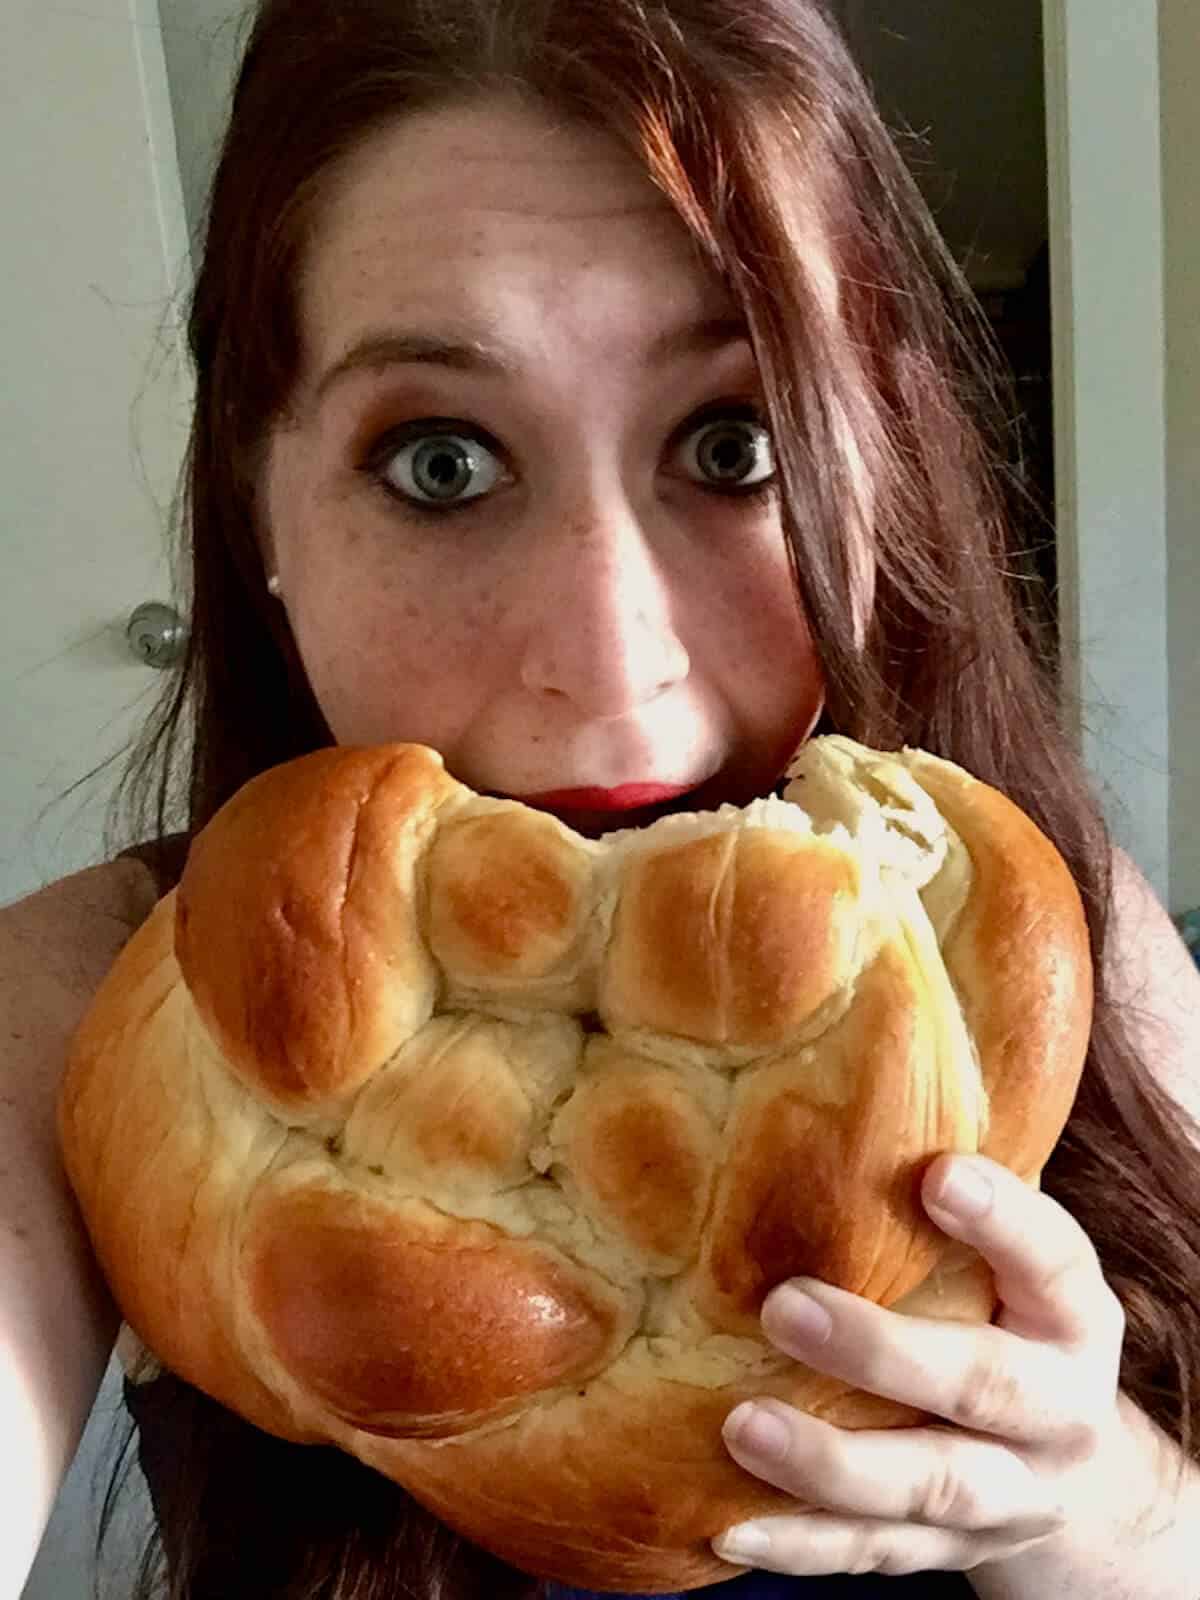
Challah can come in different shapes
Most types of bread aren't associated with a specific shape, but challah, a Jewish egg bread similar to brioche, definitely is one of those. It's braided, either straight or round, and is instantly recognizable.
Braiding challah takes a little practice, but your reward is a beautiful shiny bread suitable for celebrations.
Here's an at-a-glace shaping guide:
| Shape | Best for | Difficulty |
| Three-strand straight braid | Beginners and Shabbat | Easiest |
| Four-strand straight braid | A taller, more decorative loaf | Moderate |
| Four-strand round braid | Rosh Hashanah | Moderate |
| Six-strand braid | A bakery-style centerpiece | Moderate |
| Eight-strand braid | A showstopper or special occasion | Advanced-looking, but manageable |
Challah shaping and braiding
I have separate posts on how to shape challah, with detailed instructions on how to braid a three-strand, four-strand (straight and round), and six-strand (straight and flat) challah. And if you really want a bakery-worthy challah, try my eight-strand straight braided challah inspired by The Great British Bake Off (aka The Great British Baking Show). It's not hard, so have at it!
Baking bread, science, and math
Making challah with kids is especially fun, and provides so many ways to teach and learn!
When I would help my preschool students make challah every Friday, we would talk about "waking up and feeding the yeasties" while preparing the dough. I'd talk about how yeast is actually a living organism that makes the bread rise.
I'd ask them questions like "how many ¼ cups of water would go into 1 cup of water?" instilling in them the thought that math is something we use every day.
Learning to be careful when measuring out the ingredients taught them patience and control, as did stirring the ingredients carefully and watching how the dough takes shape in the bowl.
Yes, baking challah bread is a fun and educational experience!
Recipe Ingredients
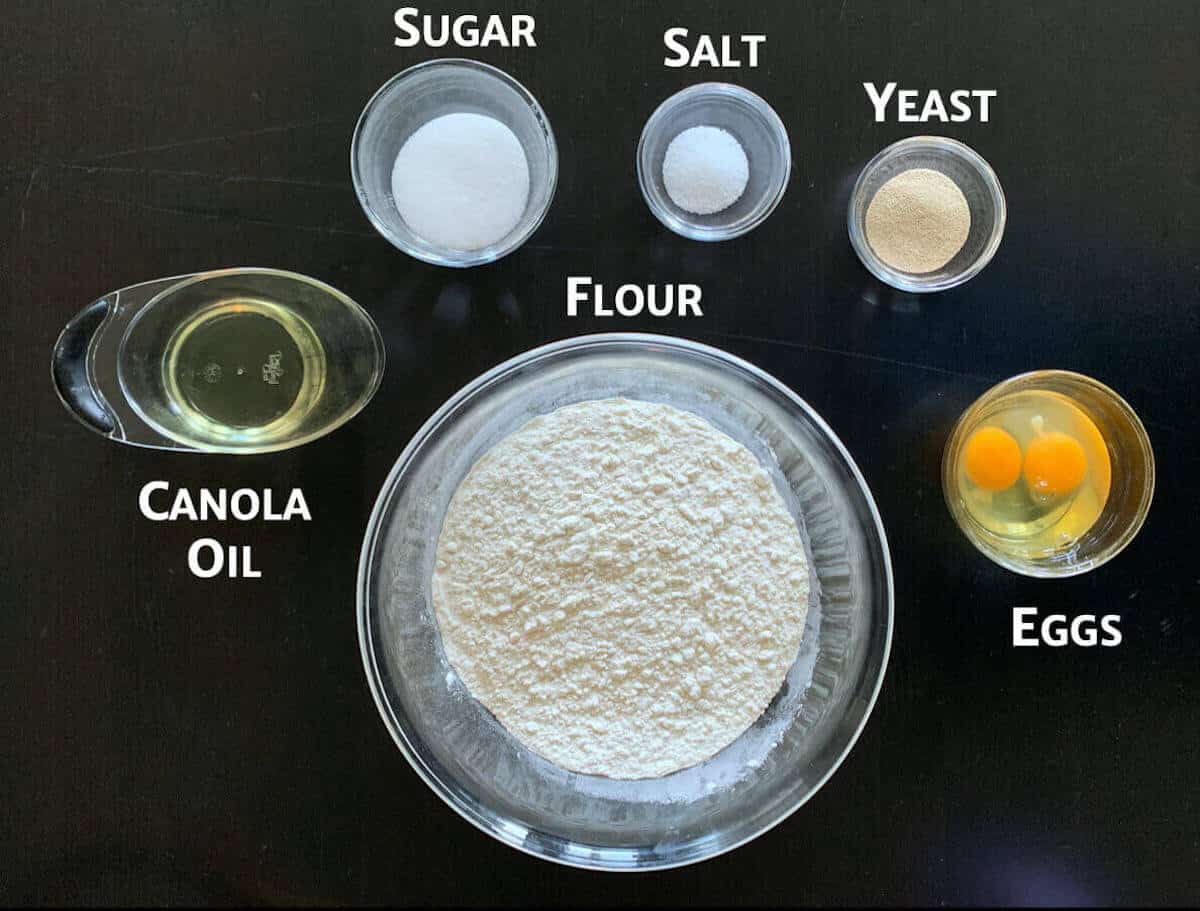
You'll need the following ingredients to make this challah recipe:
Ingredient Notes
As with most bread recipes, you need the basic bread ingredients: flour, water, yeast, and salt.
Flour: Generally speaking, bread flour is preferred for challah dough because it has a higher protein content than all-purpose flour. This allows the dough to have a stronger gluten structure, making it easier to shape and the bread will be less dense.
You can use all-purpose flour if you wish, but the dough may be softer and the finished loaf slightly less chewy. Hold back some of the water at first, since all-purpose flour may absorb less than bread flour.
Yeast: I only use instant yeast (aka rapid rise) when I bake, which doesn't need to be proofed before mixing bread dough. With instant yeast, you just mix all the dough ingredients together and knead it for a few minutes.
If you use Active Dry yeast, then you might want to sprinkle yeast onto the warmed water with a teaspoon of sugar and allow it to sit for a few minutes before proceeding with the recipe. Letting it foam "proves" the yeast is active and ready to go to work. Otherwise, you'll end up with a bread doorstop, and no one wants that.
Eggs: The main difference between a basic bread dough and challah is that challah dough is enriched with eggs. The eggs also give challah its characteristic yellow color and rich flavor while helping keep the bread tender.
Canola oil: Oil is used instead of softened or melted butter to keep the bread dairy-free and giving it a slightly chewier texture. That's especially important if you're keeping Kosher and want to serve the challah with a meal featuring meat. Jewish dietary laws forbid the mixing of milk and meat products at the same time.
Sugar: Unlike sandwich bread, challah is lightly sweetened. The sugar isn't meant to make it taste like dessert. It simply balances the richness of the eggs and enhances browning.
Usually I use sugar, but substitute honey for the sugar, especially if I'm baking for a holiday that features honey (like the aforementioned Rosh Hashanah).
Mix-ins: These can be a fun way to add another flavor component to your challah. Some common mix-ins are raisins and chocolate chips, but you can experiment with other options like nuts, seeds, or chopped dried fruit.
Toppings: Sesame seeds and poppy seeds are common, and cinnamon sugar (1 teaspoon cinnamon mixed with 1 tablespoon granulated sugar) is a fun alternative. You can also go savory with spice mixes like za'atar. Get creative or leave it plain, your choice.
See recipe card for a full list of ingredients and measurements.
How to make challah bread
Step 1: Make the dough
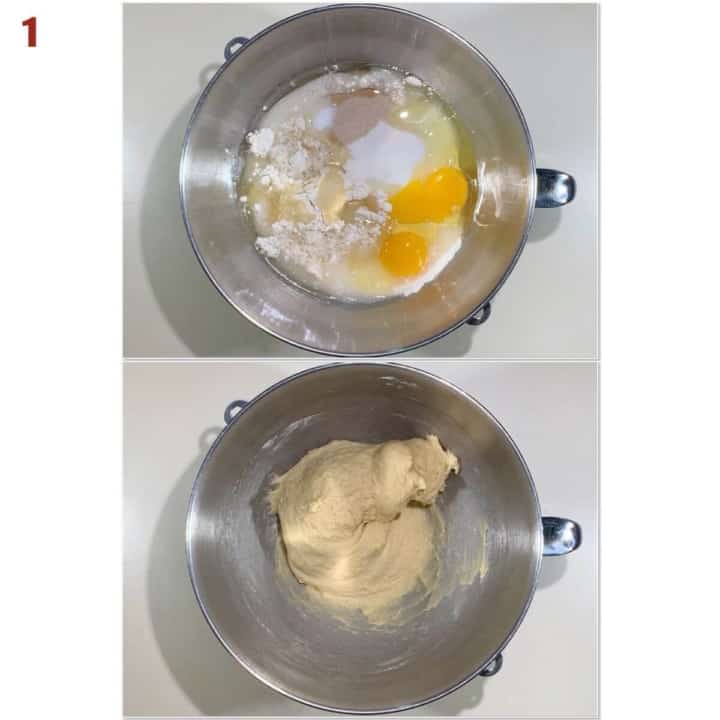
Mix the flour, sugar, yeast, salt, eggs, canola oil, and water in the bowl of a stand mixer fitted with a dough hook on low speed (or in a bread machine set to the manual cycle). Knead the dough for about 5 minutes on medium-high speed (photo 1).
If you don't have a stand mixer or bread machine, mix the ingredients in a large bowl using a wooden spoon until it's too stiff to stir, then turn out onto a floured surface and continue kneading until a smooth dough forms.
Knead about 5 minutes more. If the dough seems too wet, add more flour, one tablespoon at a time, until the dough is slightly tacky. The finished dough may cling briefly to a clean fingertip, but it shouldn't leave a thick coating of dough behind.
Adding mix-ins
If you're adding mix-ins manually (like raisins or chocolate chips), transfer the dough to a lightly floured surface and flatten the dough into a rough rectangle Sprinkle on a handful of the mix-in. Fold the dough over, flatten again, and sprinkle on another handful. Repeat until you've mixed in as much as you want. You can see an example of this process in the video for Sourdough Jalapeño Cheddar Bread.
Step 2: Let the dough rise
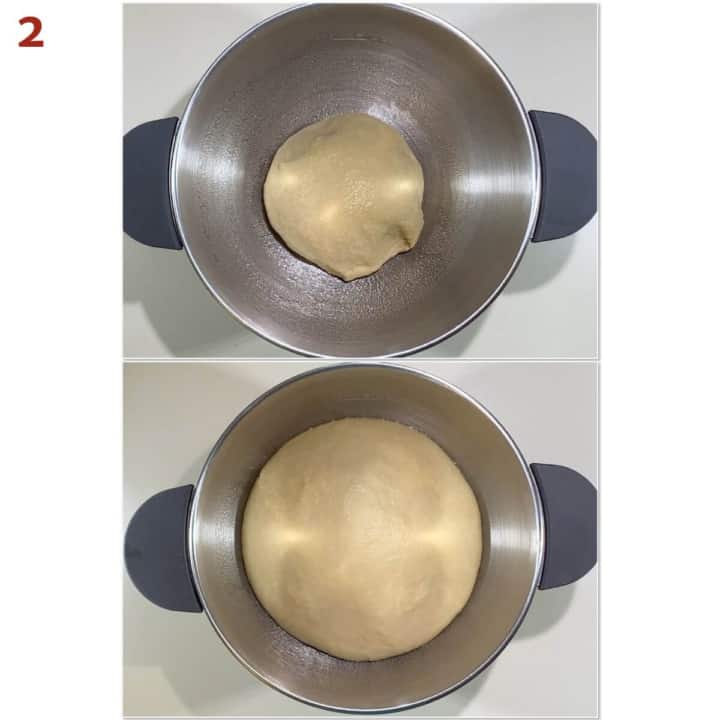
Shape the dough into a ball and place in a covered, oiled bowl, sprayed with canola oil spray, smooth side up (photo 2). Let it rise 2 to 3 hours in a warm place (such as in the oven, turned off but with the light on) until it doubles in bulk.
Watch the dough, not the clock
The time it takes the dough to rise will depends on temperature, both that of the dough and your kitchen (warm dough rises faster than a cooler dough). Instead of relying on a specific time frame, check the dough itself - it should look noticeably expanded and roughly doubled in volume.
Step 3: Shape the dough
After the dough has doubled in size, gently knead it to release the air, then divide it into the number of ropes for your braid. Keep the braid snug enough to hold its shape but not tight - the strands need room to expand during the final rise and baking.
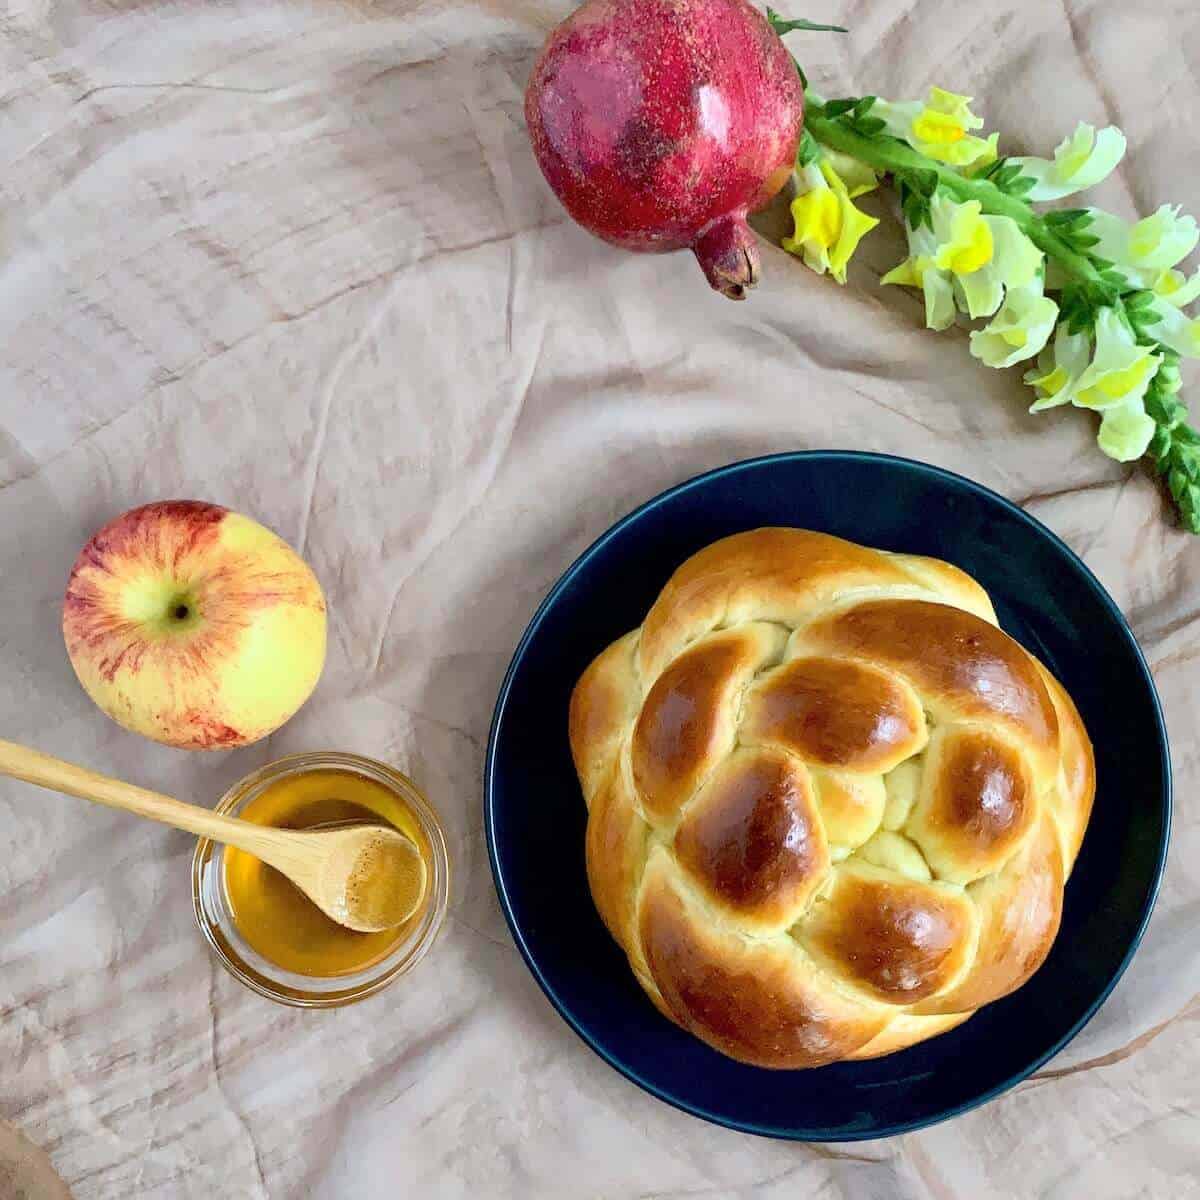
As I mentioned earlier, braiding is traditional, and three-strand (the easiest for beginners), four-strand, six-strand, and eight-strand straight braids are common. Sometimes you'll see round braided loaves (especially for Rosh Hashanah, the Jewish New Year).
I usually make two smaller challah loaves out of one batch of dough, but a full-sized batch makes one good-sized challah.
Step 4: Proof the challah (second rise)
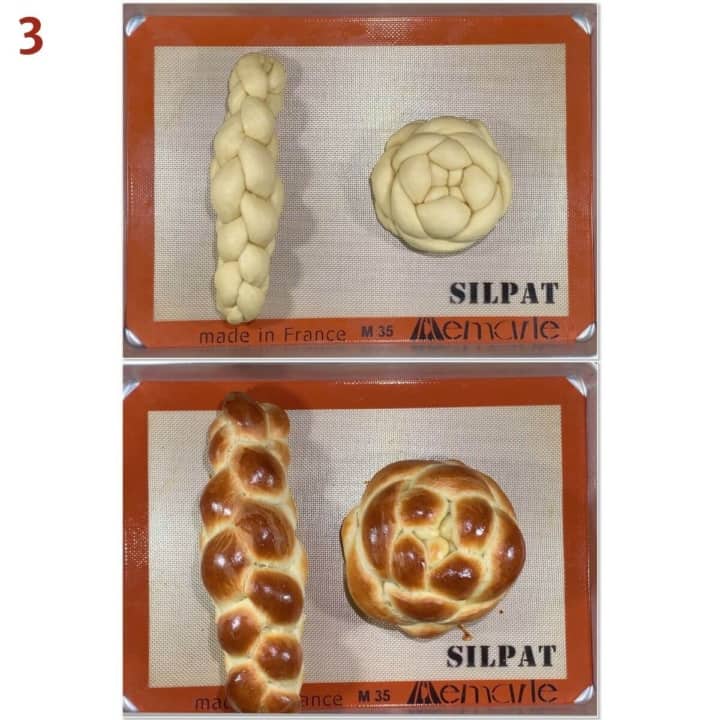
Transfer the dough to a half sheet baking pan lined with a Silpat silicone mat or parchment paper. Let the shaped dough rise, covered with greased plastic wrap, for 45 minutes in a warm place while you warm the oven. This allows the dough to relax and get puffy again.
How to tell when challah is finished proofing
The shaped challah should look noticeably puffy. When gently pressed with a fingertip, the dough should spring back slowly and leave a slight indentation. If it snaps back immediately, it needs more time; if it collapses, it has likely overproofed.
Step 5: Bake the challah
Right before putting it in the oven, brush the dough with an egg wash (an egg whisked with 1 tablespoon of water) to get that shiny crust. If you're using any toppings, sprinkle them on now.
Bake the challah at 350ºF for 25 to 35 minutes, rotating the pan front to back halfway through the baking time.
When the loaf is golden brown and it sounds hollow when tapped on the bottom (or reads 190°F on a digital thermometer), remove it from the oven and cool on a wire rack (photo 3).
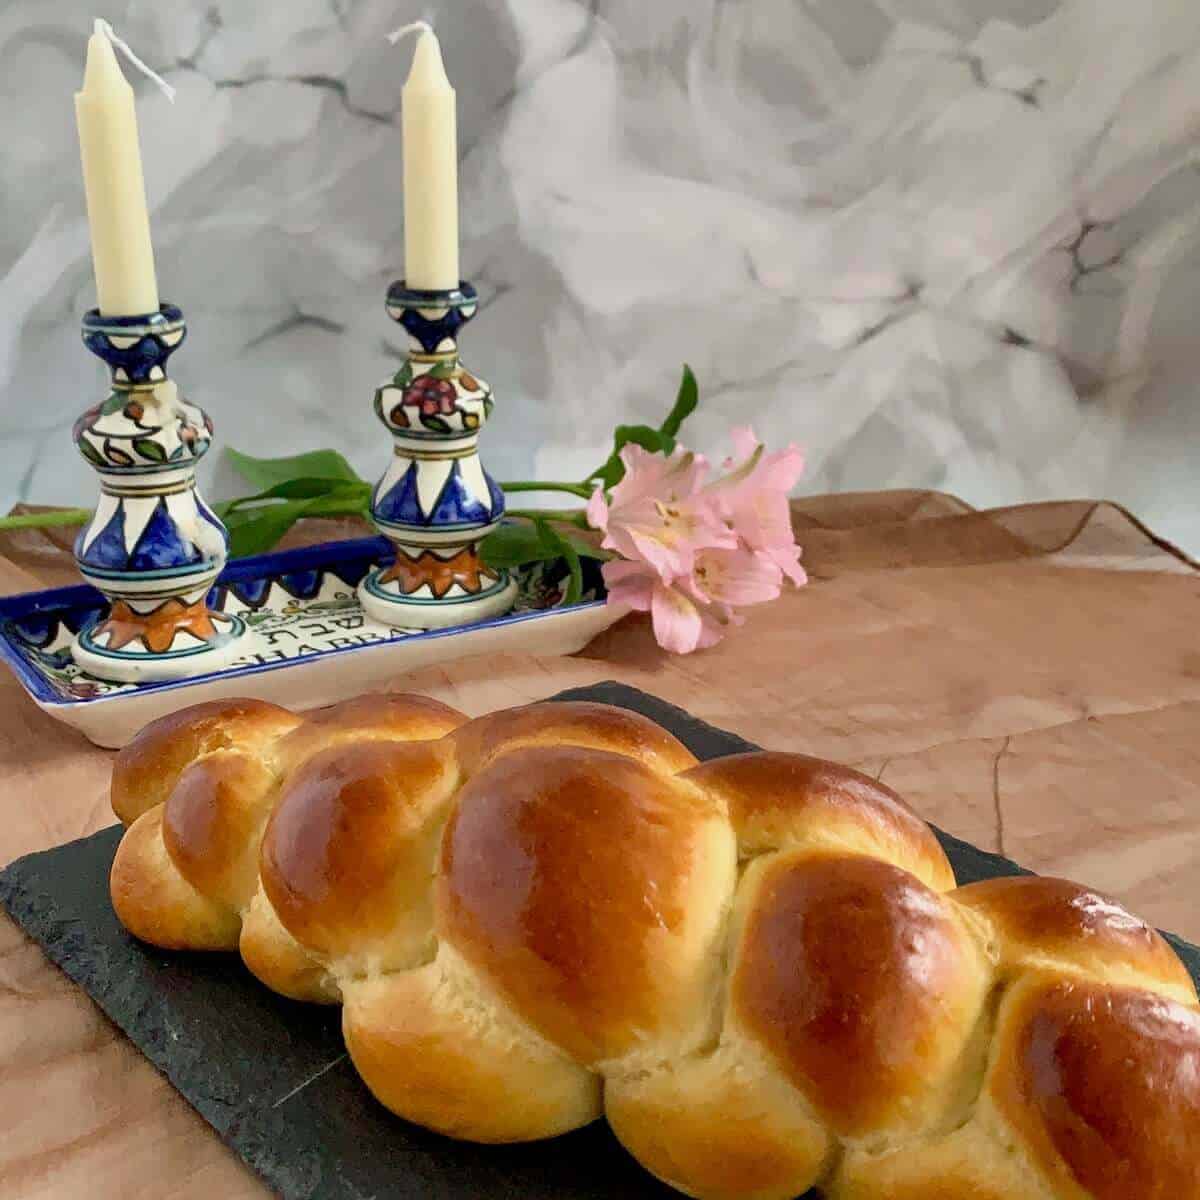
A well-made challah should have a shiny golden crust, a soft but sturdy crumb, and a light chew from the bread flour. It should slice cleanly without crumbling and stay tender for several days.
Storage instructions
Challah will last for several days on the counter in an airtight container. For longer term storage, freeze the loaf, well wrapped in plastic wrap and placed in an airtight container, for up to 4 to 6 months.
Troubleshooting tips
Bread recipes vary because kitchens vary. Temperature, humidity, and even how flour is measured affect dough consistency, so learning what the dough should look and feel like is often more important than following the clock. With that in mind, here are some issues you might encounter when making homemade challah:
- The dough is very sticky: Add bread flour 1 tablespoon at a time. The dough should feel soft and slightly tacky, not glue itself enthusiastically to your hands
- The dough feels dry or stiff: Knead in warm water 1 tablespoon at a time. Flour absorbs water differently depending on the weather and how it's measured
- The dough isn't rising: Give it more time in a comfortably warm spot. A cool enriched dough may rise much more slowly than the clock suggests
- The braid keeps shrinking back: Cover the ropes and let them rest for 10 to 15 minutes, then continue rolling. The gluten simply needs to rest and relax
- The ropes tear while braiding: They may be rolled too thin or the dough may be too dry. Gently pinch the tear closed and avoid pulling the braid too tightly
- The braid spreads instead of rising upward: The dough may be too wet, under-kneaded, or braided too loosely
- Egg wash runs down the loaf: Brush gently so excess egg wash doesn't pool between the strands, where it can bake into pale spots
- My toppings keep falling off: Apply the egg wash first, then sprinkle the toppings immediately before baking so they adhere to the surface
- The crust browns too quickly: Tent the loaf loosely with foil and continue baking until the center reaches 190°F.
- The outside is done but the center is doughy: Check the center with a thermometer rather than relying only on color. A large single loaf may need a longer baking time
- The loaf splits between the strands: It was probably underproofed after shaping. Let the braid become visibly puffy before applying the egg wash and baking
- The challah is dense: Common causes include too much flour, inactive yeast, insufficient kneading, or cutting the rising time short.
Questions asked and answered
Here are some questions you might have...
It's hard to write how to pronounce the word challah. The beginning sound doesn't exist in English. The "ch" is the anglicized version for the Hebrew letter "chet" which represents the sound you make when you're trying to clear your throat, not the sound starting "cheese." That's why you'll see the Jewish December holiday of Hanukkah sometimes spelled "Chanukkah."
The braid is traditional and symbolic, although the exact meaning varies. If you delve deeper into the meaning of Shabbat and its traditions, this bread can hold even greater significance.
Braiding also creates a beautiful loaf with plenty of crust while helping the dough hold its shape during baking.
Sure! Cover the dough and let it rise at room temperature for about an hour, then put it in the refrigerator to rise overnight. Let the dough come to room temperature for about an hour before proceeding with the shaping.
Didn't find the answer you're looking for?
Ask AI to answer for this specific recipe:
Disclaimer: I am not responsible for the quality of AI information

I hope you like this recipe! Let me know if you have any questions, and don't forget to leave a comment and rating. Thanks!
Slainté! L'chaim! Cheers!
- Tammy
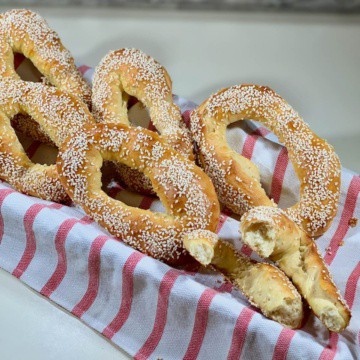
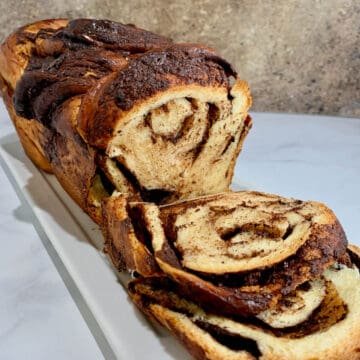
More shaped bread recipes to try
Recipe
Best Challah Bread (Braided Egg Bread)
Equipment
Ingredients
For the dough
- 3½ cups bread flour, plus more as needed, see Recipe Notes
- ¼ cup granulated sugar, see Recipe Notes
- 2 teaspoons instant yeast, or rapid rise, see Recipe Notes
- 1½ teaspoons kosher salt
- 2 large eggs, at room temperature
- ⅓ cup canola oil, see Recipe notes
- ½ to ⅔ cup water, warmed between 100°F to 110°F, see Recipe Notes
- mix-ins, optional, see Recipe Notes
For the topping
- 1 large egg, beaten, for egg wash
- 1 tablespoon water, for egg wash
- toppings, optional, see Recipe Notes
Instructions
- Make the dough: In the bowl of a stand mixer fitted with a dough hook on low speed (or in a bread machine set to the manual cycle), mix the 3½ cups bread flour, ¼ cup granulated sugar, 2 teaspoons instant yeast, 1½ teaspoons kosher salt, 2 large eggs, ⅓ cup canola oil, and ½ to ⅔ cup water (starting with the lesser amount). If the dough seems too wet - add more flour; too dry - add more water, both one tablespoon at a time until the dough is slightly tacky.Knead the dough for about 5 minutes on medium-high speed.
- If you don't have a stand mixer or bread machine, mix the ingredients in a large bowl using a wooden spoon until it's too stiff to stir, then turn out onto a lightly floured surface and continue kneading until a smooth dough forms. Knead about 5 minutes more.
- If you're adding mix-ins (like raisins or chocolate chips), fold them in on a lightly floured surface. Flatten the dough into a rough rectangle, then sprinkle on a handful of the mix-in. Fold the dough over, flatten again, and sprinkle on another handful. Repeat until you've mixed in as much as you want. You can see an example of this process in the video for Sourdough Jalapeño Cheddar Bread.
- Shape the dough into a ball and place in a covered oiled bowl (lightly sprayed with canola oil spray), smooth side up. Let the dough rise for 2 to 3 hours in a warm place (such as in the oven with just the light on) until it doubles in bulk. You can also let it rise in the refrigerator overnight. Let the dough come to room temperature if refrigerated (about an hour) before proceeding with the shaping.
- Shape the dough: After the dough has doubled in size, gently knead it to release the air, then divide it into the number of ropes for your braid.
- Use whatever technique you'd like. Braiding is traditional, and three-strand, four-strand, six-strand braids, and eight-strand straight braids are common. Sometimes you'll see round braided loaves (especially for Rosh Hashanah, the Jewish New Year).
- Line a half sheet baking pan with a Silpat silicone mat or parchment paper. Transfer the shaped dough to the baking pan, then cover with lightly oiled plastic wrap.
- Let the shaped dough rise for 45 minutes in a warm place. Meanwhile, preheat the oven to 350 °F.
- Bake the challah: Whisk together 1 large egg with 1 tablespoon water for the egg wash. Brush the mixture all over the exposed surfaces of the dough, then sprinkle on any desired toppings, such as cinnamon sugar, sesame seeds, or poppy seeds.
- Bake the challah for 25 to 35 minutes, rotating the pan front to back halfway through the baking time. When the loaf is golden brown and it sounds hollow when tapped on the bottom (or reads 190 °F with a digital thermometer), remove it from the oven and cool on a wire rack.
- Slice (or tear), serve, and enjoy!
- Storage instructions: Challah will last for several days on the counter in an airtight container. For longer term storage, freeze the loaf, well wrapped in plastic wrap and placed in an airtight container, for up to 4 to 6 months.
- This recipe yields about 1¾ pounds (800 grams) of dough.


Bee cmarder says
where are the measurements for the ingredients
Tammy Spencer says
Hi Bee, if you scroll down to the recipe card at the bott Of the post (or click the “Jump to Recipe’ button, you’ll find the ingredients and procedure needed to make this delicious challah. Good luck and happy baking!
Debbie Kurtzman says
I remember watching you make the challah at TCEE! You had as much fun as the kids did!
L’Shana Tovah!
Dianne Sanders says
As usual very informative and entertaining , makes me wish I was in the kitchen with this family ?
Tammy says
Thanks for your kind words, Dianne!