
If you're looking for a same-day sourdough discard pizza dough, this recipe gives you a soft, chewy crust with a subtle tang. Unfed sourdough starter adds flavor, while a touch of yeast ensures a reliable rise. Easy to make, it can be ready the same day with only a few minutes of hands on work or cold-ferment it for deeper flavor. Give your homemade pizza crust the flavor it deserves!

Jump to:
- Quick Recipe Summary ✨
- Why this recipe works
- Recipe Ingredients
- How to leave out the commercial yeast
- How to make sourdough discard pizza
- Make-ahead instructions
- Texture Customization Guide
- Sourdough Discard Pizza Dough Troubleshooting
- Turn your grill into an outdoor pizza oven
- Questions asked and answered
- More recipes featuring sourdough discard to try
- Good news for sourdough bakers!
- Recipe
- Comments
[Note: This post is sponsored by KettlePizza.]
Quick Recipe Summary ✨
Sourdough Discard Pizza Dough: A same-day, 60% hydration pizza dough made with unfed sourdough starter for subtle tang and commercial yeast for reliable rise. Soft, chewy interior with a crisp, golden bottom. 🍕
Zero-waste baking: Uses sourdough starter discard for flavor (not fermentation), so nothing goes to waste.
Flexible timing:
- Same-day bake after rising
- Cold ferment up to 3 days for deeper sourdough flavor
- Freeze after the first rise for up to 3 months
Active Time: About 10 minutes
Rise Time: 2 to 3 hours (or up to 3 days refrigerated)
Bake Time: 10 to 12 minutes
Total Time (same-day): About 3½ hours
Hydration Level: 60% (easy to handle, not sticky)
Difficulty Level: ⭐⭐ Easy. Beginner-friendly dough with simple mixing and shaping
Yield: 1 (10-12 inch) pizza crust
Also great for: Focaccia, calzones, stromboli, or pizza rolls
👉 Follow the step-by-step instructions below for a flavorful homemade pizza crust with balanced chew, crisp edges, and a subtle sourdough tang that everyone will love.
SUMMARIZE & SAVE THIS CONTENT ON
Why this recipe works
- Sourdough discard adds subtle tang, while a small amount of yeast ensures a consistent rise and strong structure
- The dough is easy to handle, not overly sticky, and bakes up chewy with a crisp bottom
- With only 10 minutes of hands-on work, you can use your pizza dough the same day after rising or refrigerate it up to 3 days to develop deeper sourdough flavor
- Works in a standard home oven, on a pizza stone, or on a grill setup for evenly cooked, crisp results.
Pizza Night is an event in our house.
With so many of my family members having...ahem...specific food preferences, making a pizza becomes a game of sections. No tomato sauce here, no olives there, and definitely no fresh basil over there, Pizza Night is indeed quite individualistic.
One thing we all agree on is the pizza dough. It's got to be soft, chewy, and flavorful. Me being me, it's going to be homemade pizza dough, and it's going to use sourdough starter discard that gives a subtle sourdough tang.
In other words, it's got to be Sourdough Pizza Dough.
This sourdough pizza crust has a nice chewy texture, though not hard to tear with your teeth. And the flavor? A nice subtle tang that supports, but doesn't detract from, the toppings.
Making a sourdough pizza recipe is my favorite way of using my weekly sourdough starter discard. It's fast, it's easy, and I can make the dough that day or for later in the week.
The crust makes the pizza, and sourdough pizza dough makes a tangy crust you'll love. So skip the store bought stuff and make your own dough. It will be so much better, trust me. Give your pizza crust the flavor it deserves, and let Pizza Night begin!
Recipe Ingredients
You'll need the following ingredients to make this Sourdough Discard Pizza Dough recipe:
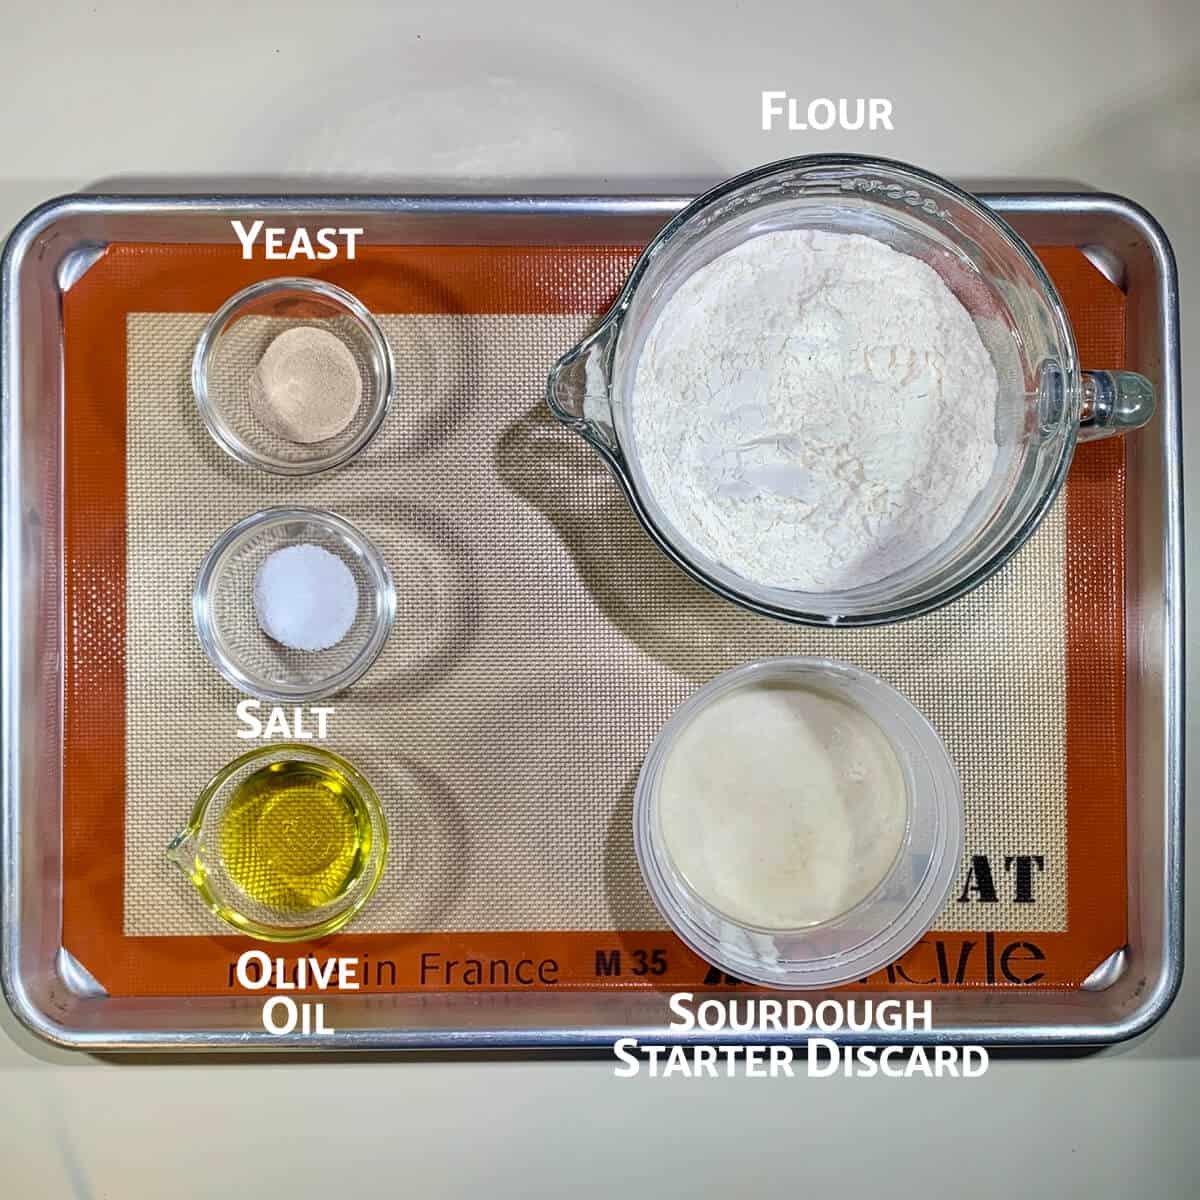
Ingredient Notes
Flour and water: My basic bread dough recipe has an easy-to-remember 5 : 3 recipe ratio of 5 parts flour to 3 parts water (by weight), giving the dough a 60% hydration level. I've also made sourdough pretzels, bagels, and naan with great success using this ratio, adapted for using sourdough starter.
See the FAQ's below for a discussion of the best types of flour to use in a pizza dough recipe.
Sourdough starter discard: Sourdough discard is unfed sourdough starter, the amount you remove from your crock before feeding the remainder starter (I use the discard so that my sourdough maintenance is zero-waste). Since it's not active starter, it's used for flavor rather than fermentation (you'll need yeast for that).
No sourdough starter? No problem! You can make the dough by replacing the starter with more flour and water (see the Recipe Notes for the exact amounts). The pizza crust won't have that subtle sourdough tang, but will still be delicious!
Yeast: I use instant yeast in all my baking, but you can also use Active Dry yeast. If you use Active Dry yeast, then you might want to sprinkle yeast on to the warmed water with a teaspoon of sugar and allow it to sit for a few minutes before proceeding with the recipe. Letting it foam "proves" the yeast is active and ready to go to work.
If you'd like to omit the yeast and just use fed, active sourdough starter, see the instructions below.
Olive oil: Besides adding flavor, olive oil impedes the pizza dough's ability to rise, like in any enriched bread dough. We're looking for a flat bread here, not a light sandwich loaf.
Flavorings: You can knead in chopped herbs, either dried or fresh, to the dough, like in these ciabatta rolls.
Toppings: The toppings you use on your pizza are completely up to you. You can use traditional toppings like tomato sauce, mozzarella cheese, and whatever meats or vegetables you'd like.
Maybe you want to go in a different direction? Use the fillings from Moroccan Beef Pie or Sloppy Joes Pasties as a topping, or make a street corn pizza. Or have the toppings on the inside with these pizza rolls. Creativity for the win!
See the recipe card for a full list of ingredients and measurements.
How to leave out the commercial yeast
If you don't want to use commercial yeast in this sourdough pizza crust recipe, replace the yeast with ½ cup (114 grams) of active, fed starter, reduce the amount of flour by about ½ cup (57 grams), and reduce the milk by about ¼ cup (57 grams). The rising time will be longer (about double) for both the first and second rises. (Note: there are some rounding inconsistencies here due to the volume vs. weight measurement conversion.)
How to make sourdough discard pizza
Making sourdough pizza dough involves very little hands on work. All it takes is about 5 minutes to measure out your ingredients and another 5 to 10 minutes to knead.
That's all the prep work you have to do - it's that simple!
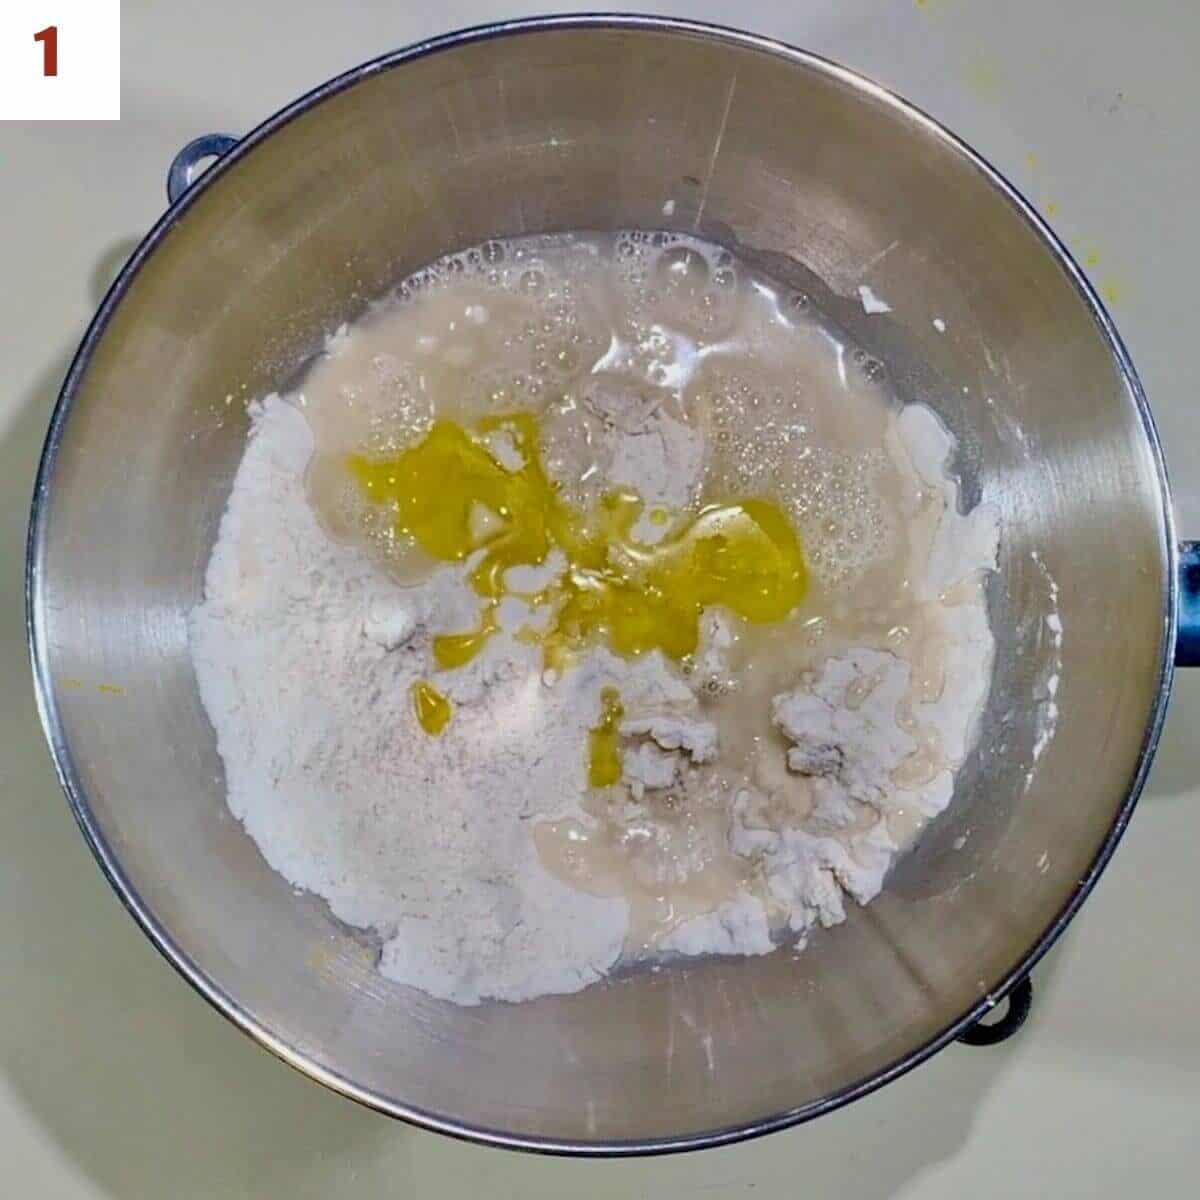
Step 1: Make the dough
In the bowl of a stand mixer fitted with a dough hook, combine the flour, sourdough starter discard, water, extra virgin olive oil, salt, and yeast.
Mix the dough on low speed for about a minute, then turn up the speed to medium-low and knead until the dough is smooth, about 5 minutes (photo 1).
Adjust the water to the weather
Start with the lesser amount of water to account for the humidity of the day. If the dough is too dry, add in 1 tablespoon water as needed until the dough is the right consistency.
Shape the dough into a ball and place in a greased bowl. Cover and put in a warm place to rest until doubled in size, about 2 to 3 hours (photo 2). The oven with just the light on works well.
Properly risen dough should feel soft and slightly tacky. When it's gently pressed, it should slowly spring back without collapsing.
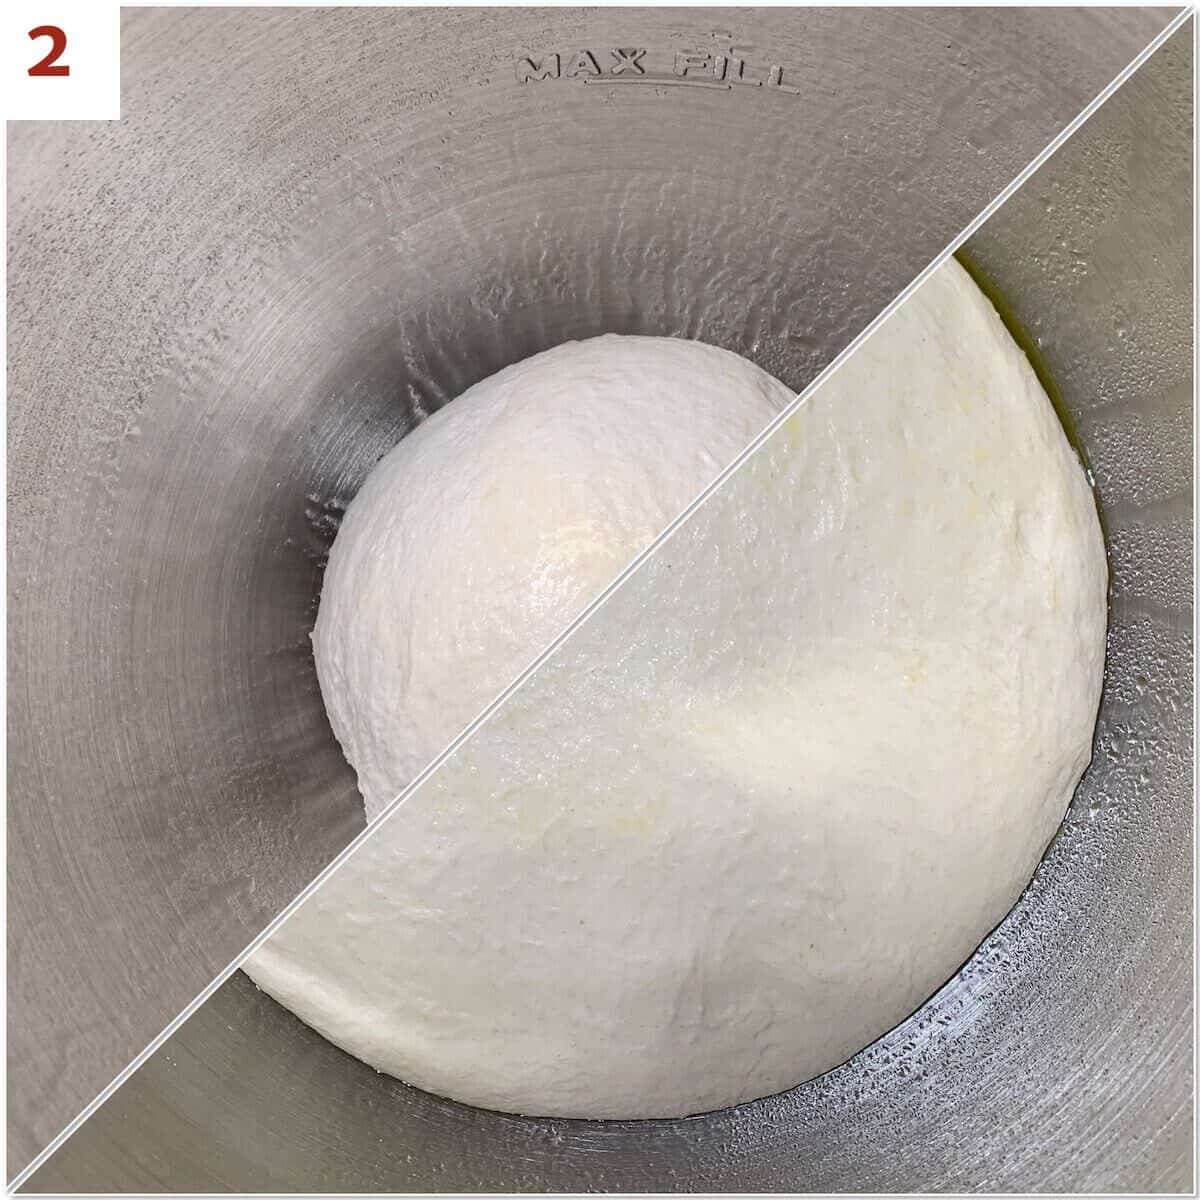
Bake today or let ferment longer
After the dough has doubled in size, it's ready to be shaped into pizza. You can either do that now, or you can put the dough in an oiled bowl in the refrigerator for up to 3 days.
The benefit of a cold rise is that the sourdough flavor really has a chance to develop even more sourdough tang. When you're ready to make the pizza, just let the cold dough sit out on the counter for an hour or so if you've got the time. Room temperature dough is easier to press out than cold.
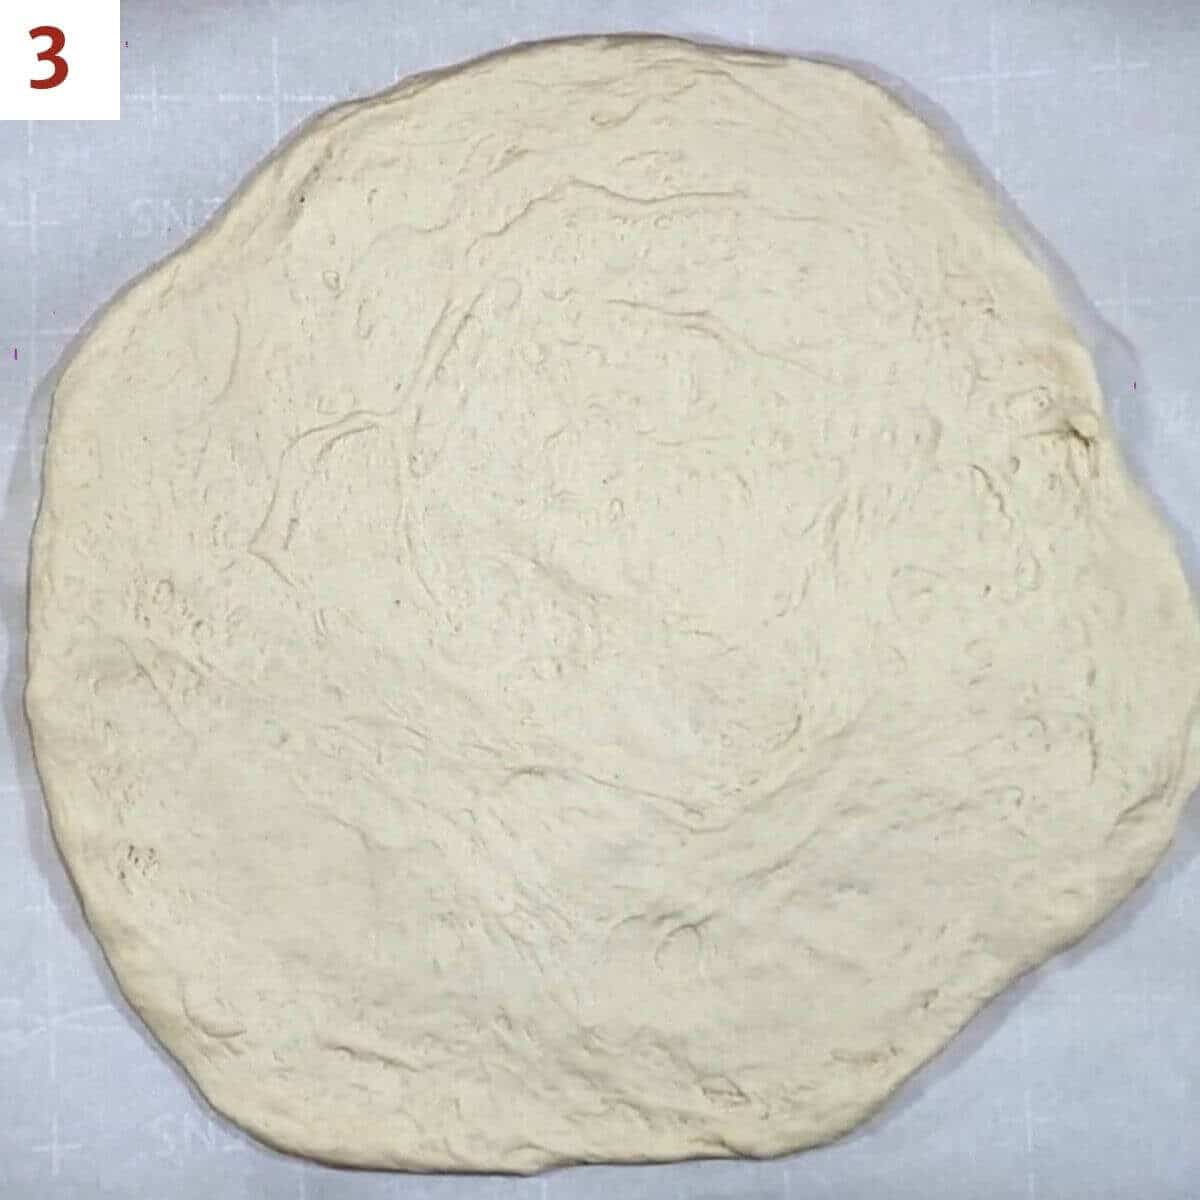
Step 2: Shape the pizza
Let your oven preheat while you shape the dough. I put a large pizza stone in the oven and let it heat along with the oven. That helps to give the base a chance to warm quickly, so you don't get a soggy crust.
If you don't have access to a baking stone, a quarter sheet or half sheet baking pan will be fine.
Put the dough on a piece of parchment paper and start pressing it out with your hands into a circle (you can use a pie pan roller to help). The size of the pizza will depend on how thick you like the pizza crust. I generally press it out to about ¼-inch thick and 10- to 12-inches in diameter (photo 3).
By the way, that whole tossing the dough in the air business? Yeah, I don't do that. I've watched that I Love Lucy episode too many times to risk dropping the dough. You're welcome to try, though.
Pizza toppings
As I said in the before, pizza sauces and toppings are so personal. There are so many options, and it can be fun to get creative. Here are the basic pizza topping components:
- Sauce: Use a jarred pizza sauce, or make something homemade, like this Cherry Tomato Pizza Sauce. Or skip the sauce altogether like I'm demonstrating in the photos and just use some olive oil for moisture.
- Meats: Cut up bite-sized or coin-sliced pieces of your favorite pre-cooked poultry, meat, fish, or meat substitute. Another way to go is to use a meat mixture for an easy change - the filling from Moroccan Beef Pie or Sloppy Joe Hand Pies would be delicious!
- Vegetables: Another area with wide latitude. Make sure that the vegetables are small so that they can cook in the short time the pizza is baking.
- Cheese: While mozzarella is traditional (and it melts well), choose your choose (or cheese substitute) that will complement the flavors of the other pizza toppings you're using
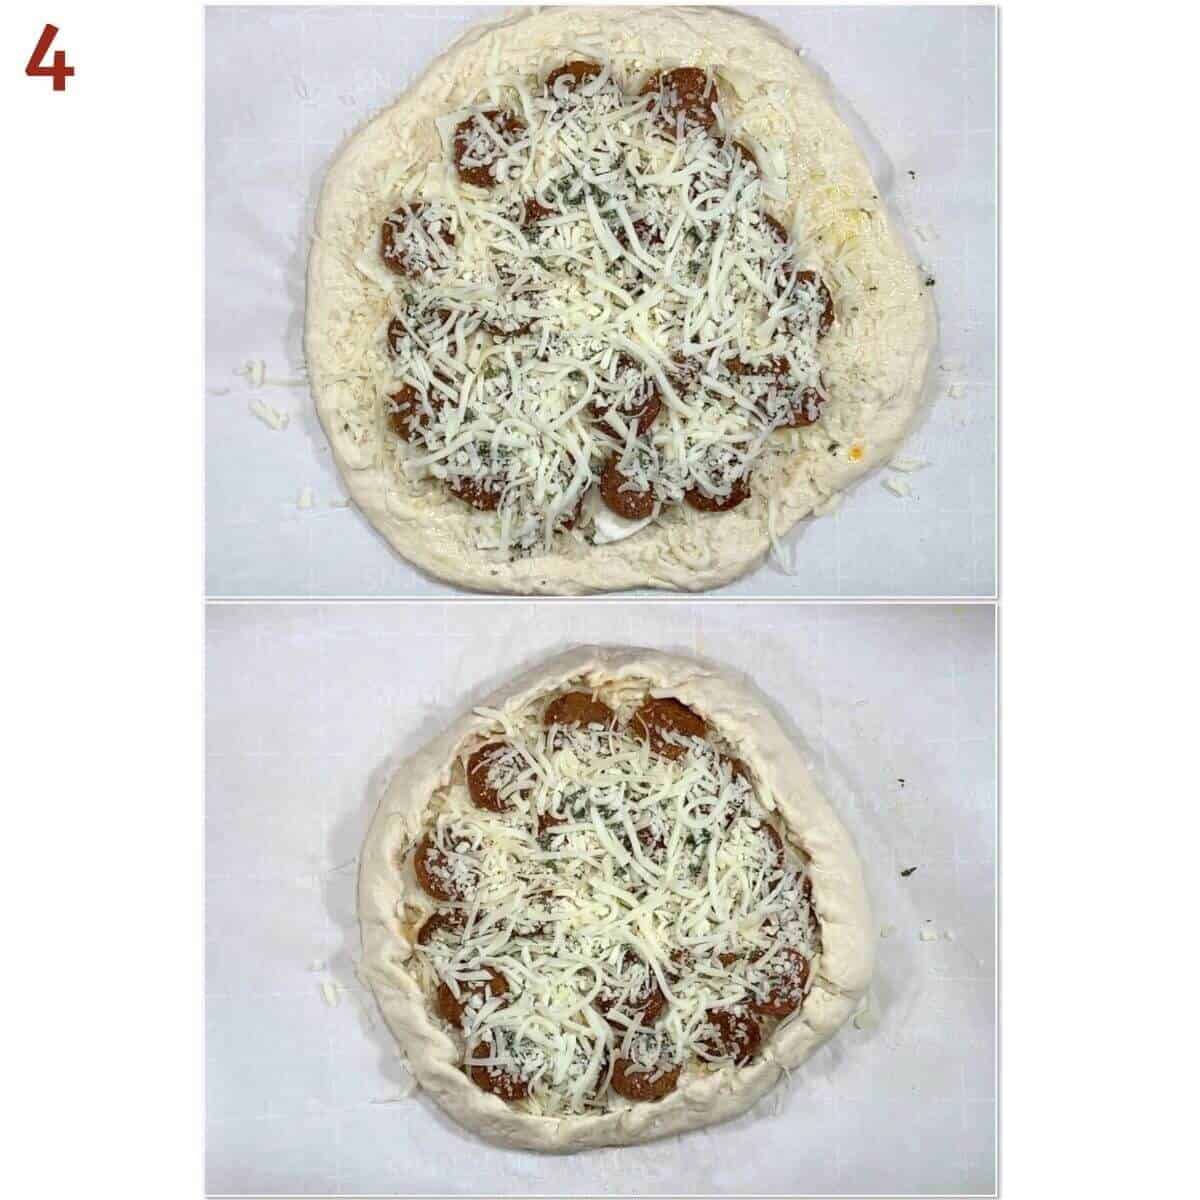
Step 3: Add the toppings
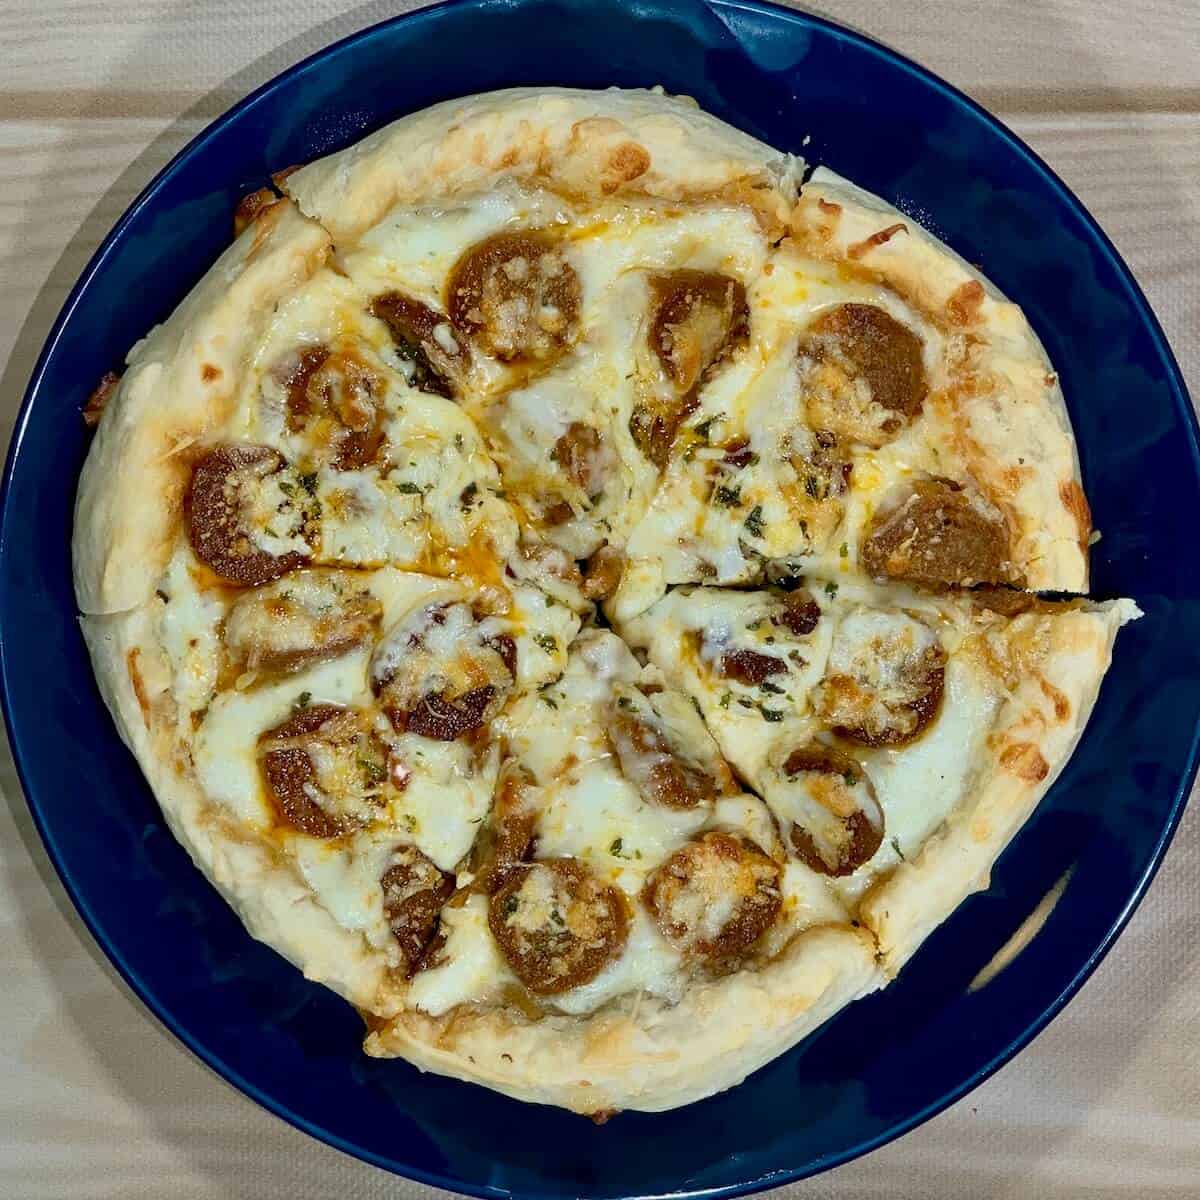
Here I'm making a white pizza with garlic powder, a spritz of olive oil, fresh mozzarella cheese, and cooked slices of Beyond Sausage. I top everything with a generous amount of shredded cheese.
I like to fold over the edge and crimp it down (photo 4). It keeps any of the toppings from leaking out, and we like the thick edge to gnaw on. We call them pizza bones.
We're a funny bunch.
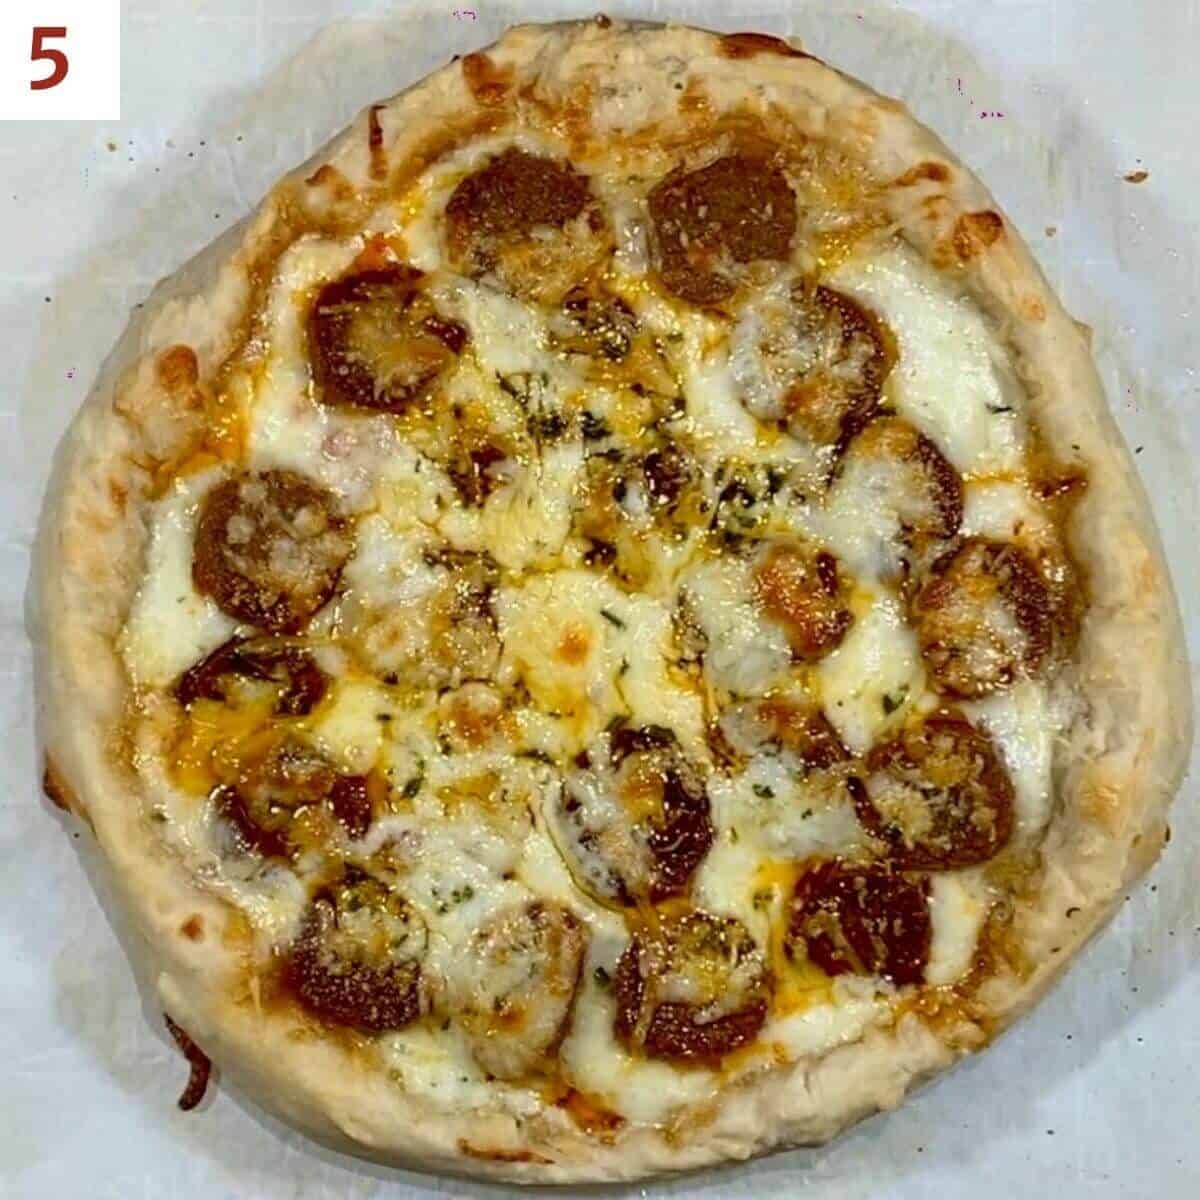
Step 4: Bake the pizza
The only tricky step is when you transfer the pizza to the oven. Use a pizza peel under the parchment paper, and carefully slide it onto the hot pizza stone.
Bake the pizza for 10 to 12 minutes or until the crust is light golden brown and the toppings are heated through (photo 5).
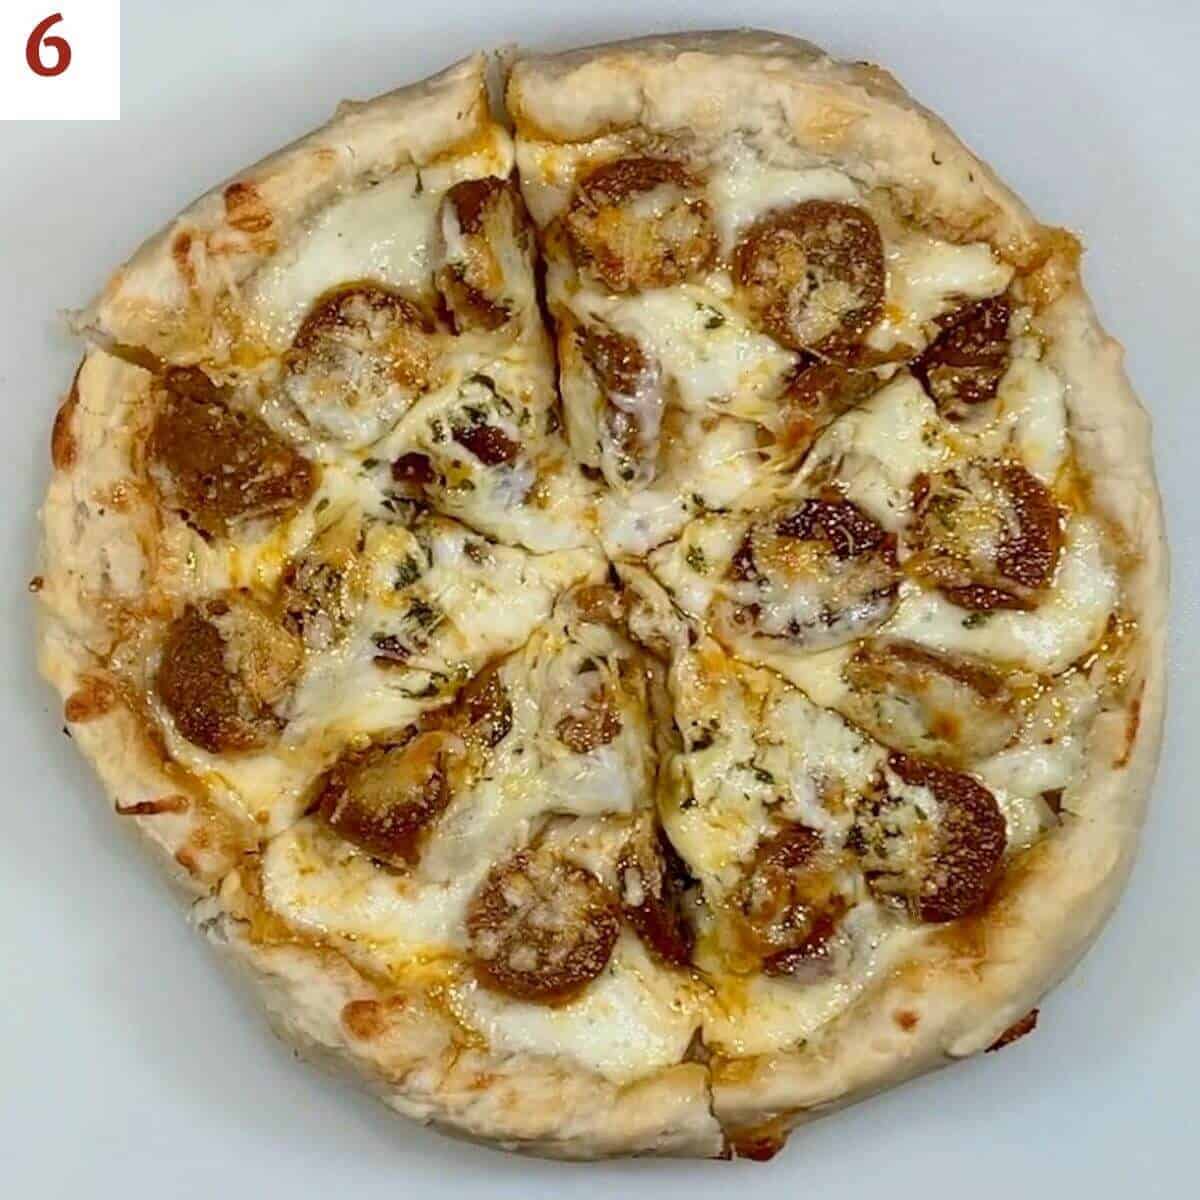
Step 5: Slice the pizza
Remove the pizza from the oven and transfer to a cutting board. Allow to cool for a couple of minutes, then use a pizza cutter to slice into six or eight slices (photo 6).
Make-ahead instructions
You can refrigerate the dough after the first rise overnight (and up to 3 days) to develop more flavor. When you're ready to proceed, allow the dough to come to room temperature for an hour or two before continuing on.
For longer term storage, you can freeze the pizza dough after the first rise, sealed in an airtight bag, for up to 3 months.
Texture Customization Guide
| If You Want… | Adjust This | Why It Works |
| Thinner, crispier crust | Press dough to ⅛ to ¼ inch thick. Preheat stone/steel 30+ minutes. Use lighter toppings. | Thinner dough + strong bottom heat removes moisture quickly for crisp texture. |
| Thicker, chewier crust | Shape ¼ to ½ inch thick. Let rest 10 to 15 minutes after shaping. Use 11 to 12% protein flour. | Slightly thicker dough and strong gluten structure create more chew. |
| More open, airy interior | Add 1 to 2 tablespoons extra water. Avoid rolling pin. Let dough fully double before shaping. | Higher hydration and gentle handling preserve gas bubbles. |
| More pronounced sourdough tang | Use older discard. Cold ferment 24 to 72 hours. Slightly reduce yeast. | Longer fermentation increases organic acid development. |
| Softer, less chewy crust | Add 1 to 2 teaspoons extra olive oil. Use all-purpose flour. Avoid over-baking. | Extra fat tenderizes gluten and shorter bake prevents excess chew. |
Sourdough Discard Pizza Dough Troubleshooting
Why is my sourdough discard pizza dough dense?
Dense dough is usually caused by insufficient rise time, inactive yeast, or too much flour. Let the dough fully double in size, confirm freshness of the yeast, and weigh flour for accuracy (a kitchen scale is quite handy).
Why does my pizza dough shrink back when stretching?
Shrinking happens when gluten is too tight. Let the dough rest 10 to 15 minutes to relax the gluten before stretching again.
Why is my pizza dough tearing?
Tearing usually means underdeveloped gluten or dough that's too cold. Knead the dough until it's smooth and elastic, and allow a refrigerated dough to warm at room temperature for 45 to 60 minutes before shaping.
Why didn't my sourdough discard pizza dough rise?
Failure to rise is most often due to inactive yeast, water that was too hot, or a cold environment. Use water around 100 to 110°F and let the dough rise in a 75 to 80°F spot.
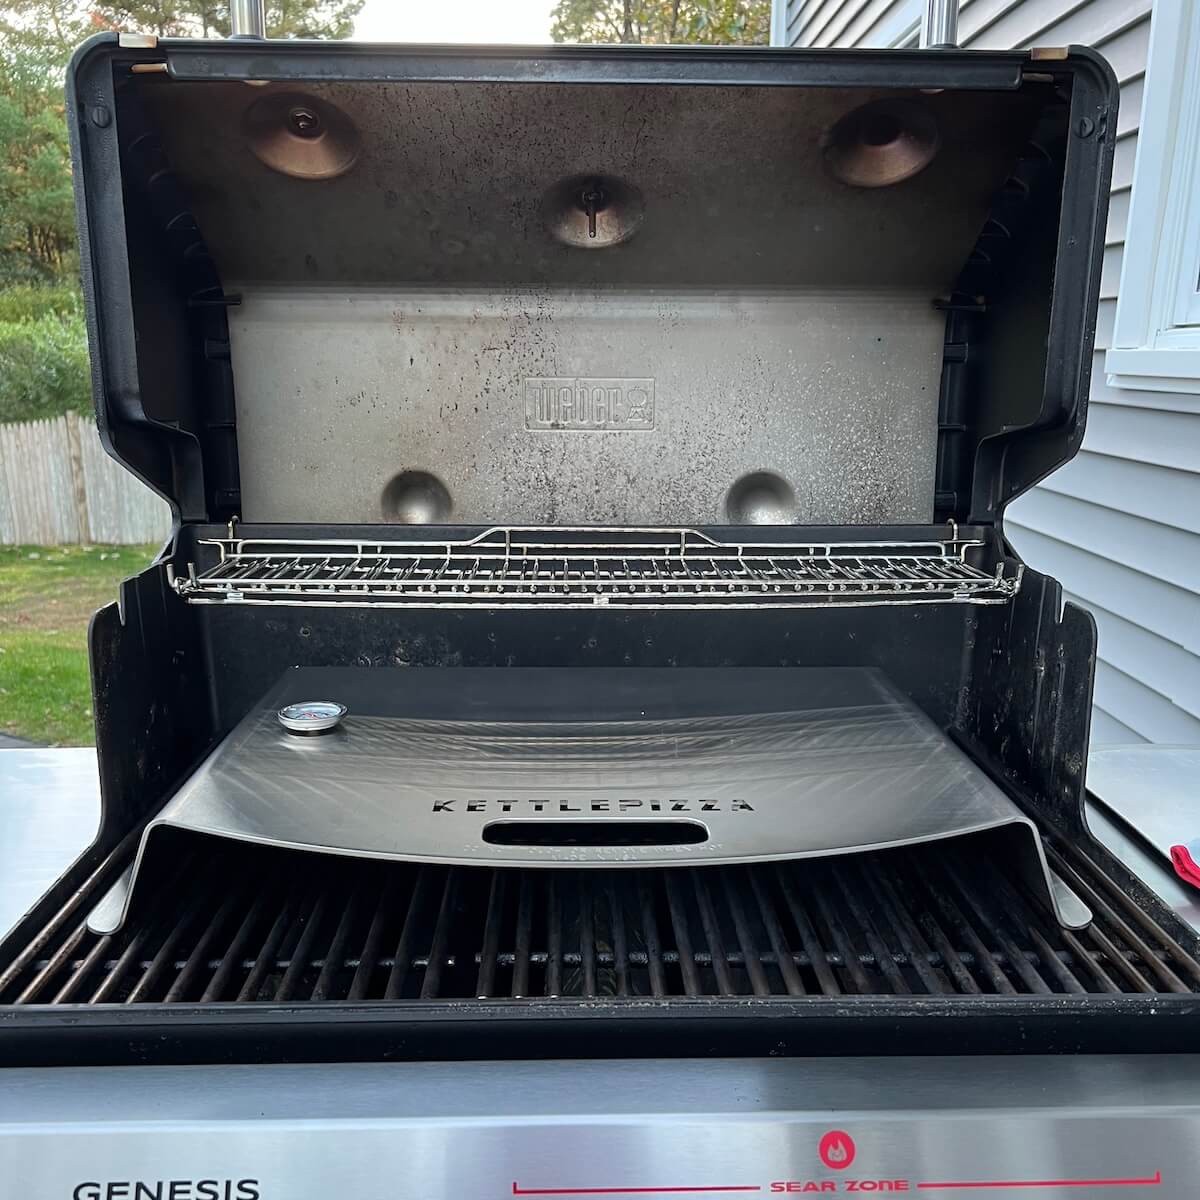
Turn your grill into an outdoor pizza oven
There are many options for baking your pizza. You can use your home oven (as I did above), or you can use an outdoor grill (either with or without a pizza stone). When you're really ready for the big leagues, it's time to look into getting a pizza oven.
While there are many types of pizza ovens you can choose, my favorite is this complete kit from KettlePizza that turns your gas or charcoal grill into an outdoor pizza oven! Along with the cover that holds in the heat (to get those high temps needed for a perfectly cooked crust), the kit comes with a pizza stone and wooden pizza peel.
There's a little learning curve to using it, so watching these videos really help hone in on what you need to do for success. Once my family started using this pizza oven, we really noticed how nicely crispy our pizza crust was. No soggy bottoms here!
Questions asked and answered
Here are some questions you might have...
Flour, especially higher protein flours (around 12% protein is good). The flour in the sourdough starter is fully hydrated, which can weigh down the dough and make it stodgy (I love that term. It means heavy, borrowed from The Great British Baking Show). You need that extra protein so the pizza dough maintains its gluten structure since it doesn't have a second rise after shaping.
Pizza flours (aka Type 00 flours) range from 9 to 15% protein content, so you'll want to be mindful if you choose one of those. The King Arthur Baking All-Purpose Flour has a protein content of 11.7% which works well (that's what I use with good results).
Also, since sourdough pizza dough has a 60% hydration level, the dough will be stiffer than a regular pizza dough. Flours with too high a protein level will be "thirsty" (that is, absorb more water), and will stiffen the dough even more. You want to strike a good balance so the dough will be workable.
This dough is approximately 60% hydration. That makes it easier to handle than wetter artisan-style doughs while still producing a chewy interior and crisp crust.
Preheat your oven and pizza stone for at least 30 minutes, bake on a lower rack for stronger bottom heat, and avoid excessive wet toppings. Lightly brushing the dough with olive oil before adding sauce can also create a moisture barrier.
This sourdough pizza dough recipe is not unlike my sourdough focaccia recipe. In fact, they are the same! It's just how the dough is shaped, finished, and baked that's different. And like with the focaccia, the pizza toppings are completely customizable to your tastes. Use your favorites!
Besides the aforementioned focaccia, you can use this same pizza dough recipe to make calzones or stromboli (essentially, stuffed pizzas). The method to make the dough is the same, just the shaping is different.
Didn't find the answer you're looking for?
Ask AI to answer for this specific recipe:
Disclaimer: I am not responsible for the quality of AI information


I hope you like this recipe! Let me know if you have any questions, and don't forget to leave a comment and rating. Thanks!
Slainté! L'chaim! Cheers!
- Tammy
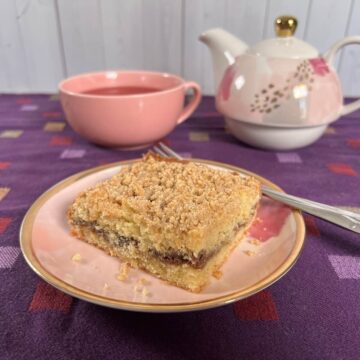
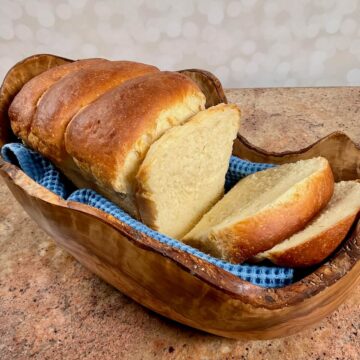
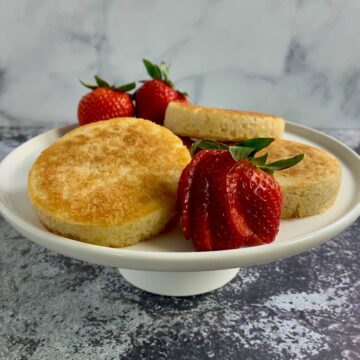
More recipes featuring sourdough discard to try


Good news for sourdough bakers!
Discover a new method to feed your starter with less flour, making your baking both sustainable and scrumptious.
Plus, get my bonus recipe for naturally-leavened sourdough bread using unfed starter for fresh bread any time.
Recipe

Sourdough Discard Pizza Dough
Equipment
Ingredients
- 2¾ cups all-purpose flour, or more as needed, see Recipe Notes
- 1 cup sourdough starter discard, at room temperature, see Recipe Notes
- ½ to ⅔ cup water, warmed between 100°F to 110°F, see Recipe Notes
- 1 tablespoon extra virgin olive oil
- 1 tablespoon mixed herbs, chopped, like basil or oregano, optional
- 1 teaspoon kosher salt
- 1 teaspoon instant yeast, or rapid rise, see Recipe Notes
- pizza toppings, as desired
Instructions
- Make the dough: In the bowl of a stand mixer fitted with a dough hook, combine 2¾ cups all-purpose flour, 1 cup sourdough starter discard, ½ to ⅔ cup water (starting with the lesser amount), 1 tablespoon extra virgin olive oil, 1 tablespoon mixed herbs (if using), 1 teaspoon kosher salt, and 1 teaspoon instant yeast to form a soft, slightly sticky dough.If the dough is too dry, add water in 1 tablespoon increments as needed until the dough is the right consistency.
- Mix the dough on low speed for about a minute, then turn up the speed to medium-low and knead until the dough is smooth, about 5 minutes.
- Shape the dough into a ball and place in a greased bowl. Cover the bowl with plastic wrap and put in a warm place to rest until the dough has doubled in size (and springs back when lightly pressed), about 2 to 3 hours. The oven with just the light on works well.
- Make the pizza: Place a baking stone in the oven, then preheat to 425 °F. For best results, let the oven heat for an additional 10 to 15 minutes after it says it's ready just to insure there are no hot spots.
- While the oven is heating, start to prepare the pizza. Lightly knead the dough on a piece of parchment paper, then start pressing out into a circle with your hands (you can use a pie pan roller to help). The size of the pizza will depend on how thick you like the pizza crust. I generally press it out to about ¼-inch thick and 10- to 12-inches in diameter.
- Top the pizza with your favorite toppings. For a finished edge, fold the crust over about 1-inch and crimp it down.
- Using a pizza peel, carefully transfer the pizza on the parchment paper to the hot baking stone.
- Bake the pizza for 10 to 12 minutes or until the crust is light golden brown and the toppings are heated through.
- Remove the pizza from the oven and transfer to a cutting board. Allow to cool for a couple of minutes, then use a pizza cutter to slice into six or eight slices. Serve immediately and enjoy!
- Make-ahead instructions: You can refrigerate the dough after the first rise overnight (and up to 3 days) to develop more flavor. When you're ready to proceed, allow the dough to come to room temperature for an hour or two continuing on. For longer term storage, you can freeze the pizza dough after the first rise, sealed in an airtight bag, for up to 3 months.


Bee says
Used active starter in place of yeasted dough, let rise according to directions. stone heated through and baked for 14 minutes (according to my stoneware). Crust seemed to need more time so I pulled the stone so it was directly over the heat (electric oven) and baked 5 more minutes. I did a crimped crust, not too think but still looking gummy. Not sure where I went wrong.
maybe crust needs to be super thin? Will try agsin.
Tammy Spencer says
Hi Bee, I'm sorry the pizza crust didn't meet your expectations. Was it just the crimped edge that seemed underdone or the entire crust? Either way, it sounds to me like the oven wasn't hot enough. Ovens vary so much in temperature (and you can't always trust that the oven is preheated enough by it's indicator), so it's a good idea to let the oven heat for another 15 minutes or so. To be certain, you can check that the oven is at the desired temperature with an oven thermometer. If your oven is spot on, maybe try the pizza again without the crimped edge (I don't find it needs to be super thin). Please let me know how it goes. Good luck, and happy baking! 😉