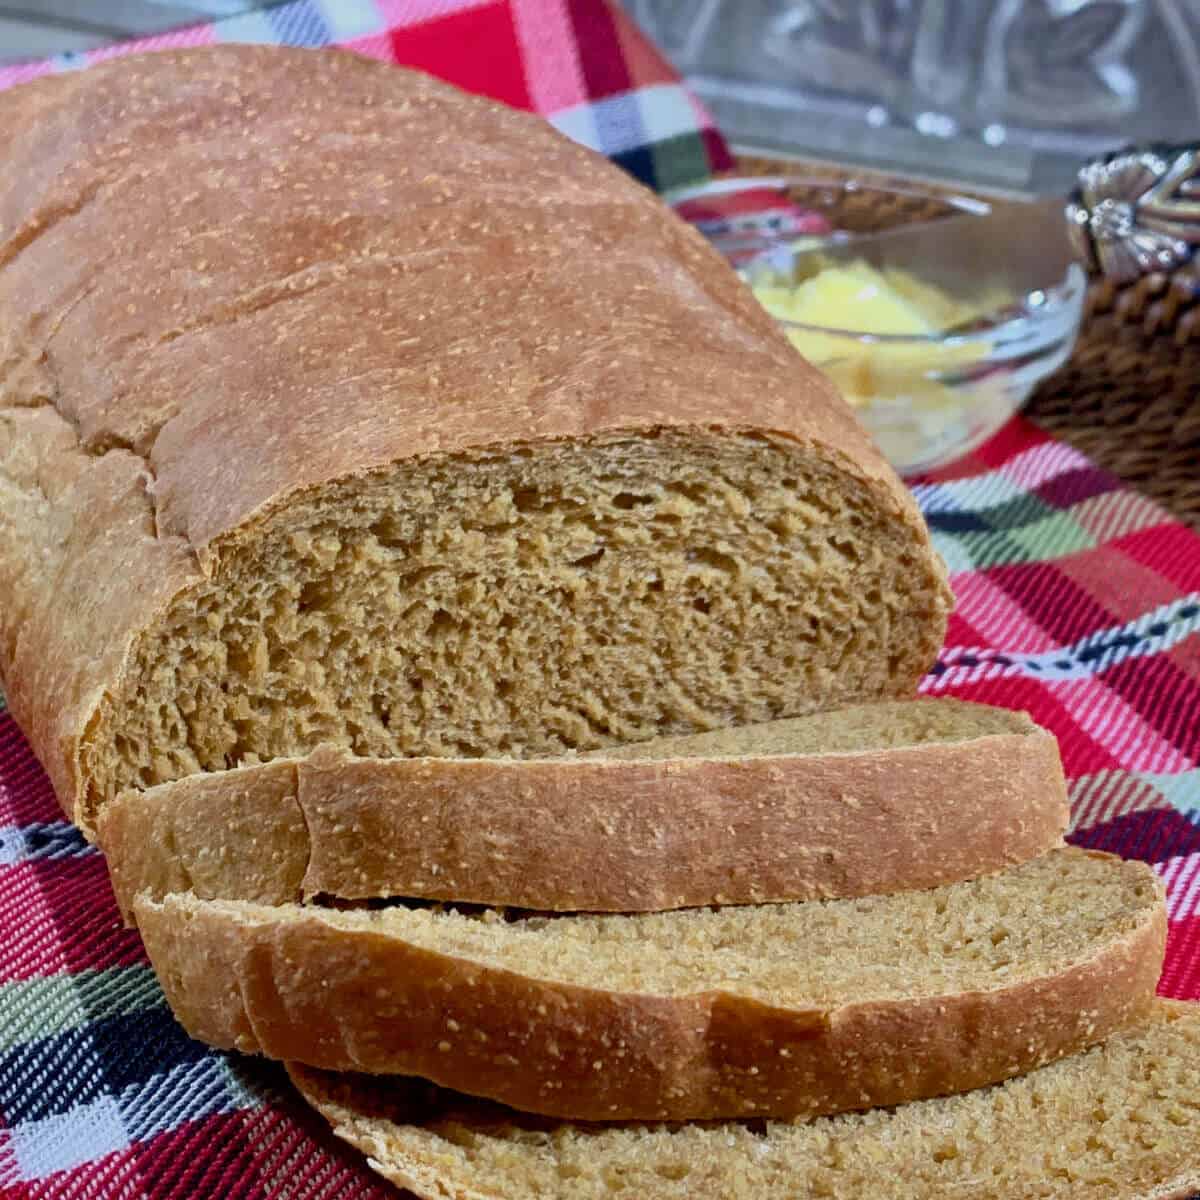
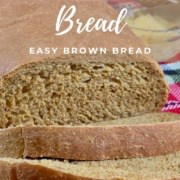
A hearty brown bread sweetened with molasses, Colonial Bread is easy to make and is great for sandwiches or toast. Make a loaf of this delicious Southern brown bread today!
Jump to:
Why this recipe works
- The soft dough comes together quickly and is easy to shape
- Softly sweet flavor with a hint of cornmeal crunch
- Perfect for sandwiches and toast
This post came about through a misunderstanding on my part. I was leafing through my old recipe files looking for inspiration, and I came across a 3 x 5 index card for something called Colonial Bread.
Since I write a column on 18th & 20th century historical baking for OutlanderCast.com called How they made it, I thought I had found a recipe for bread baked in Colonial times. Well, I was wrong.
Having never tasted the original Colonial Bread, I can't comment on how closely this recipe comes. However, I can tell you that this version is easy and delicious!
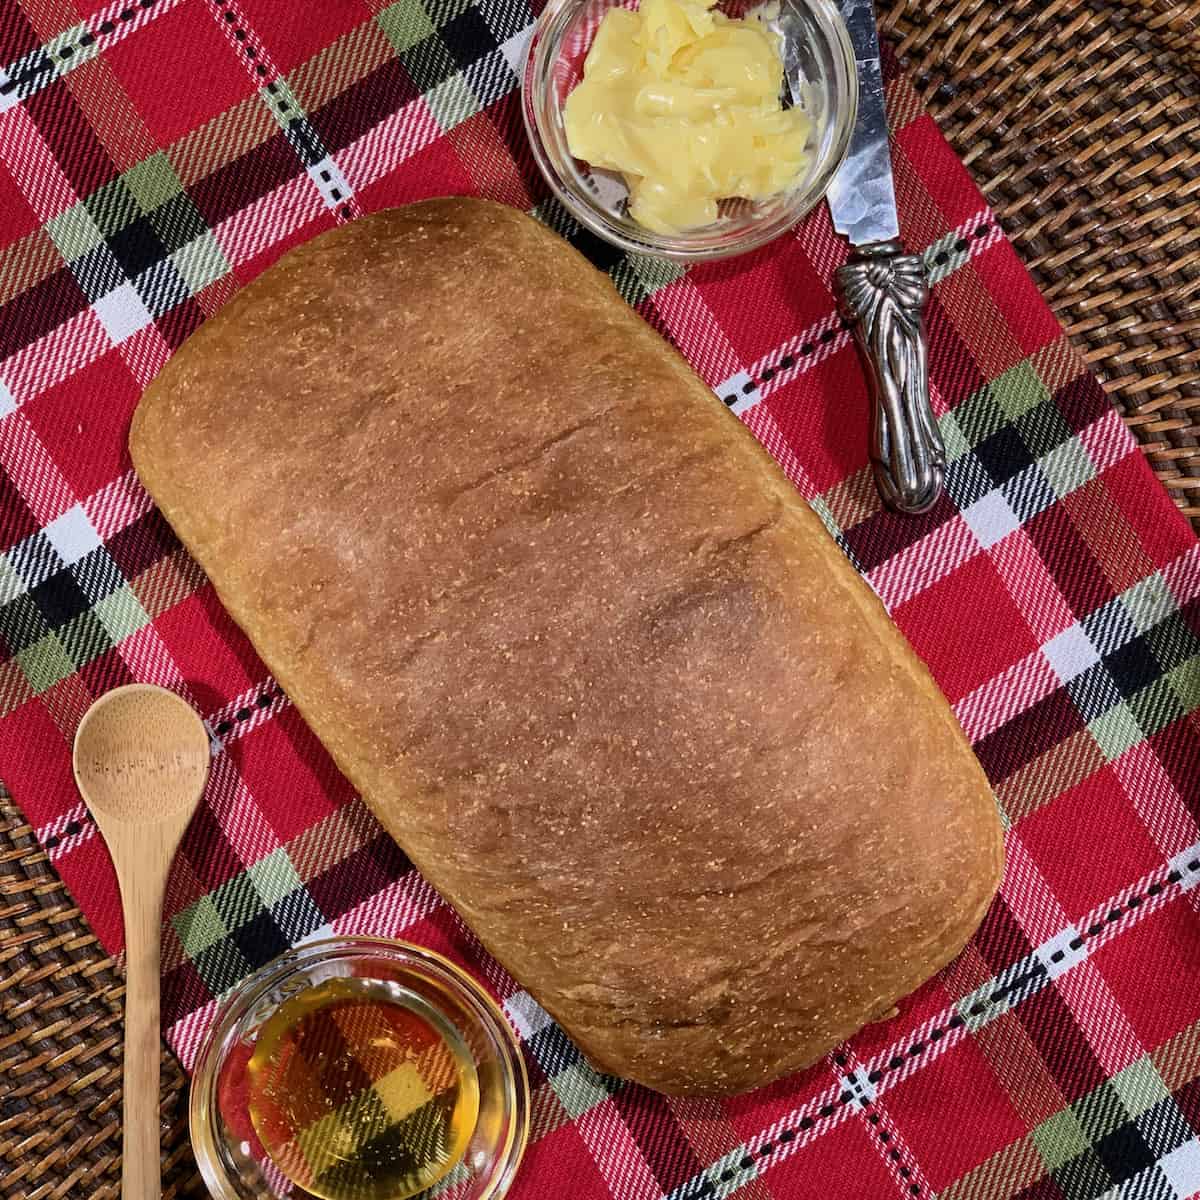
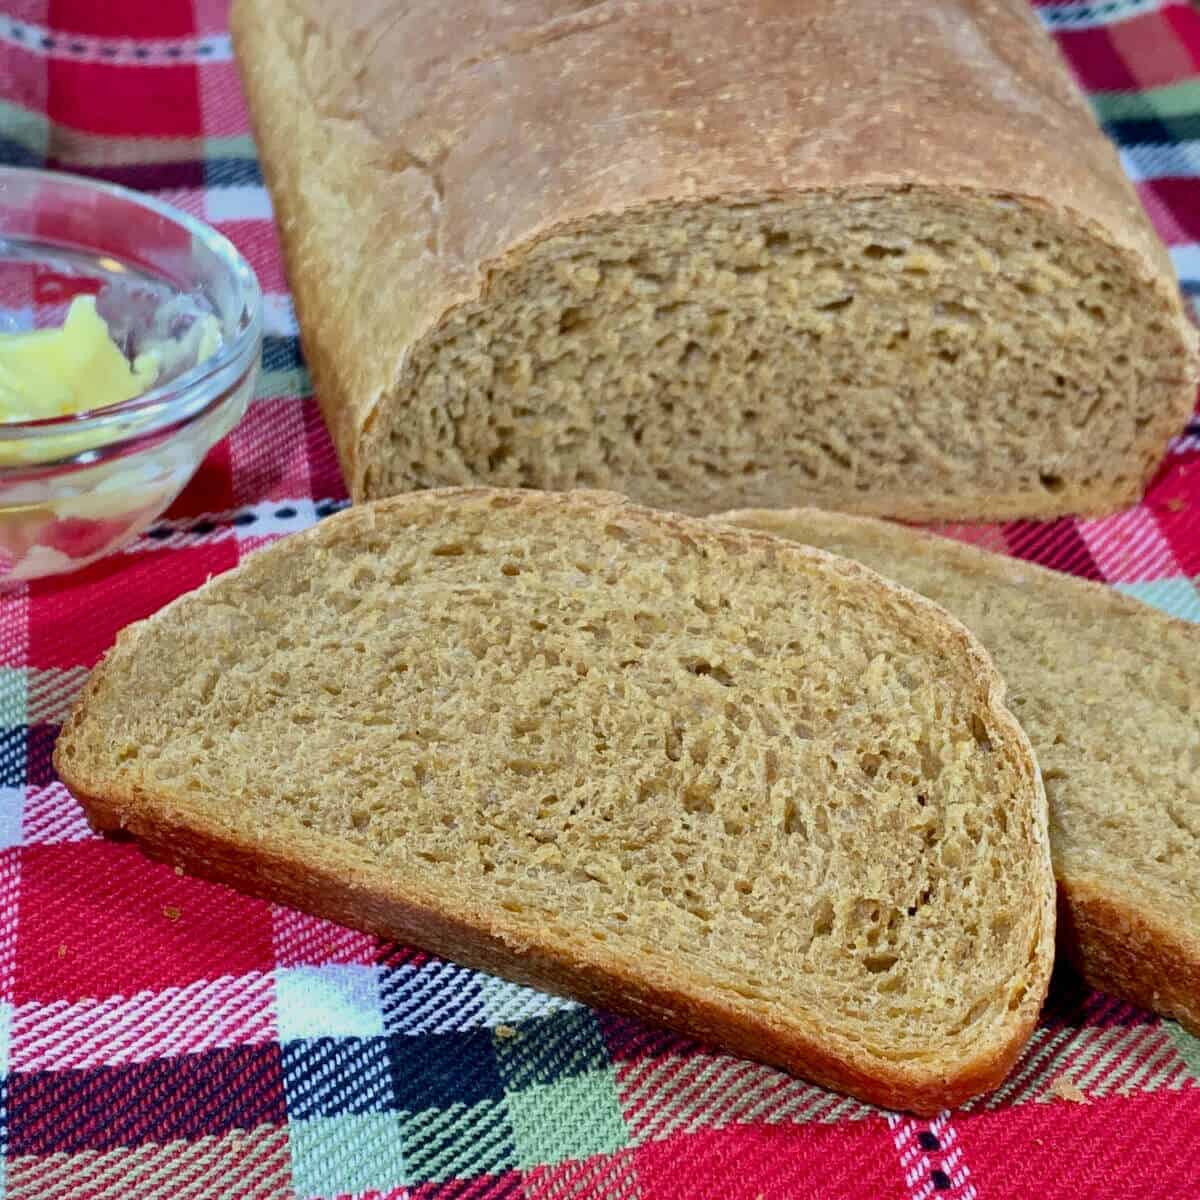
The molasses not only colors the bread, but also adds a level of sweetness that's pleasant, not cloying. The cornmeal adds a hint of crunch (but just a hint!) that adds some complexity to the bread's texture.
Toasted and spread with salted butter and a touch of honey, this bread makes a wonderful breakfast or afternoon snack. And along with my soft Sourdough Discard Sandwich Bread, Colonial bread is great for sandwiches, like Southern Chicken Salad or peanut butter and jelly.
Having a warm loaf of homemade brown bread is easy and so rewarding.
It'll become a tradition, to be sure!
A Southern bread staple
Looking at the recipe card I had uncovered, there's little evidence to show its origins, just a list of ingredients.
Considering this recipe contains molasses and cornmeal, two staples of baking in 1700s, I can be forgiven for thinking this recipe would be a modern version of a historical recipe. It's similar to another historic bread recipe, Boston brown bread, (which also contains molasses and cornmeal but is traditionally steamed).
Recipe Ingredients
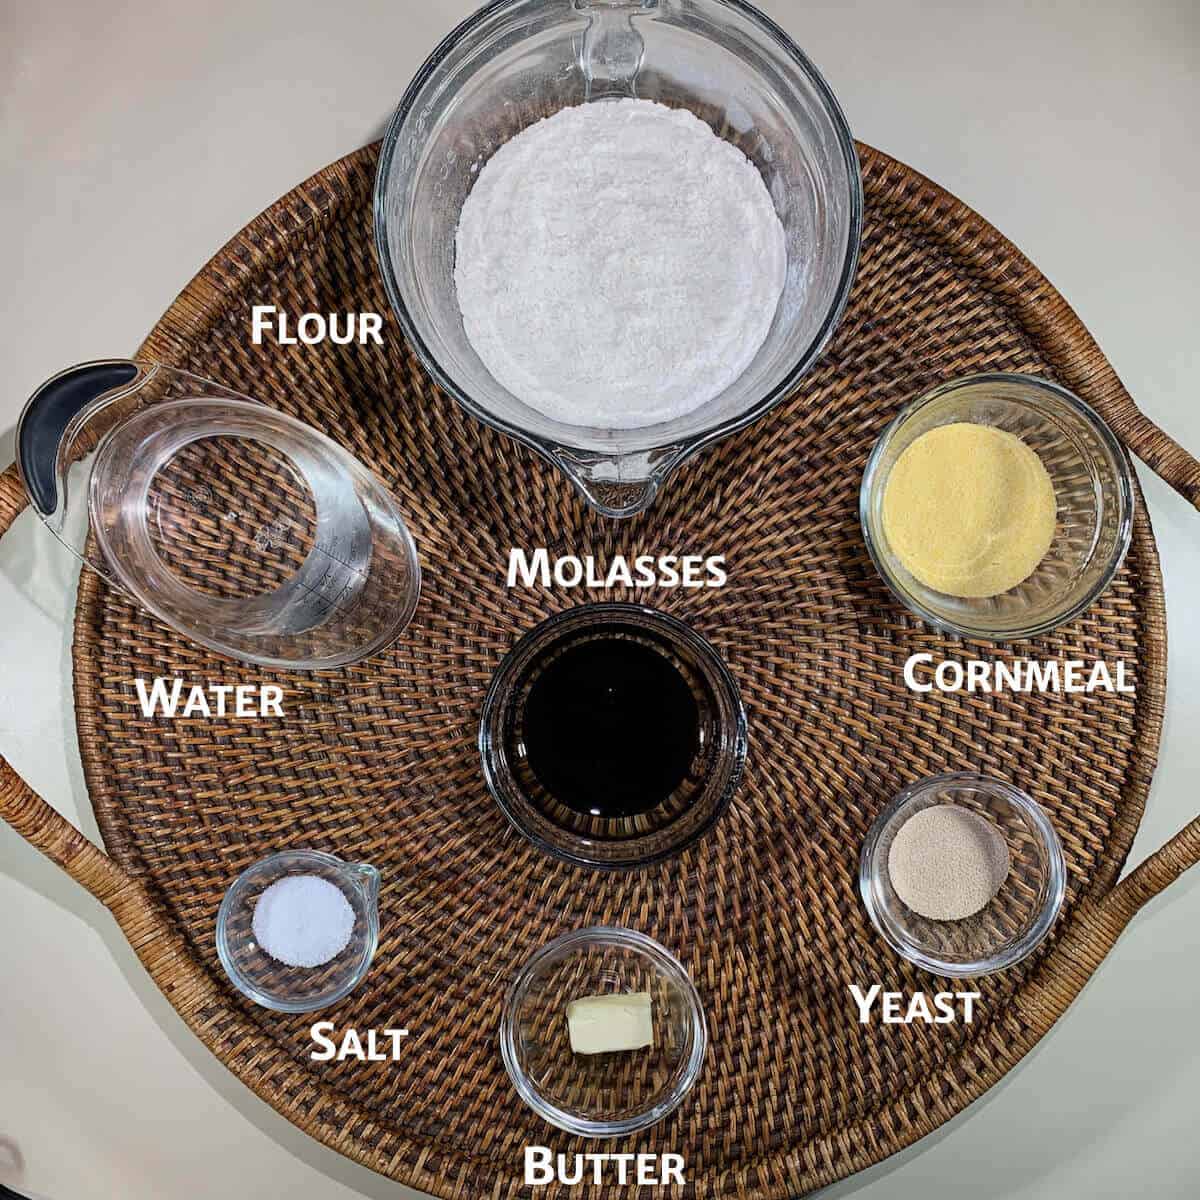
You'll need the following ingredients to make this Colonial bread recipe:
Ingredient Notes
Flour: Bread flour has a higher protein level than all-purpose flour, giving this bread recipe more strength and chewiness.
Yeast: I use instant yeast in all my baking, but Active Dry yeast can also be used. If you use Active Dry yeast, then you might want to sprinkle yeast on to the warmed water with a teaspoon of sugar and allow it to sit for a few minutes before proceeding with the recipe. Letting it foam "proves" the yeast is active and ready to go to work.
Molasses: You might call this a brown bread recipe because of it's...uhm...color. Most of the time, brown bread refers to breads containing whole wheat flour, but here it's the molasses that gives the bread its color. Brown bread with molasses will be sweeter than most whole wheat bread recipes, and the dough will be softer to work with as well.
Cornmeal and butter: Adds a richer flavor and texture.
Because this brown bread recipe makes a small loaf, it may not fill the pan completely, nor will it rise over the top of the pan. You can double all the ingredients to make a fuller, taller bread loaf.
See the recipe card for a full list of ingredients and measurements.
How to make brown bread
Step 1: Make the dough
The inclusion of cornmeal and molasses adds an extra step to what is otherwise an easy brown bread recipe. The cornmeal needs to be softened before proceeding with making the dough.
In a small bowl, whisk the flour and yeast together. In a medium bowl, place cornmeal into a bowl and carefully pour in boiling water, stirring to make sure mixture is smooth (photo 1).
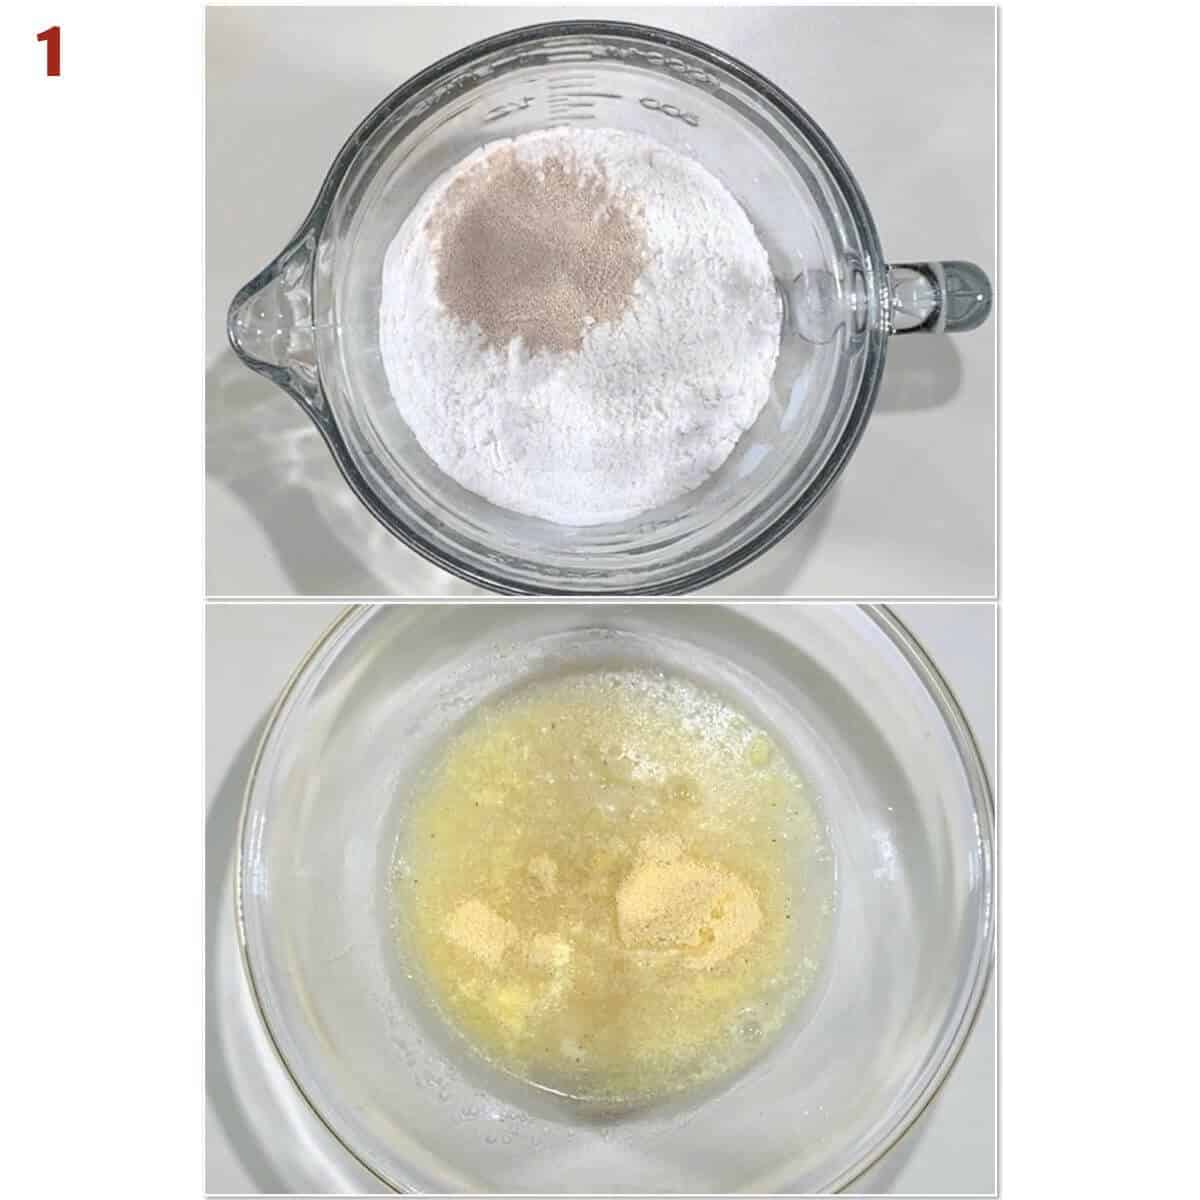
Stir in the molasses, butter, and salt. Allow this mixture to cool to between 100˚F to 110°F before adding the flour and yeast. You don't want to kill off the yeast before it has done its job so a digital thermometer is a handy tool to use.
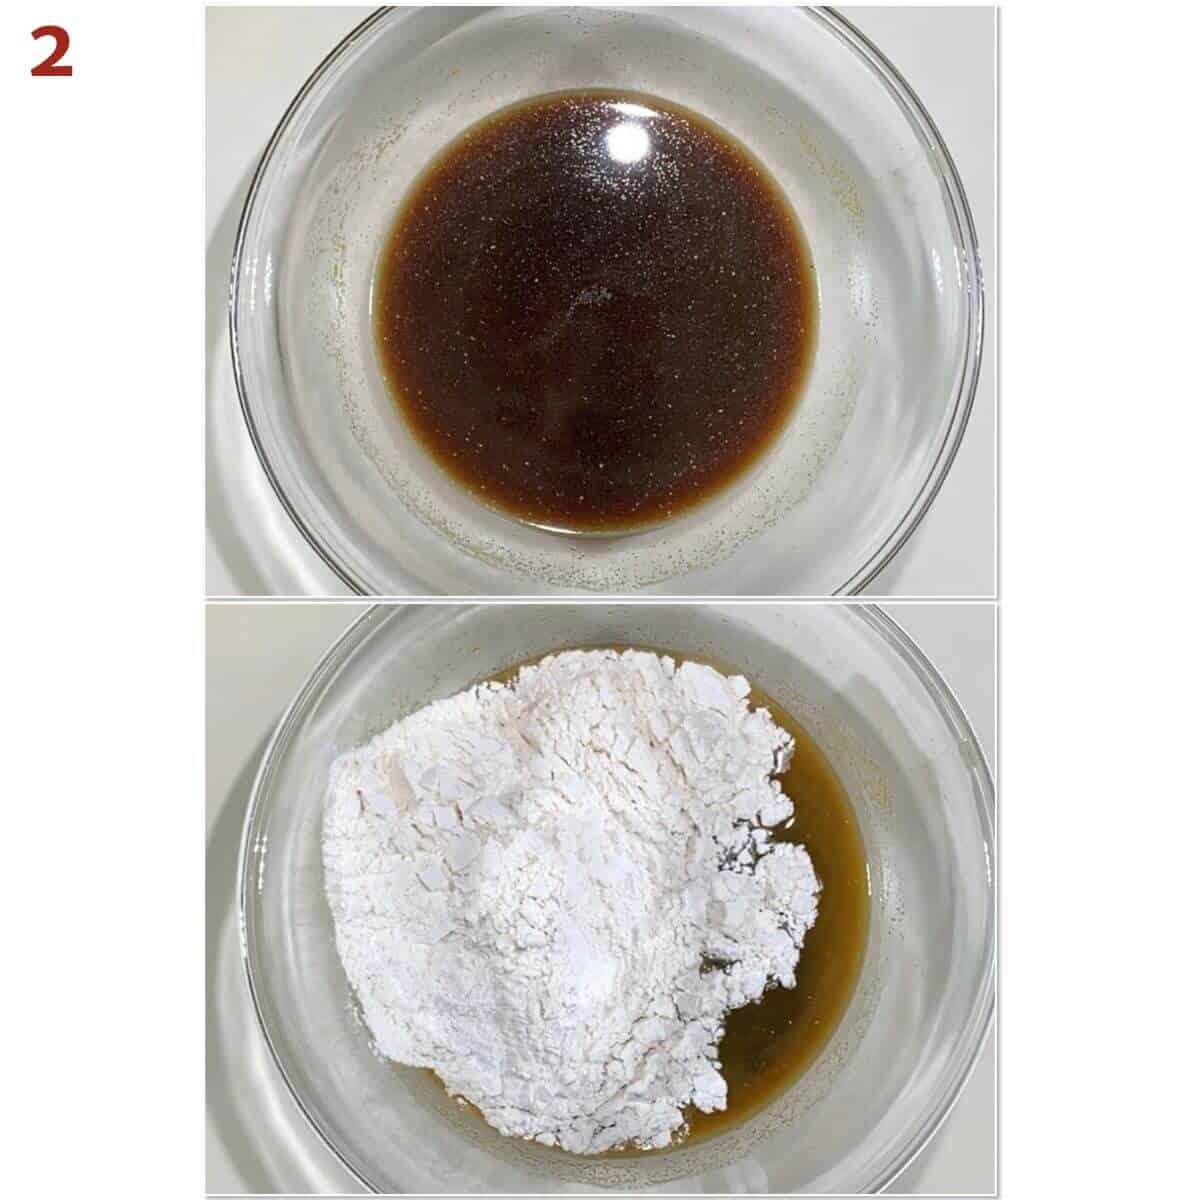
Add the flour mixture to the bowl. Stir with a wooden spoon until the mixture forms a shaggy dough (photo 2). Transfer to a lightly floured surface and knead until the dough is elastic and no longer sticky, adding more flour as needed.
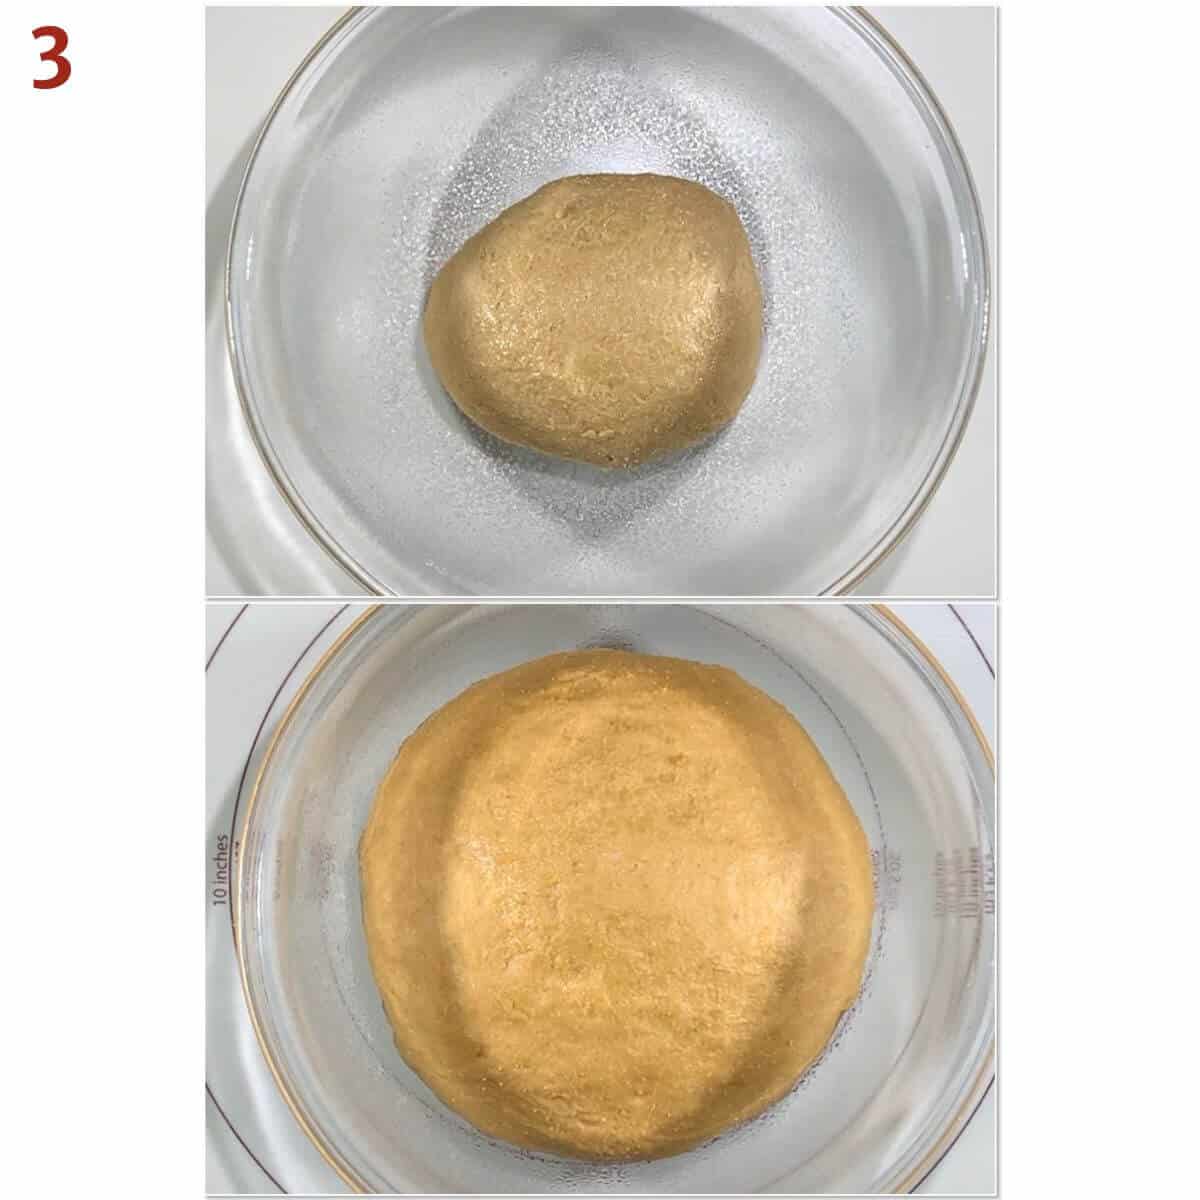
Transfer the dough to a bowl lightly sprayed with canola oil spray, cover, and place in a warm place to rise, about 60 to 90 minutes, until the dough has doubled in size (photo 3).
Step 2: Shape the loaf
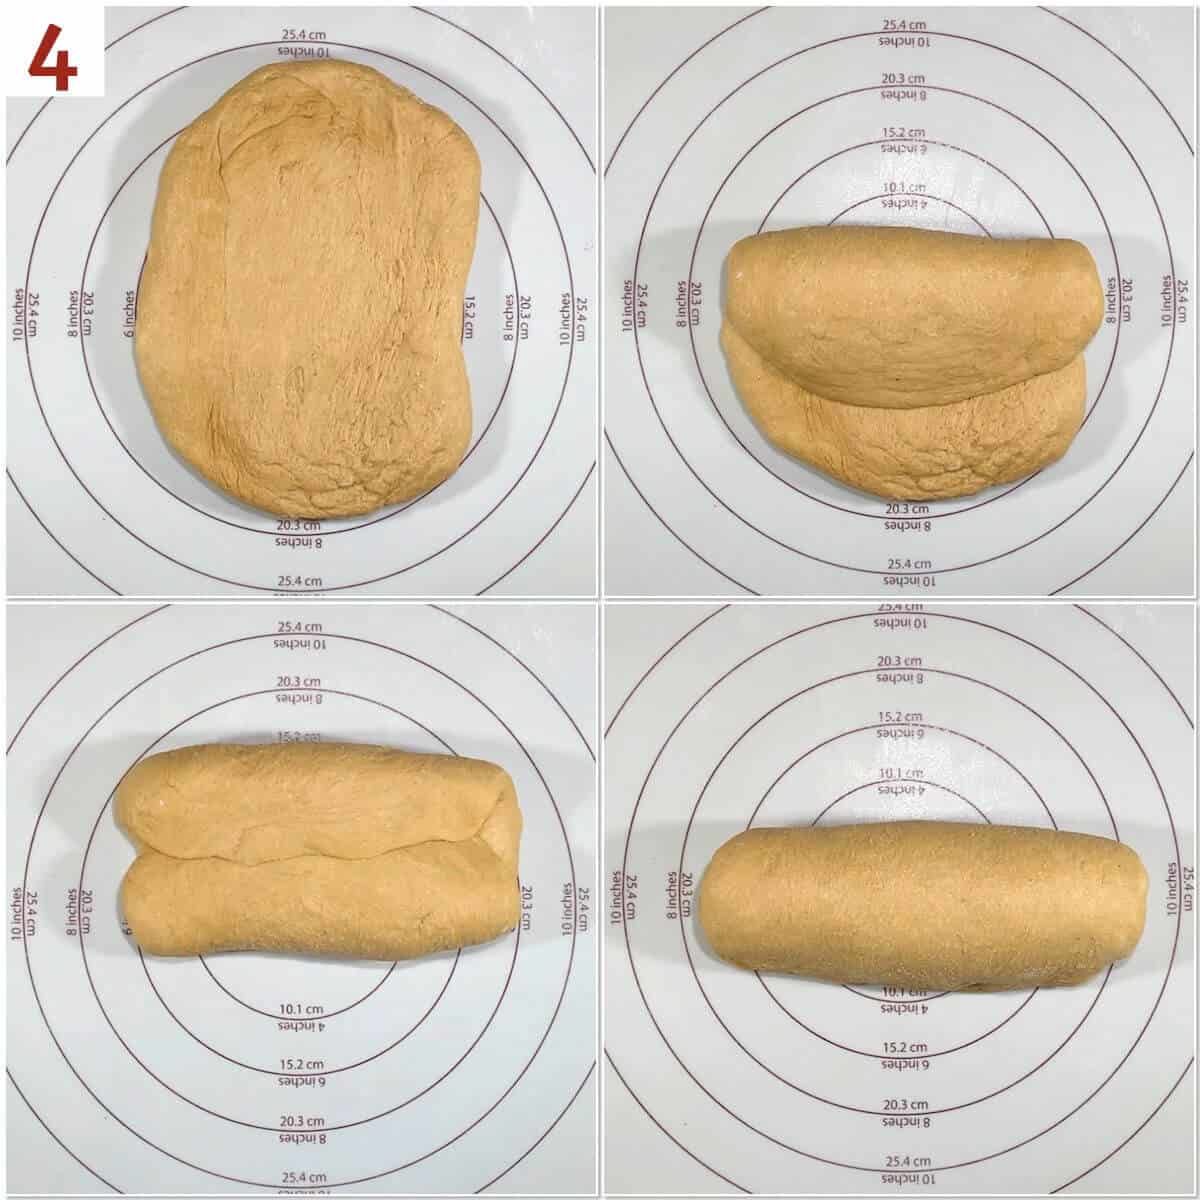
Place the dough on a lightly floured surface and lightly knead for a few minutes. Pat the dough into a rough oval slightly less than the length of the loaf pan. Fold the top third over (like a letter), and use the heel of your hand to seal the seam. Turn the dough around and repeat with the other side.
Fold the dough in half, and press the seam again, pressing it down onto the work surface (photo 4).
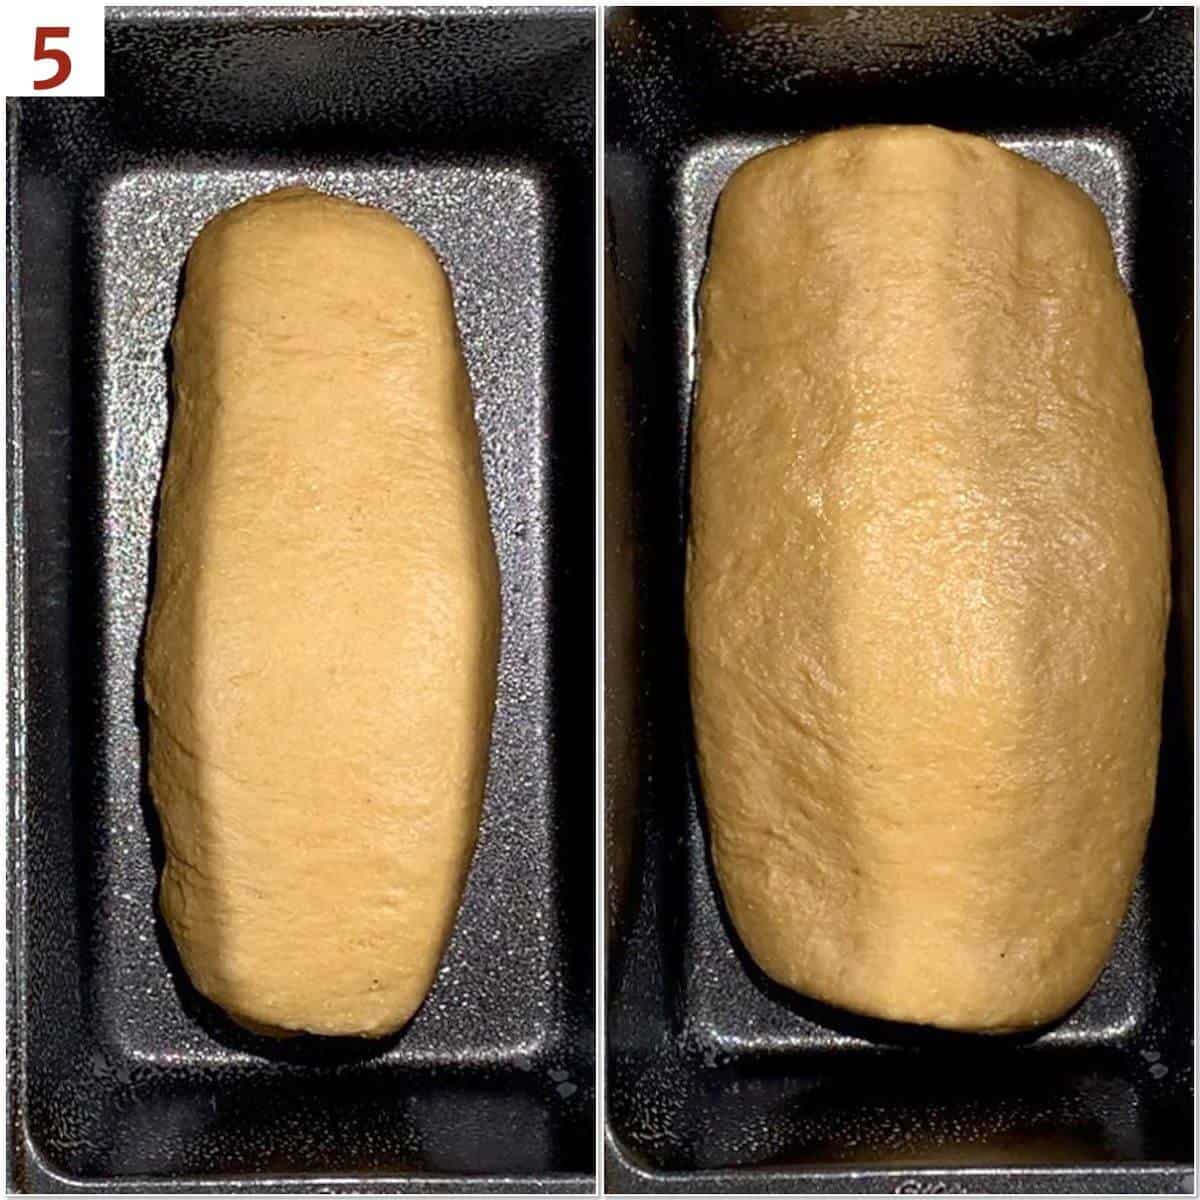
Spray a standard loaf pan with canola oil spray, then transfer the dough to the pan. With a flattened hand, press down on top of the dough. This will evenly distribute the dough in the pan so when it rises it will have a nice, smooth shape.
Cover the pan, and place back in a warm place until it rises again, about 30 to 45 minutes. You’ll know if it’s been proofed enough if the dough has mounded (photo 5).
Don’t wait to pre-heat the oven after the dough has risen because waiting for the oven to warm can cause the dough to over-proof. If the bread has risen too much in the pan, it will deflate while baking. To combat this over-proofing, take the bread out, reshape, and allow to rise again, keeping watch this time.
Step 3: Bake the bread
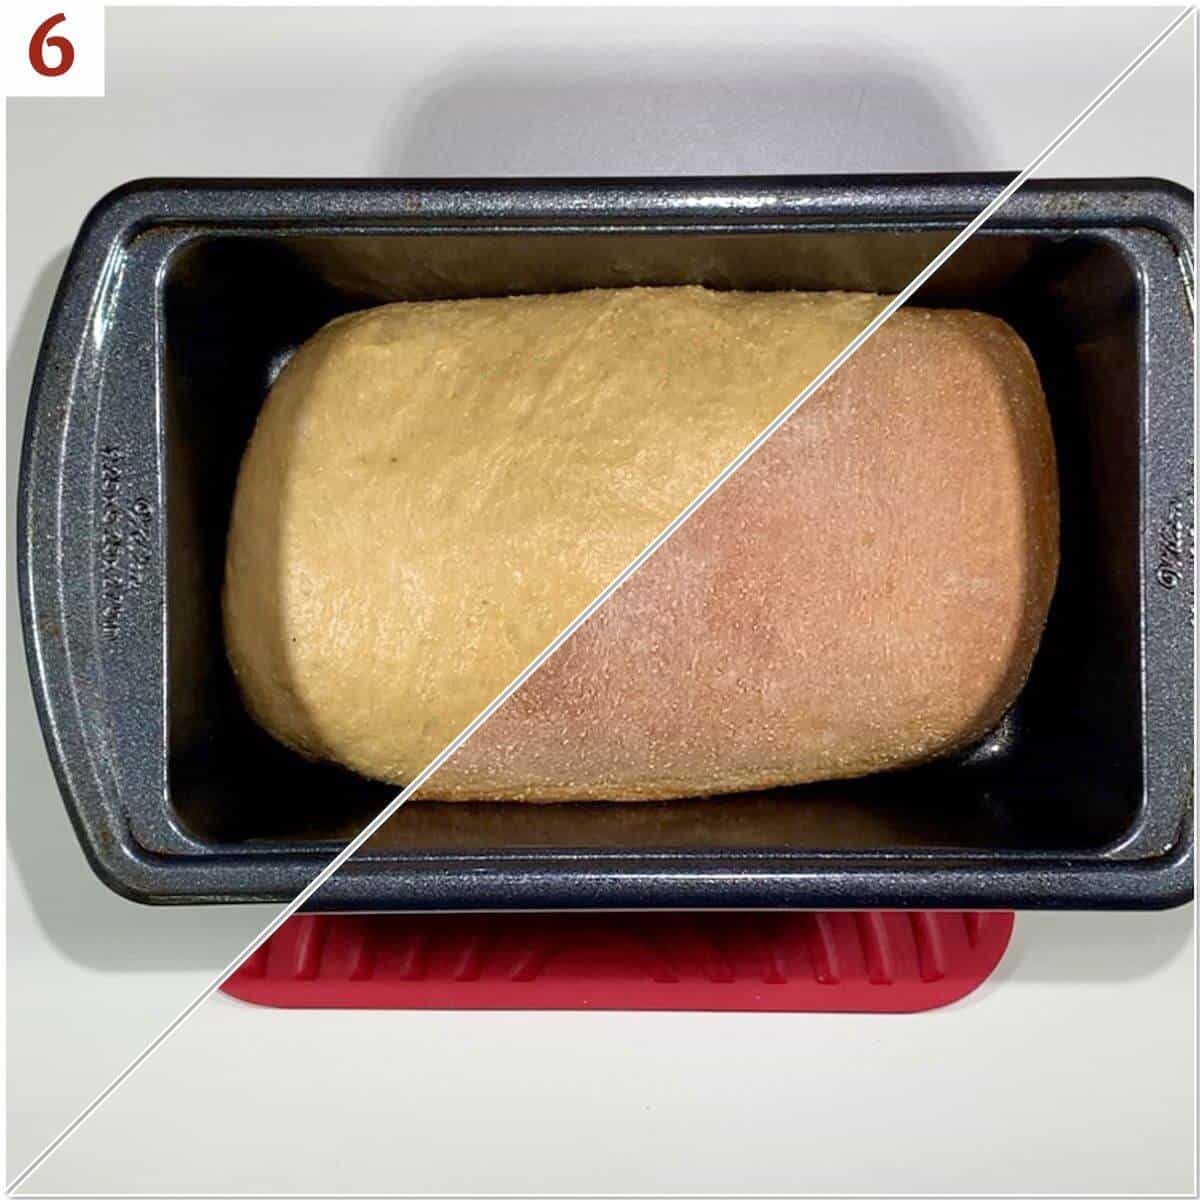
Bake at 350˚F for about 30 to 35 minutes or until it’s brown (photo 6). The bread will sound hollow when tapped on the bottom, and should read at least 190ºF at its center when checked with a digital thermometer.
A 350ºF oven will give this bread a softer crust. If you want a firmer crust, bake at 375ºF and check after 35 minutes to see if it’s done.
Storage instructions
Colonial bread can be stored in an airtight container for up to a week at room temperature. For longer storage, place in an airtight bag and freeze for up to 3 months.
Different bread shaping techniques
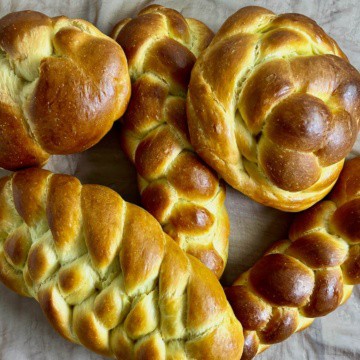
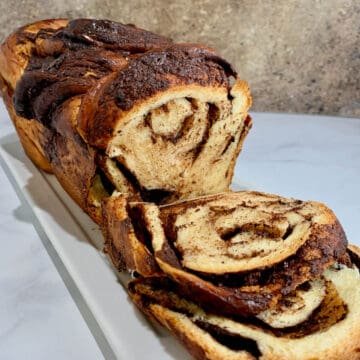
Techniques for shaping bread dough into a loaf are many and varied. From shaping a babka to braiding challah, fancy loaves are fun to make. But what about shaping a simple loaf of bread?
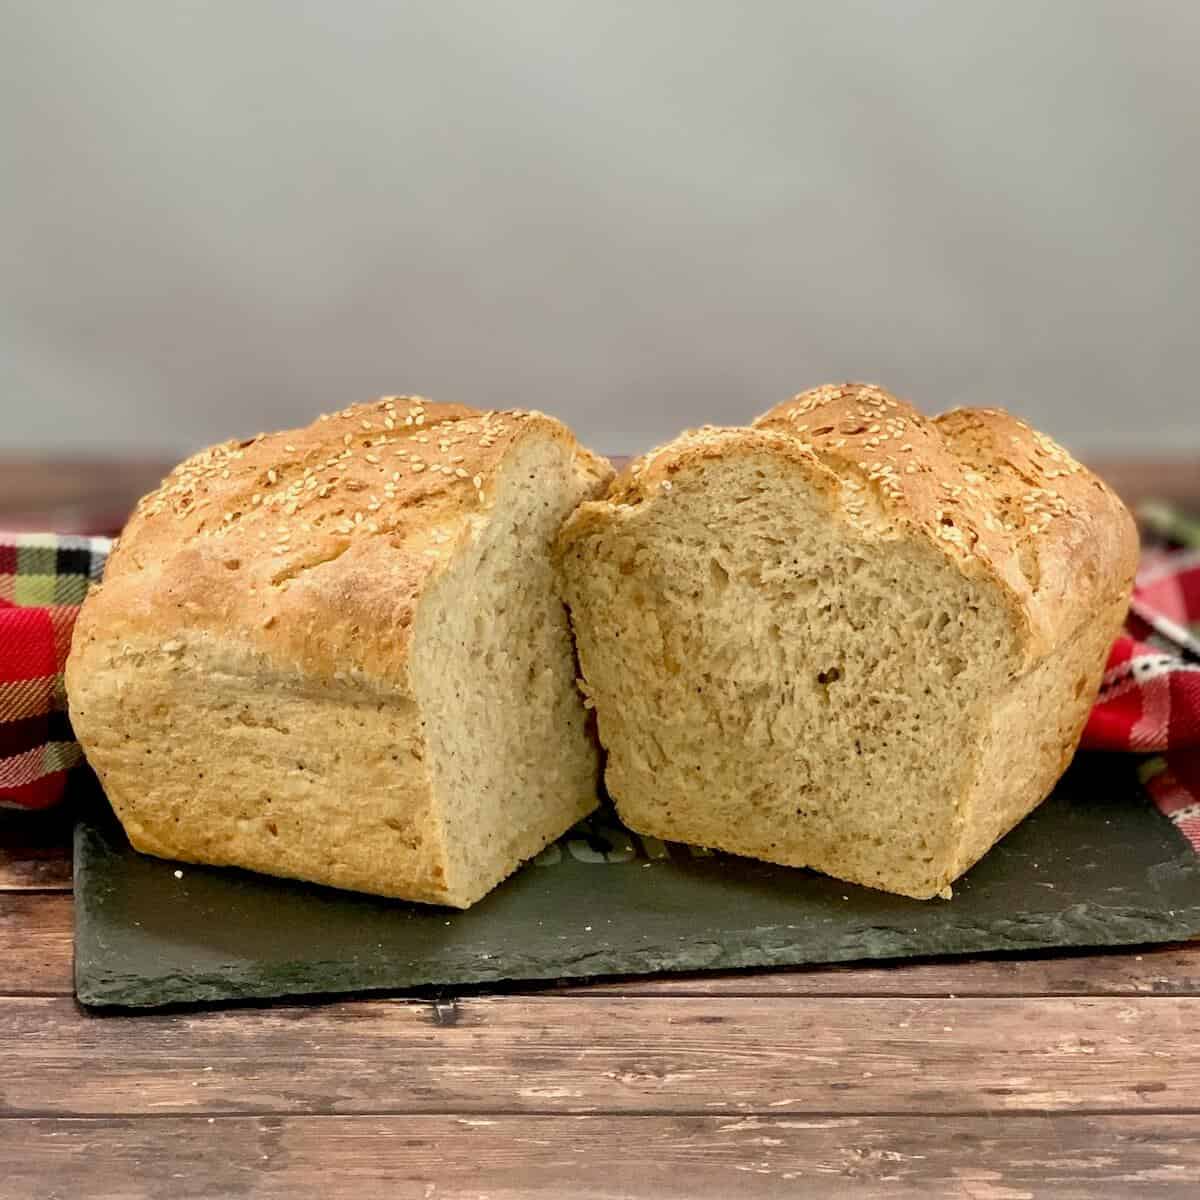
The idea is to create a tight outer shell that the yeast can push against so the bread rises. The denser the dough, the harder the yeast has to work. Ciabatta dough is nice and soft, so large air bubbles form. All you have to do is stretch the dough in the pan sprayed with olive oil.
A dense whole wheat bread puts the yeast through its paces, and the structure is tighter. Colonial Bread is made with bread flour which creates a strong gluten network. Plus, molasses provides a lot of sugar for the yeast to convert to carbon dioxide, making those important air bubbles. It's important to have the dough's outside smooth and tight when shaping so that the yeast will be able to have something to push against to form the bubbles.
Questions asked and answered
Here are some questions you might have...
Molasses is a sweetener, giving the yeast the food it needs to do its job. It's less sweet than honey, so the sweetness is more subtle, allowing the bread to be great for both sweet and savory toppings. It also gives a lovely light brown color to the bread dough.
Strictly speaking, wheat bread refers to bread made with whole wheat flour (that is, flour that contains the bran, endosperm, and wheat germ found in the grain). Brown bread can be whole wheat, or it can be made with bread flour and colored with molasses, as it is in this Colonial Bread recipe.
More shaped bread recipes to try
Recipe
Colonial Bread (Southern Brown Bread)
Ingredients
- 1¾ cups bread flour, plus more for kneading
- 1½ teaspoons instant yeast, or Active Dry, see Recipe Notes
- 3 tablespoons cornmeal
- ¾ cup water, boiling
- 3 tablespoons molasses
- 1½ teaspoons unsalted butter, at room temperature
- ½ teaspoon kosher salt
Instructions
- Make the dough: In a small bowl, whisk the flour and yeast together.
- In a medium bowl, place cornmeal into a bowl and carefully pour in boiling water, stirring to make sure mixture is smooth. Stir in the molasses, butter, and salt. Let the mixture cool down until it's between 100 °F to 110 °F. This shouldn't take long.
- Add the flour mixture to the bowl. Stir with a wooden spoon until the mixture forms a shaggy dough. Transfer to a lightly floured surface and knead until the dough is elastic and no longer sticky, adding more flour as needed.
- Transfer the dough to a bowl lightly sprayed with canola oil spray, cover, and place in a warm place to rise, about 60 to 90 minutes, until the dough has doubled in size. The oven with just the light turned on works well.
- Shape the loaf: Place the dough on a lightly floured surface and lightly knead for a few minutes.
- Pat the dough into a rough oval slightly less than the length of the loaf pan. Fold the top third over (like a letter), and use the heel of your hand to seal the seam. Turn the dough around and repeat with the other side. Fold the dough in half, and press the seam again, pressing it down onto the work surface.
- Spray a standard loaf pan with canola oil spray, then transfer the dough to the pan. With a flattened hand, press down on top of the dough. This will evenly distribute the dough in the pan so when it rises it will have a nice, smooth shape.
- Cover the pan, and place back in a warm place until it rises again, about 30 to 45 minutes. You’ll know if it’s been proofed enough if the dough has mounded.
- Bake the loaf: While the dough is rising, preheat the oven to 350 °F. Adjust the rack so the bread will bake in the center of the oven.
- Uncover the dough and bake for about 30 to 35 minutes or until it’s brown. The bread will sound hollow when tapped on the bottom, and should read at least 190 °F at its center when checked with a digital thermometer.
- Turn the bread out onto a cooling rack and allow to cool to room temperature, about 30 minutes. Slice and enjoy!
- Storage instructions: Colonial bread can be stored in an airtight container for up to a week at room temperature. For longer storage, place in an airtight bag and freeze for up to 3 months.



Pat DUPREE says
Thank you for this recipe! I love dark breads!
Tammy Spencer says
Enjoy, Pat! 🙂
Jennifer says
Can you help with a gluten free version of this bread? Thank you!
Tammy Spencer says
Hi Jennifer, thanks for your question. I haven't personally tried adapting this recipe to use gluten-free flour, but I know there are gluten-free bread flours that can be used 1 : 1 (like this bread flour from King Arthur Baking). They also suggest some hints: (1) Add 2 to 3 tablespoons more liquid per cup of flour, (2) After mixing the dough, let it rest for 20 minutes before kneading (the dough will look wet, so it needs that time to absorb the liquid), (3) you may need to add an extra 5 to 15 minutes to the baking time). If you do try it, please let me know how it goes for you, and happy baking! 🙂
Patty says
This is a type of bread made by colonials in New England. Its called anadama bread. Bakers used cornmeal to scrub every bit of molasses out of the cask. How the bread got its name is a bit contentious though. I will try your recipe. I'm curious as to how the bread, as interpreted by Oklahomans, differs from what I grew up with (and bake myself since I moved from Massachusetts). Thanks for sharing.
Tammy Spencer says
Hi Patty, Thanks for the info! I'll have to do more research into anadama bread. I hope you enjoy this version! 😉
Pauline A says
Could I adapt this recipe to use sourdough starter? If so, how?
Tammy Spencer says
Hi Pauline, thanks for your question. Yes, you could adopt this recipe to your starter. How I do it based on my 50/50 flour & water starter ratio. I take the amount of starter I want to use, usually 1 cup (which contains a scant 1 cup (113g) flour & 1/2 cup (113g) water), and reduce the flour & water in the recipe by that amount. If possible, use the metric converter and a kitchen scale for accuracy. I would still use commercial yeast to ensure the dough still rises, even if I'm using fed starter. If possible, use the metric converter and a kitchen scale for accuracy.
Let me know how this goes for you, and happy baking! 😉
Pauline A says
Hi Tammy. I just finished making a loaf. I a pretty sure I made some mistakes. It was ver sticky after mixing so I kneaded in quite a lot of more flour. until it felt right. I am a newbie at this sourdough business but I just winged it. However, I forged ahead and baked it and it tastes really great. I think it looks Ok too. will try to make it again, properly, and compare! Thanks!
IMG_7960.jpg
Tammy Spencer says
Hi Pauline, I’m glad you had success! When I made the bread the first time, it was sticky for me as well. However, so many factors affect bread making, like the weather, the hydration of your starter, and the strength of your flour. That’s why it’s important to go by what the dough feels like, not exact measurements in a recipe. And most importantly, if the loaf turned out the way you like it, that’s a win in my book. Thanks for sharing, and happy baking!:-)