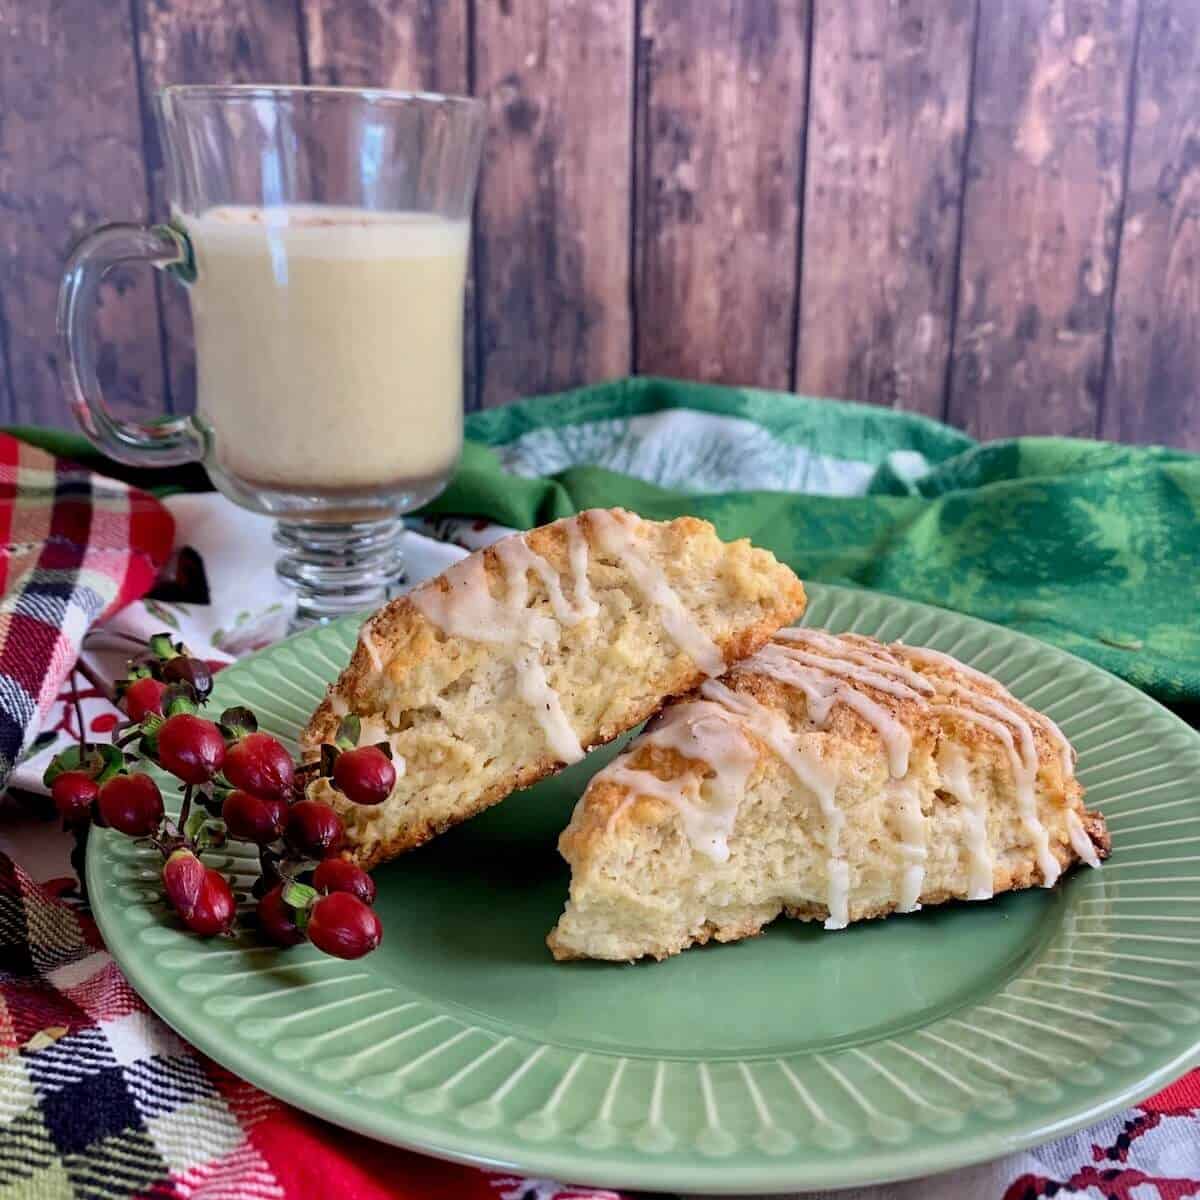
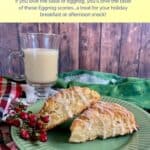
If you love the taste of eggnog, you'll love the taste of these Eggnog Scones topped with an eggnog glaze and sprinkled with nutmeg. The eggnog flavor is subtle and creamy with a hint of nutmeg spice. They're perfect for your holiday brunch and make a great hostess gift!
Jump to:
[November, 2021: I've reworked the recipe and updated this post with all new pictures. Enjoy!]
Why this recipe works
- Eggnog in the scone dough provides a subtle creamy and spicy flavor
- The glaze emphasizes the eggnog flavor even more
- Made without the glaze, these scones are safe to use with homemade eggnog because any raw egg and/or alcohol are baked out
I love eggnog. Especially homemade eggnog - it’s like liquid egg custard. Spiking said eggnog with a shot of brandy or rum is an added bonus. What a wonderful cup of holiday cheer, served hot or cold, on a chilly night!
But you know, eggnog can also be an ingredient in baked goods since it is sweetened and spiced heavy cream thickened with egg yolks. There are loads of recipes that we can adapt to use eggnog, like Eggnog Bread or these Glazed Spiced Eggnog Scones.
Recipe Ingredients
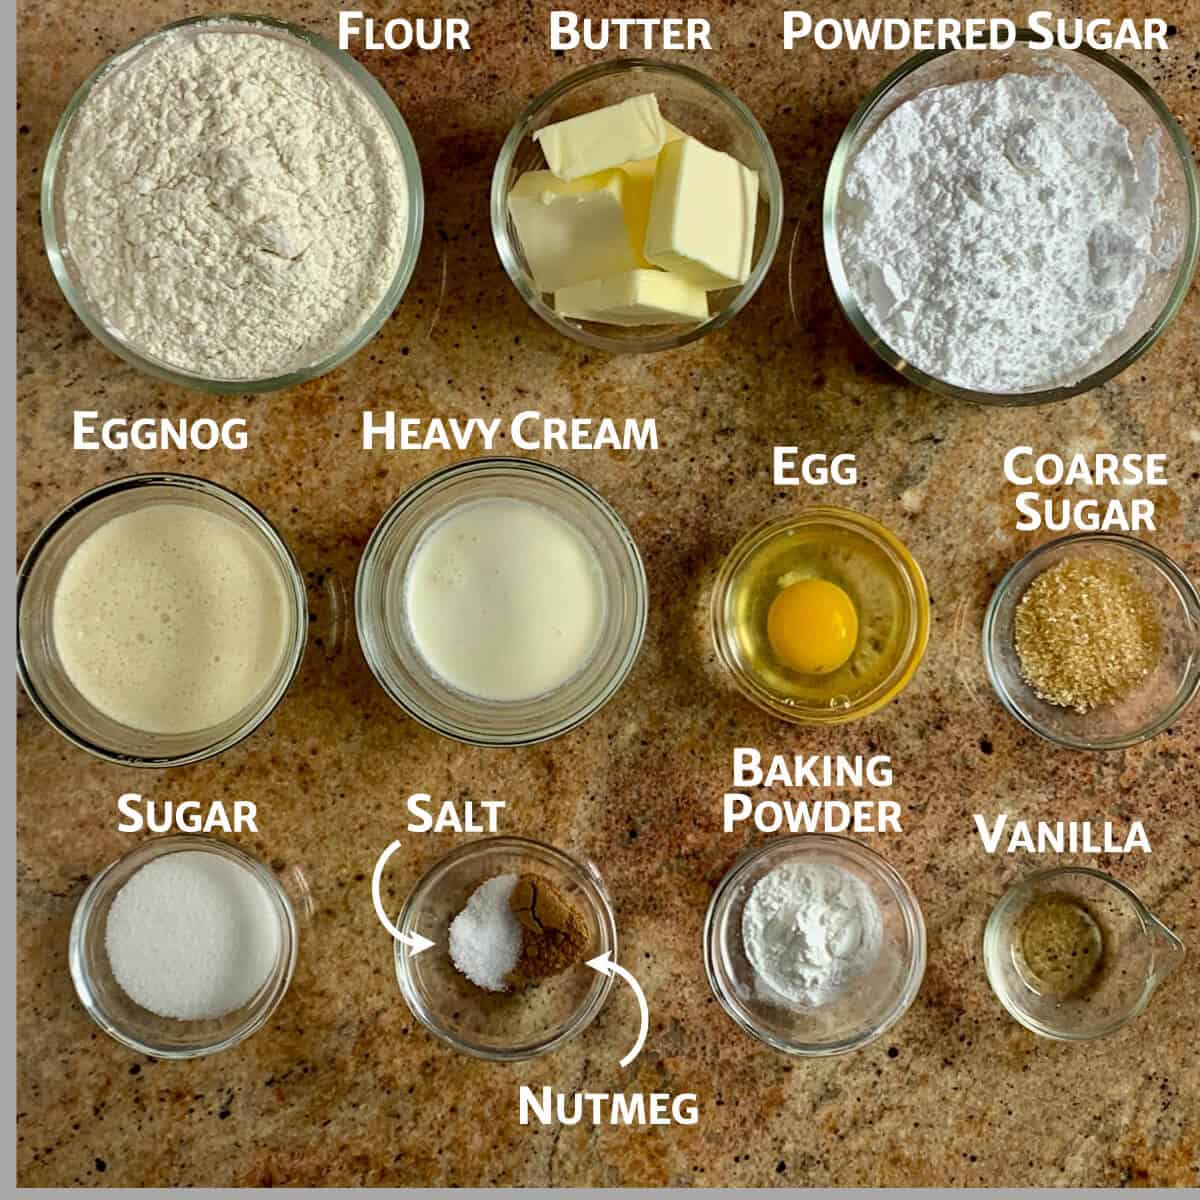
You'll need the following ingredients to make this eggnog scone recipe:
Ingredient Notes
Eggnog: Homemade eggnog made in the blender is quick and easy to make. Just combine all the eggnog ingredients in a blender, pulse a few times, and you're ready to roll! And it's safe for those that don't eat raw eggs since you'll be baking the egg yolks. It's your choice whether to spike it or not. Alternatively, commercially made eggnog is fine for an eggnog scone recipe, and you can use a dairy-free eggnog if you wish.
However, remember that the eggnog glaze hasn't been cooked. Pregnant women and toddlers shouldn't have uncooked eggnog in case of salmonella concerns from the raw eggs, and any alcohol will still be present.
Butter: How you cut up your butter isn't as important as keeping it cold. Generally I'll grate frozen butter on a box grater (mostly because I don't have butter defrosted). If you'd rather, cut chilled butter into small ½-inch cubes. Either way will work. You want the butter to stay as cold as possible, so don't overwork the dough.
Baking powder: This eggnog scone recipe uses 1 tablespoon of baking powder to insure you'll have tall, tender scones. Don't substitute baking soda as the scones will have a metallic taste to them.
See the recipe card for a full list of ingredients and measurements.
How to make Eggnog Scones
Step 1: Combine the dry ingredients
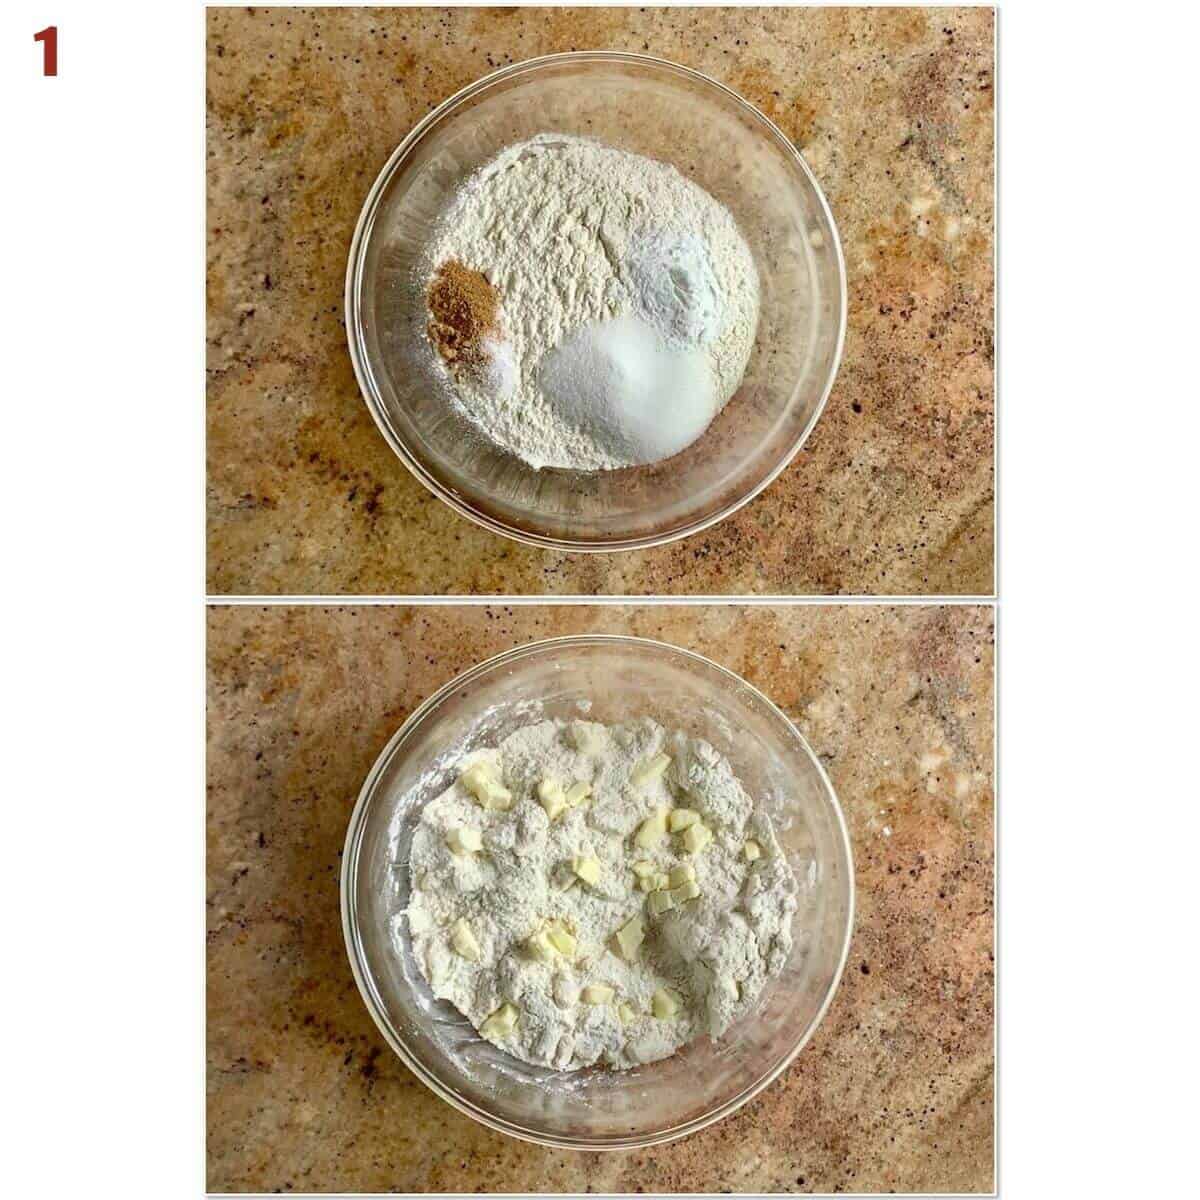
Whisk together the flour, sugar, baking powder, nutmeg, and salt. Work the chilled butter into the flour using a pastry blender, two forks, or your hands until coarse, pea-sized crumbs appear (photo 1).
Step 2: Add the wet ingredients
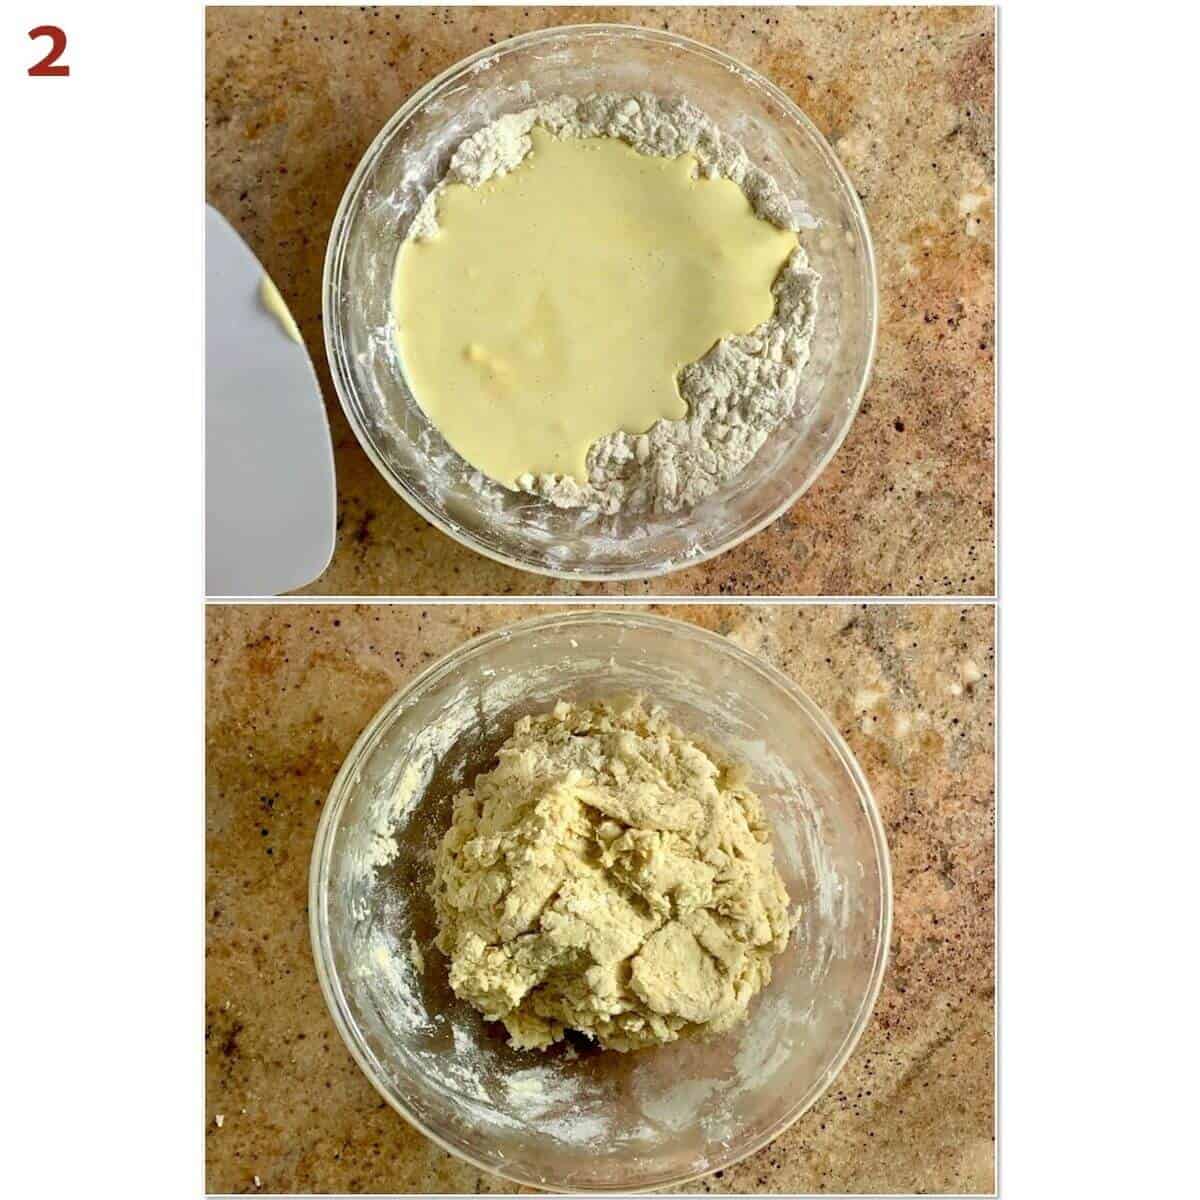
Whisk together the eggnog, egg, heavy cream, and vanilla extract. Pour the eggnog mixture over the flour mixture and mix with a bowl scraper or your hands until a dough forms (photo 2). You can add another tablespoon or two of eggnog if the dough appears too dry. Remember, You want the butter to stay as cold as possible, so don't overwork the dough.
Gather the dough, and flatten it into a 6-inch disk (if you want square scones, shape the dough into a rectangle with the short side about 4-inches long). Use a bench scraper to release the dough, if needed. Cover with plastic wrap, and refrigerate the dough at least 30 minutes or up to overnight.
Step 3: Portion the scones
Once the dough is chilled, you have your choice of how to shape the scones:
- For wedge-shaped scones: Roll out the disk into an 8-inch circle, then use the bench scraper to cut the disk into 8 wedges.
- For round scones: Roll out the disk to a height of about ¾ inches. Use a 3-inch round cookie cutter to cut out rounds (gather, press, and cut the leftover dough again as needed, but hopefully not more than 2 times).
- For square scones: Roll out the dough into a 12- by 4-inch rectangle, then cut into twelve 2-inch squares.
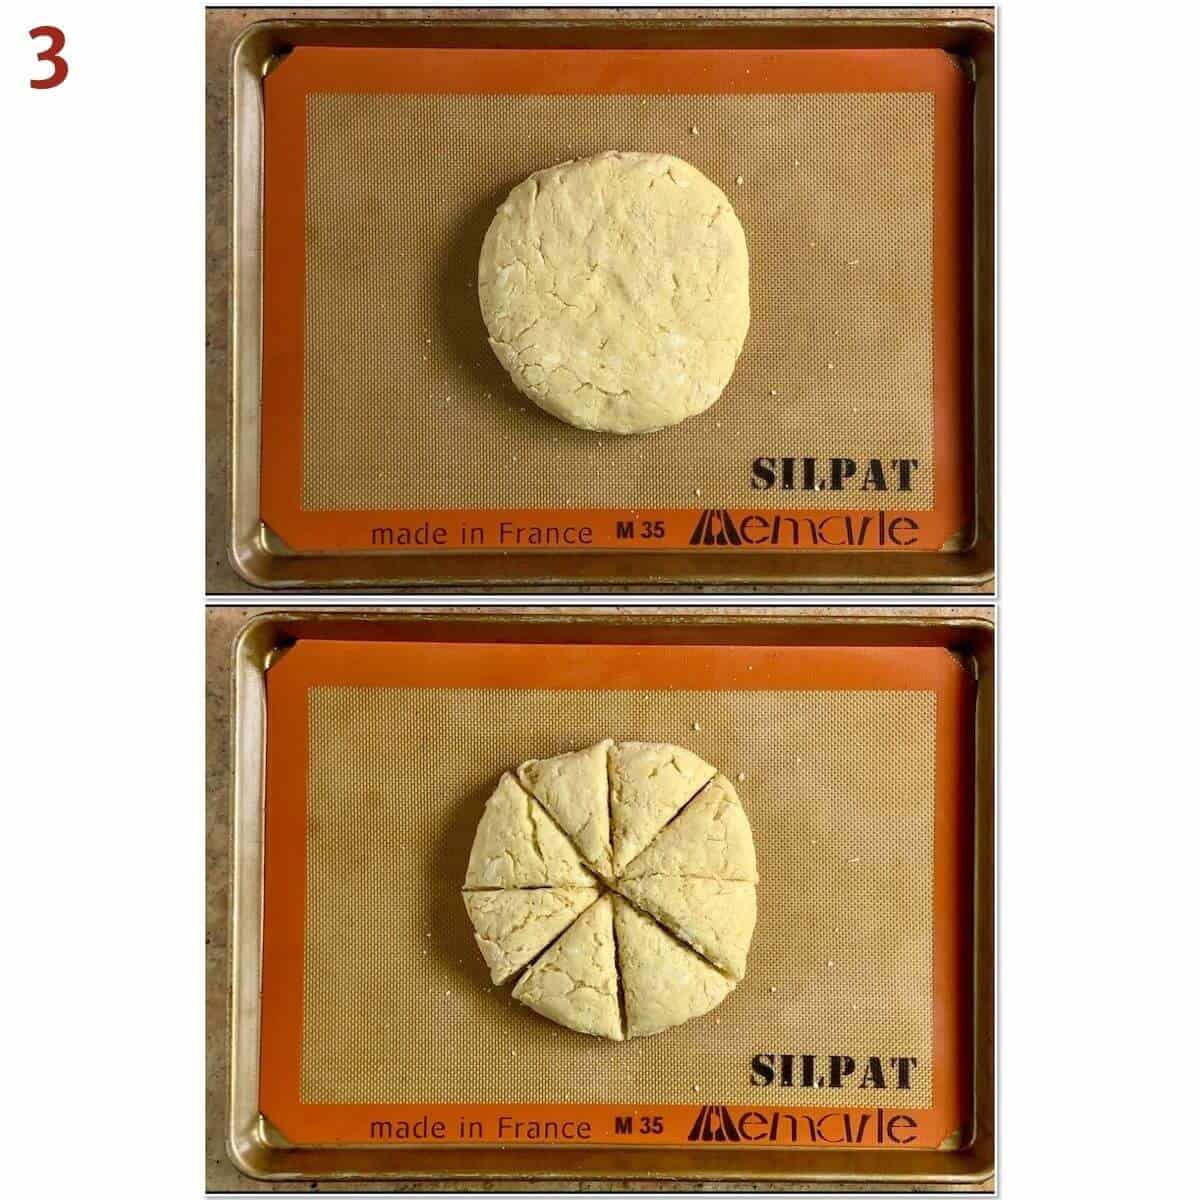
Transfer the portioned scones to a half sheet baking pan lined with a Silpat silicone mat or parchment paper, then cut into 8 pieces with a bench scraper.
Pull the scones apart about 2-inches from each other (photo 3).
Step 4: Bake the scones
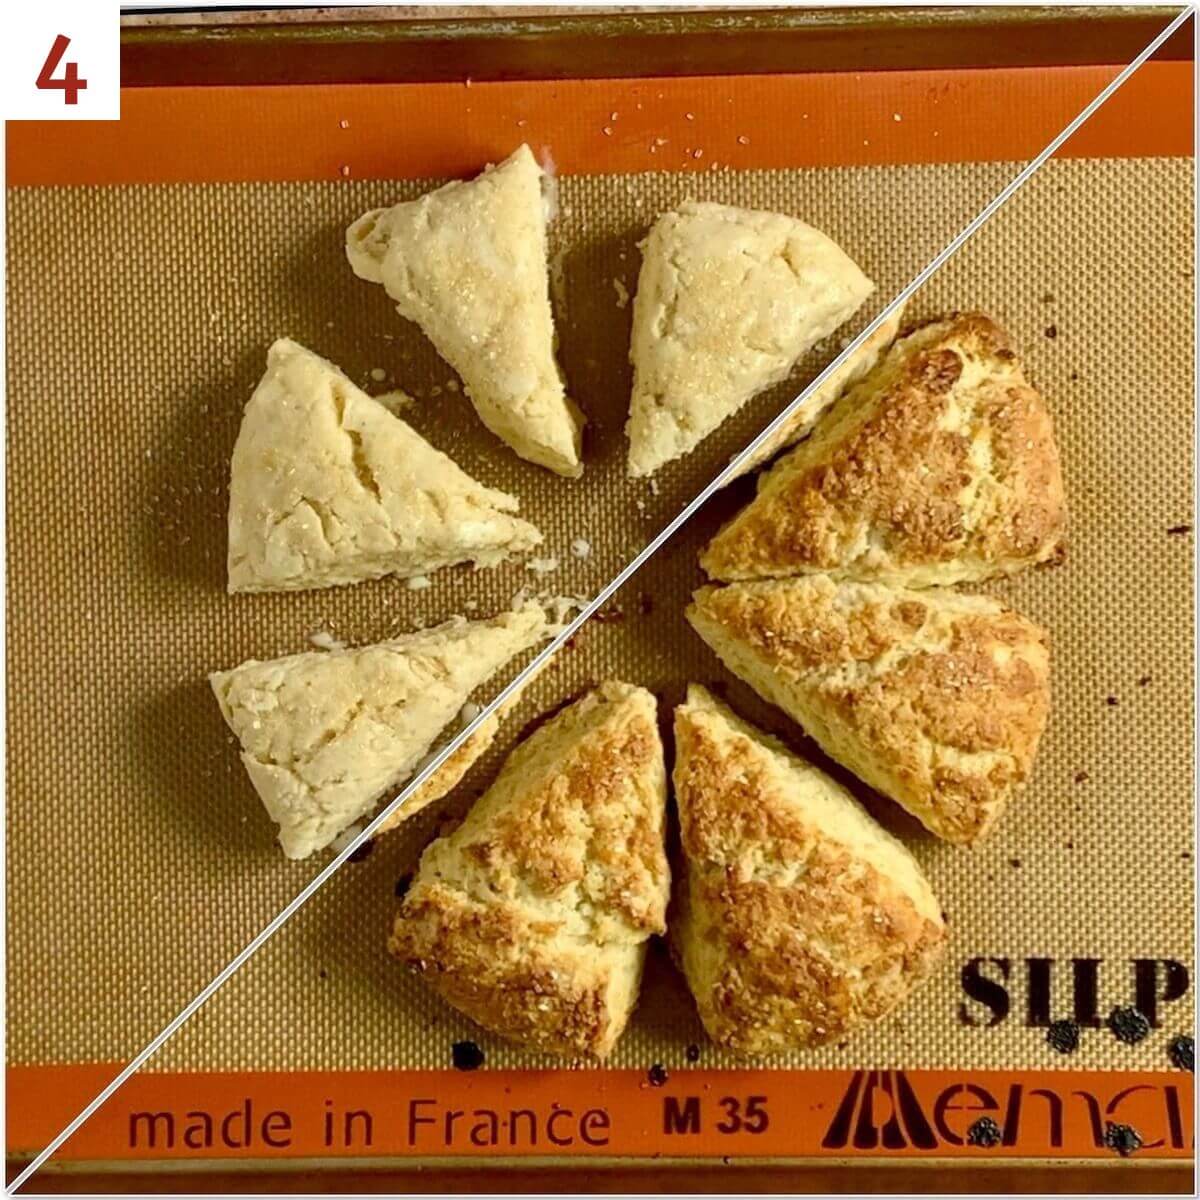
Brush the tops of the scones with more eggnog, then sprinkle with coarse sugar. Bake the scones at 425ºF for 18 to 23 minutes or until they are golden brown (photo 4).
If you're going to glaze the scones, allow them cool for 15 minutes before continuing.
Step 5: Make the glaze
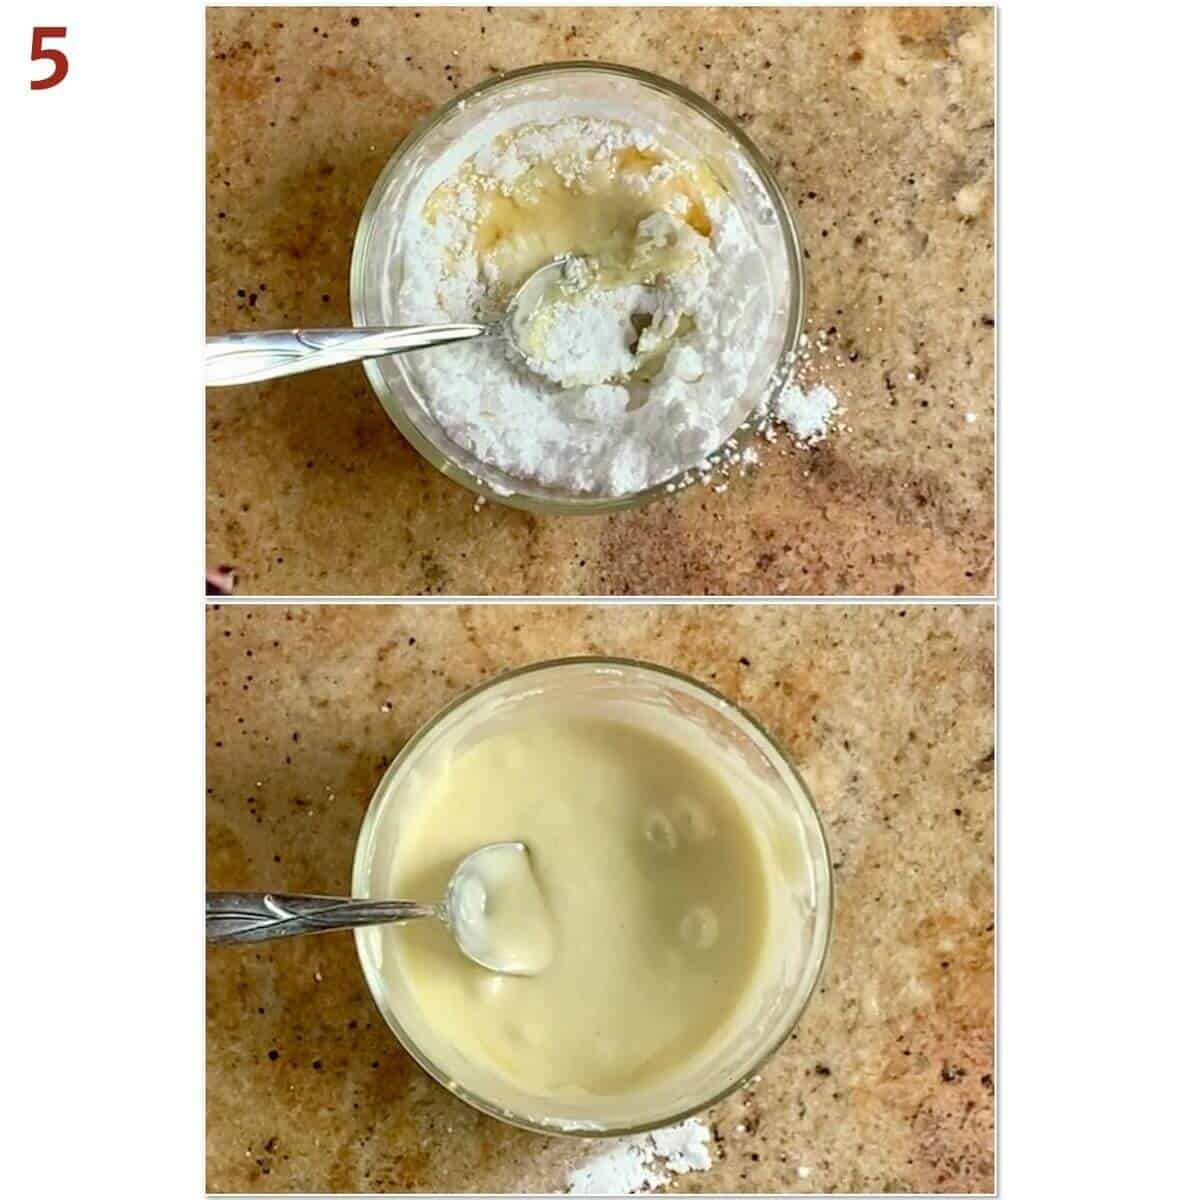
Mix together the powdered sugar, eggnog, and vanilla extract. Keep adding eggnog in one tablespoon increments until the glaze is smooth and thick (photo 5).
Step 6: Glaze the scones
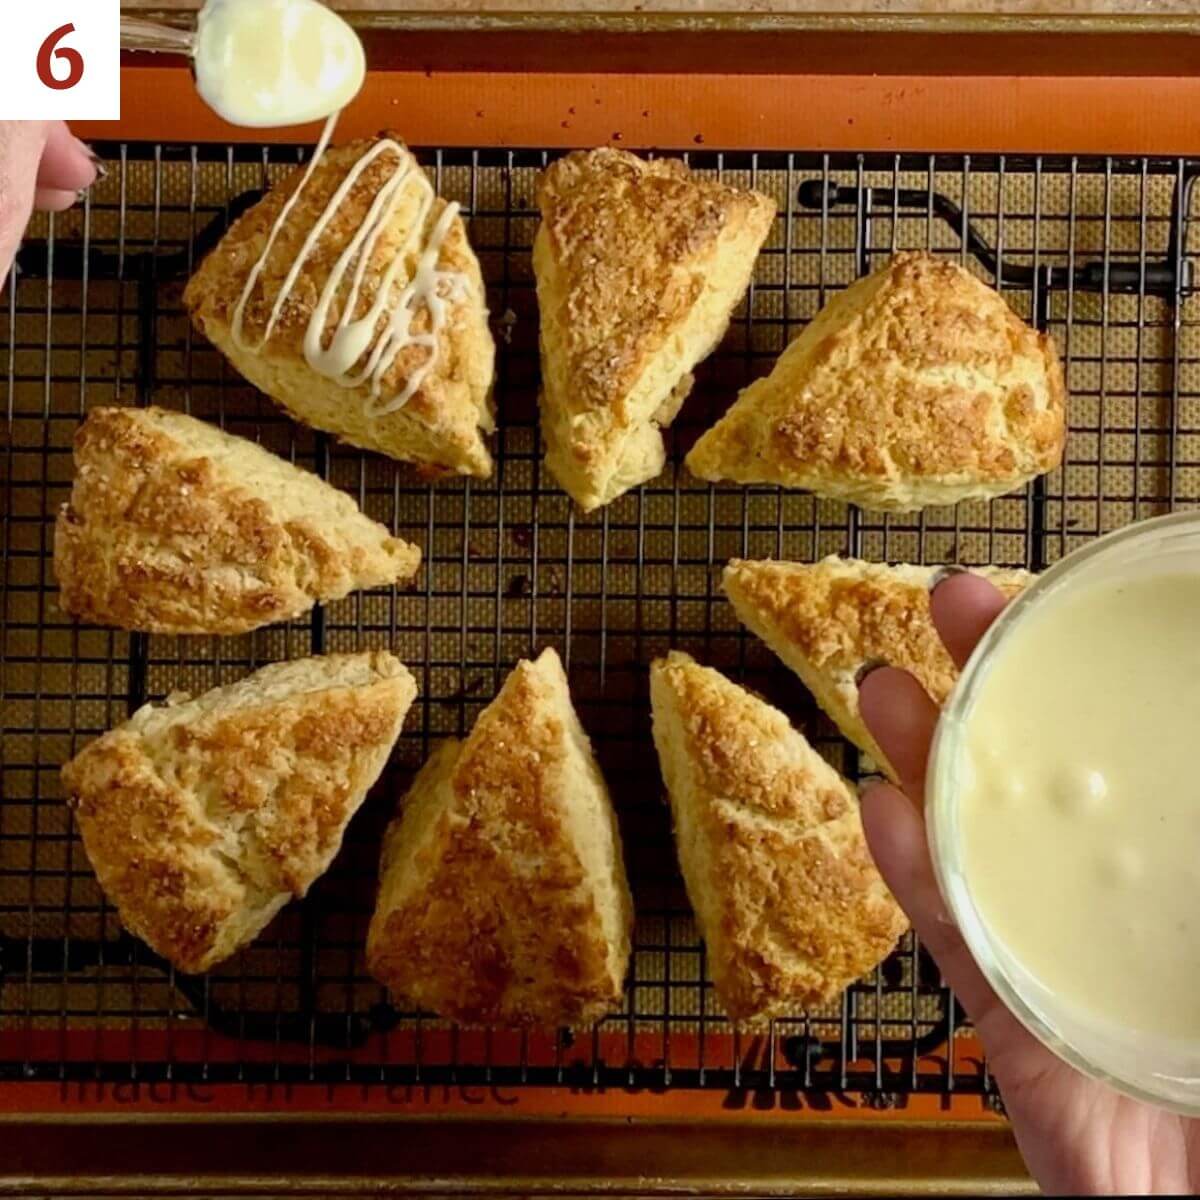
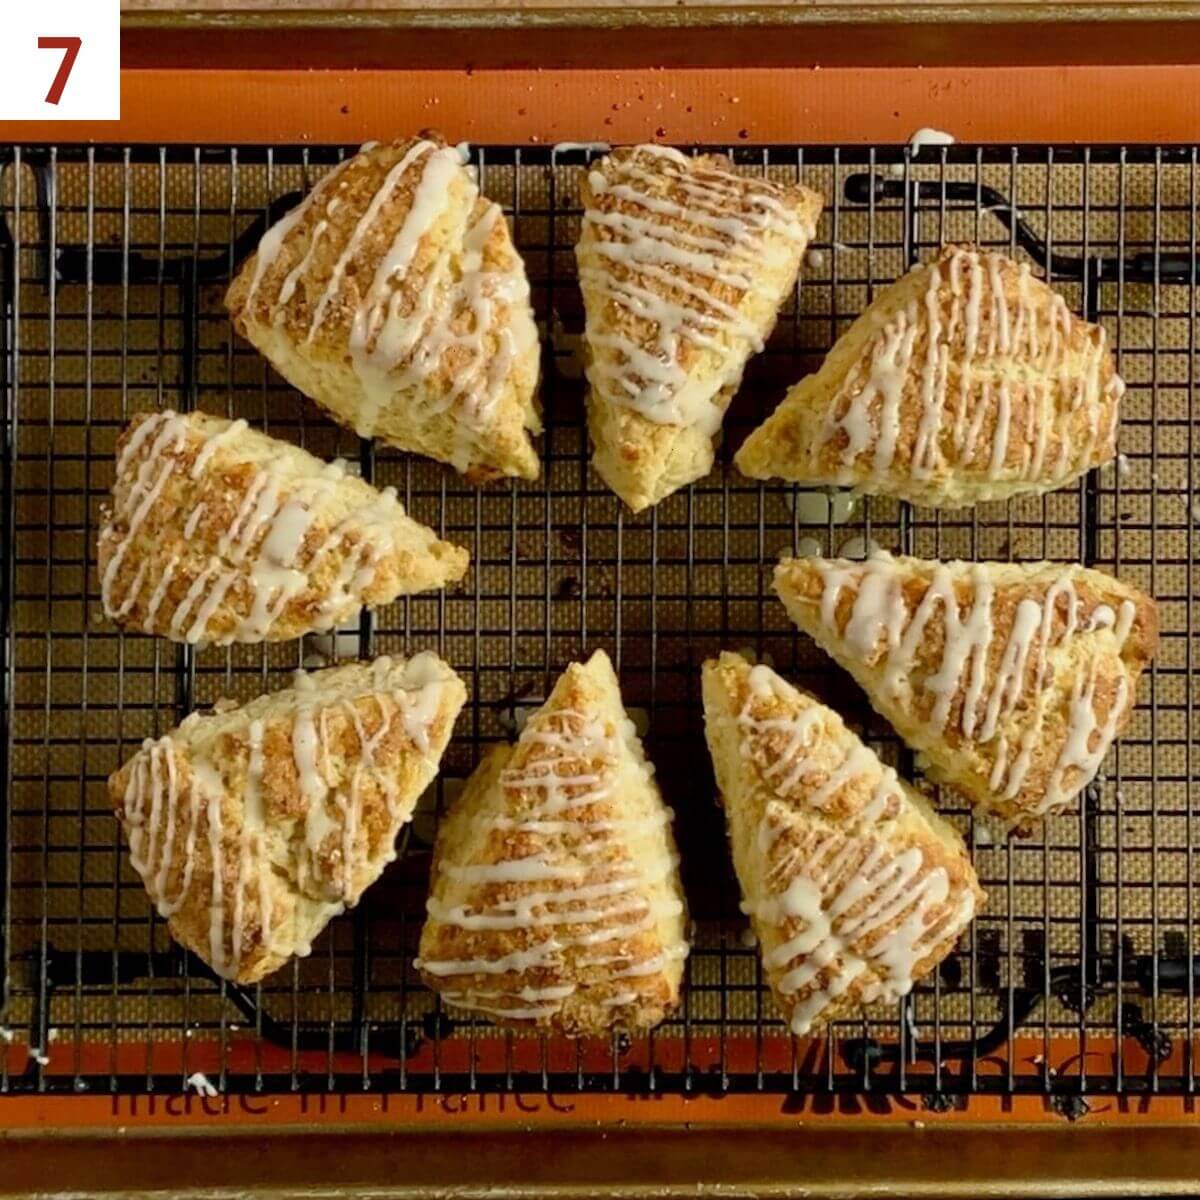
Drizzle the glaze generously over the scones then dust them with nutmeg (photo 6).
Allow the glaze to set before serving (photo 7).
Storage and make-ahead instructions
Storage Instructions: Scones are best enjoyed right away, though leftover scones keep well at room temperature or in the refrigerator for about 3 to 5 days. Glazed or plain scones freeze well, up to 3 months. Thaw overnight in the refrigerator then warm to your liking before enjoying.
Make-ahead instructions: For freshly baked scones anytime, freeze the cut, unbaked scones in a ziplock bag. Take out as many as you want to bake (there's no need to defrost them first), and bake at 400 °F for 20 to 25 minutes.
Yield Notes
The yield is generally about 8 scones (that's what I get from a circle cut into wedges or with a 3-inch round cookie cutter), and up to 12 (cutting the square scones). Your yield may vary.
Questions asked and answered
Here are some questions you might have...
First, keep the butter cold. As the butter melts during baking, the steam forces pockets in the dough creating a crumbly texture. Also, place the scones close together on the baking sheet, close enough to be almost touching. This forces the scones to rise higher if they don't have room to spread.
The answer here is yes, if by resting you mean chilling. You want the butter to be cold before baking. If the butter is too warm, it won't create those pockets, and the scone won't have the right texture.
Again, it's all about the butter (I'm sensing a theme here). By using a bowl scraper, you're not warming the dough with your hands. It's the same concept as when you make pie dough or shortcrust pastry.
Baking with homemade eggnog
Homemade eggnog is easy and quick to make using the blender method (since you'll be baking the egg yolks). Just combine all the eggnog ingredients in a blender, pulse a few times, and you're ready to roll! And it's safe for those that don't eat raw eggs since you'll be baking the egg yolks. It's your choice whether to spike it or not.
However, be aware that homemade eggnog used for the glaze isn't cooked, so any raw egg yolks and alcohol will still be there. Don't use the glaze if you'll be serving children or pregnant women.
Alternatively, commercially made eggnog is fine for an eggnog scones recipe, and you can use a dairy-free eggnog if you wish.
Eggnog goodness on a plate
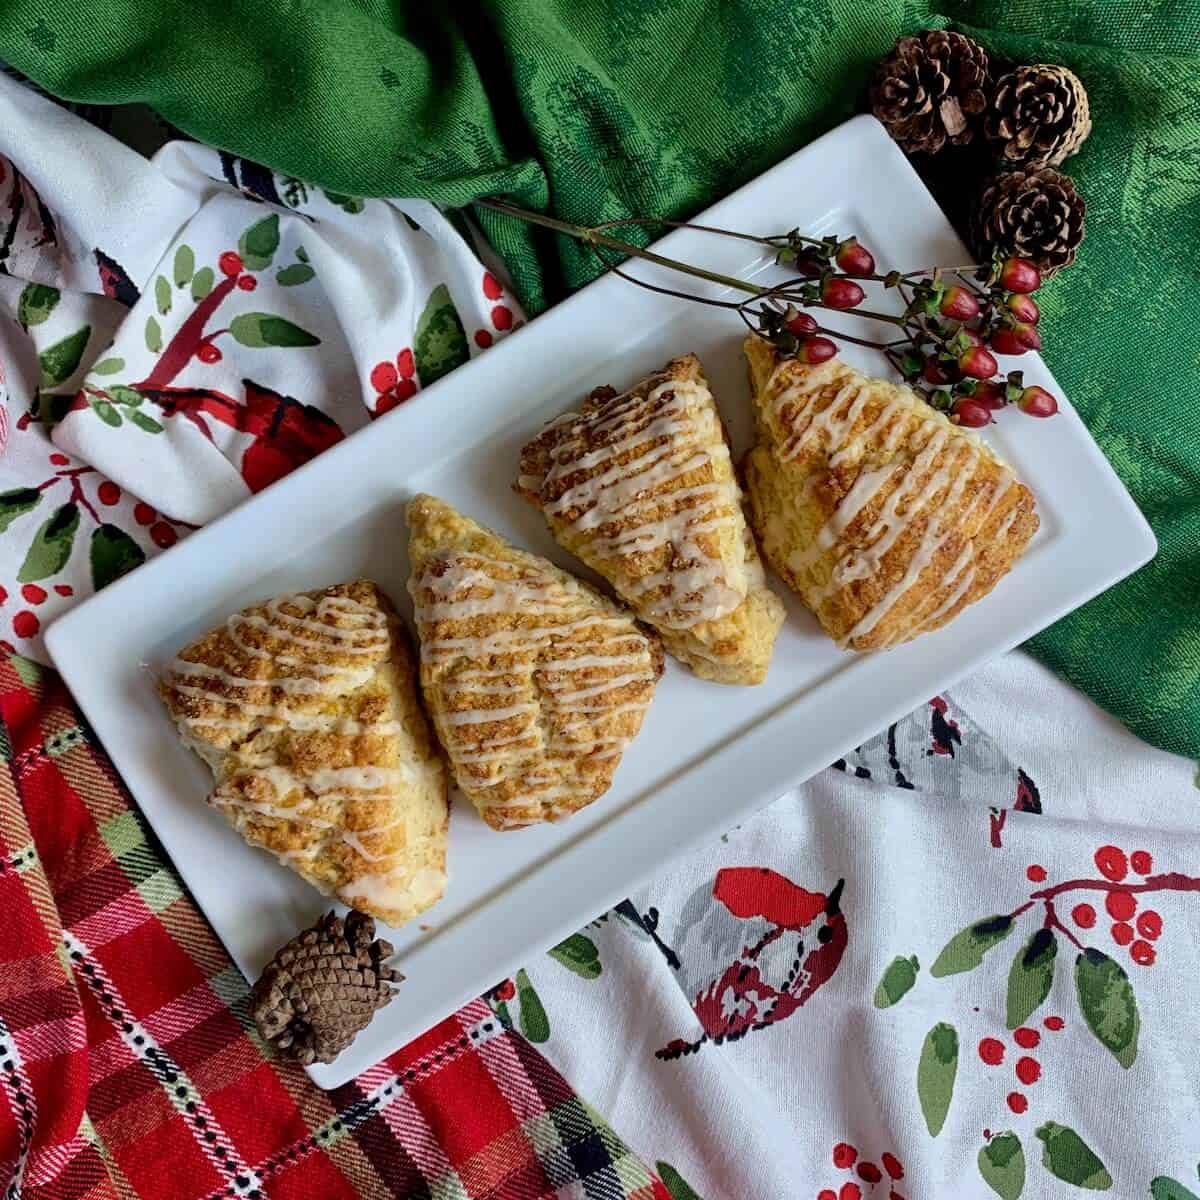
These scones are perfect on a chilly morning, served plain or with butter or clotted cream and jam. The eggnog flavor is subtle and creamy with a hint of nutmeg spice peaking out.
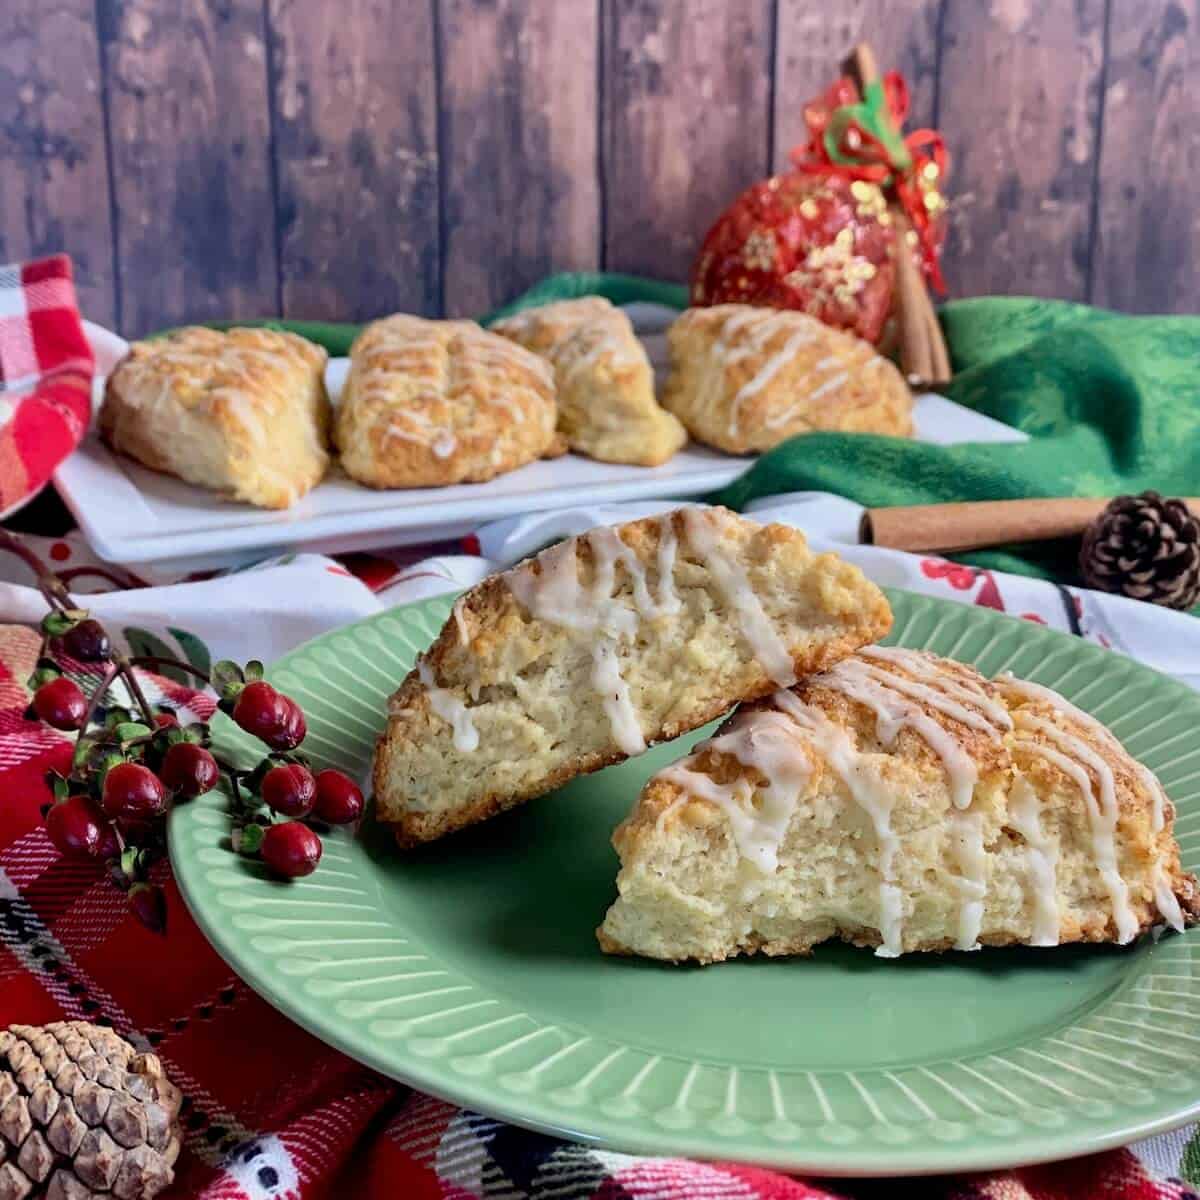
Not only do they make Christmas morning special, these Glazed Spiced Eggnog Scones make a thoughtful hostess gift if you're heading out for a holiday brunch.
Make a homemade eggnog recipe, either with or without alcohol, and use a bit to make these scones. It's holiday cheer on a plate!
Slainté! L’chaim! Cheers!
Tammy
Try these recipes next
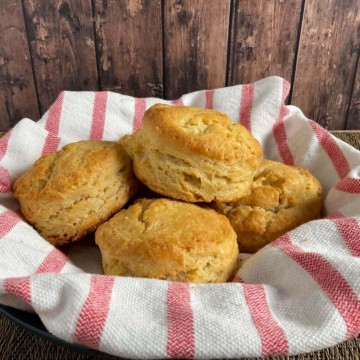
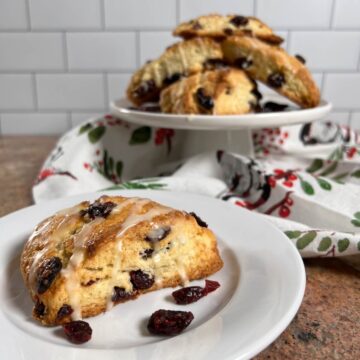
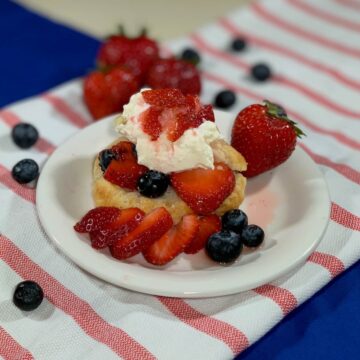
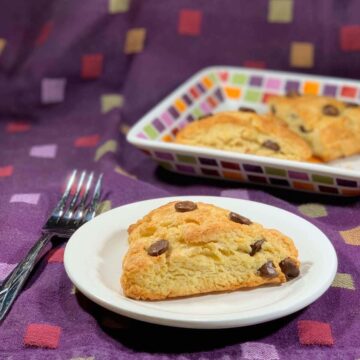
The real beauty of biscuits and scones are their endless variations. They can be savory or sweet, and customized with different flours, liquids, and mix-ins, and can even incorporate sourdough starter discard. Here are a few ideas to get you started:
Glazed Spiced Eggnog Scones
Equipment
Ingredients
For the scones
- 2¼ cups all-purpose flour
- 2 tablespoons granulated sugar
- 1 tablespoon baking powder
- ¾ teaspoon ground nutmeg
- ½ teaspoon kosher salt
- ½ cup unsalted butter, frozen and grated, see Recipe Notes
- ⅓ cup eggnog, homemade or store bought, see Recipe Notes
- 1 large egg
- ¼ cup heavy cream
- ½ teaspoon pure vanilla extract
For the topping
- 1 tablespoon eggnog
- 1 tablespoon coarse sugar
For the glaze
- 1 cup powdered sugar, sifted
- 2 tablespoons eggnog
- ½ teaspoon pure vanilla extract
- ground nutmeg, for dusting
Instructions
- For the scones: Preheat the oven to 425 °F.
- In a large mixing bowl, combine the flour, sugar, baking powder, nutmeg, and salt.
- Grate the butter using a box grater and toss it into the flour mixture a little at a time. Once all the butter is grated, use a pastry blender, two forks, or your hands to work the butter into the flour until coarse, pea-sized crumbs appear.
- In a separate bowl, whisk together the eggnog, egg, heavy cream, and vanilla extract.
- Pour the eggnog mixture over the flour mixture and mix with a bowl scraper or your hands until a dough forms. You can add another tablespoon or two of eggnog if the dough appears too dry. Remember, You want the butter to stay as cold as possible, so don't overwork the dough.
- Gather the dough, and flatten it into a 6-inch disk (if you want square scones, shape the dough into a rectangle with the short side about 4-inches long). Use a bench scraper to release the dough, if needed. Cover with plastic wrap, and refrigerate the dough at least 30 minutes or up to overnight.
- Once the dough is chilled, you have your choice of how to shape the scones:For wedge-shaped scones: Roll out the disk into an 8-inch circle, then use the bench scraper to cut the disk into 8 wedges. For round scones: Roll out the disk to a height of about ¾ inches. Use a 3-inch round cookie cutter to cut out rounds (gather, press, and cut the leftover dough again as needed, but hopefully not more than 2 times).For square scones: Roll out the dough into a 12- by 4-inch rectangle, then cut into twelve 2-inch squares.
- Place the scones about 2-inches apart on the prepared baking pan. Brush the tops of the scones with more eggnog, then sprinkle with coarse sugar.
- Bake the scones for 18 to 23 minutes or until they are golden brown. If you're going to glaze the scones, allow them cool for 15 minutes before continuing.
- For the glaze: In a small bowl, mix together the powdered sugar, eggnog, and vanilla extract. Keep adding the eggnog in one tablespoon increments until smooth glaze is smooth and thick.
- Drizzle the glaze generously over the scones. Dust them with nutmeg, then allow the glaze to set before serving.
- Storage Instructions: Scones are best enjoyed right away, though leftover scones keep well at room temperature or in the refrigerator for about 3 to 5 days. Glazed or plain scones freeze well, up to 3 months. Thaw overnight in the refrigerator then warm to your liking before enjoying.
- Make-ahead instructions: For freshly baked scones anytime, freeze the cut, unbaked scones in a ziplock bag. Take out as many as you want to bake (there's no need to defrost them first), and bake at 400 °F for 20 to 25 minutes.
- The yield is generally about 8 scones (that's what I get from a disk cut into wedges or using a 3-inch round cookie cutter), but yours may vary.



Let's Talk