
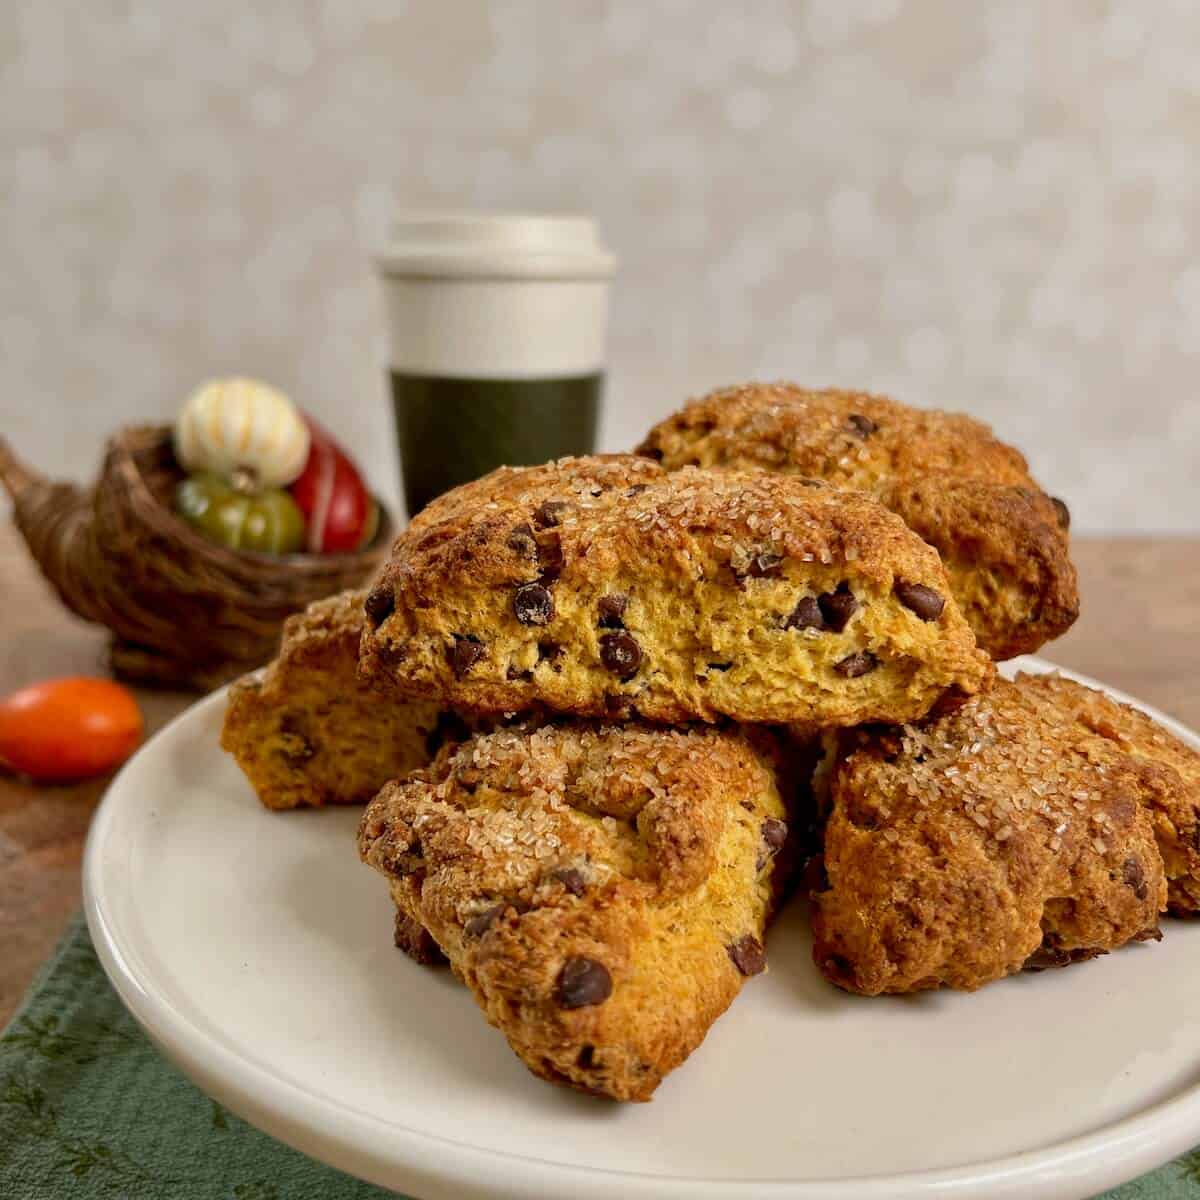
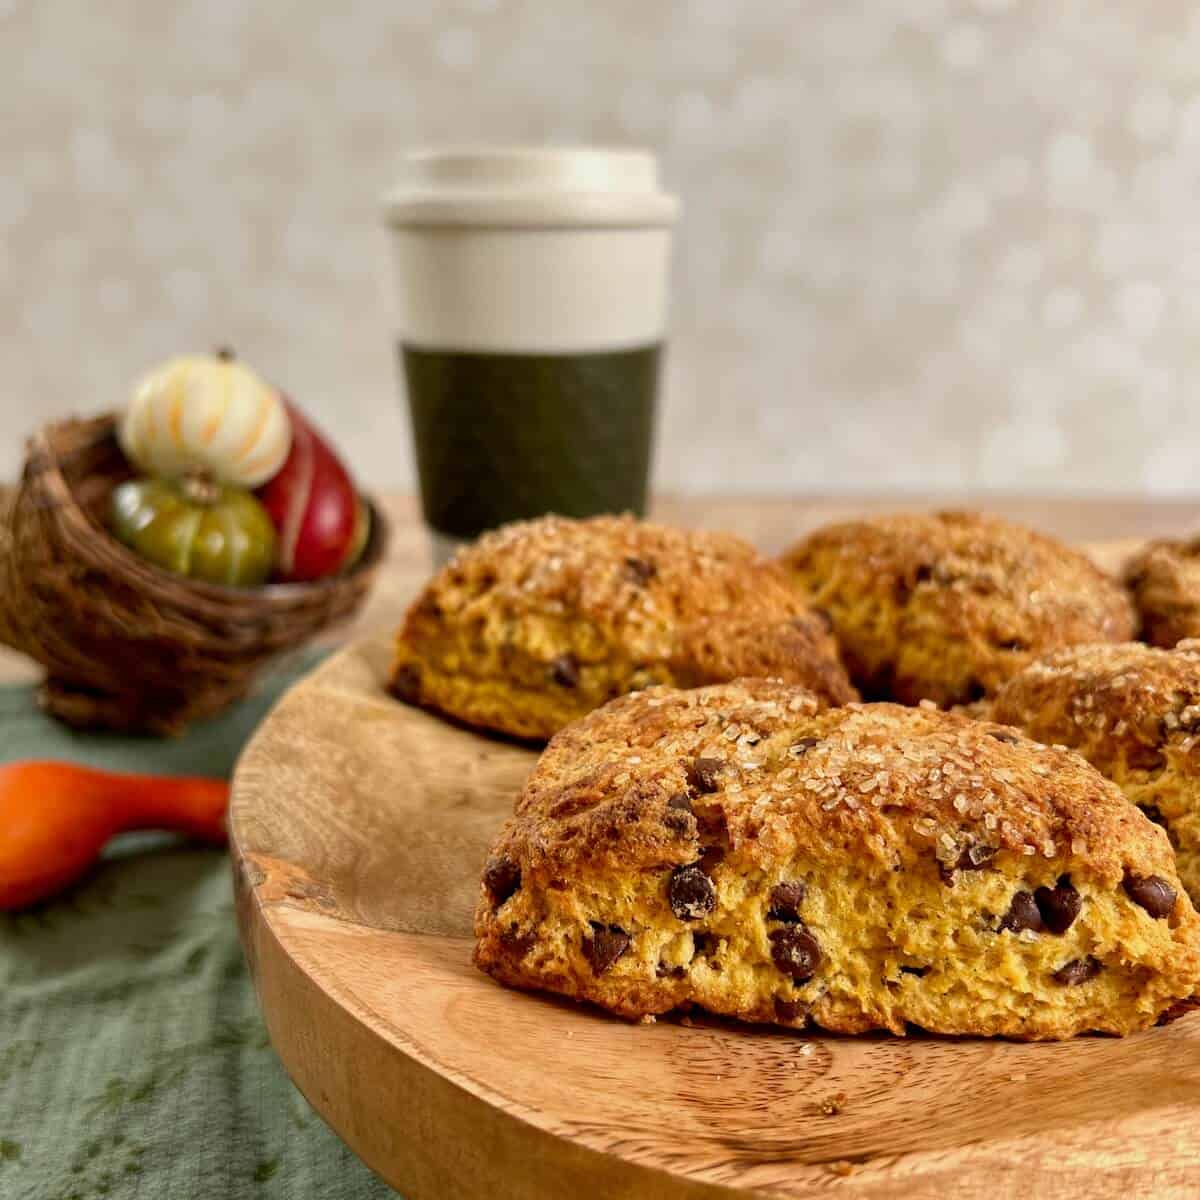
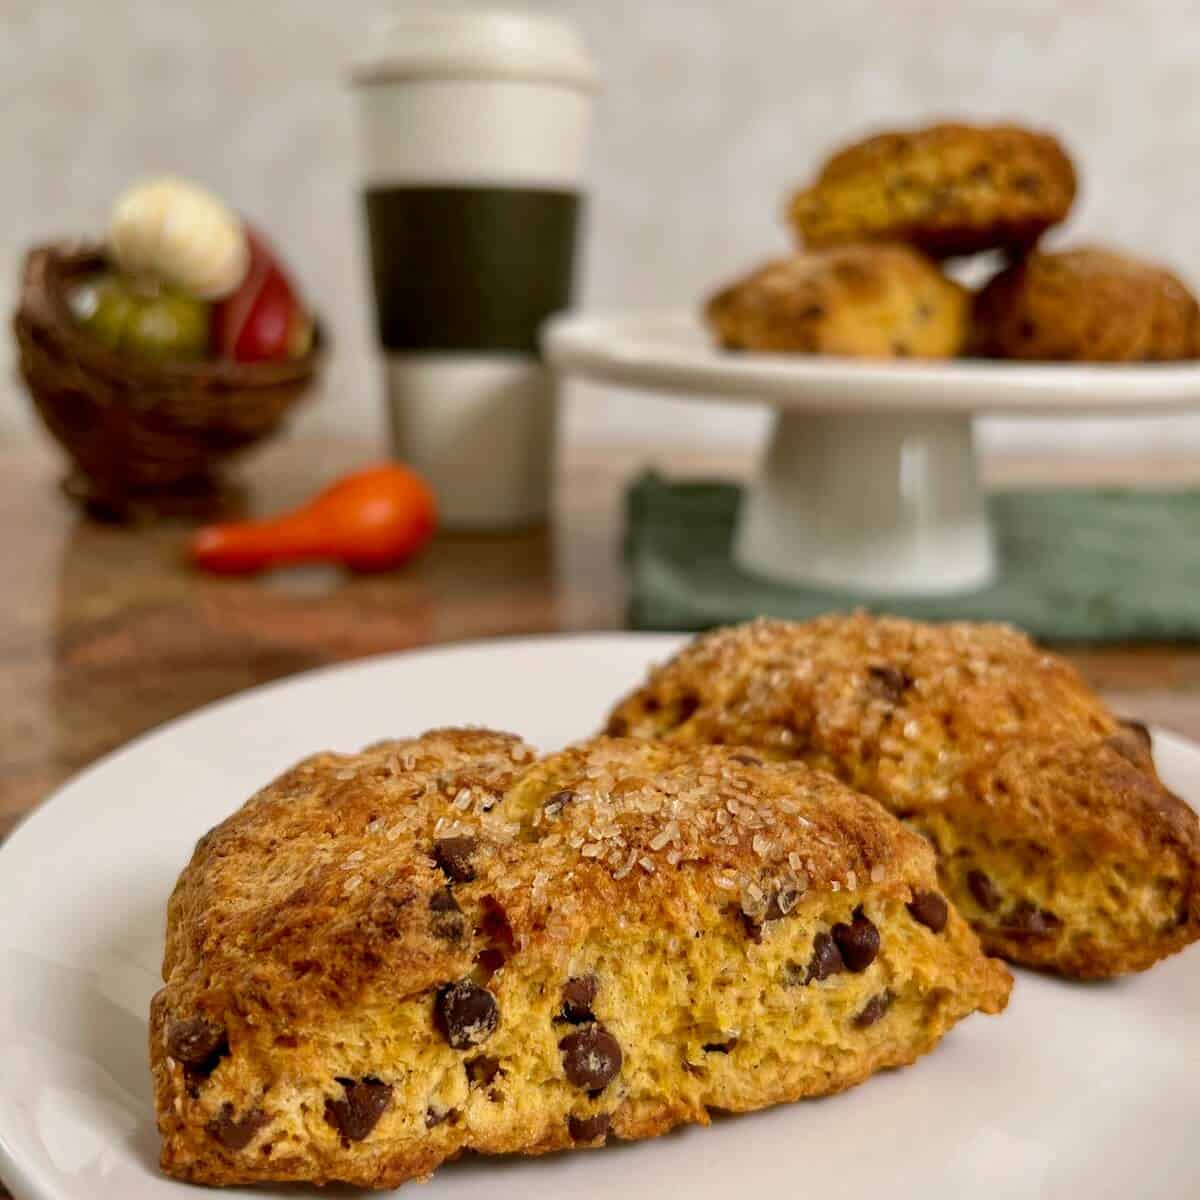
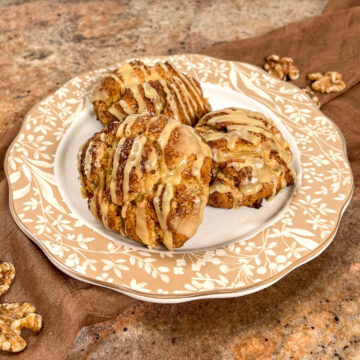
Pumpkin purée, mini chocolate chips, and a warm pumpkin spice blend team up to make these deliciously easy pumpkin scones. Sweet and spicy, it's a Fall scone classic that's sure to please!
Jump to:
Why this recipe works
- Rich pumpkin flavor in a flaky scone that's complemented with bursts of chocolate
- An easy pumpkin scone recipe that comes together quickly for a delicious Fall breakfast or afternoon snack
Fall is my favorite time of year. Beyond the cooling temperatures and the beauty of the Autumn foliage, this is the season when my baking wheels really get turning.
Fall is the time of year when pumpkin and pumpkin spice really takes center stage. From Pecan Praline Pumpkin Pie to Sourdough Pumpkin Bundt Cake, there are many ways to feature that iconic pumpkin flavor. And it's not just for desserts - pumpkin can be featured in savory dishes, like Rice Stuffed Pumpkin.
These easy pumpkin scones are inspired by my Chocolate Chip Pumpkin Bread, with its warm pumpkin spice blend. I love the combination of pumpkin and chocolate, and the flavors really deliver!
Have a delicious pumpkin chocolate chip scone for breakfast or as an afternoon snack with a cup of coffee or tea (or even this Pumpkin Spice Latte Recipe).
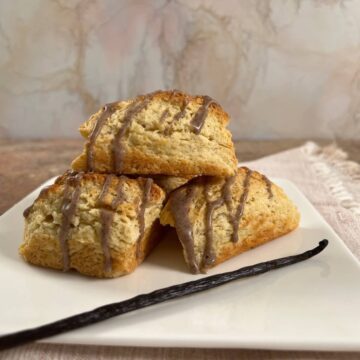
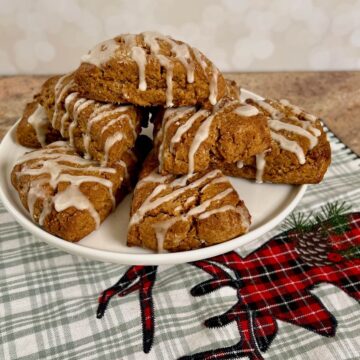
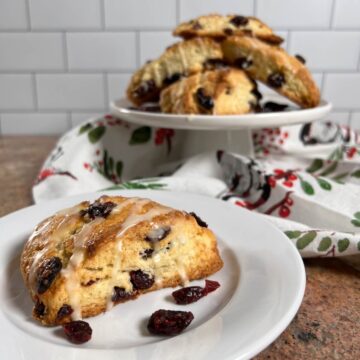
And for more new twists on classic seasonal flavors, try these gingerbread scones and eggnog scones - so much scone goodness!
⭐⭐⭐⭐⭐
This is SO good!! My daughter and I made them together. So easy to make with a simple recipe. They taste like a pumpkin chocolate chip cookie crumble. Next time we make these we will be making a glaze to go on top as well.
- Tweet46
Recipe ingredients
You'll need the following ingredients to make this pumpkin chocolate chip scones recipe:
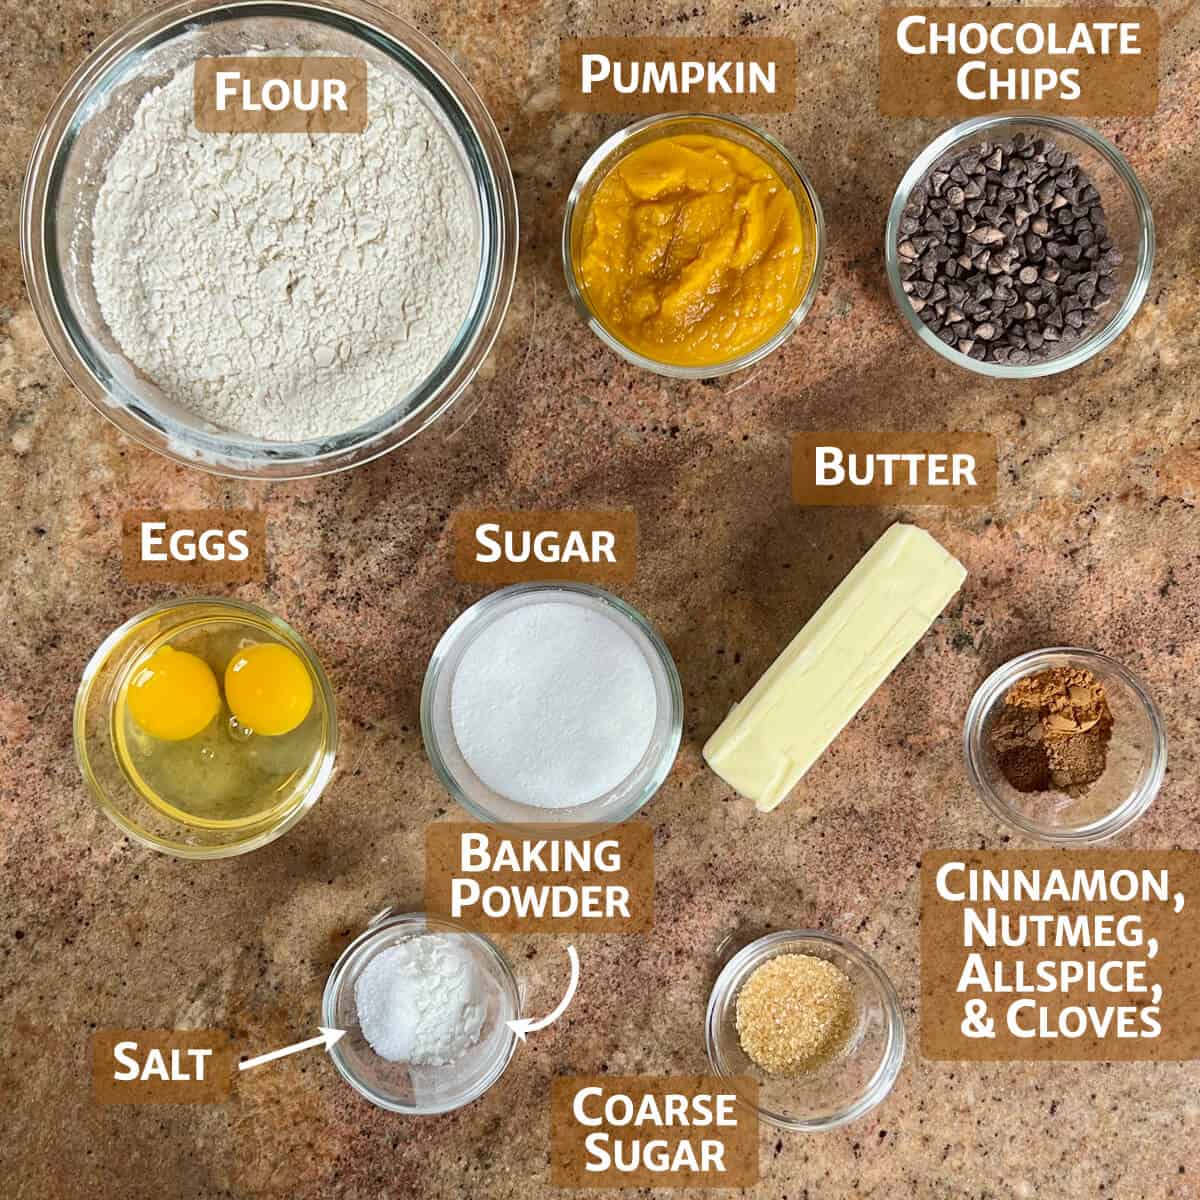
Ingredient Notes
The basic scone ingredients are here: all-purpose flour, sugar, baking powder, salt, butter, eggs, and a liquid to bring it all together (pumpkin purée, in this case).
Pumpkin purée: Pure pumpkin purée is not the same as pumpkin pie filling - the latter has sugar and spices that you can't control. Best stick with pure pumpkin purée for this pumpkin scone recipe.
Butter: How you cut up your butter isn't as important as keeping it cold. Generally I'll grate frozen butter on a box grater before cutting it into the flour mixture. You can also cut chilled butter into small ½-inch cubes. Either way, make sure the butter is well chilled before cutting it into the flour mixture.
Baking powder: This scone recipe uses 1 tablespoon of baking powder to insure you'll have tall, tender scones. Don't substitute baking soda as the scones will have a metallic taste to them.
Pumpkin spice mix: You can use a ready-made pumpkin spice mix or make your own using 1 teaspoon of cinnamon mixed with ¼ teaspoon each of allspice, nutmeg, and ginger. For a less spicy, more earthy pumpkin spice flavor, replace the ginger with cloves (that's my preference, and what is pictured here).
Chocolate chips: I use mini chocolate chips so that the pumpkin flavor can still shine through. You can use regular chocolate chips if you'd prefer, or leave them out for just pure spiced pumpkin scone goodness.
Coarse sugar: I like to add a little crunch to the top of scones by sprinkling coarse sugar on the dough before baking. It's optional, but worth it.
See the recipe card for a full list of ingredients and measurements.
What to do with leftover pumpkin purée
The leftover pumpkin purée can be scooped onto plastic wrap or into a small container and frozen for when you next want to make these scones. A typical 15-ounce can of pumpkin purée should be enough to make three batches of scones (especially if you carefully measure or weight out the purée).
How to make pumpkin chocolate chip scones
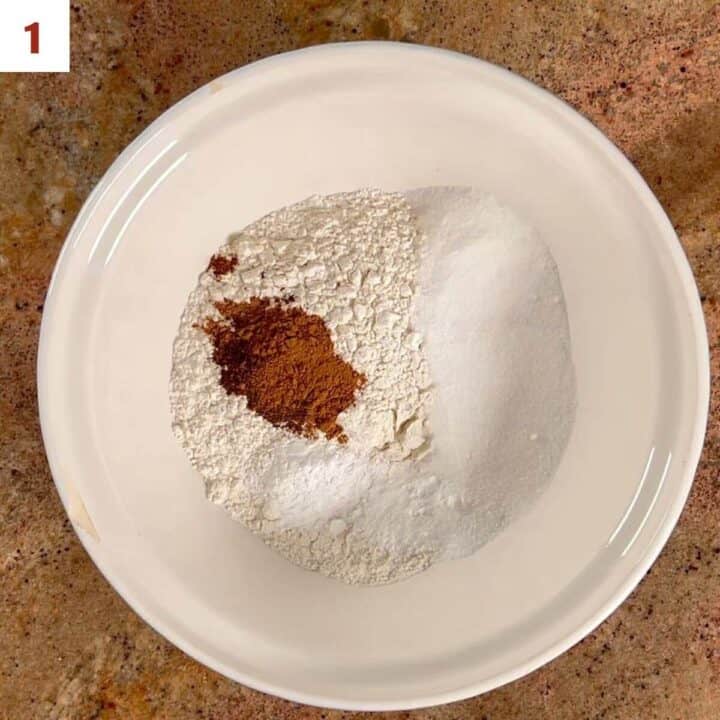
Step 1: Make the dough
In a large bowl, combine the flour, sugar, baking powder, salt, and the pumpkin spice mix (photo 1).
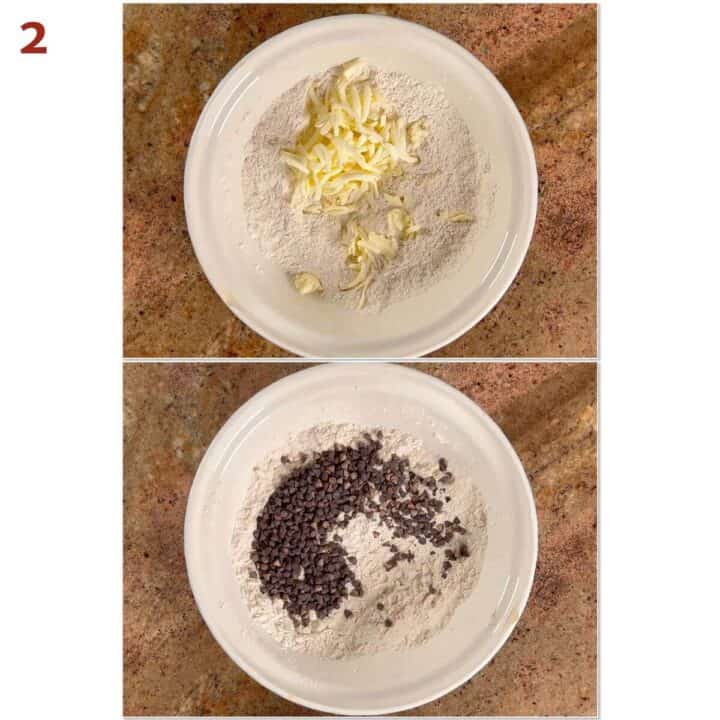
Toss the cold butter into the flour mixture to coat, then use a pastry blender, two forks, or your hands to work the butter into the flour until coarse, pea-sized crumbs appear. Don't overdo this step as you don't want the butter to warm up and mix completely into the flour.
Then, fold in the mini chocolate chips and stir briefly (photo 2).
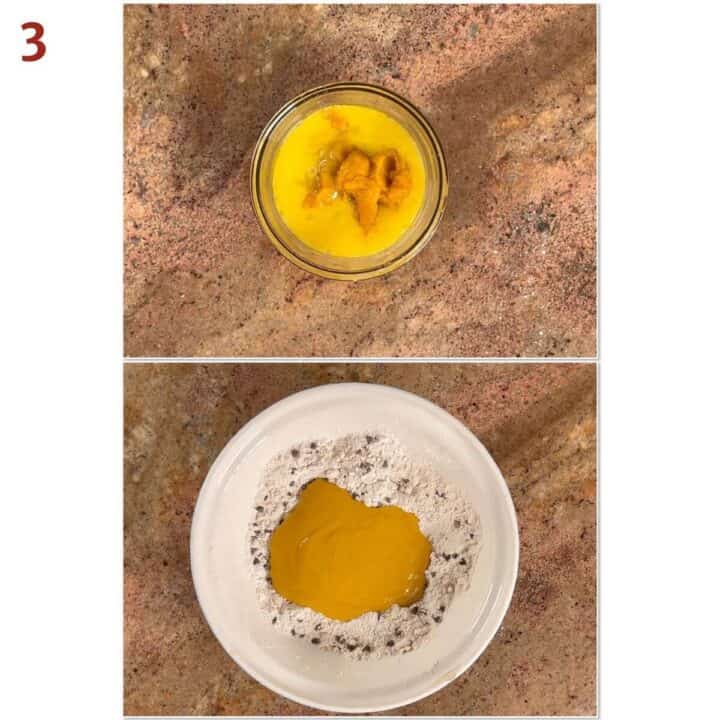
In a separate small bowl, whisk together the pumpkin purée and eggs until smooth.
Slowly add the pumpkin mixture to the flour mixture and mix until the dough just holds together (photo 3).
Making scones in the food processor
I've noticed as I've grown older that it's getting harder for me to make scone dough by hand, especially if I'm using frozen butter.
Using the food processor is a quick and efficient way to make scone dough, as long as you follow the #1 rule: Don't overwork the dough! Use short 5 to 10 second pulses to process the dough - you still want to see the chunks of butter after the dough is mixed. Here's a step-by-step breakdown:
- Pulse the flour, sugar baking powder, salt, and spices until it's combined.
- Add the cold butter to the flour mixture and pulse a few times. Stop as soon as you see the flour mixture looking crumbly with pea-sized pieces of butter.
- Add the pumpkin mixture and pulse just until the dough holds together.
Now you're ready to turn out the dough and continue with the recipe.
Step 2: Shape the scone dough
Line a half baking sheet pan with a Silpat silicone mat or parchment paper.
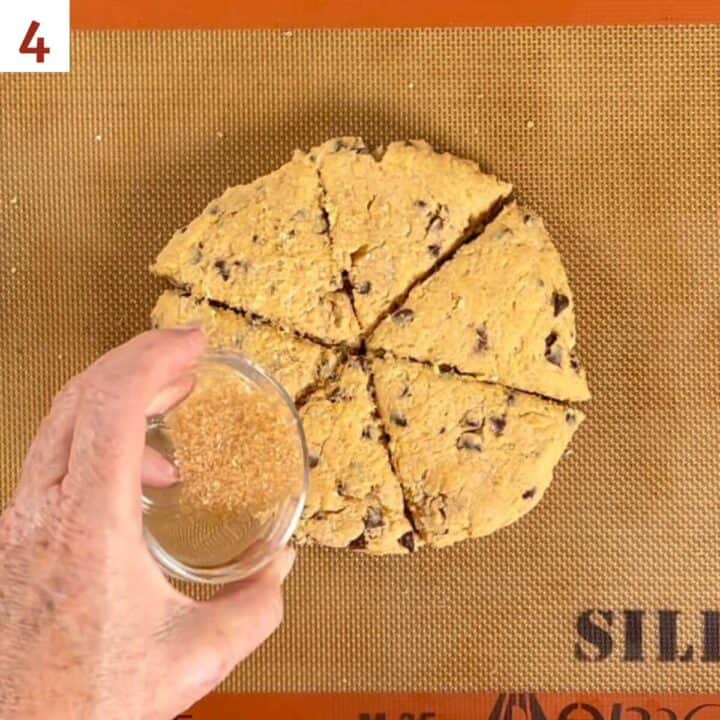
Transfer the dough to the prepared baking pan and divide it in half. Shape the halves of dough into two 6-inch disks, about ¾-inches high. Sprinkle each disk with coarse sugar, if using.
Using a knife or bench scraper that you've run under cold water, slice each disk into 6 wedges (photo 4).
Step 3: Chill the dough
Pull the pieces away from the center of the disk so that they're about ½-inch apart at their outer edges.
Place the uncovered scone-filled baking pan in the freezer for 30 minutes (photo 5).

Step 4: Bake the scones
Bake the scones at 425˚F for 22 to 25 minutes, or until they're golden brown and a cake tester inserted into the center of one comes out clean. The edges of the scones should look baked, not wet or doughy (photo 6).

Storage and make-ahead instructions
Storage instructions: Baked scones are best enjoyed right away, though leftover scones keep well at room temperature or in the refrigerator, stored in an airtight container, for about 3 to 5 days. They also freeze well, in an airtight bag, for up to 3 months. Thaw overnight in the refrigerator then warm to your liking before enjoying.
Make-ahead instructions: For freshly baked scones anytime, freeze unbaked shaped scones on a wax paper-lined baking pan until solid, then place in an airtight bag for up to 6 months. Take out as many as you want to bake (there's no need to defrost them first), and bake at 400°F for 25 to 28 minutes.
Tips for scone success
Here are two important tips to insure you'll get tall, flaky scones!
- Do not over mix the dough: You want to keep that butter cold and separate from the flour as much as possible. Using a bowl scraper will help to combine the dough in the bowl without your hands warming up the butter, plus you can see any crumbs at the bottom that still need to be mixed in.
- Chill the dough: Chilling the dough before baking will allow the butter to firm up if it has softened during mixing, leading to higher-rising scones with a crumbly texture.
Questions asked and answered
Here are some questions you might have...
The best way to make sure you have scone success is to be sure not to over-work the scone dough by cutting in the butter too much. You want the dough to have pea-sized chunks of butter that you can see. Chilling the dough right before baking also helps to firm up the butter before baking.
Why? Like with biscuits, cold chunks of butter in the dough ensure that the scone will have the texture you want. This is because when the scones bake, the steam created by the water in the butter evaporating makes the flaky, crumbly texture that scones are known for.
Canned pumpkin purée doesn't have any additives, just pure pumpkin. Canned pumpkin pie filling contains sugar and spices like cinnamon, clove, allspice, and ginger. Since you want to be able to control the amount of sugar and spices you use, it's best to avoid the pie filling for this recipe.
Didn't find the answer you're looking for?
Ask AI to answer for this specific recipe:
Disclaimer: I am not responsible for the quality of AI information

I hope you like this recipe! Let me know if you have any questions, and don't forget to leave a comment and rating. Thanks!
Slainté! L'chaim! Cheers!
- Tammy
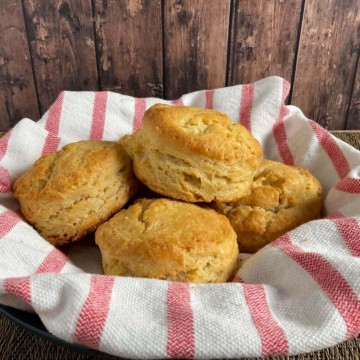
More biscuit and scone recipes to try

Recipe

Pumpkin Chocolate Chip Scones
Equipment
Ingredients
- 2¾ cups all-purpose flour
- ⅓ cup granulated sugar
- 1 tablespoon baking powder
- ¾ teaspoon kosher salt
- 1¾ teaspoons pumpkin spice mix, see Recipe Notes
- ½ cup unsalted butter, cold, cubed or grated, see Recipe Notes
- 1 cup mini chocolate chips, (6 ounces)
- ⅔ cup pumpkin purée, scant cup, see Recipe Notes
- 2 large eggs
- coarse sugar, for sprinkling, optional
Instructions
- Preheat the oven to 425 °F. Line a half baking sheet pan with a Silpat silicone mat or parchment paper. Set aside.Note: The instructions below are for making the dough by hand. If you want to use the food processor to make the dough, see the instructions in the post above.
- In a large bowl, combine the 2¾ cups all-purpose flour, ⅓ cup granulated sugar, 1 tablespoon baking powder, ¾ teaspoon kosher salt, and the 1¾ teaspoons pumpkin spice mixx.
- Toss the ½ cup unsalted butter into the flour mixture to coat, then use a pastry blender, two forks, or your hands to work the butter into the flour until coarse, pea-sized crumbs appear. Don't overdo this step as you don't want the butter to warm up and mix completely into the flour.
- Fold in the 1 cup mini chocolate chips and stir briefly.
- In a separate small bowl, whisk together the ⅔ cup pumpkin purée and 2 large eggs until smooth.
- Slowly add the pumpkin mixture to the flour mixture and mix until the dough just holds together. Using a bowl scraper will help to combine the dough in the bowl without your hands warming up the butter, plus you can see any crumbs at the bottom that still need to be mixed in. Remember, do not over mix the dough - you want to keep that butter cold and separate from the flour.The amount of liquid to add to the flour mixture depends on the humidity of the day. Squeeze a small amount of dough between your fingers, and add more heavy cream or flour, 1 tablespoon at a time (2 tablespoons maximum), if it's too crumbly or too wet.
- Transfer the dough to the prepared baking pan and divide it in half. Shape the halves of dough into two 6-inch disks, about ¾-inches high.
- Sprinkle each disk with coarse sugar, if using. Using a knife or bench scraper that you've run under cold water, slice each disk into 6 wedges. Pull the pieces away from the center of the disk so that they're about ½-inch apart at their outer edges.
- Place the uncovered scone-filled baking pan in the freezer for 30 minutes. This will allow the butter to firm up, leading to higher-rising scones with a crumbly texture.
- Bake the scones for 22 to 25 minutes, or until they're golden brown and a cake tester inserted into the center of one comes out clean. The edges of the scones should look baked, not wet or doughy.
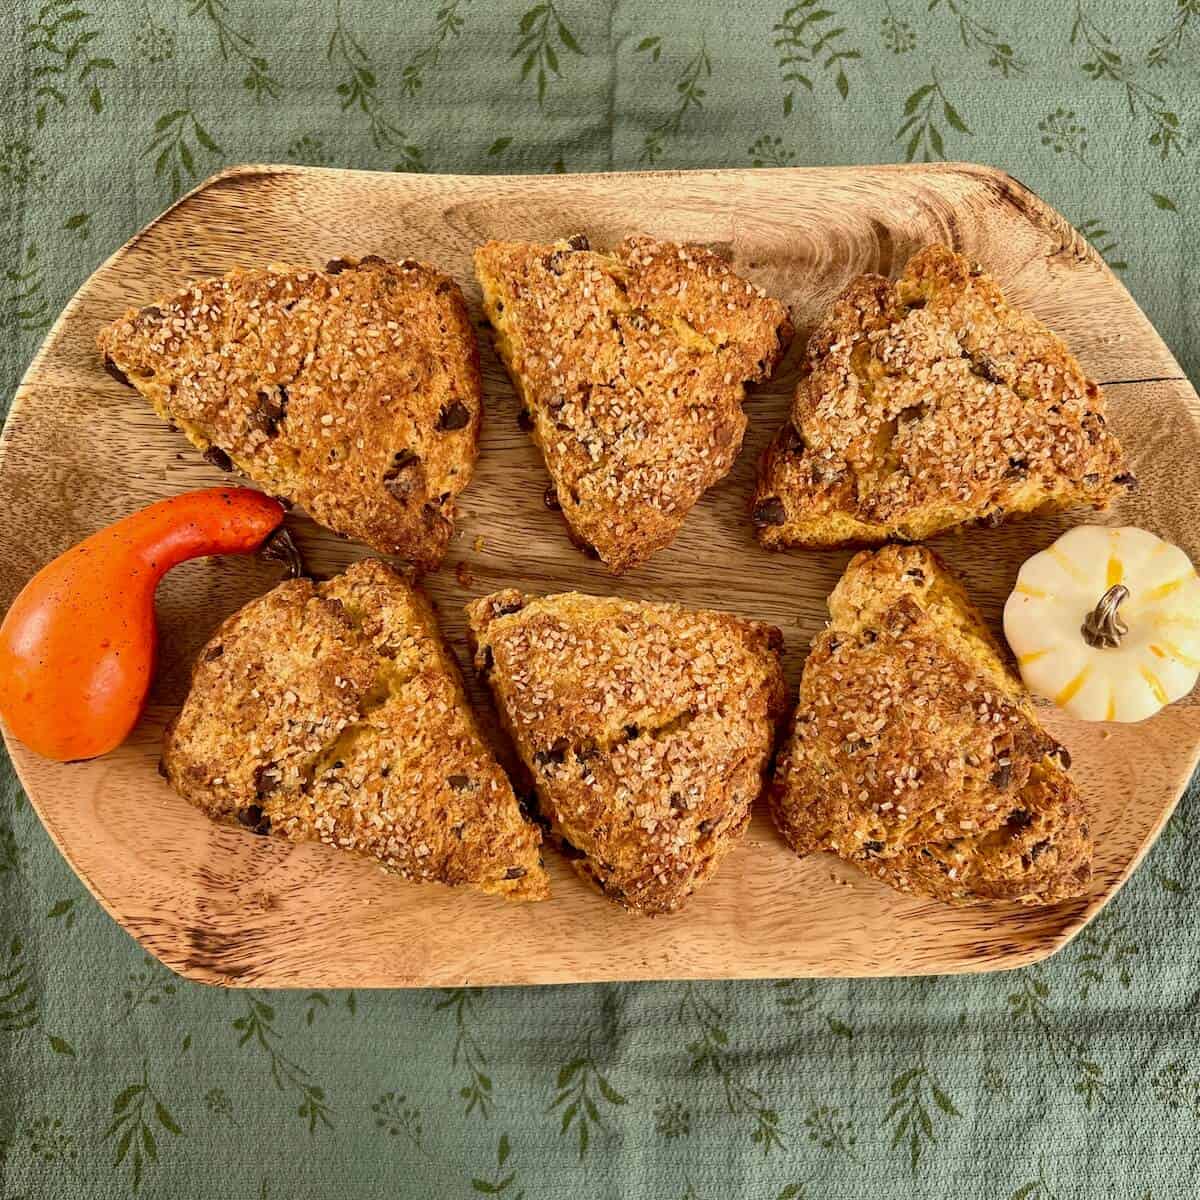
- Serve the scones warm and enjoy!
- Storage instructions: Baked scones are best enjoyed right away, though leftover scones keep well at room temperature or in the refrigerator, stored in an airtight container, for about 3 to 5 days. They also freeze well, in an airtight bag, for up to 3 months. Thaw overnight in the refrigerator then warm to your liking before enjoying.
- Make ahead instructions: For freshly baked scones anytime, freeze unbaked shaped scones on a wax paper-lined baking pan until solid, then place in an airtight bag for up to 6 months. Take out as many as you want to bake (there's no need to defrost them first), and bake at 400 °F for 25 to 28 minutes.


Natalie says
DELICIOUS! I'm 13 and I bake a lot, this is an amazing recipe. I love it!
Tammy Spencer says
Hi Natalie, I’m so glad you like them, and that you’re on your baking journey so young! You’ve got a lot of baking ahead of you, and I hope you have fun every time (even with mishaps). Thanks for sharing, and happy baking! 🙂
robert kandy says
mouth watering n delicious.
Tammy Spencer says
Hi Robert, Glad you like them! Thanks for sharing 😉
Tweet46 says
This is SO good!! My daughter and I made them together. So easy to make with a simple recipe. They taste like a pumpkin chocolate chip cookie crumble. Next time we make these we will be making a glaze to go on top as well.
Tammy Spencer says
I’m so glad you liked them! Thanks for sharing 🙂
Tammy Spencer says
I enjoyed creating this recipe for you, and I hope you like it as much as I do. Please leave your questions or comments with a star rating so that other readers can benefit from your experience. Thanks!