

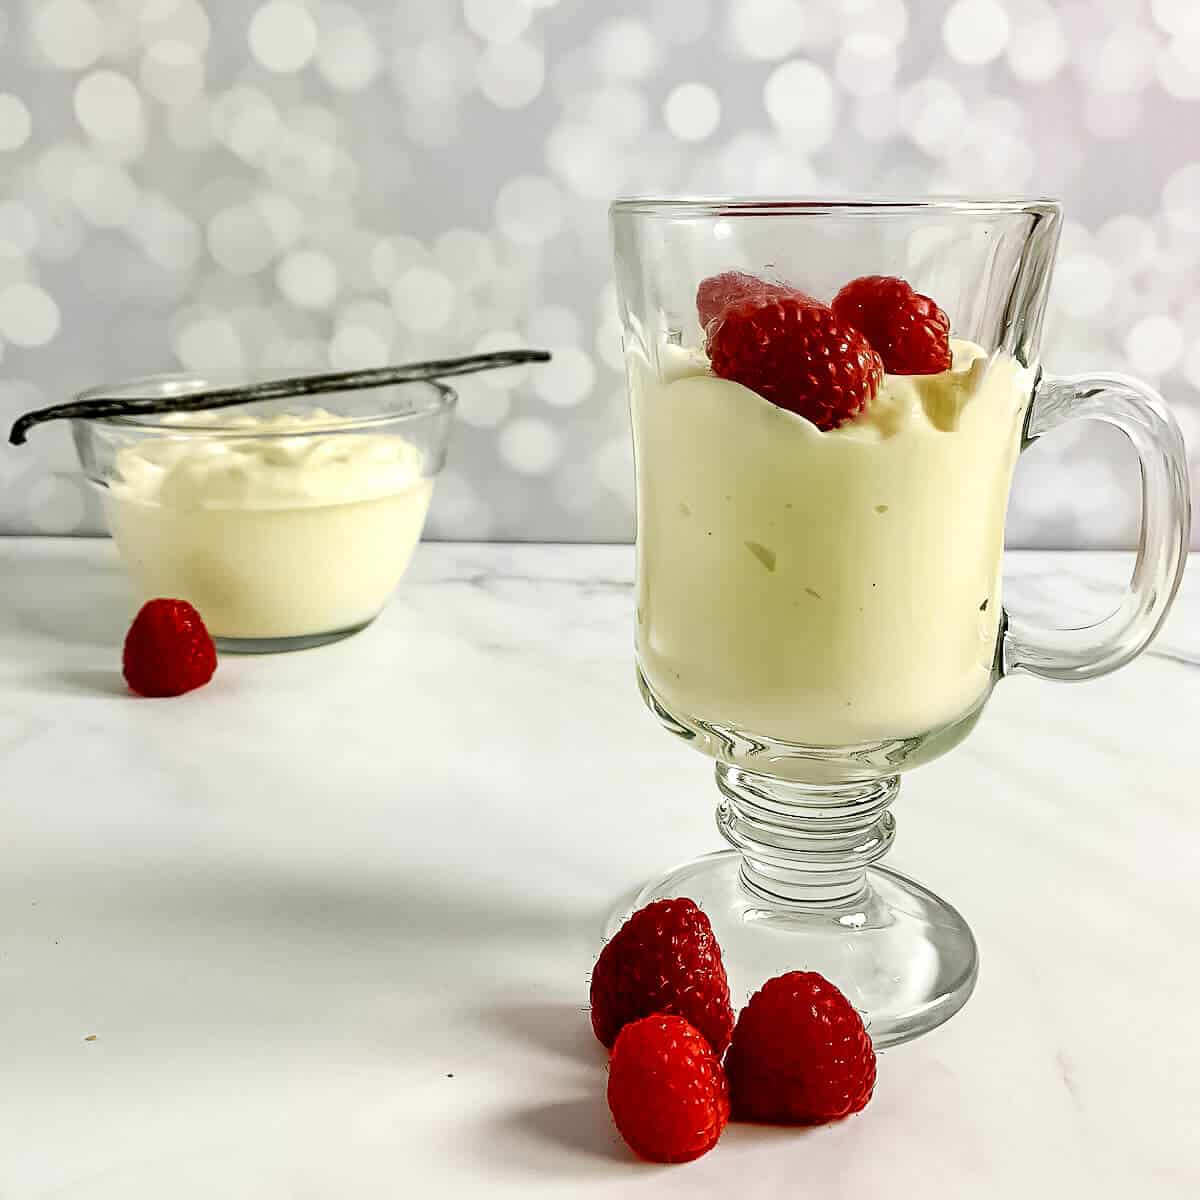
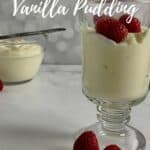
This homemade vanilla pudding is rich and creamy with pure vanilla flavor, using just 6 simple ingredients. Since there are no eggs to temper, it comes together easily with just a few minutes of cooking on the stove. Serve it with whipped cream and berries, or use it for banana pudding and trifles - no boxed pudding mix needed!
Jump to:
[December, 2024: I've reworked the recipe and updated this post with all new pictures. Enjoy!]
Quick Recipe Summary ✨
Homemade Vanilla Pudding (No Eggs): Rich, creamy vanilla pudding made from scratch with just 6 ingredients and thickened with cornstarch instead of eggs.
Easy stovetop method: With no eggs to temper, the pudding goes straight from whisking to cooking, thickening on the stove in just 4 to 6 minutes.
Active Time: About 10 minutes • Chill Time: About 3 hours • Total Time: About 3 hours (mostly hands-off!)
Difficulty Level: ⭐ Easy. Whisk constantly while the pudding thickens to keep it smooth and creamy.
Yield: About 4 cups (8 half-cup servings) • Make-ahead: Refrigerate for 3 to 5 days.
👉 Follow the detailed instructions and troubleshooting tips below for smooth, creamy homemade vanilla pudding without eggs or boxed pudding mix.
SUMMARIZE & SAVE THIS CONTENT ON
Why this recipe works
- Cornstarch thickens without eggs: It gives the pudding plenty of body while keeping the vanilla flavor front and center
- Half & half adds richness: More fat means a creamier texture and richer flavor than milk alone
- Butter adds a silky finish: Stirring it in at the end makes the pudding extra smooth and creamy
- Vanilla goes in last: Adding it off the heat preserves its flavor and aroma
Vanilla pudding is one of those desserts that I don't generally think of at first. But when I taste it, I wonder why I don't have it more often. Vanilla is a simple and pure flavor, and pudding is perfect to let it shine.
Notice I said pure vanilla flavor. Vanilla instant pudding mix just doesn't cut it, with all its artificial ingredients, stabilizers, and preservatives. When you make a vanilla pudding recipe from scratch, you know that what you'll make will be way better than anything from a box.
This vanilla pudding has a smooth, creamy texture that just glides over the tongue, with real vanilla flavor and none of that boxed-pudding taste.
And really, when homemade vanilla pudding takes just a handful of ingredients and a few minutes on the stove, you can banish the box mix and make your vanilla pudding from scratch!
⭐⭐⭐⭐⭐
This pudding is delightful - creamy, milky, and not overdone with vanilla flavor. Thanks!
- Maria
Recipe Ingredients
You'll need the following ingredients to make this homemade vanilla pudding recipe:
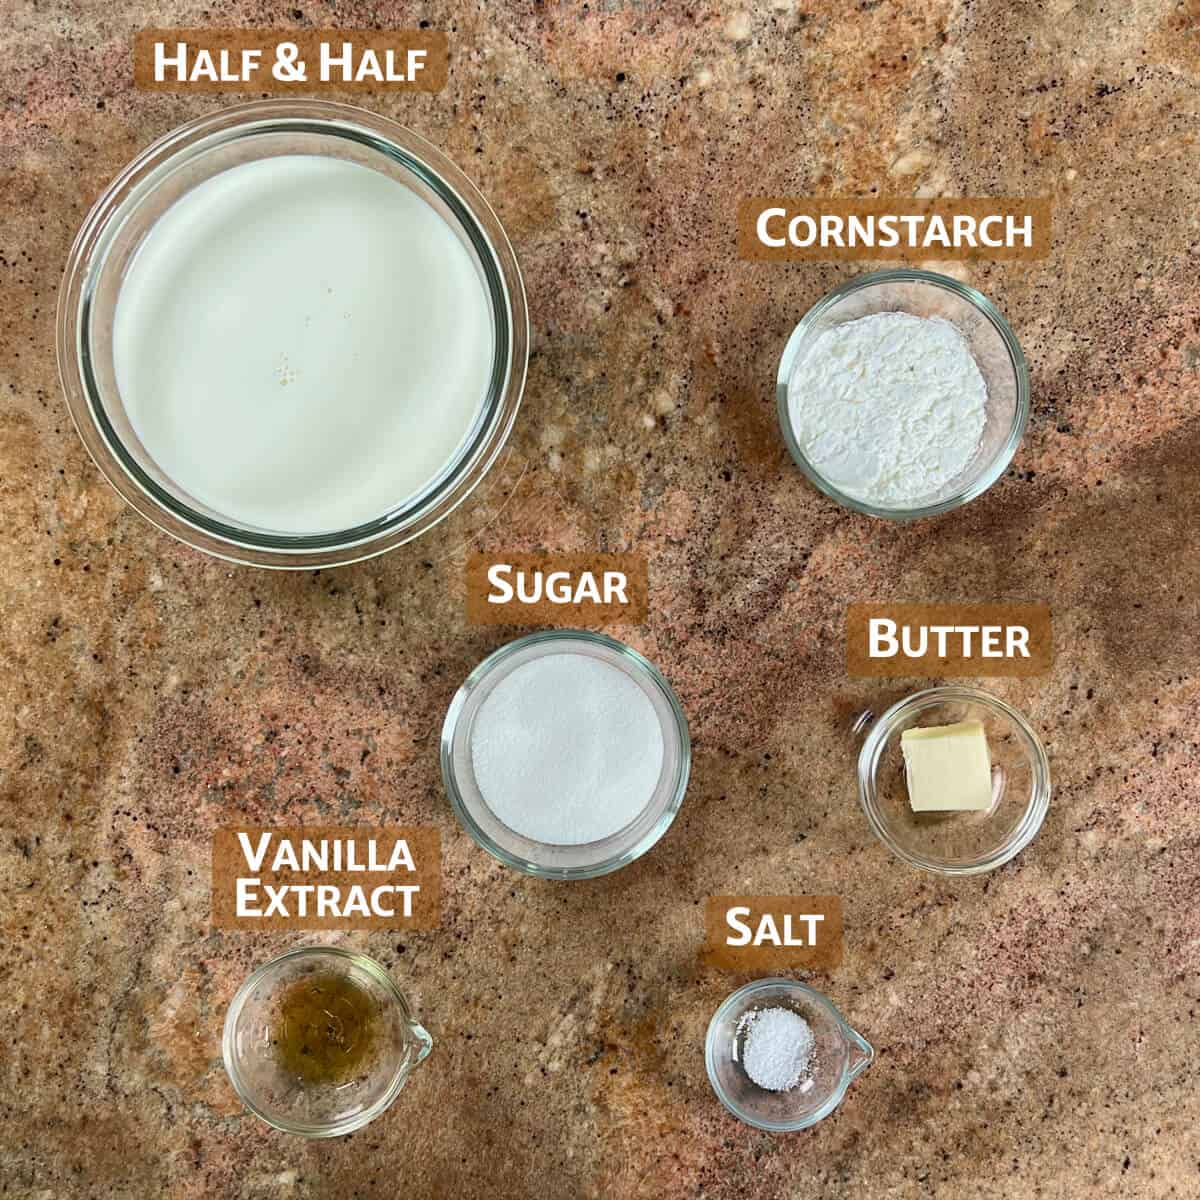
Ingredient Notes
Vanilla pudding recipes with milk need no fancy ingredients (and certainly nothing artificial!).
Milk: Use half & half for rich flavor, or you can substitute whole milk for a less rich vanilla pudding. I've also substituted equal parts heavy cream and low-fat milk for the half & half. Bottom line, the more fat your dairy has, the richer the pudding will be.
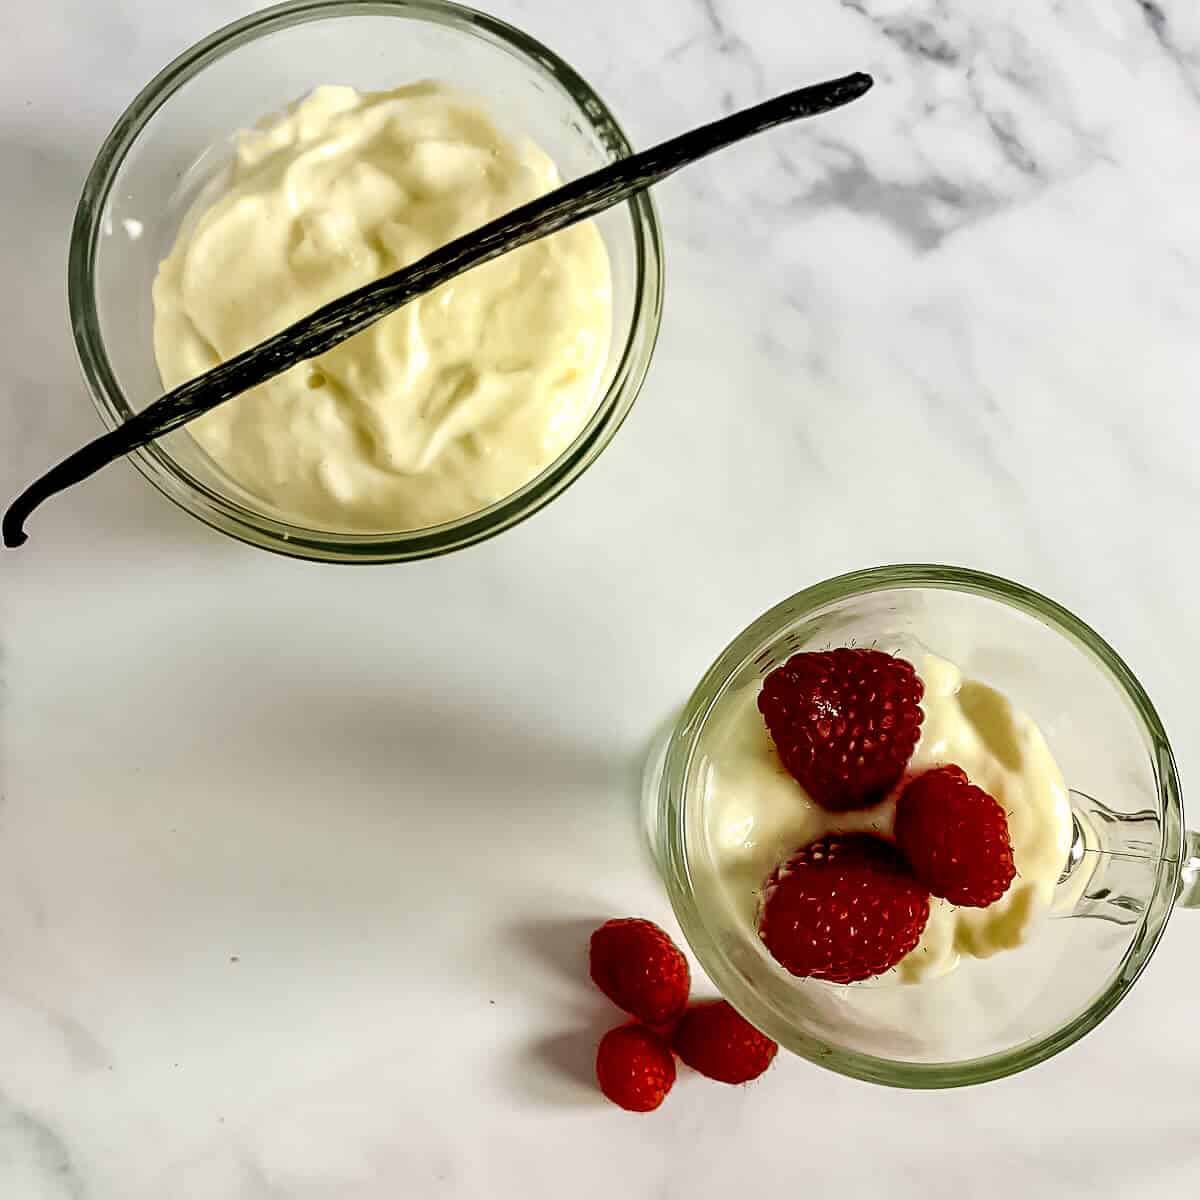
Vanilla: Pure vanilla extract gives this pudding its incredible flavor. You can substitute an equal amount of vanilla bean paste or use one whole vanilla bean for those lovely vanilla bean specks. Put the seeds and the scraped bean in the mixture while it's heating, then strain out the spent bean after the pudding has thickened.
Want to know more about the different types of vanilla? See my Types of Vanilla Explained guide for how whole vanilla beans, vanilla extract, vanilla bean paste, and vanilla bean powder differ, when to use each one, and how to substitute them.
Butter: Adds to the overall richness and creamy texture of the vanilla pudding. If you prefer, you can use a non-dairy butter substitute instead.
Cornstarch: Since we're not making a custard that's thickened with egg yolks, cornstarch is used to thicken the pudding. While some pudding recipes include or exclusively use flour, cornstarch does the job without masking the taste of the finished product. Plus, using cornstarch makes this a gluten-free recipe.
See the recipe card for a full list of ingredients and measurements.
How to make homemade vanilla pudding
[Side Note: the pictures and video show making a half recipe.]
Step 1: Combine the dry ingredients
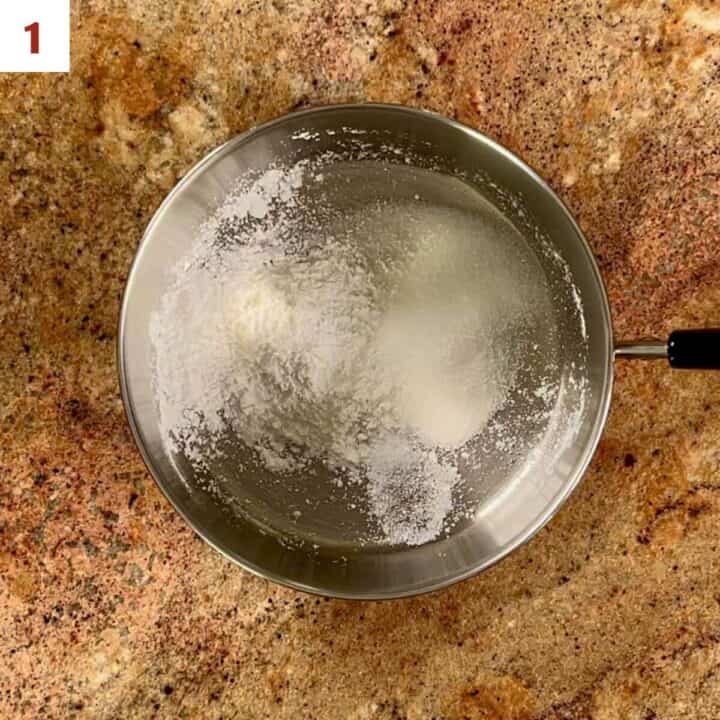
In a 3-quart saucepan, whisk together the sugar, cornstarch, and salt (photo 1).
Step 2: Add the half & half
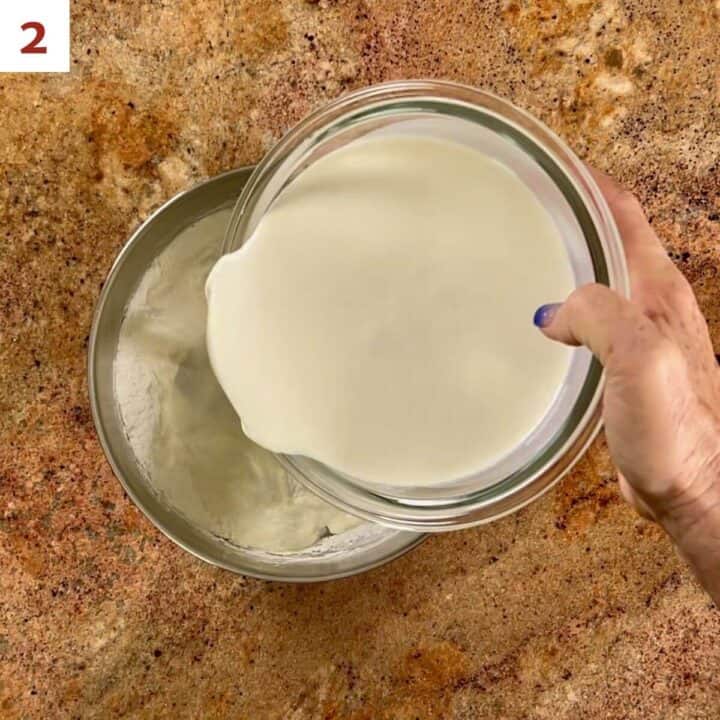
Slowly whisk in the half & half, stirring to minimize any lumps forming (photo 2).
Step 3: Cook the pudding
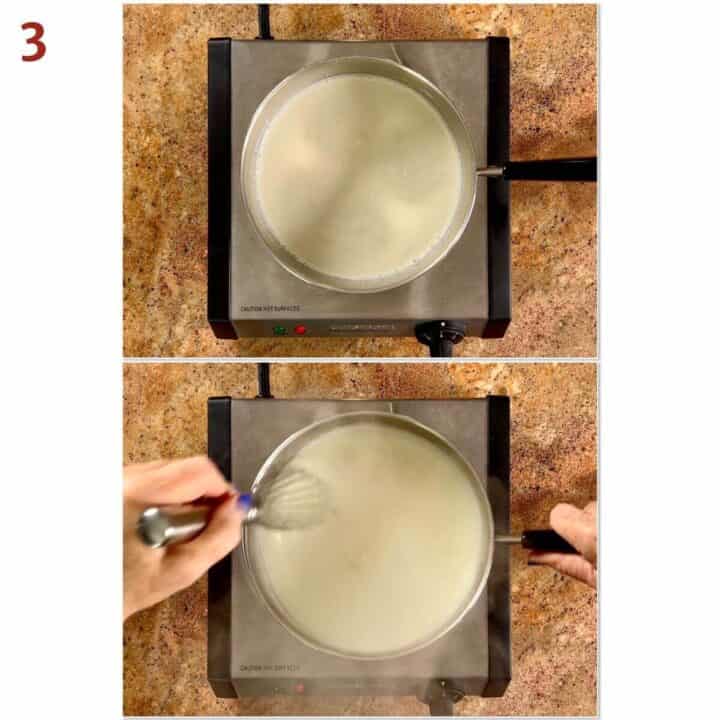
Bring the mixture to a gentle simmer over medium heat. Cook, stirring constantly, until the pudding begins bubbling and has thickened enough that the whisk leaves visible trails that don't immediately disappear (photo 3).
Step 4: Add the vanilla and butter
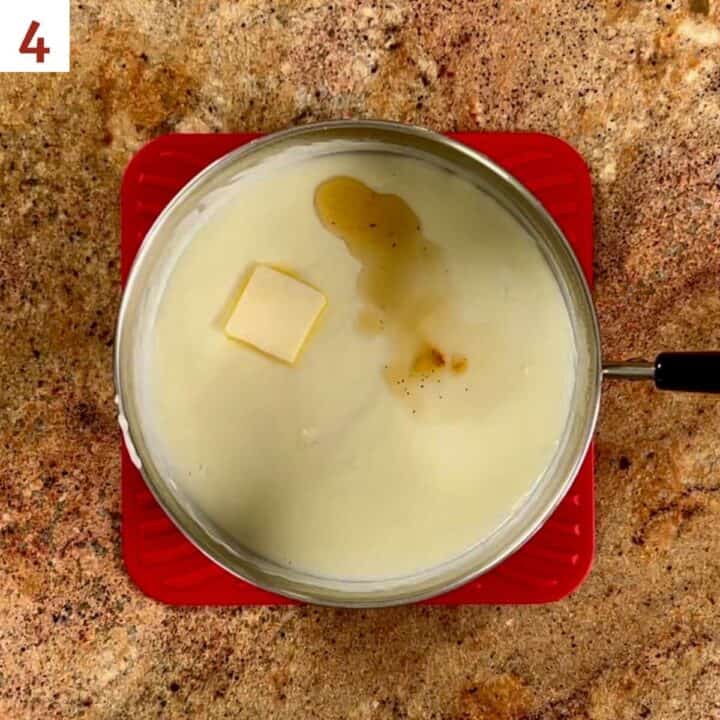
Remove the pudding from the heat and whisk in the vanilla extract and butter (photo 4).
If desired, you can strain the pudding through a fine mesh strainer to eliminate any lumps.
Step 5: Portion the pudding
You can decide if you want to serve the pudding in individual servings or from a large bowl.
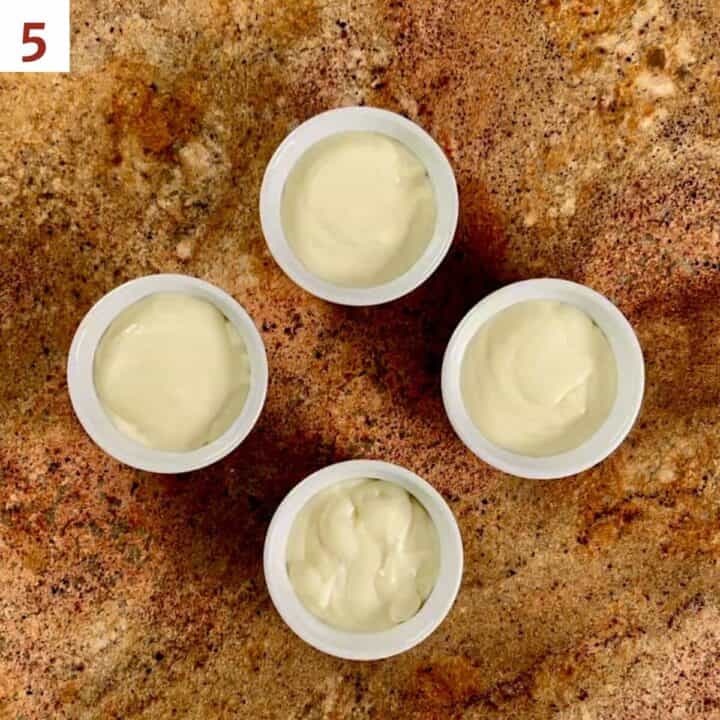
For individual servings: Pour ½ cup (114 grams) of the warm pudding into 8 individual bowls (photo 5).
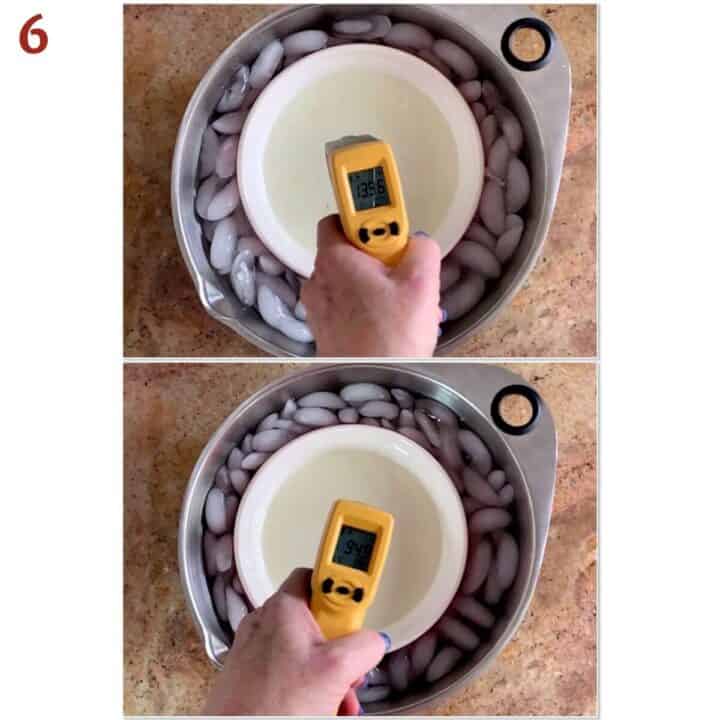
For serving from a bowl: Transfer the pudding to a large bowl. Put the bowl in an ice bath (half ice/half water). Stir occasionally until just warm to the touch, about 95°F on an infrared temperature gun or digital thermometer (photo 6).
Why use an ice bath
An ice bath helps the pudding cool more quickly before refrigeration, so it spends less time at warmer temperatures where bacteria can grow.
Step 6: Chill the pudding
If desired, place plastic wrap directly onto pudding to prevent a skin from forming. Refrigerate until the pudding is completely chilled, about 2 to 3 hours.
Storage instructions
Homemade vanilla pudding will keep in the refrigerator, covered with plastic wrap, for 3 to 5 days.
Yield Notes
This recipe makes about 4 cups of pudding, and can be halved or doubled as desired.
Troubleshooting tips
Here are some issues you might encounter when making this homemade vanilla pudding:
- Pudding is lumpy: Add the half & half slowly and whisk well before heating. If lumps still form, strain the warm pudding through a fine-mesh strainer.
- Pudding isn't thickening: Make sure it reaches a gentle simmer - cornstarch needs enough heat to fully thicken.
- Pudding is too thick: Whisk in a little half & half or milk while it's still warm until it reaches the consistency you like.
- Pudding is too thin after chilling: It likely didn't cook long enough for the cornstarch to fully thicken. Next time, make sure the pudding is thick and bubbling before taking it off the heat.
- Pudding scorched on the bottom: Keep the heat at medium and stir constantly, scraping across the bottom and into the corners of the saucepan.
- A skin formed on top: Press plastic wrap directly against the surface before chilling. Of course if you like pudding skin, you've accidentally succeeded!
Ways to use vanilla pudding
Serve vanilla pudding on its own with whipped cream, fresh berries, sliced bananas, chocolate syrup, or crumbled cookies. You can also use it as a creamy layer in banana pudding.
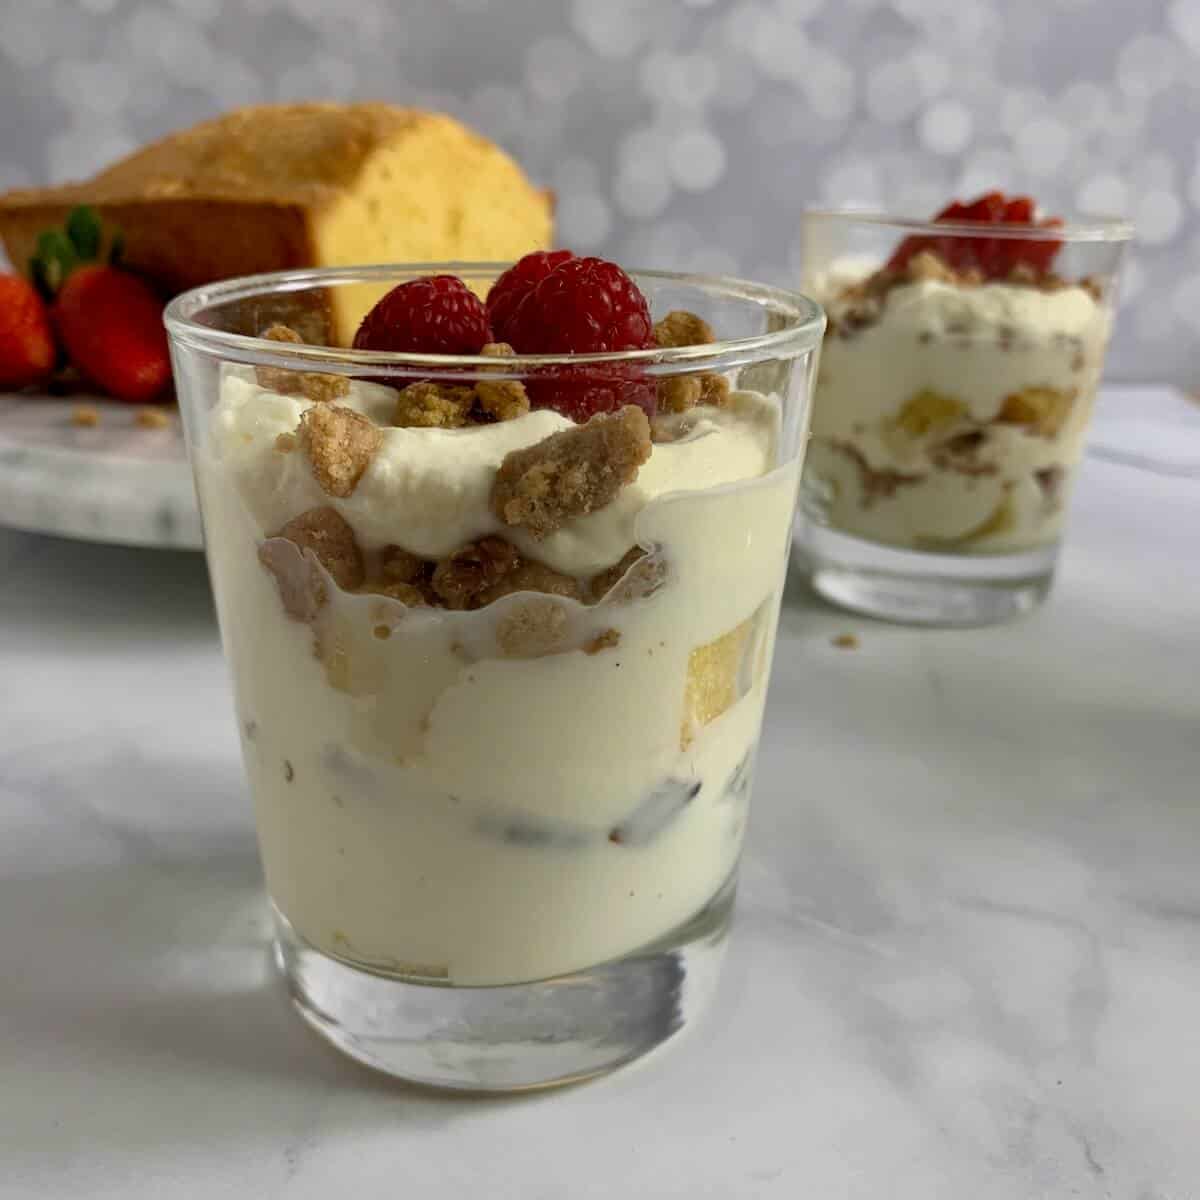
Another idea is to layer it in a parfait or trifle. Pictured here is my Orange Cinnamon Pecan Trifle, made with my homemade vanilla pudding, pound cake and a cinnamon streusel crumb topping. It's absolutely delicious!
Questions asked and answered
Here are some questions you might have...
Vanilla pudding doesn't need eggs because cornstarch can be used as the thickener instead. As the half & half and cornstarch cook, the mixture thickens into a smooth, creamy pudding without egg yolks or the extra step of tempering eggs.
The method for making both pudding and custard (and also flan) is similar, basically cooking a sweetened dairy product until it has thickened. The main difference is which thickening ingredient is used.
Pudding is thickened by cooking cornstarch, tapioca, or arrowroot in the heated milk mixture, like in a chocolate pudding recipe. With custard recipes, like for egg nog or the base for vanilla ice cream, egg yolks are whisked in slowly into the heated cream. Using eggs for thickening provides the silky texture that custards are known for.
Pastry cream (aka crème pâtissière if you want to get fancy), is a hybrid between vanilla custard and vanilla pudding. The base is made like a standard custard recipe using eggs, then thickened further with cornstarch. The reason is that pastry cream needs to have a bit more body so it can be used in éclairs or as the filling for cakes, like Boston Cream Pie.
Yes! Homemade vanilla pudding can be served warm or chilled. Warm pudding will have a softer, looser consistency, while chilling allows the cornstarch-thickened pudding to fully set for a thicker, creamier texture.
Didn't find the answer you're looking for?
Ask AI to answer for this specific recipe:
Disclaimer: I am not responsible for the quality of AI information

I hope you like this recipe! Let me know if you have any questions, and don't forget to leave a comment and rating. Thanks!
Slainté! L'chaim! Cheers!
- Tammy
Recipe
Homemade Vanilla Pudding (No Eggs)
Equipment
- 2-quart heavy saucepan
Ingredients
- ½ to ⅔ cup granulated sugar, or to taste, see Recipe Notes
- 6 tablespoons cornstarch
- ½ teaspoon kosher salt
- 4 cups half and half, see Recipe Notes
- 2 tablespoons unsalted butter, see Recipe Notes
- 2 teaspoons pure vanilla extract, vanilla bean paste, or a whole vanilla bean, see Recipe Notes
Instructions
- In a large saucepan, whisk together ½ to ⅔ cup granulated sugar (or to taste), 6 tablespoons cornstarch, and ½ teaspoon kosher salt. Slowly whisk in the 4 cups half and half, stirring to minimize any lumps forming.
- Bring the mixture to a gentle simmer over medium heat. Cook, stirring constantly, until the pudding begins bubbling and has thickened enough that the whisk leaves visible trails that don't immediately disappear.
- Remove the pudding from the heat and whisk in 2 tablespoons unsalted butter and 2 teaspoons pure vanilla extract. If desired, you can strain the pudding through a fine mesh strainer into a bowl (preferably one with a pouring spout) to eliminate any lumps.
- You can decide if you want to serve the pudding in individual servings or from a large bowl. For individual servings: Pour ½ cup (114 grams) of the warm pudding into 8 individual bowls.For serving from a bowl: Transfer the pudding to a large bowl. Put the bowl in an ice bath (half ice/half water). Stir the pudding occasionally until it's just warm to the touch, about 95°F on a digital thermometer. An ice bath cools the pudding quickly so there's no chance of potential bacteria for food-born illness contaminating it.
- If desired, place plastic wrap directly onto pudding to prevent a skin from forming. Refrigerate until the pudding is completely chilled, about 2 to 3 hours.
- Storage instructions: Homemade pudding will keep in the refrigerator, covered with plastic wrap, for 3 to 5 days.
- Yield Notes: This recipe makes about 4 cups of pudding, and can be halved or doubled as desired.


Angela Roberts says
I'm recovering from a tonsillectomy and I wanted a no egg recipe because I didn't want to have to spend extra time with the egg process. I followed it exactly and it is amazing. still hurts to swallow but the taste and smooth consistency is good. I'm definitely going to do chocolate next.
Tammy Spencer says
Hi Angelela, I'm glad you liked the pudding, and hope you heal up quickly! Thanks for sharing.
Paula says
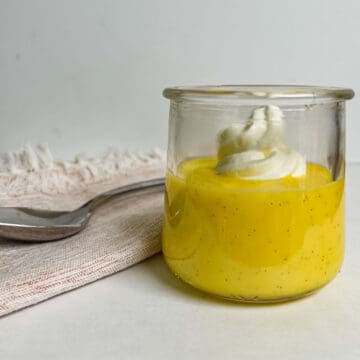
I made this recipe tonight for dessert. it is very white, like thick white sauce. How did you make your pudding in the picture turn out so yellow?
Tammy Spencer says
Hi Paula, My vanilla pudding is quite white as well (check out pictures #5 & 6 to see what I mean), but the vanilla extract does give it a hint of color. Regardless, I hope the taste is to your liking!
Emily Taylor says
Could I use this as an icing on a cake? maybe if I just add a bit less milk so it is thicker?
Tammy Spencer says
Hi Emily, Interesting question. However, with its pudding consistency, I don't think it would work as an icing because it wouldn’t set properly.
Maxine says
Just two of us, so I halved the recipe and followed it exactly, except I use powdered vanilla. It was wonderful and easy. Thanks for a great recipe I will be making again and again.
Tammy Spencer says
Hi Maxine, I’m glad you were able to adjust the recipe to your needs. Thanks for sharing!
Dianna says
If using real vanilla beans instead of vanilla extract, how many would you beans would you use for the recipe? I had trouble finding that info.
Tammy Spencer says
Hi Dianna, thanks for the question - you’ll just need 1 vanilla bean to replace the vanilla extract. I’ve updated the post to make that clearer. Enjoy! 😉
Naina says
Yesterday I made this recipe but my pudding never thickened, because the corn starch got cooked into lumps the moment it hit the hot milk. Then I fixed it with my usual method of using corn starch - by stirring it into cold milk and then adding it to hot liquid. That worked.
Tammy Spencer says
Hi Naina, I’m sorry the recipe didn’t work for you initially. Adding in the dry mixture slowly with lots of whisking did the trick for me, and I’m glad you were able to save it with your method. Thanks for sharing your experience.
Dorothy says
I mix Cornstarch with 1 cup cold milk, Heat 3 cups milk in Microwave for 7 minutes. Whisk in Sugar and Cornstarch mixture to hot milk over a Double boiler Pan.
Whisk until thick.
I would add an extra Tablespoon Conrnstarch for thicker Pudding and maybe a little less sugar.
Otherwise Tastes great.
Tammy Spencer says
Thanks for sharing!
Nichelle says
You want to heat it all together not separate
Tammy Spencer says
Hi Nichelle, That's a good observation. Just like with my no-egg chocolate pudding, you can whisk the dry ingredients directly in the saucepan, then slowly add in the half and half and heat as described. I'd still add the vanilla and butter after the pudding has thickened. Thanks for commenting!