
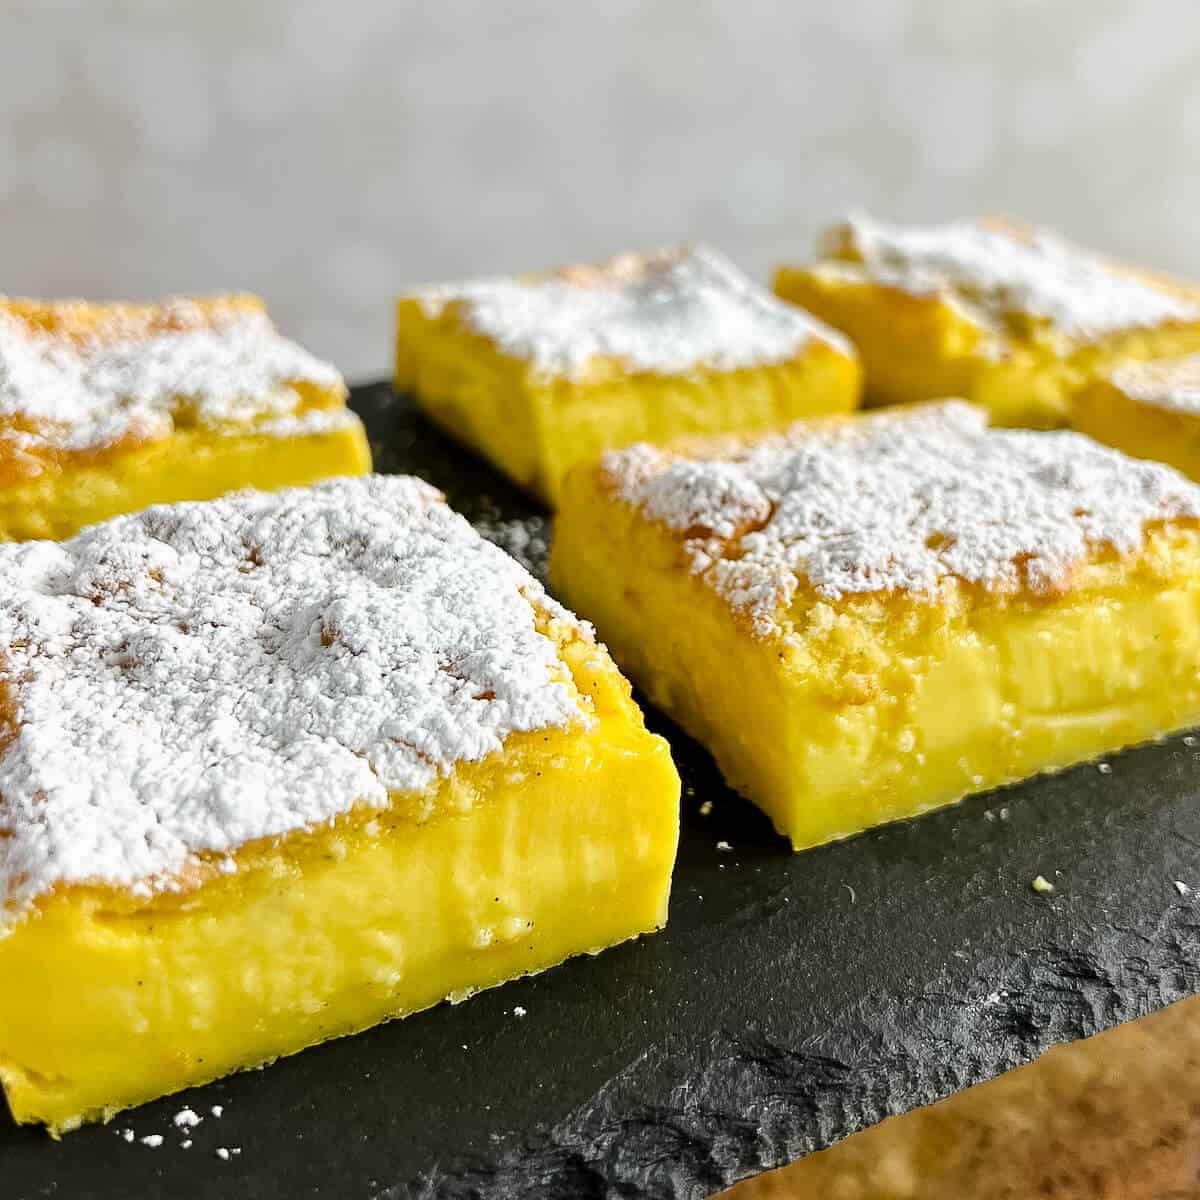
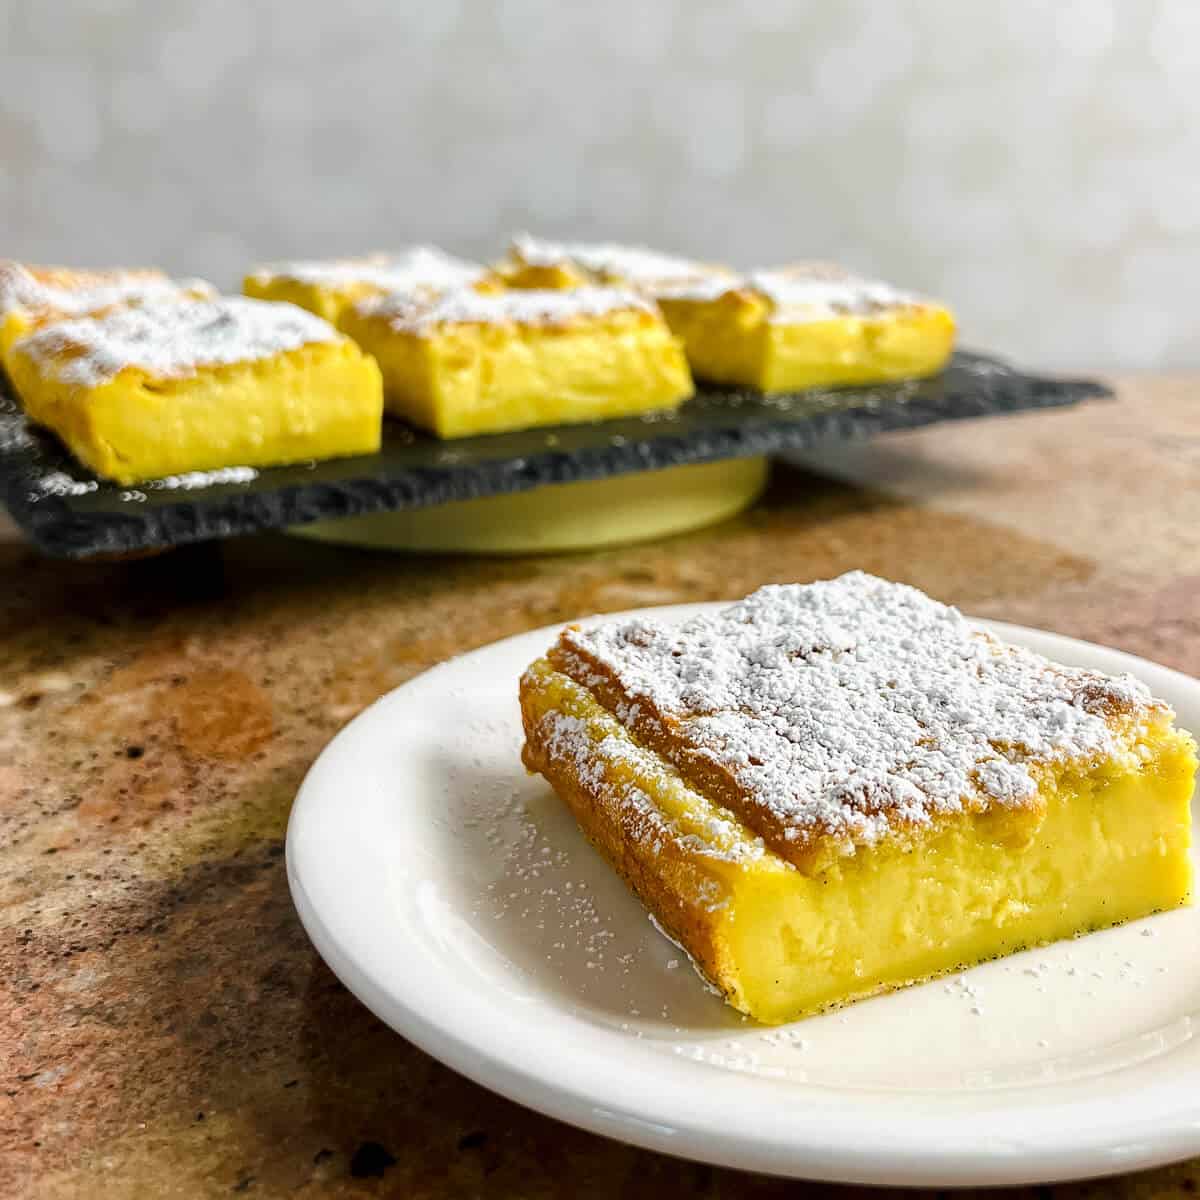
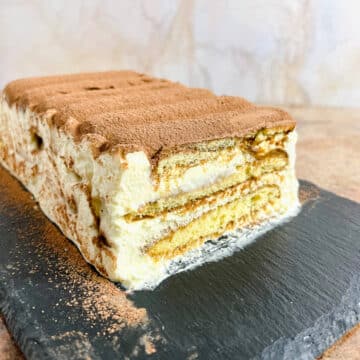
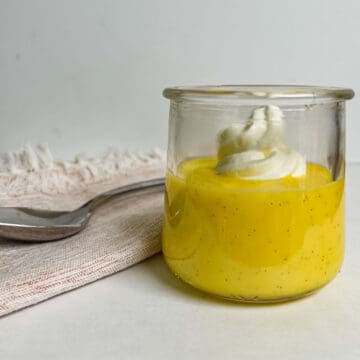
For a fun and surprising upgrade to egg custard, Magic Custard Cake features three layers of different textures, all from one batter! Use real vanilla beans to really take the flavor up a notch. Cool and creamy, this is a delightful dessert to serve on a warm day!
Jump to:
[June, 2022: I've reworked the recipe and updated this post with all new pictures. Enjoy!]
Why this recipe works
- Three delicious layers of a set custard base, a creamy custard middle, and a pillowy crust, all from one batter
- Using real vanilla beans helps the vanilla flavor to shine
- Easier to make than egg custard while delivering a cool and creamy flavor and texture
Magic Custard Cake is a surprising take on egg custard. Not too sweet, it's a cake that forms three delicious layers when baked: a set custard on the bottom as a base; a soft and creamy custard in the middle; and a pillowy crust on top. All from one batter!
Cool and creamy, this is a delightful dessert to serve on a warm day.
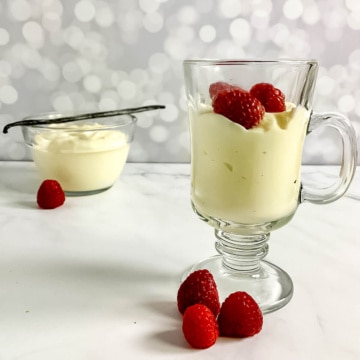
The overall effect is that of a smooth and creamy egg custard and a pillowy soft meringue. Using real vanilla beans adds subtle floral undertones that take the flavor up a notch.
Since this cake is so easy to make (there's no water bath required like with an egg custard recipe), it's a great recipe to have in your repertoire. You can even cut the recipe in half and bake it in a standard loaf pan if you'd like.
Magic Custard Cake is a dessert that many folks won't have tried before (I certainly hadn't), so it's an interesting and delightful treat to have at a summer get-together.
The coolness of this cake is lovely on a warm day, or really any time. If you love egg custard, you'll love this magical cake!
⭐⭐⭐⭐⭐
Looks yummy!!
- Shira
Recipe Ingredients
You'll need the following ingredients to make this Magic Custard Cake recipe:
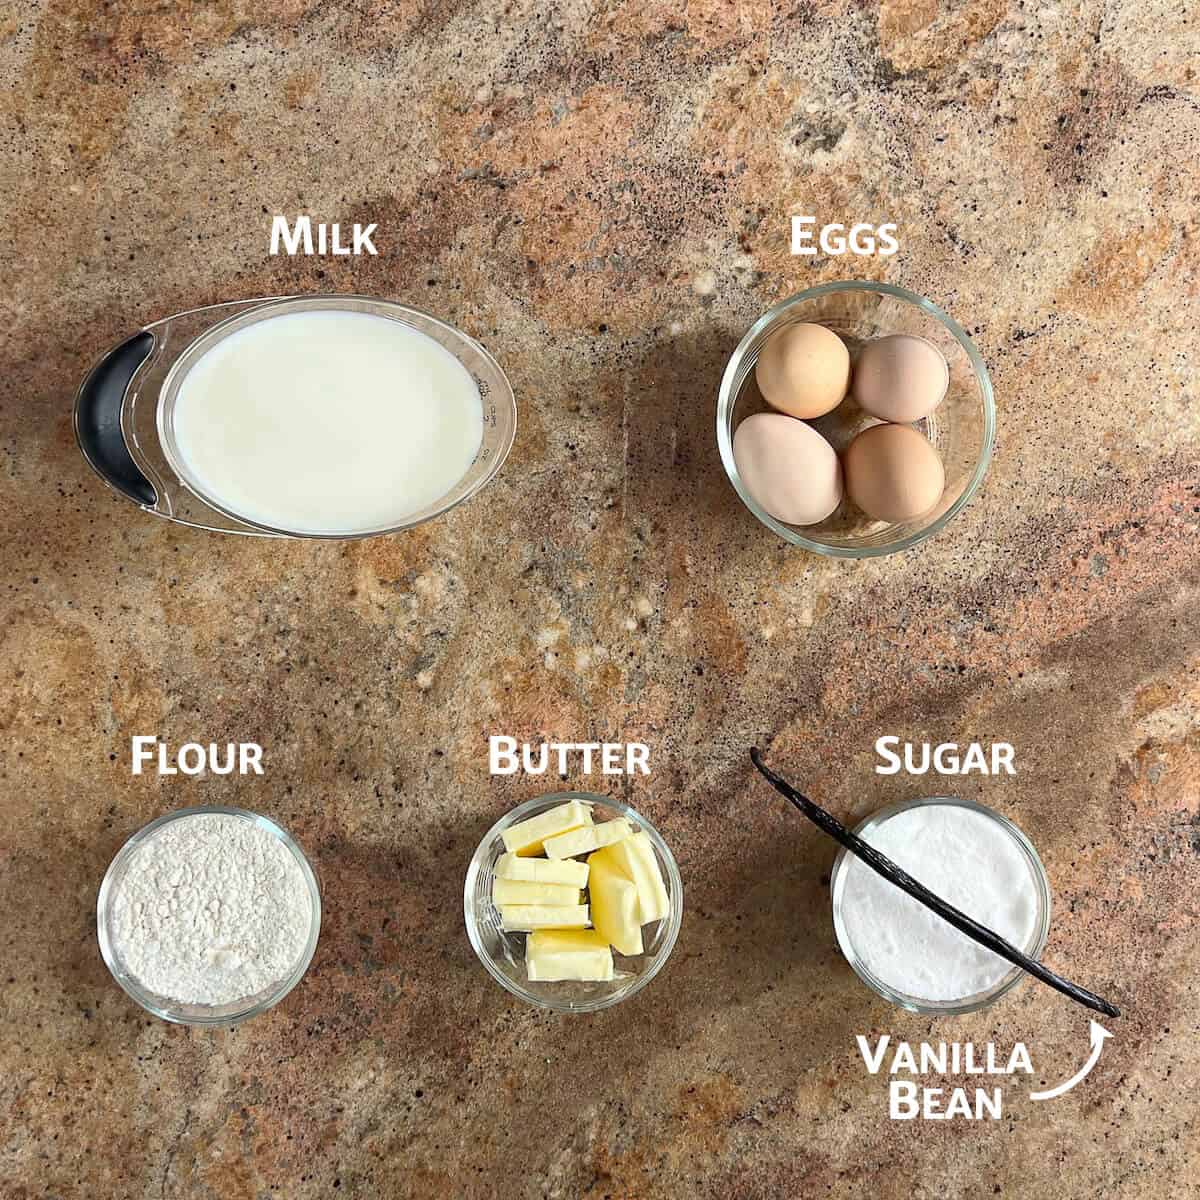
Ingredient Notes
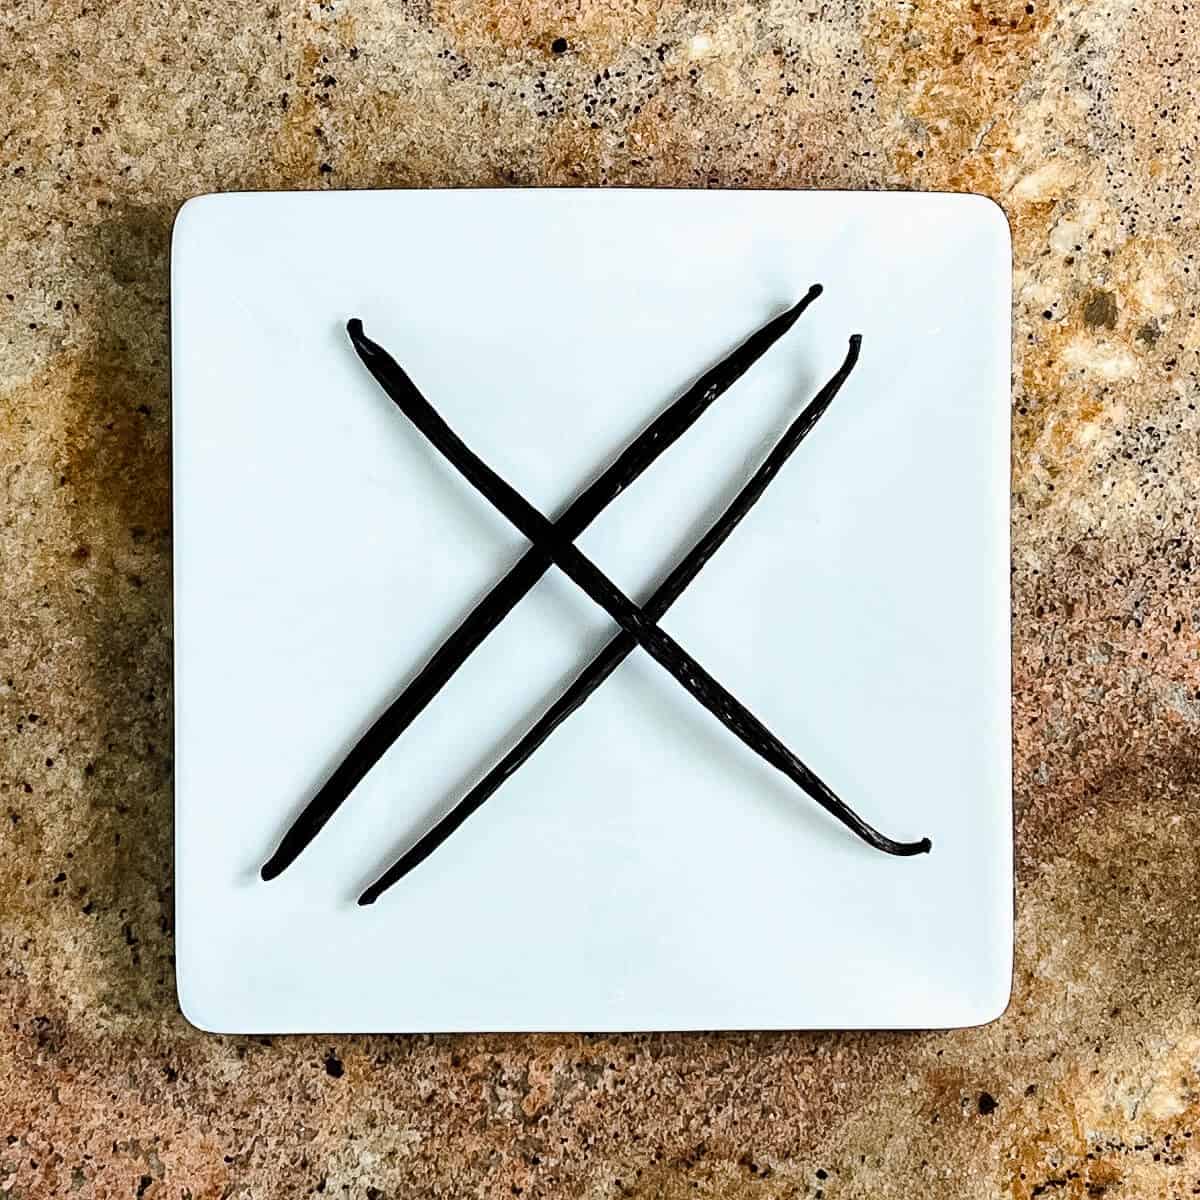
Fresh vanilla beans: You know how you sometimes see little brown specks in baked goods, custards or frostings? No, those aren't dirt from a careless chef. They're something wonderful that adds a delicious flavor to all they touch: vanilla bean seeds.
Using fresh vanilla beans can be expensive and messy, but they're oh, so worth the effort. The flavor they impart is rich without being cloying, with none of that artificialness (yes, I've decided that's a word) that you get from inexpensive commercial vanilla extracts. It's especially good in adding flavor to vanilla buttercream frosting and French vanilla ice cream.
You can use vanilla extract if you'd like, just make sure it's the best quality you can find.
Eggs: This Magic Custard Cake recipe uses separated egg yolks and egg whites. The yolks are used as parts of the basic egg custard ingredients (along with the milk and sugar), and the egg whites are used to make a meringue.
Butter: This cake gets its unique presentation from the addition of melted butter, an egg white meringue, and flour. The melted butter and meringue allow the batter to separate into layers.
See the recipe card for a full list of ingredients and measurements.
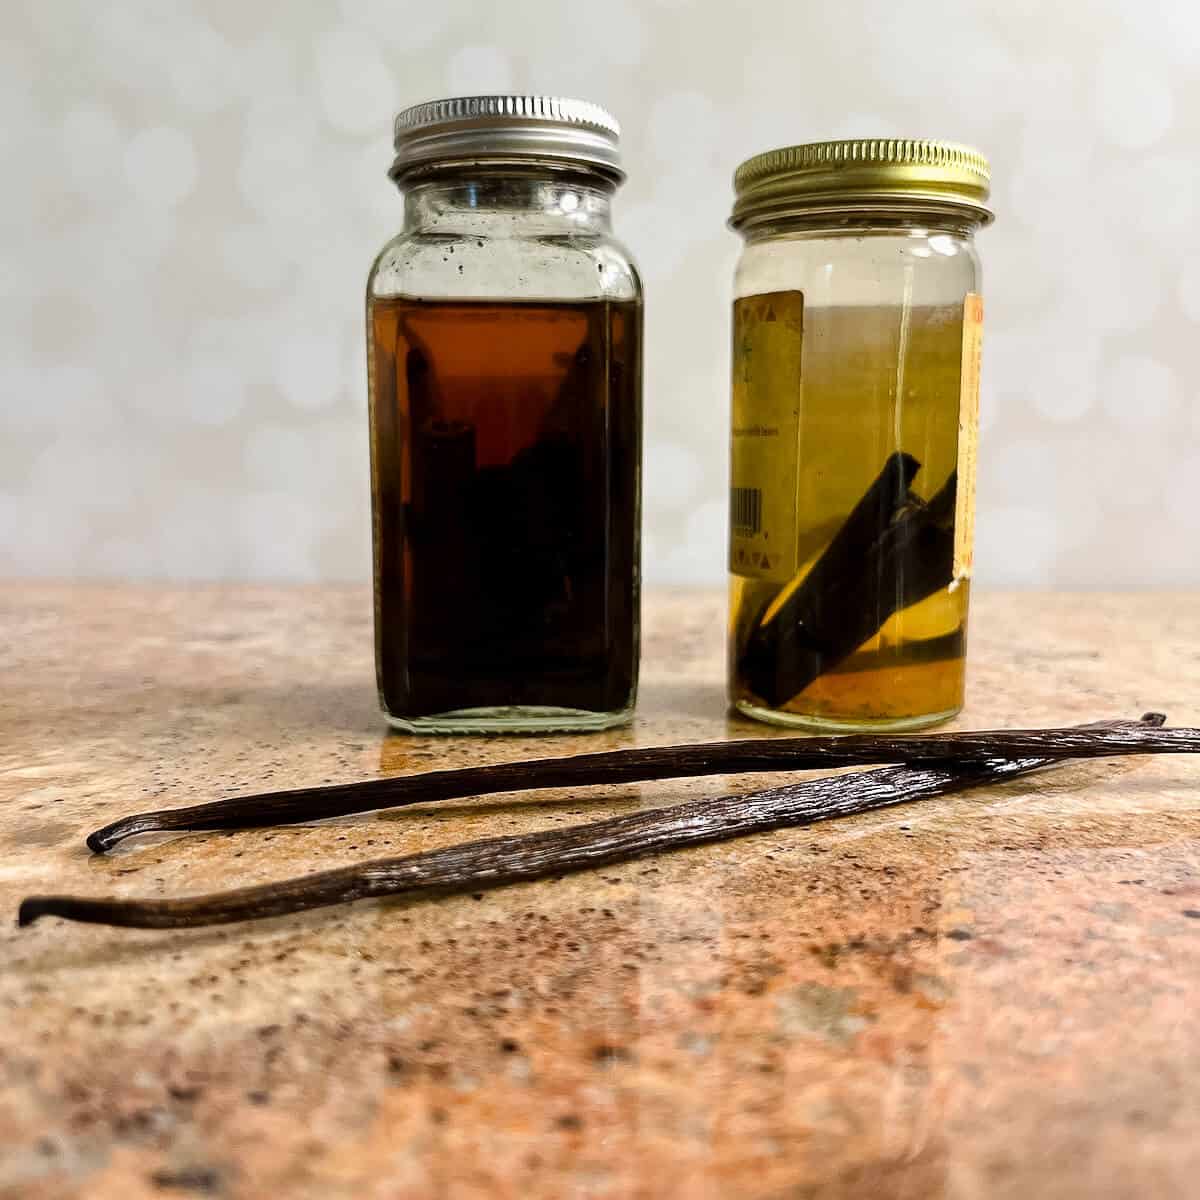
How to make your own vanilla extract
You can, of course, buy good quality vanilla extract, but making your own is so easy! I use empty spice jars for making extract, but you can use clear glass bottles, especially if you want to give your homemade vanilla extract as a gift.
All you do is immerse split vanilla beans in vodka, that is, infuse the vodka with vanilla (just like when making Limoncello liqueur when you infuse vodka with lemon). Store the jar in a cool, dark place and let it sit a couple of weeks, shaking the bottle every few days. The longer the extract sits, the darker it becomes. When the extract has a dark color and smells floral, it's ready to use in your cooking and baking.
You can also used those spent vanilla beans to make this vanilla bean paste recipe.
And if you're going to be using real vanilla beans in your cooking and baking, these options are a great way to recycle those expensive spent beans. If you've used the vanilla beans to infuse milk or cream, briefly rinse the milk off the steeped bean before popping it in the jar.
When you need to use the vanilla extract, top off the jar with additional vodka as needed. If the color starts getting too light, it's time to add fresh (or freshly used) vanilla beans to the extract. It's that simple!
How to make Magic Custard Cake
Step 1: Steep the milk with vanilla
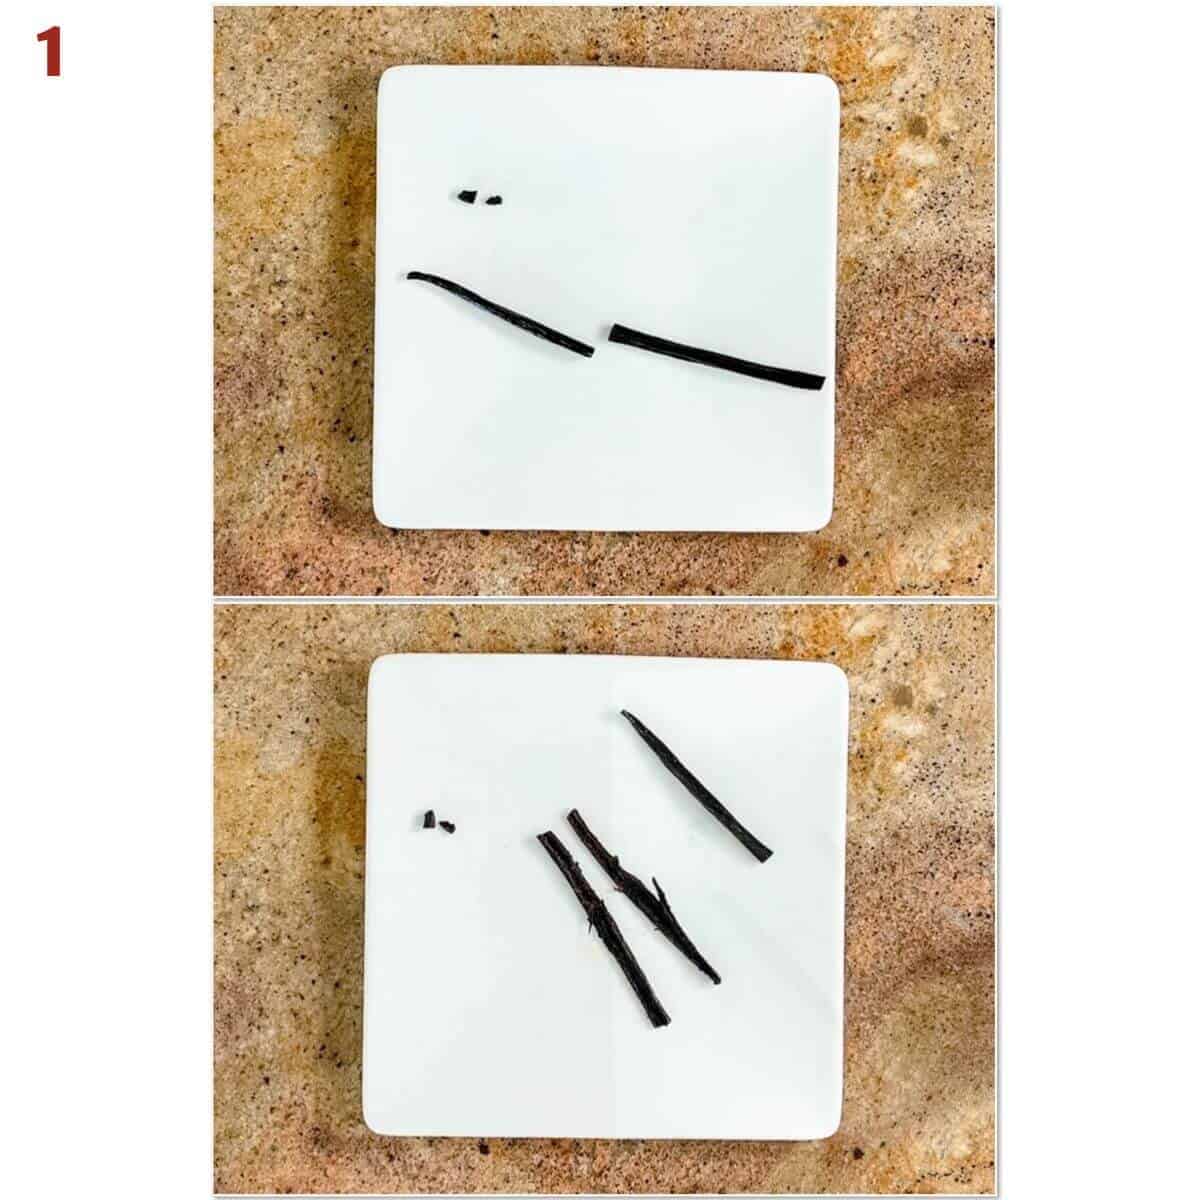
Pour the milk into a 2-quart saucepan. Cut the vanilla bean in half, then split it open longwise (photo 1).
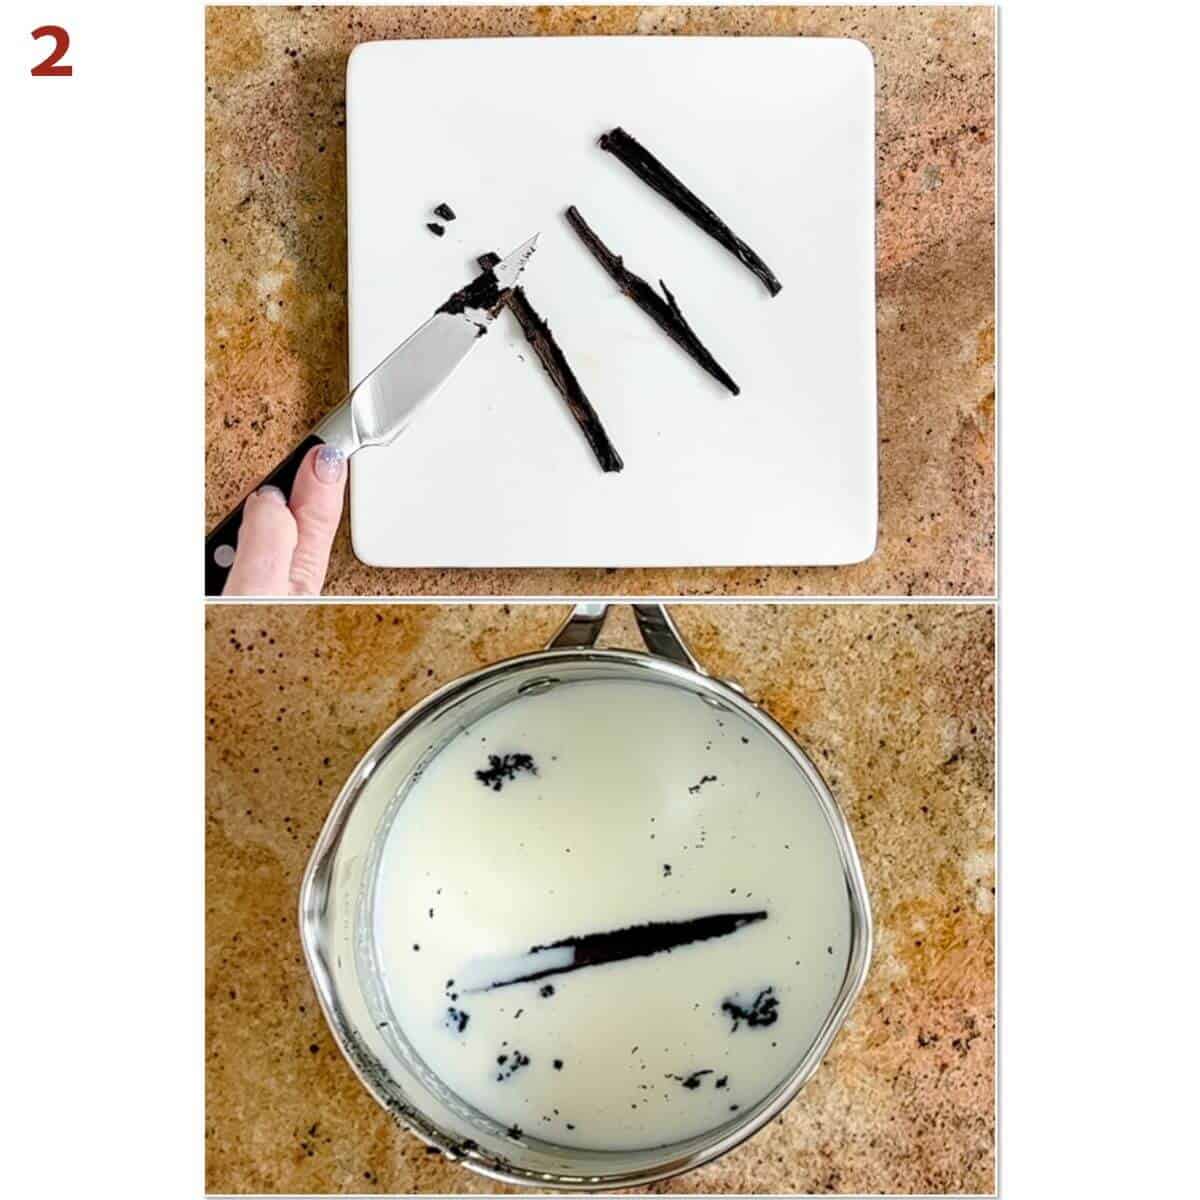
Use the blunt end of a knife to scrape the seeds and add it to the milk in the saucepan (photo 2).
Warm the milk over medium heat until it just begins to simmer and steam. Remove the pan from the heat. Alternatively, you can warm the milk and vanilla bean seeds in the microwave on HIGH, about 45 to 60 seconds.
Allow the milk to steep with the vanilla while you continue with the recipe.
Step 2: Make the meringue
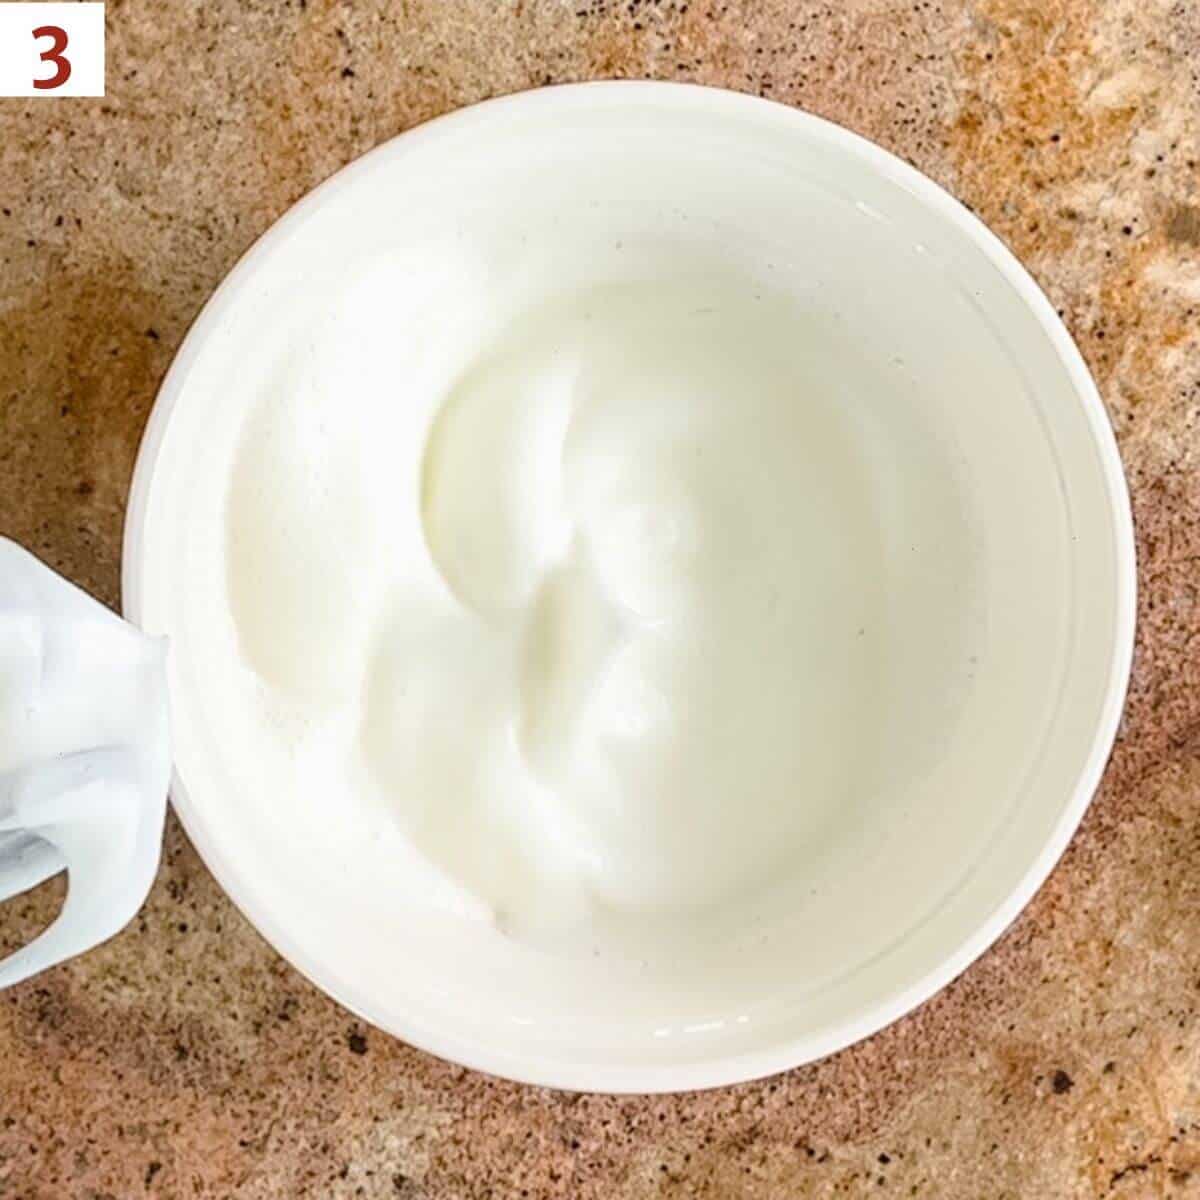
The egg whites need to be absolutely free of fat to whip into a meringue. To make sure there is no yolk, separate the eggs over a bowl and dump the whites into another bowl (an egg separator can help). Also, wiping the mixing bowl with white vinegar or lemon juice prior to adding the white helps to insure there is no fat in the bowl that can inhibit the meringue formation. This step is optional but highly recommended.
Also, having the egg whites at room temperature allows them to come to stiff peaks quicker than if they're cold. Be mindful not to over-whip the egg whites or they might separate.
In a large mixing bowl, use a hand mixer to whip the egg whites on high speed to stiff peaks (photo 3). Set aside.
Step 3: Prepare the cake batter
In a separate large mixing bowl, beat the egg yolks and sugar until the mixture is smooth, creamy, and pale yellow, about 2 to 3 minutes (photo 4).

Add the melted butter and mix on low speed. Gradually mix in the flour in small batches until just combined (photo 5).

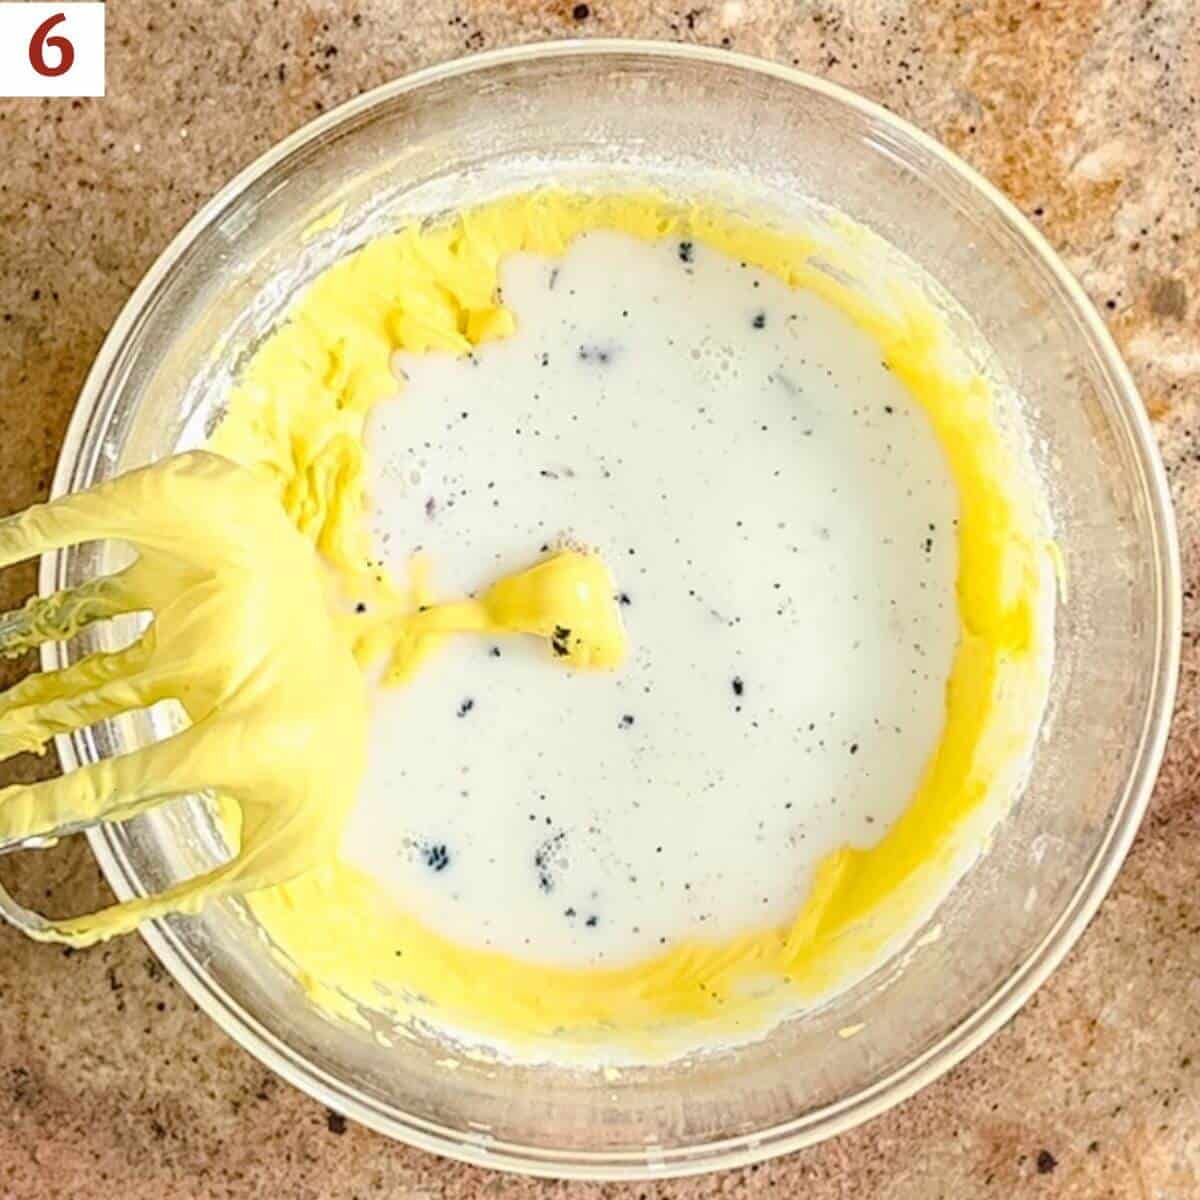
Remove the spent vanilla pods from the steeped milk. On low speed, slowly add the vanilla-infused milk (or the milk and vanilla extract, if not using a vanilla bean). The batter will be thin at this point (photo 6).
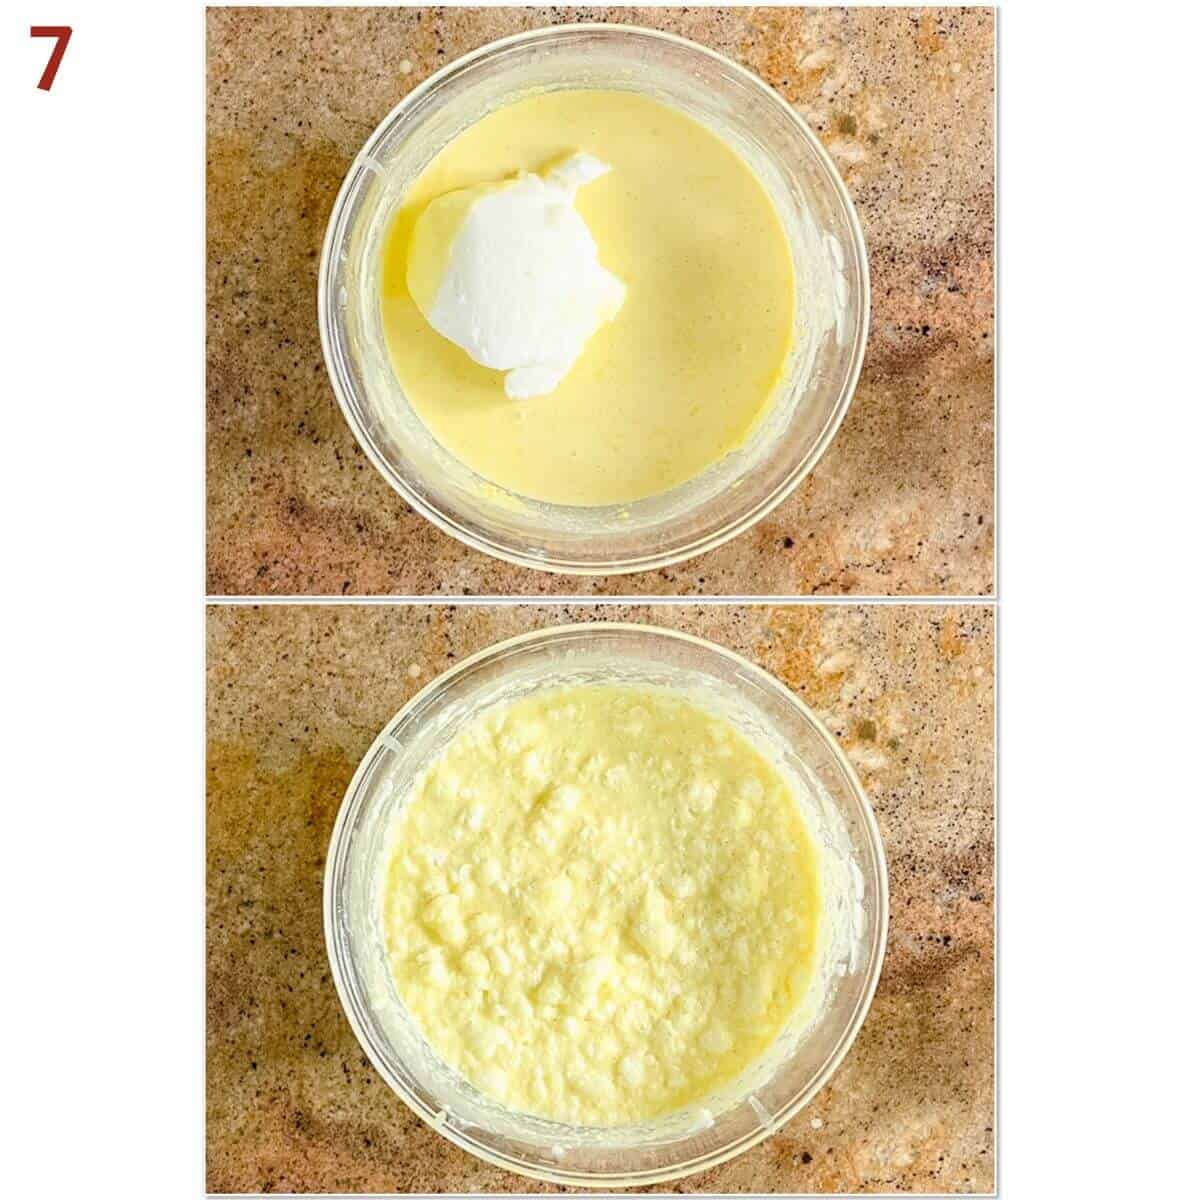
Gently fold in the meringue, a third at a time, until just incorporated. You want to keep the air in the batter, so it's ok if there are a few lumps of egg white (photo 7). The batter will be quite thin, like a thick cream.
Step 4: Bake the cake
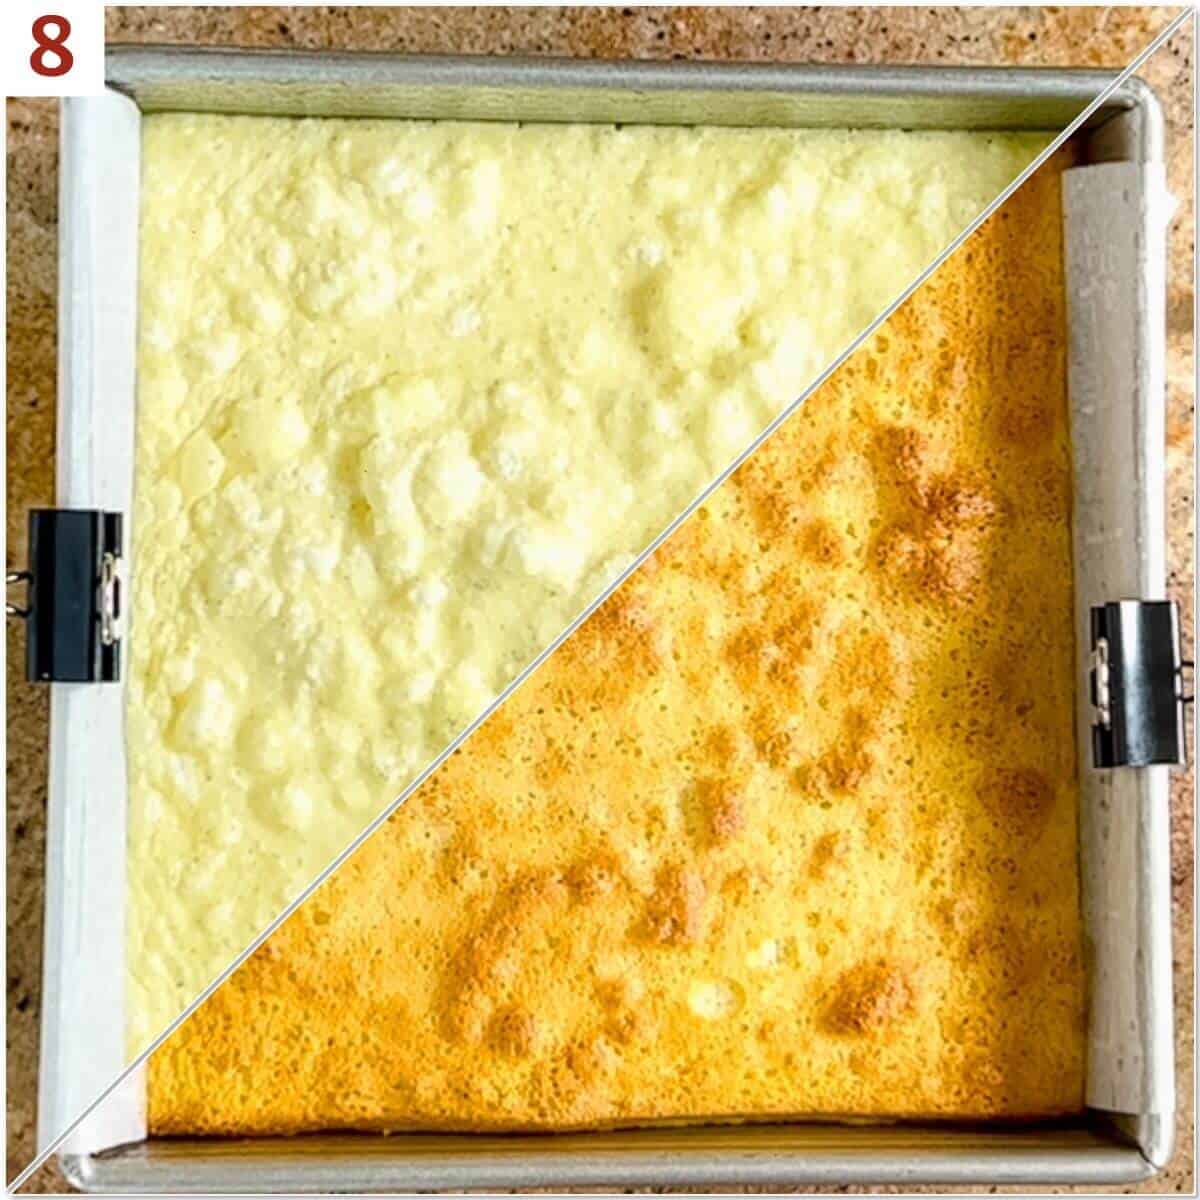
Spray an 8- x 8-inch baking pan with baking spray and line with parchment paper, leaving a 2-inch overhang to help lift the cake out of the pan. You can use binder clips to clip the parchment paper to the sides of the baking pan so it doesn't droop into the batter while the cake is baking.
Pour the batter into the prepared baking pan. Bake at 325°F for 45 to 60 minutes or until top is lightly golden and firm to the touch (photo 8). After 30 minutes, if the cake is still jiggling when the pan is gently tapped (not fully set) but the top is golden brown, lightly cover the pan with aluminum foil.
Step 5: Finish the cake
Let the cake cool completely in the pan before proceeding. For best results, refrigerate the cake until it's fully chilled before turning out the cake, otherwise, cake can break during the transferring process. Use the parchment paper as a sling to lift the cake out of the pan to a cooling rack.
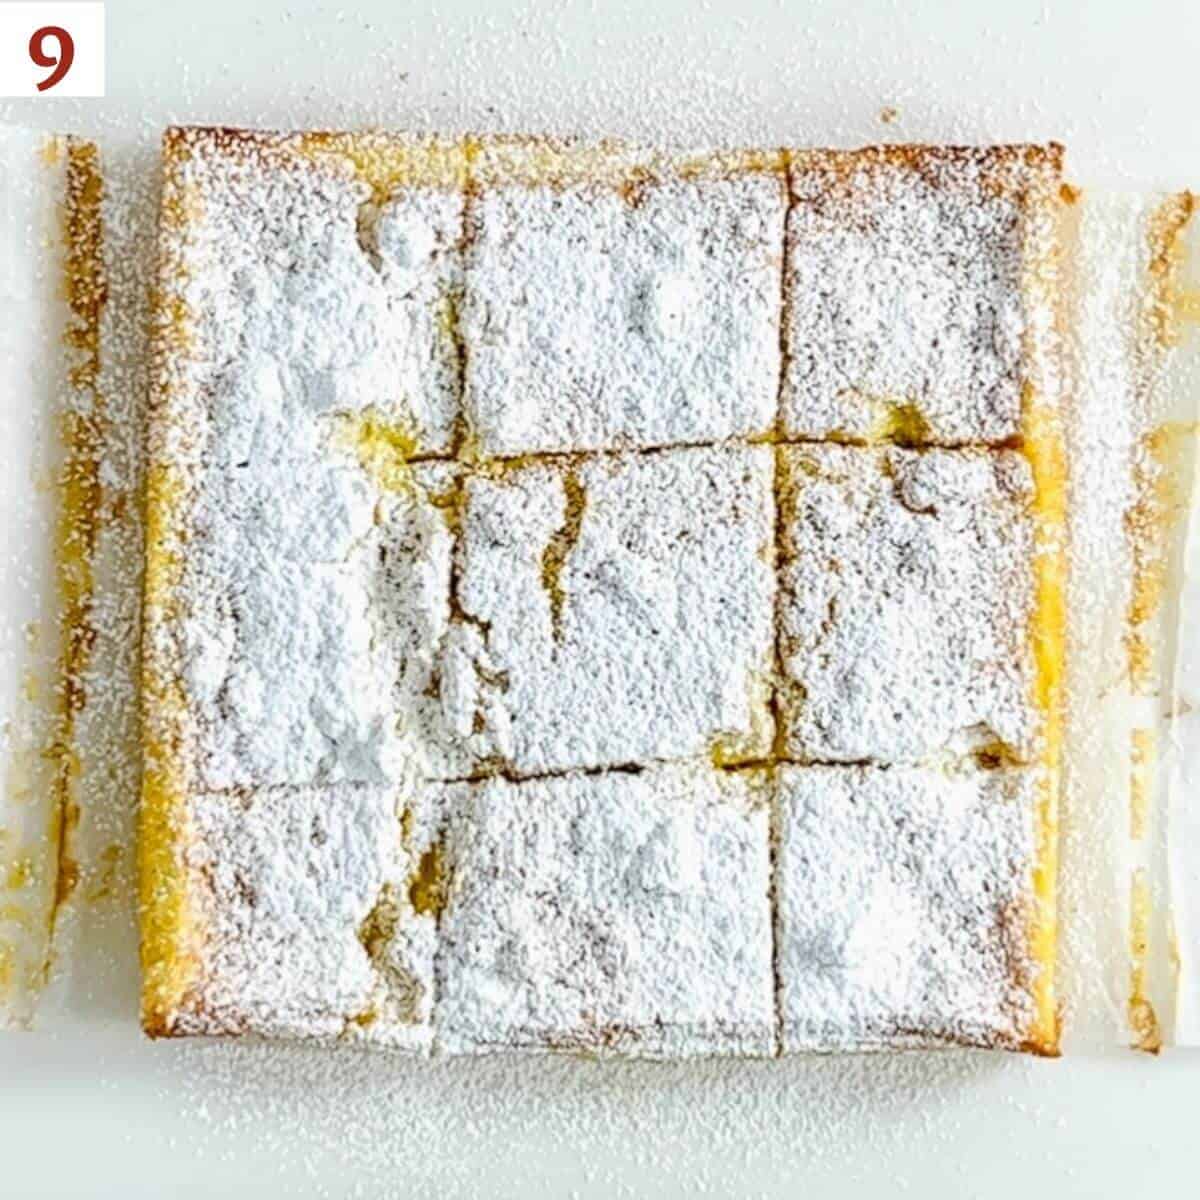
Dust the cake with some powdered sugar and a light sprinkling of nutmeg, if desired, then cut into squares (photo 9). I cut the cake into 9 squares for these pictures, but 16 2-inch squares is a good-sized serving as well. If you do get cracks on the top, a good dusting of powdered sugar will help disguise them.
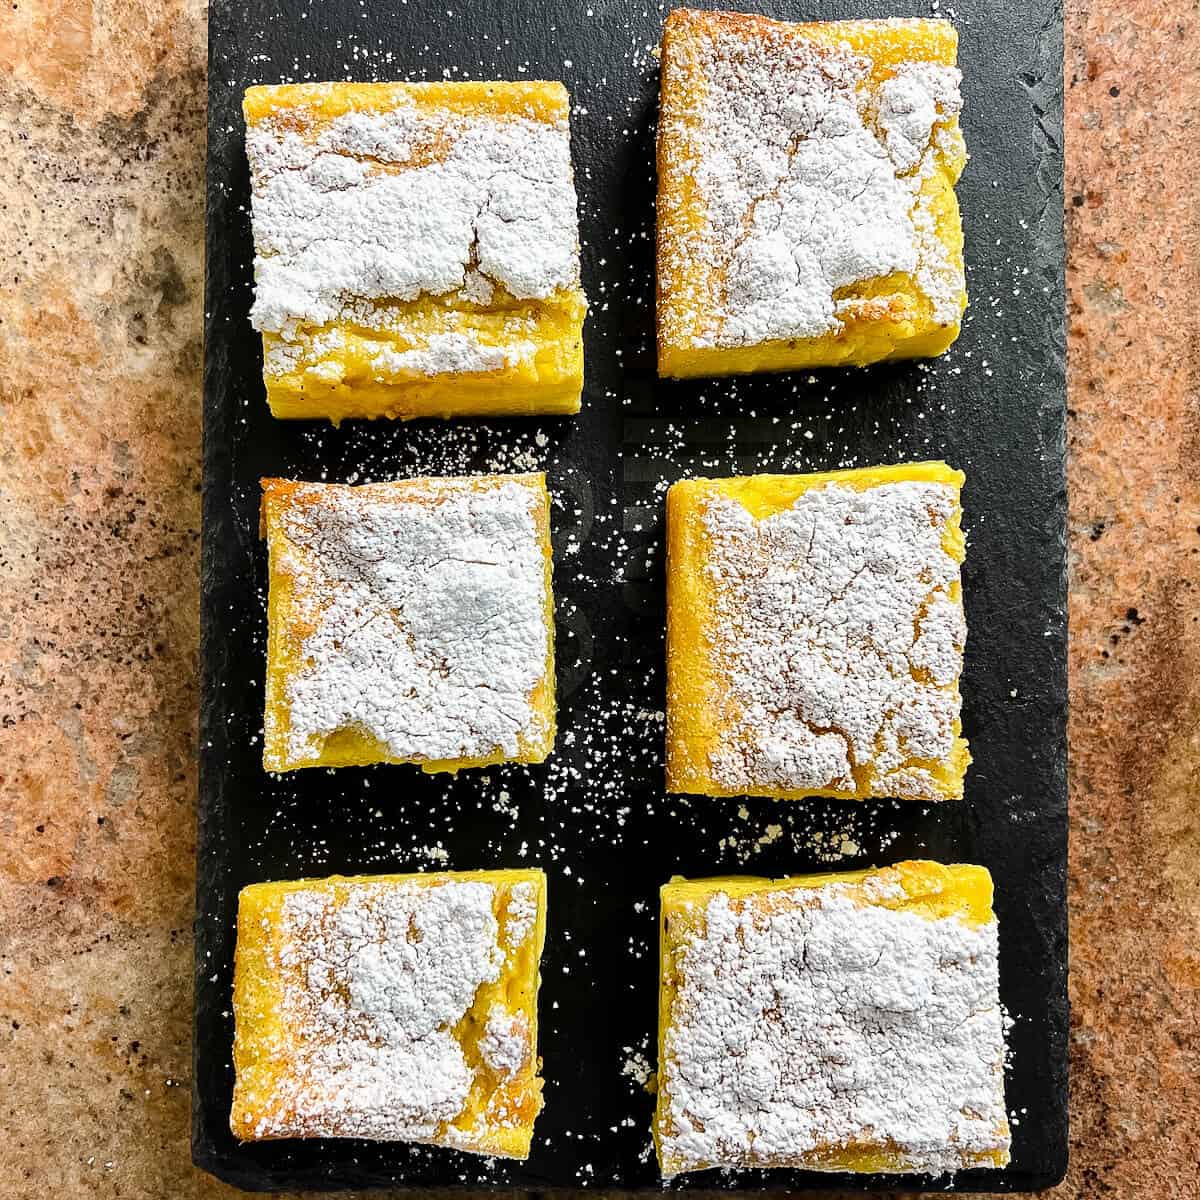
This cake can be served cold for a more set texture, or brought to room temperature for a looser slice.
Storage instructions
This Magic Custard Cake can be stored in the refrigerator for up to 3 to 4 days, but freezing isn't recommended.
Questions asked and answered
Here are some questions you might have...
Vanilla is actually the dried fruit pod from orchids. It was first cultivated by Pre-Columbian Mesoamericans and was brought to Europe in the 1520s by Spanish conquistadors. Now grown in the tropical regions of Mexico, the South Pacific, Indonesia, and especially Madagascar, vanilla is the second-most expensive spice after saffron because it's very labor-intensive to grown the pods.
Because of the expense, you'll want to protect your fresh vanilla beans from drying out. Store them in a tightly sealed container (like a glass jar) at room temperature in a cool, dry place in the short term, or in a ziplock bag in the freezer for longer storage.
Vanilla beans are graded into 2 categories: Grade A beans are best for cooking, baking, beverages, and making high-quality extracts because of their strong, rich vanilla flavor and fruity aroma. They will have a shiny, oily look to them and feel plump. Grade B beans have a sweet floral aroma and won't be quite as moist as Grade A. They're used primarily for making extracts.
In addition to grading, the various regions where the pods are grown will produce different flavor profiles. For the three most easily available regions, Madagascar vanilla will be rich and creamy; Mexican vanilla will be bold, dark, and smoky; and Tahitian vanilla will be more floral with cherry-chocolate notes.
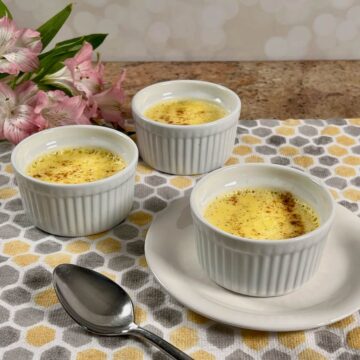
I use real vanilla beans when I want the vanilla flavor to really take center stage, such as in French Vanilla Ice Cream or Crème Brûlée (aka Vanilla Custard topped with burnt sugar). When the flavor is a supporting actor (like in a chocolate cake or pecan pie), I'll use vanilla extract.
Didn't find the answer you're looking for?
Ask AI to answer for this specific recipe:
Disclaimer: I am not responsible for the quality of AI information

I hope you like this recipe! Let me know if you have any questions, and don't forget to leave a comment and rating. Thanks!
Slainté! L'chaim! Cheers!
- Tammy
More custard & sauce recipes to try
More recipes using vanilla beans
When you want that pure vanilla flavor, nothing beats using fresh vanilla beans. Here are a few more ideas for using real vanilla beans
Recipe
Vanilla Bean Magic Custard Cake
Equipment
- hand mixer
Ingredients
- 2 cups milk
- 1 fresh vanilla bean, or 2 teaspoons of pure vanilla extract
- 4 large eggs, separated, at room temperature
- ¾ cup granulated sugar
- ½ cup unsalted butter, melted and cooled
- ¾ cup all-purpose flour
- powdered sugar, for dusting
- ground nutmeg, for sprinkling, optional
Instructions
- Preheat the oven to 325 °F. Spray an 8- x 8-inch baking pan with baking spray and line with parchment paper, leaving a 2-inch overhang to help lift the cake out of the pan.
- Steep the milk: Pour 2 cups milk into a 2-quart saucepan. Using the tip of a sharp knife, split 1 fresh vanilla bean and scrape the seeds into the milk, then add the vanilla bean. Warm the milk over medium heat until it just begins to simmer and steam. Remove the pan from the heat. Alternatively, you can warm the milk and vanilla bean seeds in the microwave on high, about 45 to 60 seconds. Allow the milk to steep with the vanilla while you continue with the recipe.
- Make the meringue: In a large mixing bowl, use a hand mixer to whip 4 egg whites on high speed to stiff peaks. Set aside.
- Prepare the cake batter: In a separate large mixing bowl, beat 4 egg yolks and ¾ cup granulated sugar until the mixture is smooth, creamy, and pale yellow, about 2 to 3 minutes. Add ½ cup unsalted butter (melted and cooled) and mix on low speed. Gradually mix in ¾ cup all-purpose flour in small batches until just combined.
- Remove the spent vanilla pods from the steeped milk. On low speed, slowly add the vanilla-infused milk (or the milk and vanilla extract, if not using a vanilla bean). The batter will be thin at this point.
- Gently fold in the meringue, a third at a time, until just incorporated. You want to keep the air in the batter, so it's ok if there are a few lumps of egg white. The batter will be quite thin, like a thick cream.
- Pour the batter into the prepared baking pan. Bake for 45 to 60 minutes or until top is lightly golden and firm to the touch. After 30 minutes, if the cake is still jiggling when the pan is gently tapped (not fully set) but the top is golden brown, lightly cover the pan with aluminum foil.
- Let the cake cool completely in the pan before proceeding. For best results, refrigerate the cake until it's fully chilled before turning out the cake, otherwise, cake can break during the transferring process. Use the parchment paper as a sling to lift the cake out of the pan to a cooling rack.
- Dust the cake with some powdered sugar and a light sprinkling of ground nutmeg, if desired, then cut into squares. I cut the cake into 9 squares for the pictures, but 16 2-inch squares is a good-sized serving as well.
- The cake can be served cold for a more set texture, or brought to room temperature for a looser slice. Serve & enjoy!
- This recipe can be cut in half and bake it in a standard loaf pan.
- Storage instructions: A Magic Custard Cake can be stored in the refrigerator for up to 3 to 4 days, but freezing isn't recommended.


shirasp says
Looks yummy!!