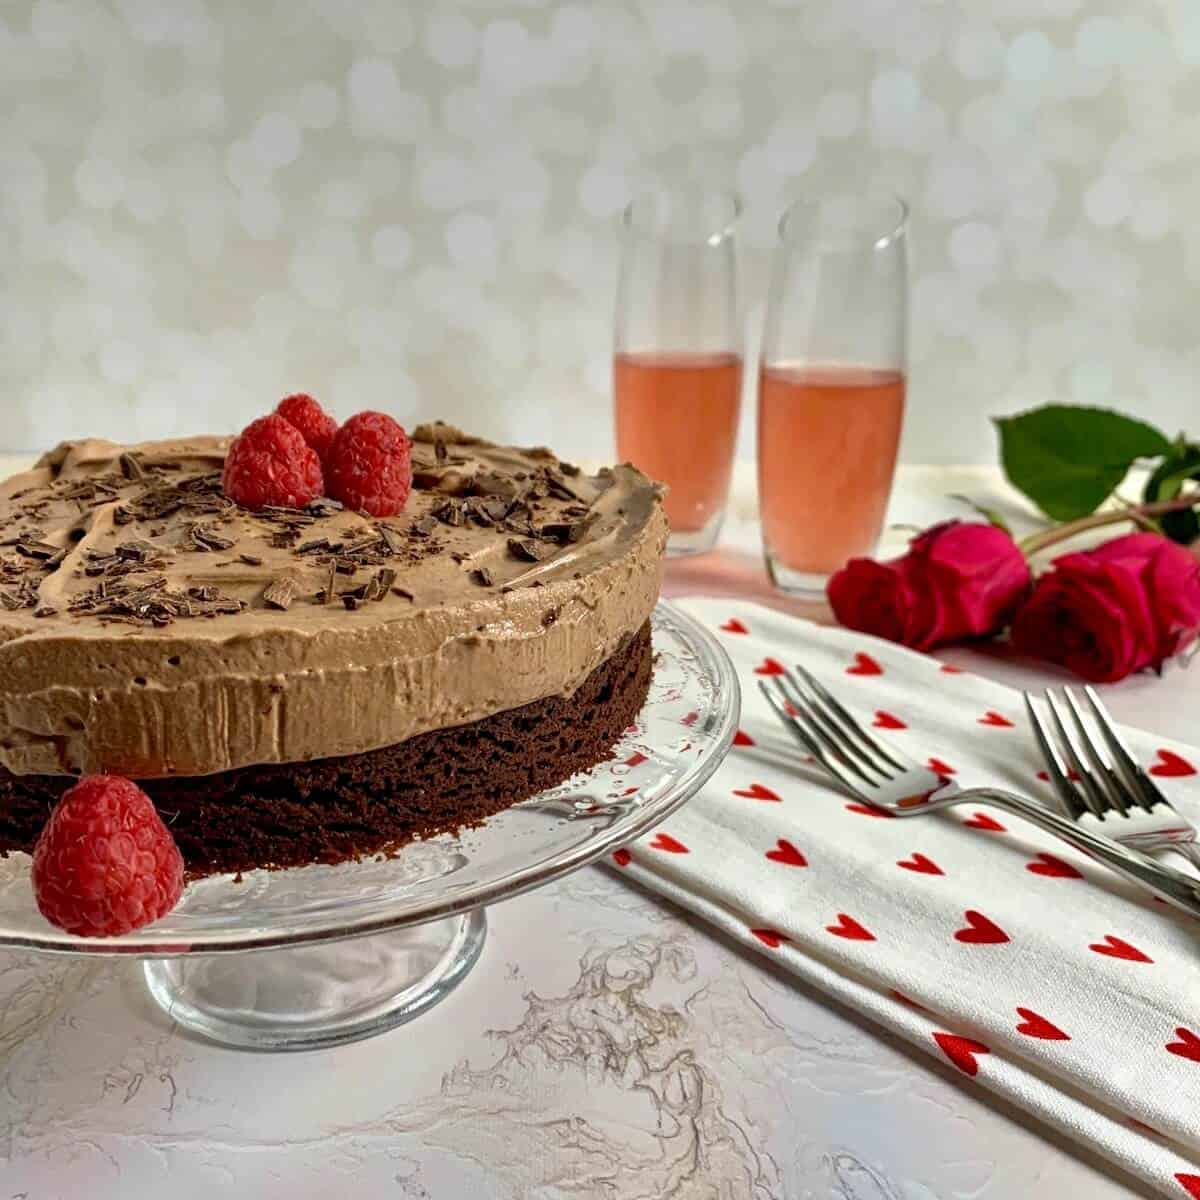
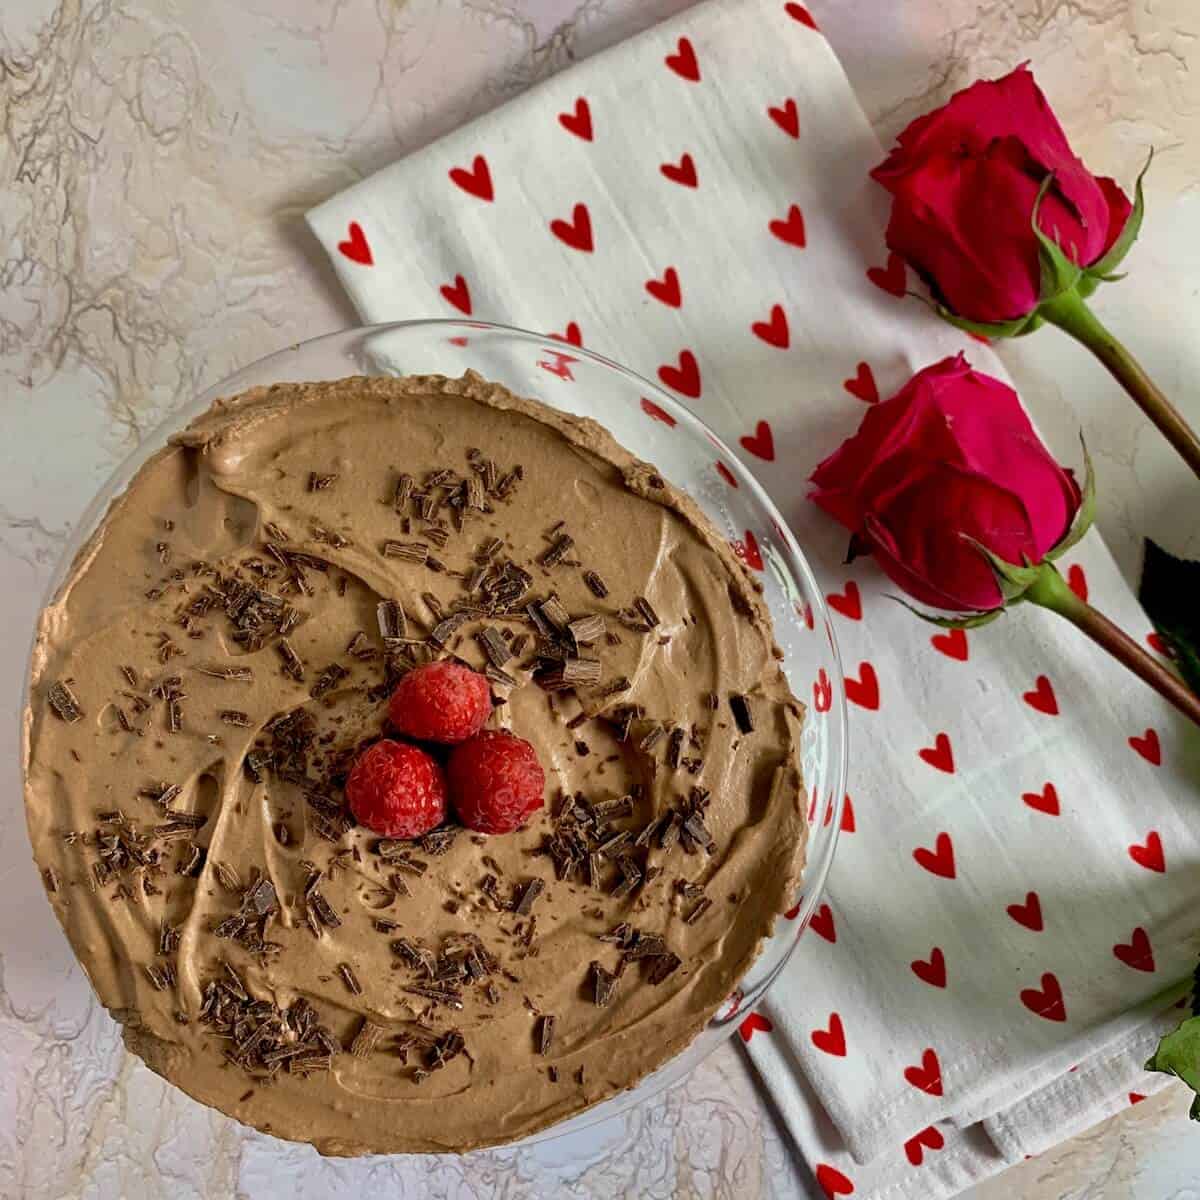
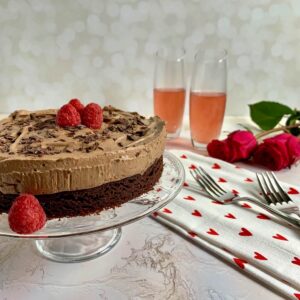
Rich chocolate mousse and chewy brownies are wonderful by themselves, but put them together in a Chocolate Mousse Brownie Cake and the result is romance on a plate! Make a mini cake for Valentine's Day, Date Night, or when you just want a special treat to share.
Jump to:
[December, 2021: I've reworked the recipe and updated this post with all new pictures. Enjoy!]
Why this recipe works
- The chewy brownie base has the right amount of deep chocolate flavor to contrast with the mousse
- The mousse is smooth and creamy, with rich chocolate flavor, yet is able to hold its shape
- You can make a Mini Chocolate Mousse Brownie Cake for a small group, or double the recipe for a full-sized version
When I look for desserts to make for Valentine's Day or Date Night, chocolate usually is prominently featured. Chocolate Cake Pops are fun to share, and Double Dark Chocolate Pudding is smooth and lovely.
But if I want something rich, decadent, and elegant, Chocolate Mousse Brownie Cake is at the top of my list. With a chocolate brownie base topped with a creamy chocolate mousse (two items that definitely belong together), this dessert is romance on a plate.
However, I can't have something that large sitting in my refrigerator without exerting major willpower, so how about a Mini Chocolate Mousse Cake instead?
Oh, this cake is gooooooood!!! Smooth, creamy, decadent mousse balanced by a chewy, slightly salty brownie. And the mini version is the perfect size for a small group. I have a hard time not taking the whole cake and hiding in a closet with a spoon.
Luckily, I've learned that I have just enough willpower to share, first with my husband on Valentine's Day, then with him, my daughter, and my son-in-law the next day (but only just!).
If you'd like, you can simply make the mousse and serve it in a bowl or individual ramekins.
But really, chocolate mousse and brownie cake deserve to be together!
⭐⭐⭐⭐⭐
Looks delicious! I can't wait to try making this!
- Shira
Recipe Ingredients
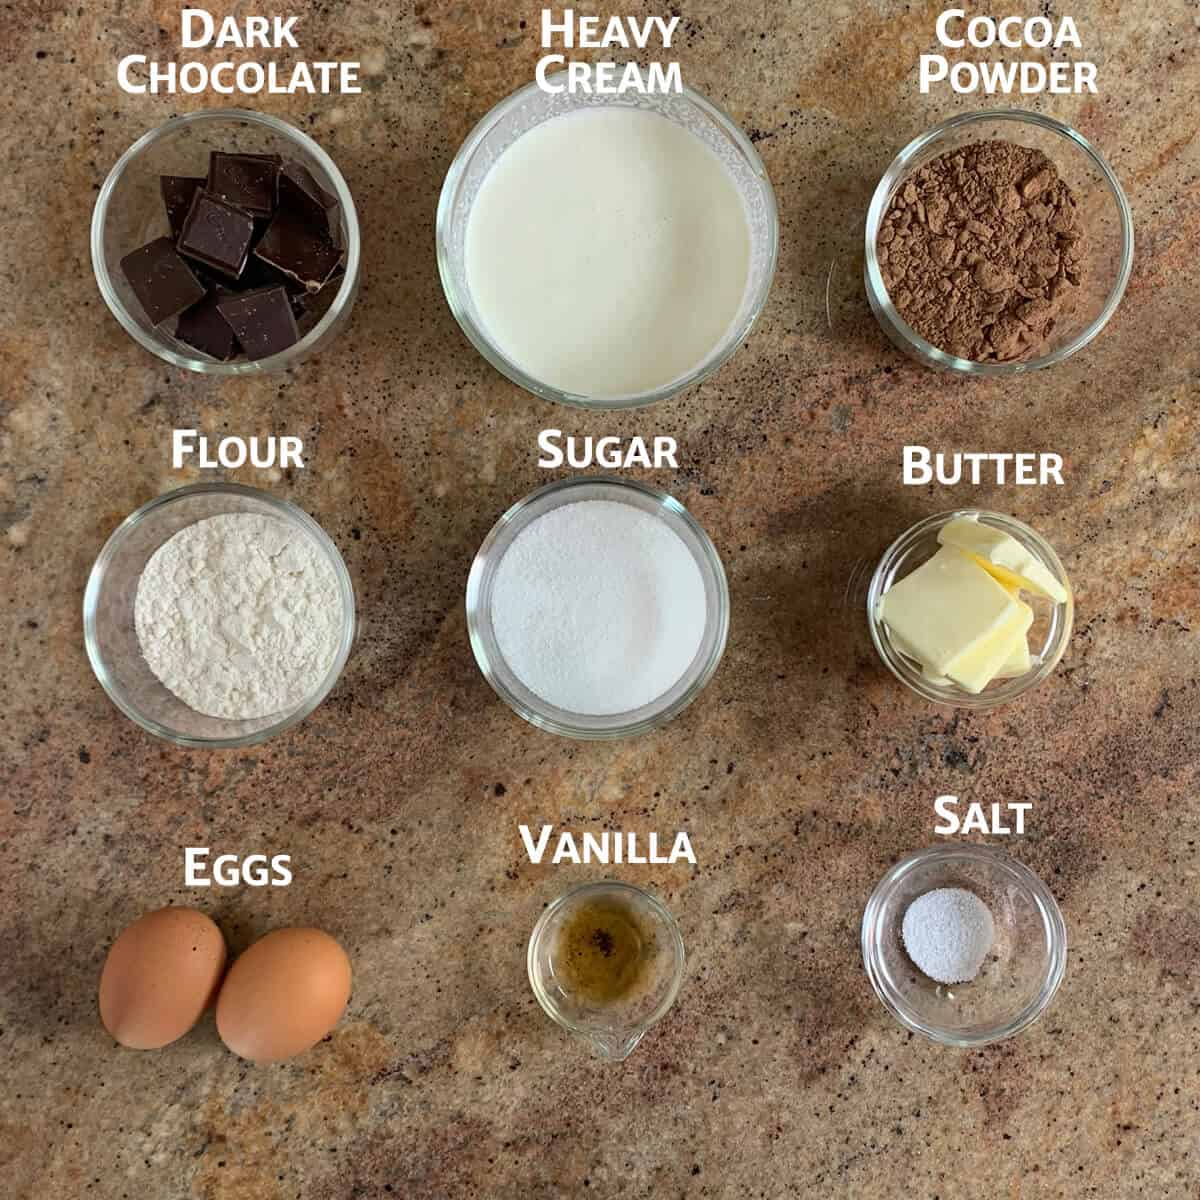
You'll need the following ingredients to make this chocolate mousse brownie cake recipe:
Ingredient Notes
The ingredients for the brownie layer are pretty much as you'd expect: sugar, cocoa powder, an egg, flour, vanilla and salt.
There are many recipes for chocolate mousse. Some use egg whites and cream, others whole eggs and cream, some cook the eggs, some not. Butter may or may not appear. The reasons for all these differences in ingredients seem to be how firm or loose you want the final mousse. Do you want luxe pudding in a bowl or something that will hold its shape out of a mold?
In this case, we want a chocolate mousse recipe that has a smooth, creamy mouthfeel, but be stable enough to hold its shape when the cake is released from the springform pan. So this mousse uses an egg, sugar, dark chocolate, heavy cream, and vanilla.
Chocolate: Use a good quality semi-sweet or dark chocolate bar (between 60 to 72% cocoa) for the mousse (not chocolate chips). You can also use chocolate wafers if you don't want to top the mousse cake with chocolate shavings.
Cocoa Powder: You can use regular cocoa powder, or substitute dark chocolate cocoa powder for a more intense chocolate brownie.
See the recipe card for a full list of ingredients and measurements.
How to chop chocolate
Chop the chocolate with a serrated knife. The edge grabs the chocolate better than a chef's knife.
You can also make chocolate shavings with a vegetable peeler. Just drag the peeler across the thin, flat side of the chocolate, allowing the shavings to curl. Use the curls for decorating the top of the mousse cake.
How to make chocolate mousse cake
There are two major parts to making this Chocolate Mousse Brownie Cake recipe: the brownie base and the chocolate mousse topping.
Step 1: Make the brownie batter
Start by melting the butter with the sugar and sifted cocoa powder. You can do this in the microwave in 30 second bursts (stirring each time), or on the stove in a heavy-bottomed saucepan (photo 1).
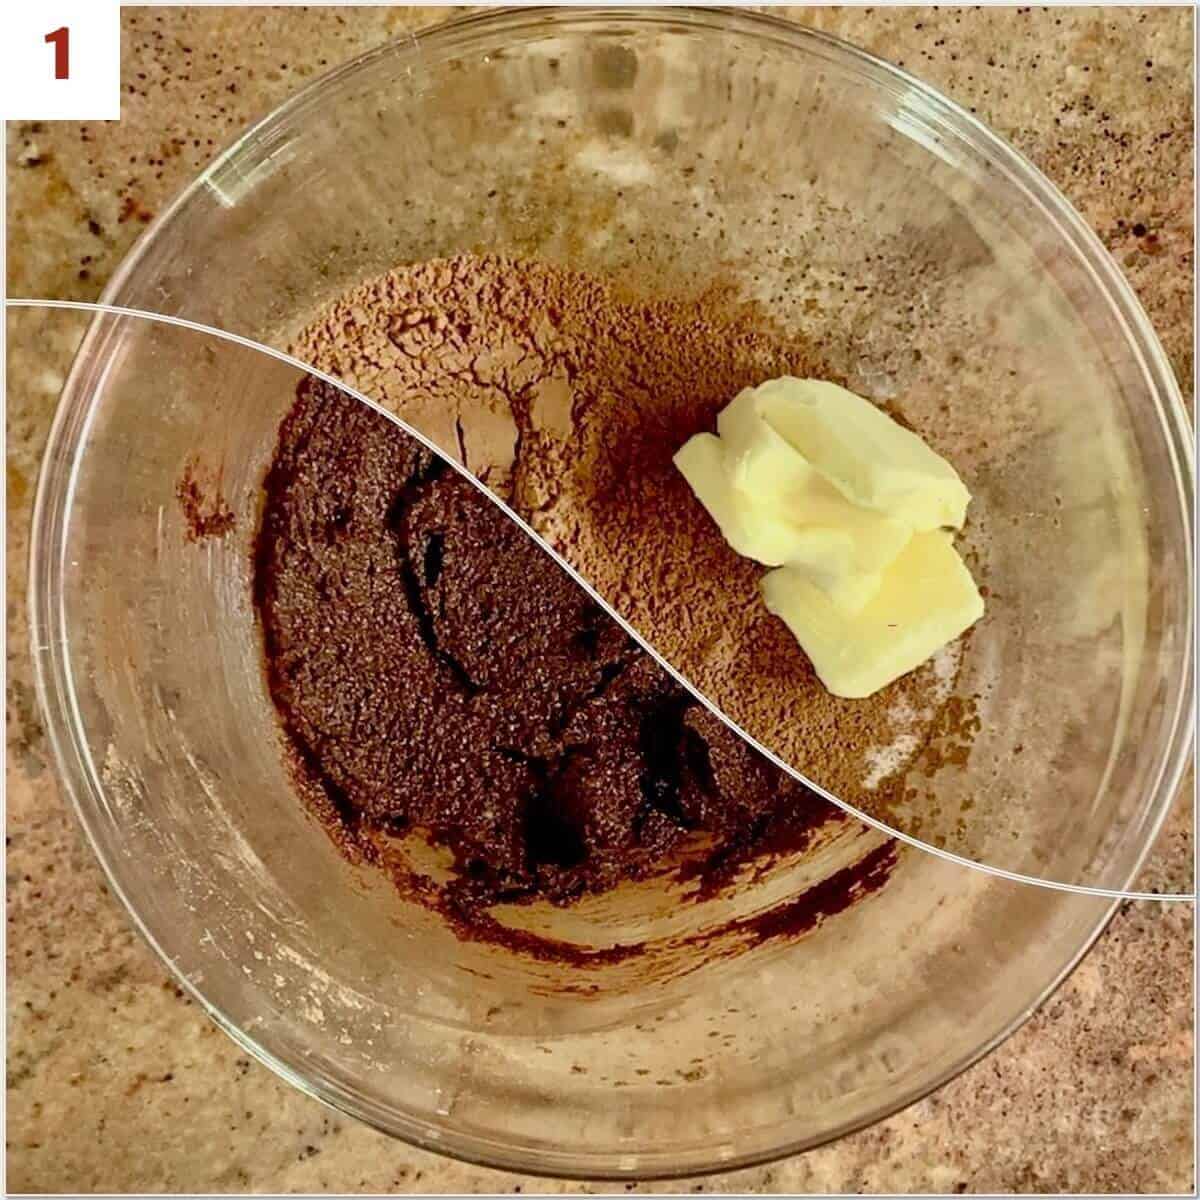
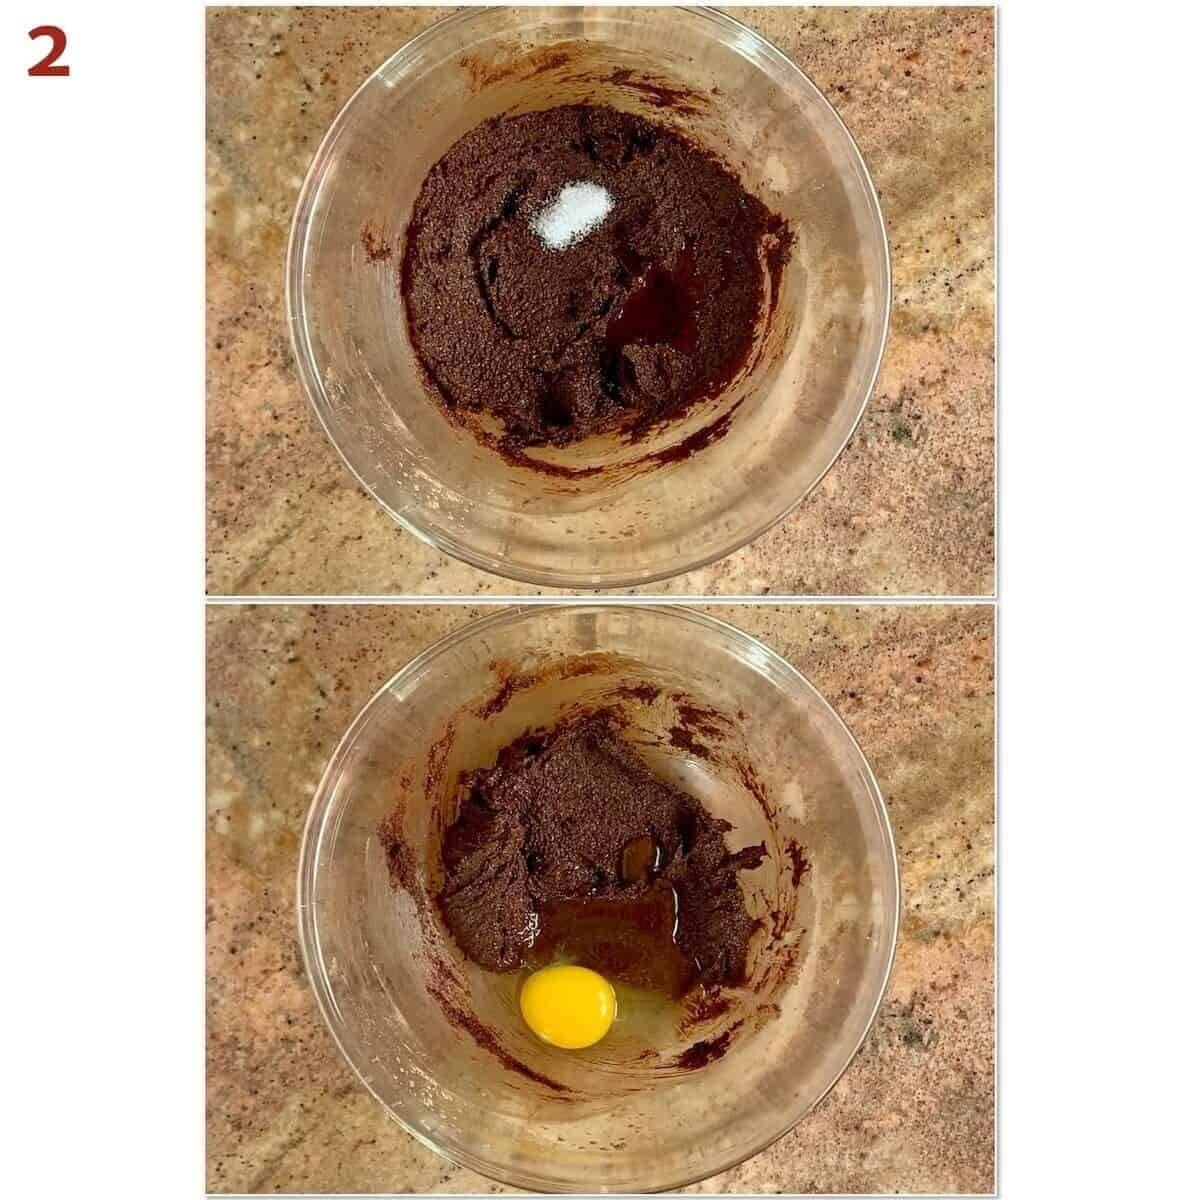
Stir in the vanilla and salt, then add the egg (photo 2).
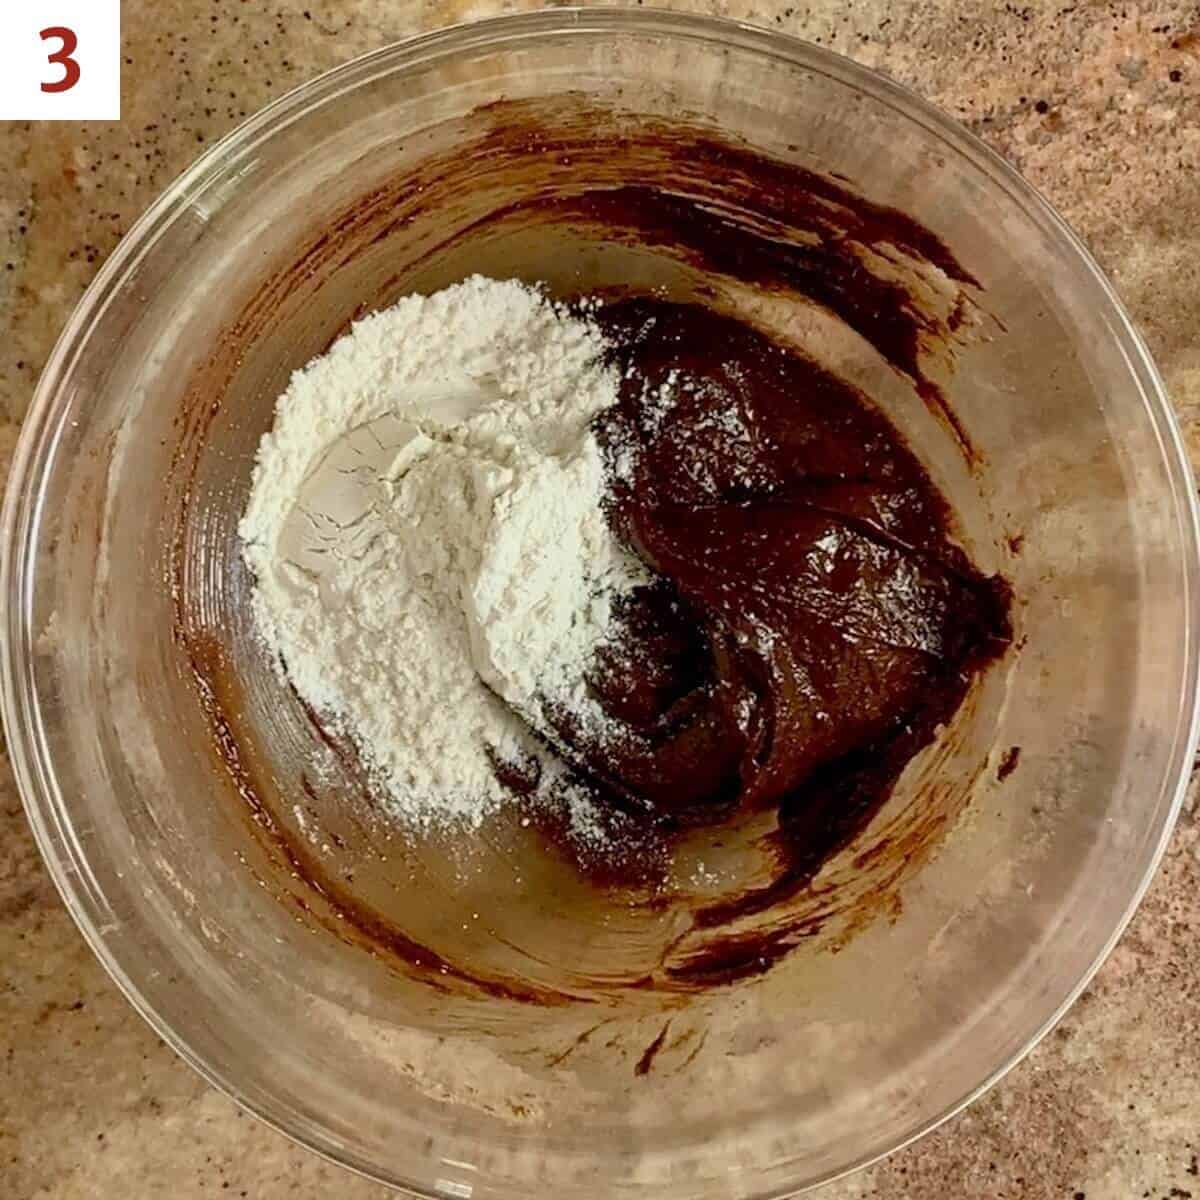
Stir in the flour vigorously until well mixed, at least a minute (photo 3). This develops the gluten so the brownie will be chewy.
Step 2: Bake the brownie base
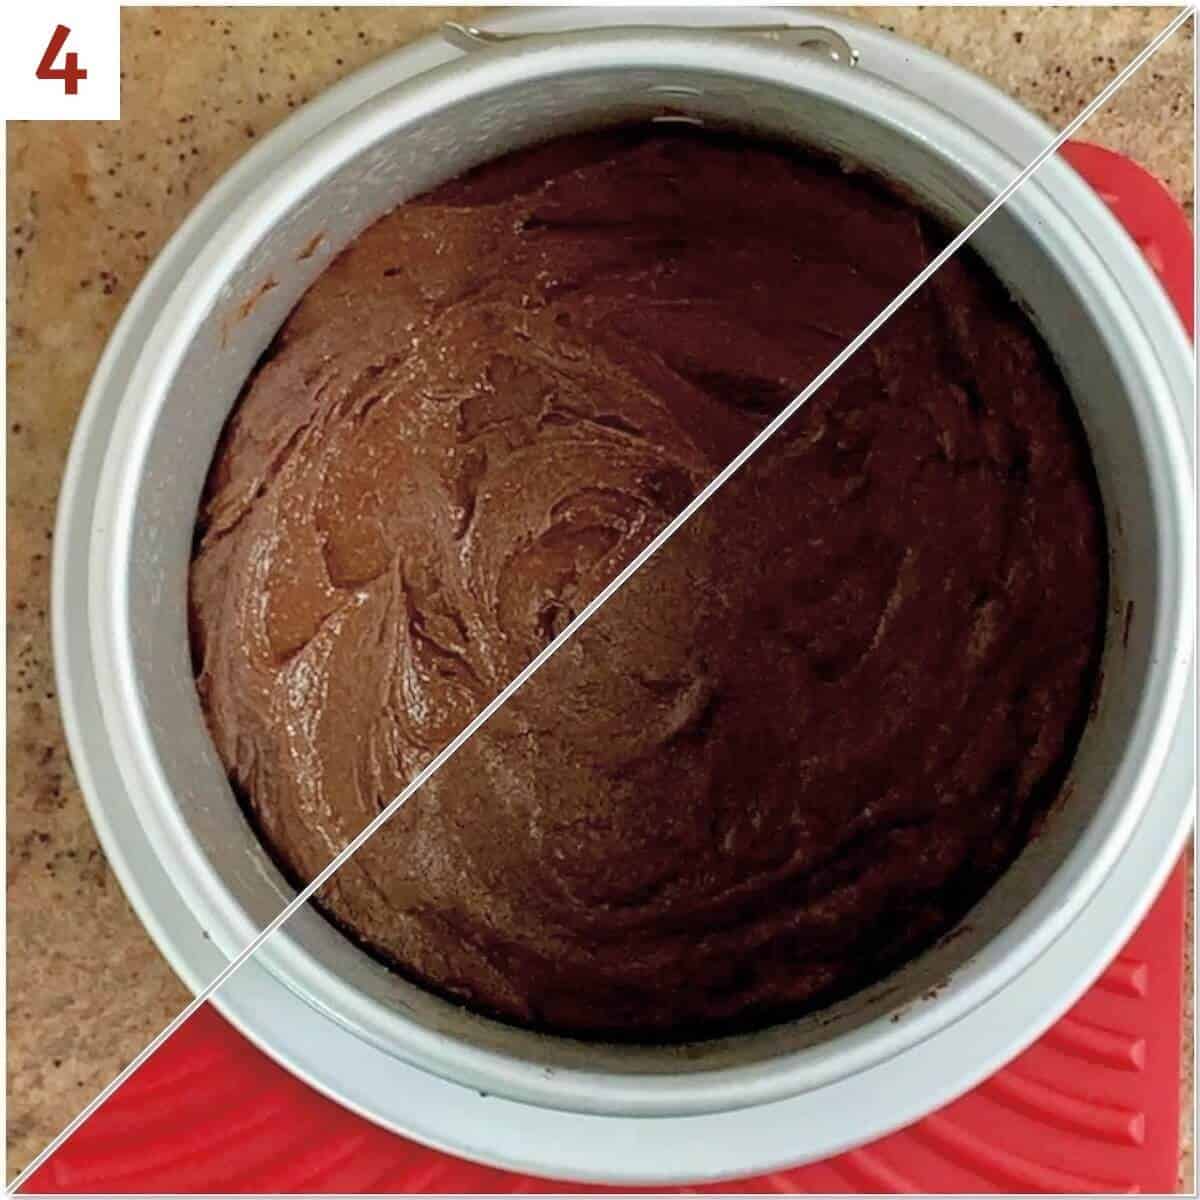
Transfer the mixture to a 6-inch springform pan sprayed with baking spray (photo 4). See the FAQs below for instructions on baking this mousse cake in a 6-inch round cake pan instead.
Bake at 325°F for 24 to 28 minutes. The brownies might be a little gooey in the center, but that's fine. Let the brownie cool completely while you make the mousse.
Step 3: Make the chocolate mousse
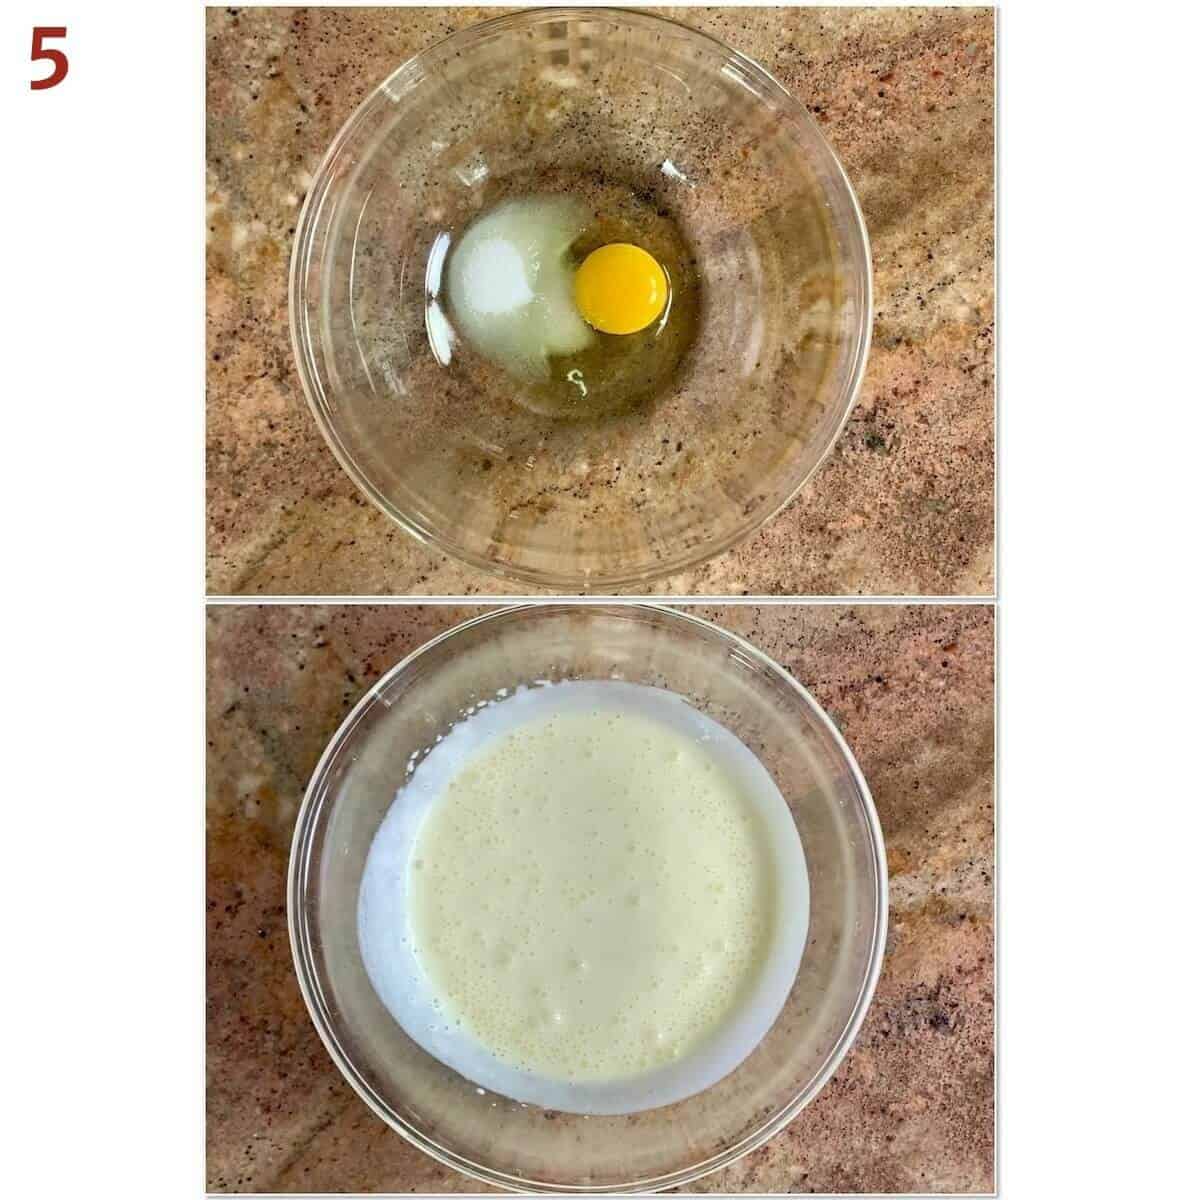
Start by making a custard. Beat the egg with the sugar for about 2 to 3 minutes with a hand mixer until it's pale yellow and falls in ribbons when the beaters are lifted. Stir in ½ cup of the heavy cream just until combined (photo 5).
Cooking the custard not only cooks the egg (eliminating any risk from salmonella), it also thickens it so the mousse will hold its shape later.
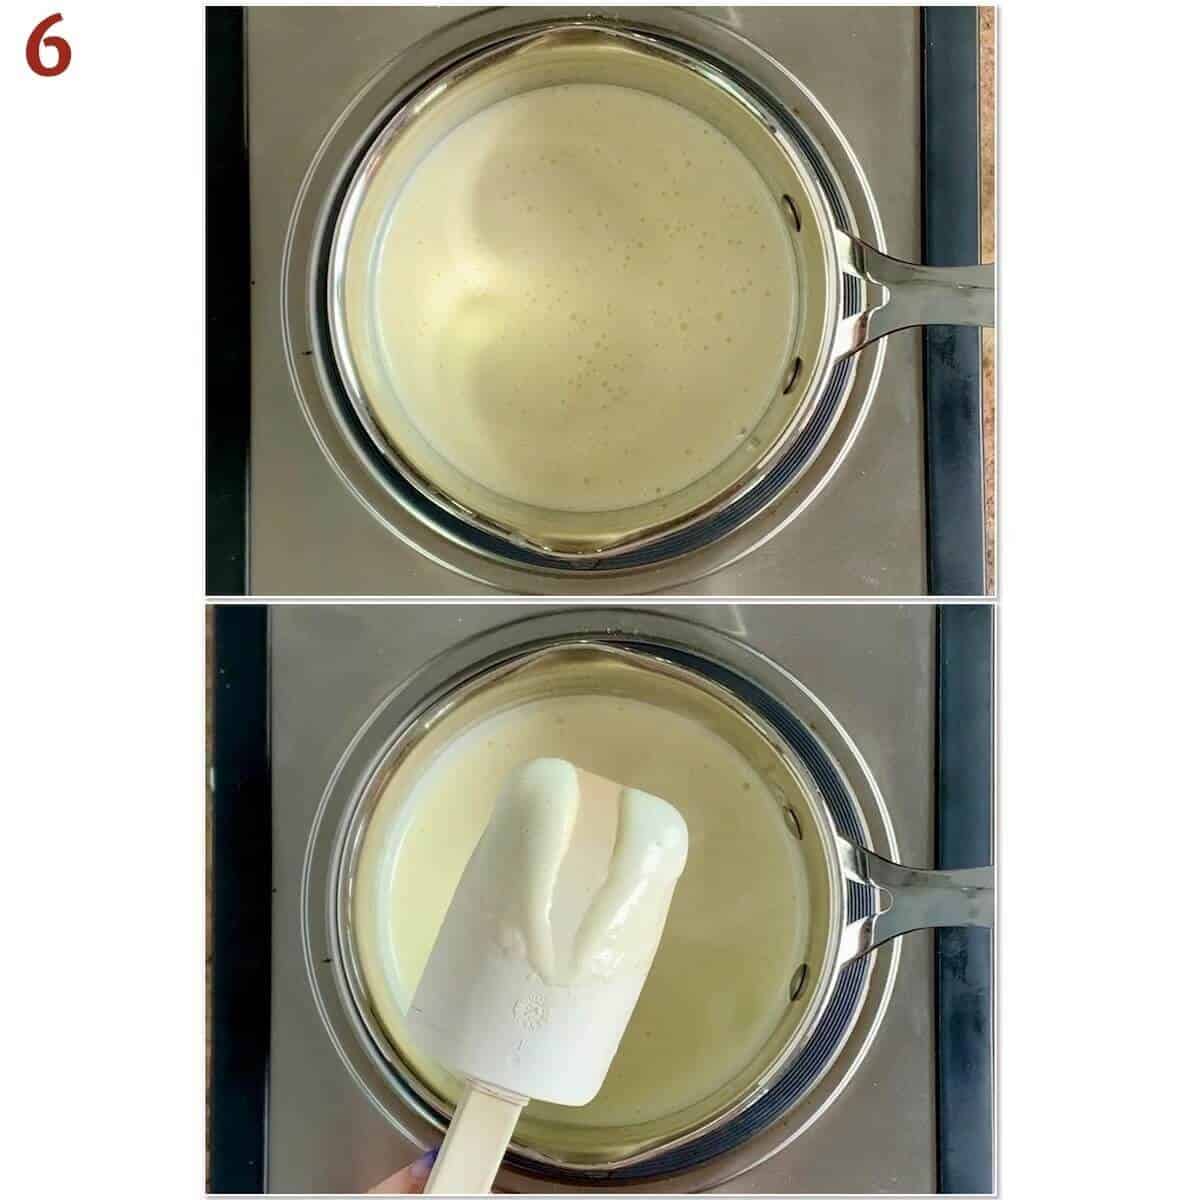
Cook the egg mixture in a heavy-bottomed saucepan set over medium heat, stirring constantly. The mixture will start to thicken after about 3 to 4 minutes and will coat the back of a spatula, but don't let it simmer or boil (photo 6).
Remove from heat.
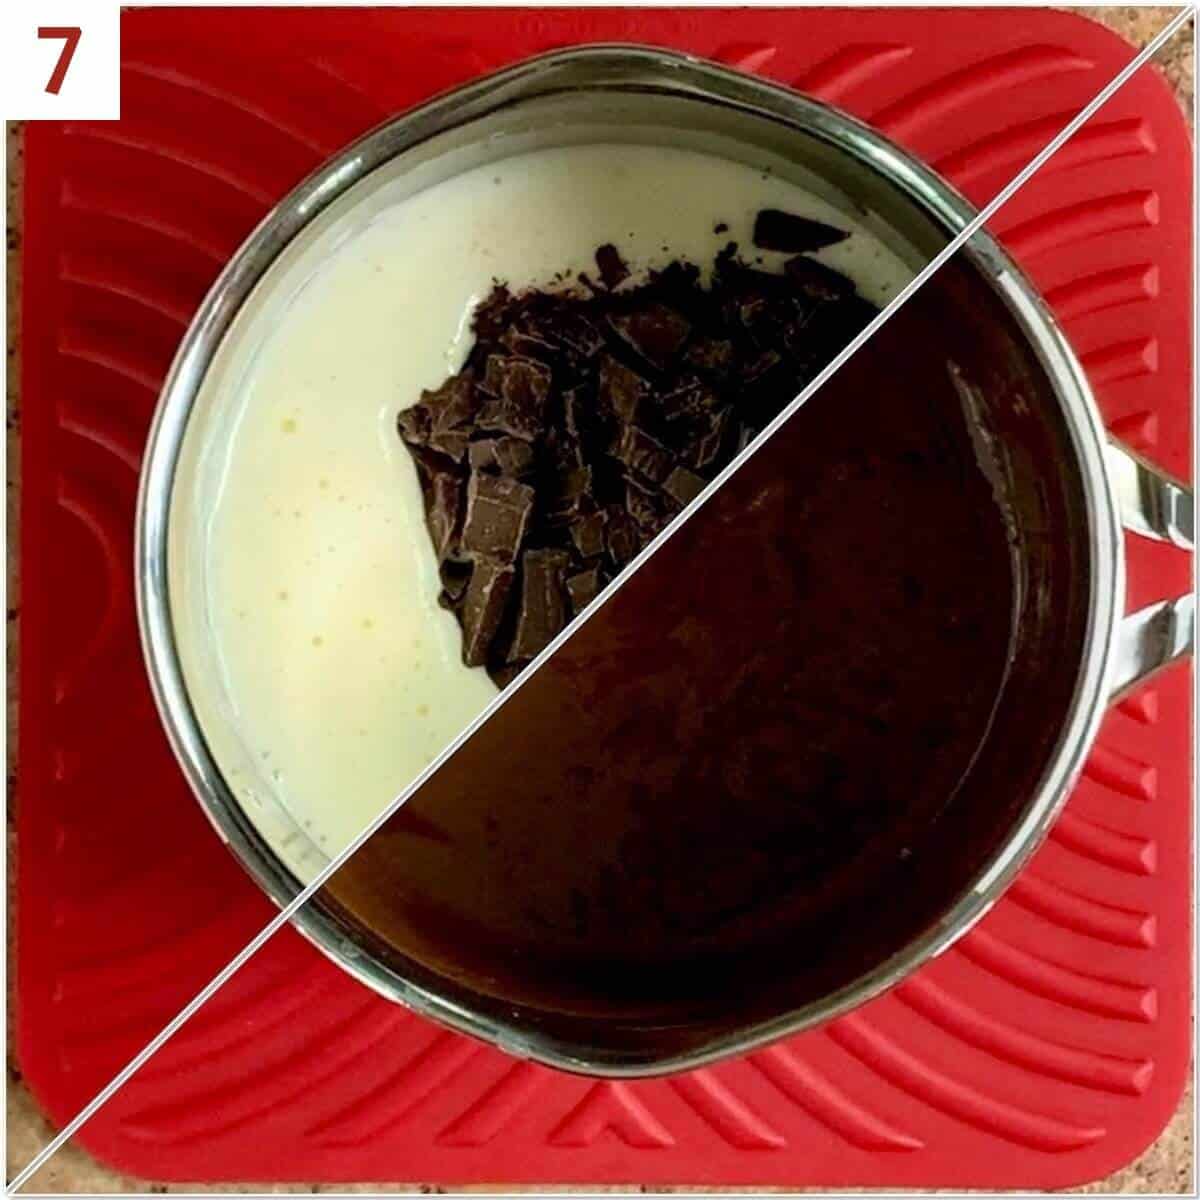
Add the chopped chocolate to the pan, cover, and let sit for 2 minutes like you would for making ganache. Remove the lid and whisk until the chocolate has completely melted (photo 7).
Transfer the chocolate custard to a bowl and chill it for at least an hour to firm up.
Beat the remaining ½ cup of heavy cream in a clean bowl until soft peaks just start to form. This should be done at least an hour before you want to serve the cake.
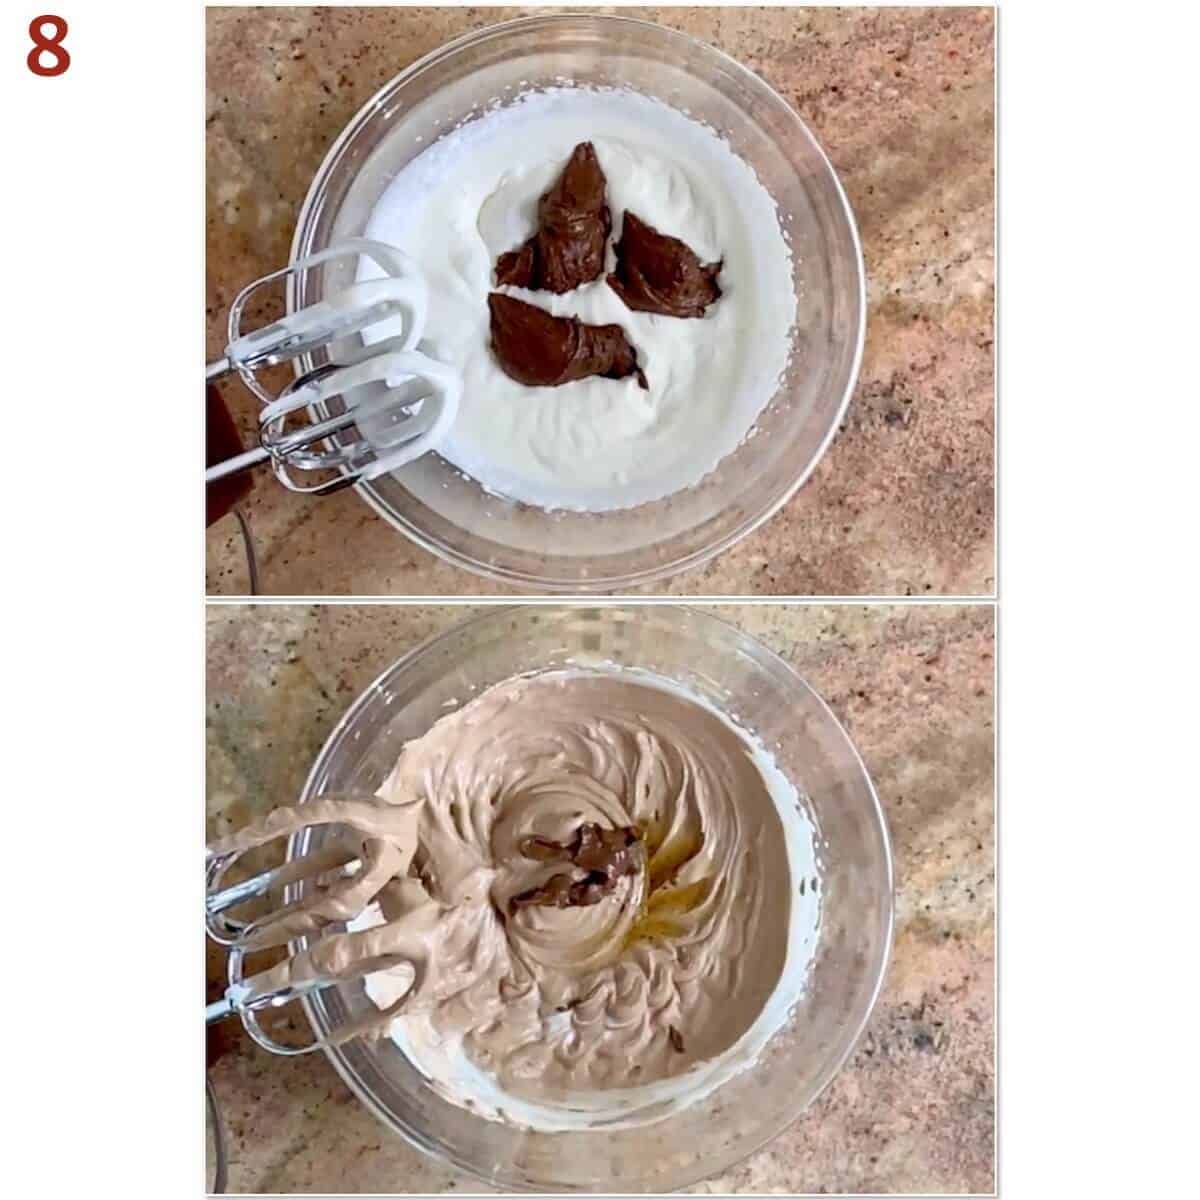
Remove the chocolate custard from the refrigerator, and add small amounts to the whipped cream while beating until the mousse is smooth and fluffy. Stir the vanilla extract into the mousse (photo 8).
Step 4: Assemble the cake
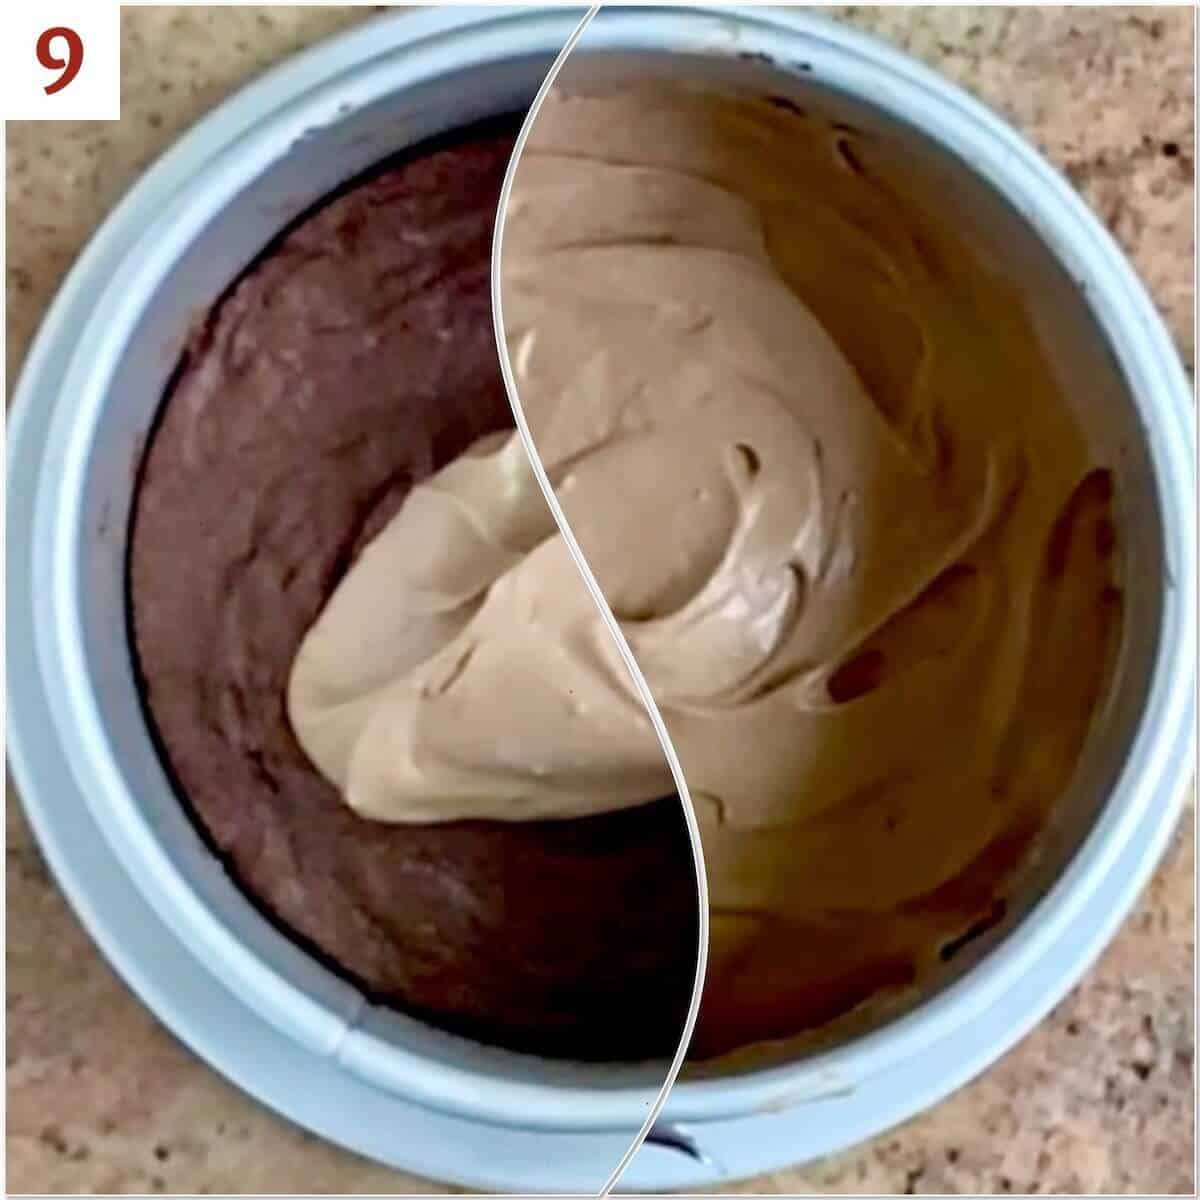
Spoon the chocolate mousse on top of the brownie in the springform pan, smoothing the top, then refrigerate for at least an hour before serving (photo 9).
When you're ready to serve, sprinkle the top with the reserved chocolate shavings. Remove the cake from the springform pan: place one hand under the pan, open the clasp, and let the rim of the pan fall onto your arm.
Carefully transfer the cake to a cake plate, serve, and enjoy!
Storage and make-ahead instructions
Storage instructions: Chocolate Mousse Brownie Cake can be stored in the refrigerator (to keep the mousse firm) for up to a week.
Make-ahead instructions: The brownie base can be baked a day ahead and kept it at room temperature. Leave it in the pan, covered well in plastic wrap.
The chocolate custard can be made a day ahead, tightly covered with plastic wrap and stored in the refrigerator.
Yield Notes
If you're serving a larger group, make a full-sized cake by doubling the recipe ingredients and using a 9-inch round springform pan. Bake the brownie for about 3 to 5 minutes longer.
How to make this mousse cake without a springform pan
If you don't have a small springform pan, don't worry! Here's a way to make the mousse cake without one:
- Use a 6-inch round baking pan, well sprayed with baking spray.
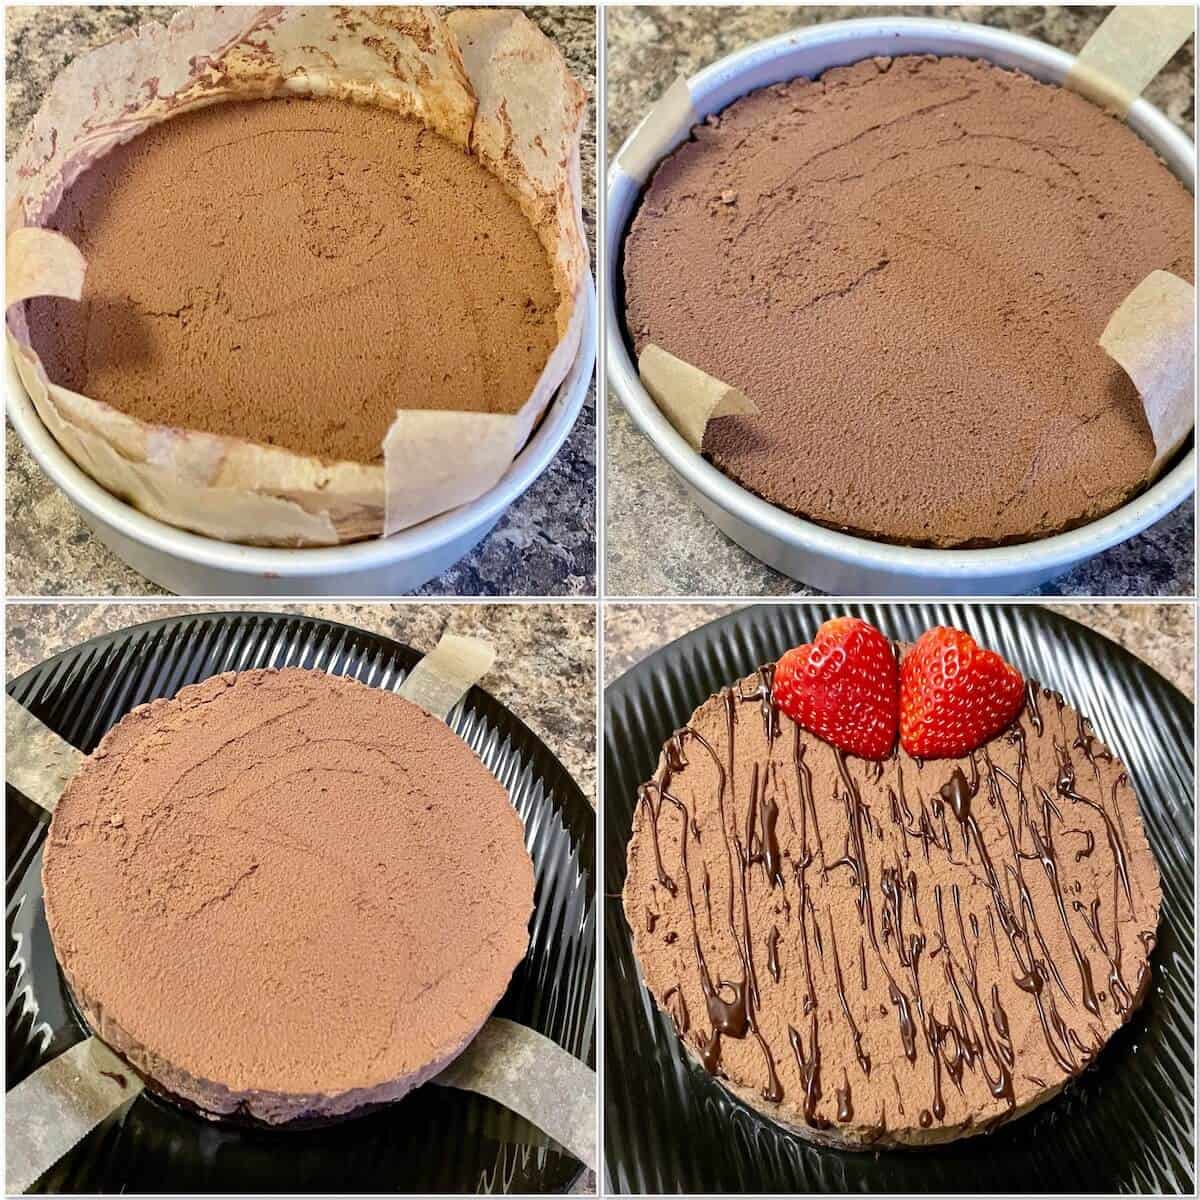
- To ease removing the cake later, make a sling out of 2 long, skinny pieces of parchment paper, placing them perpendicularly to each other in the cake pan.
- Line the pan with a parchment paper collar before pouring in the brownie batter. This will help to keep the mousse from sticking to the pan when you top the brownie layer.
- Remove the cake when the mousse has been fully chilled.
A reader generously sent me her pictures using this method. Check out her cake decorations using hot fudge sauce instead of chocolate shavings. It's so pretty!
Questions asked and answered
Here are some questions you might have...
Chocolate ganache is made from equal parts of cream and chocolate, by weight. It generally has a thick consistency, and is used for coating cakes or as the center for truffles. Chocolate mousse has a much lighter consistency, made so by mixing in whipped cream or a fluffy meringue. It's used as a stand-alone dessert (like pudding) or as a cake filling or topping.
Puddings are a type of custard (like a frozen custard, pastry cream, or crème brûlée) that are thickened with cornstarch while being cooked. Generally, a mousse isn't cooked, it's just a sweetened base that's lightened with whipped cream or meringue. In this recipe though, the mousse's custard base is cooked to thicken the final product so the topping will keep its shape when the cake is released from the pan.
Most of the time, yes, since the components for mousse aren't cooked. However, in this recipe the eggs are cooked, so it's pregnancy- and kid-friendly.
Didn't find the answer you're looking for?
Ask AI to answer for this specific recipe:
Disclaimer: I am not responsible for the quality of AI information
Recipe
Mini Chocolate Mousse Brownie Cake
Equipment
- serrated knife
- hand mixer
Ingredients
For the brownie base
- ½ cup granulated sugar
- ⅓ cup cocoa powder, sifted, see Recipe Notes
- ¼ cup unsalted butter
- 1 teaspoon pure vanilla extract
- ¼ teaspoon kosher salt
- 1 large egg
- ¼ cup all-purpose flour
For the chocolate mousse
- 3 ounces dark chocolate, plus more for chocolate shavings (½ cup), see Recipe Notes
- 1 large egg
- 2 tablespoons granulated sugar
- 1 cup heavy cream, cold, divided
- 1 teaspoon pure vanilla extract
Instructions
- Make the brownie base: Preheat the oven to 325 °F and spray a 6-inch round springform pan with baking spray.
- In a microwave safe bowl, melt ½ cup granulated sugar with ⅓ cup cocoa powder (sifted) and ¼ cup unsalted butter on high in 30 second increments, stirring after each segment. Alternatively, melt them in a heavy-bottomed saucepan over low heat. Let the mixture cool for about 5 minutes.
- Mix in 1 teaspoon pure vanilla extract and ¼ teaspoon kosher salt, then add 1 large egg.
- Stir in ¼ cup all-purpose flour vigorously until well mixed, at least a minute. This develops the gluten so the brownie will be chewy.
- Transfer the mixture to the prepared springform pan, and bake for 24 to 28 minutes. The brownies might be a little gooey in the center, but that's fine.
- Let the brownie cool completely while you make the mousse.
- Make the chocolate mousse: Chop 3 ounces dark chocolate with a serrated knife (the edge grabs the chocolate better than a chef's knife). Also you can make decorative chocolate shavings with a vegetable peeler. Set both aside.
- Beat 1 large egg with 2 tablespoons granulated sugar for about 2 to 3 minutes with a hand mixer until it's pale yellow and falls in ribbons when the beaters are lifted. Stir in half of the 1 cup heavy cream just until combined.
- Cook the egg mixture in a heavy-bottomed saucepan set over medium heat, stirring constantly. The mixture will start to thicken after about 3 to 4 minutes and will to coat the back of a spatula or spoon, but don't let it simmer or boil. Remove from heat. Thickening the mousse allows it to hold its shape when the dessert is released from the springform pan later.
- Add the chopped chocolate to the pan, cover, and let sit for 2 minutes like you would for making ganache. Remove the lid and whisk until the chocolate has completely melted. Transfer the chocolate custard to a bowl and chill it for at least an hour to firm up.
- Beat the remaining heavy cream in a clean bowl until soft peaks just start to form. This should be done at least an hour before you want to serve the cake.
- Remove the chocolate custard from the refrigerator, and add small amounts to the whipped cream while beating until the mousse is smooth and fluffy. Stir the 1 teaspoon pure vanilla extract into the mousse.
- Assemble the cake: Spoon the chocolate mousse on top of the brownie in the springform pan, smoothing the top, then refrigerate for at least an hour before serving.
- When you're ready to serve, sprinkle the top with the reserved chocolate shavings. Run a knife around the edge of the pan (all the way down to the brownie layer) to release the cake from the pan. Remove the cake from the springform pan: place one hand under the pan, open the clasp, and let the rim of the pan fall onto your arm.
- Carefully transfer the cake to a cake plate, serve, and enjoy!
- Storage instructions: Chocolate Mousse Brownie Cake can be stored in the refrigerator (to keep the mousse firm) for up to a week.
- Make-ahead instructions: The brownie base can be baked a day ahead and kept it at room temperature. Leave it in the pan, covered well in plastic wrap.The chocolate custard can be made a day ahead, tightly covered with plastic wrap and stored in the refrigerator.





Marie says
Is there a way to make this without a springform pan? This looks too yummy not to make but I don't have one.
Tammy Spencer says
That's a great question, Marie. You can use a 6-inch round baking pan, well sprayed with baking spray and lined with a parchment paper collar to keep the mousse from sticking to the pan when you assemble the cake. Removing the cake from the pan can be tricky though. You can just cut it in the pan and remove the slice with a small spatula (remove the collar first). Or, try making a sling out of 2 long, skinny pieces of parchment paper, placing perpendicular to each other in the cake pan before pouring in the brownie batter (the parchment paper collar will really help with this method). Having an assistant to help lift the sling out might be wise. If you do try this, please let me know how it goes, and happy baking! 🙂
Marie says
That worked super well! And the cake was even more delicious than it looked! Thank you for the suggestion!
Tammy Spencer says
I'm so glad! Enjoy 🙂
Shira says
Looks delicious! I can't wait to try making this!
Tammy Spencer says
Enjoy! 🙂