
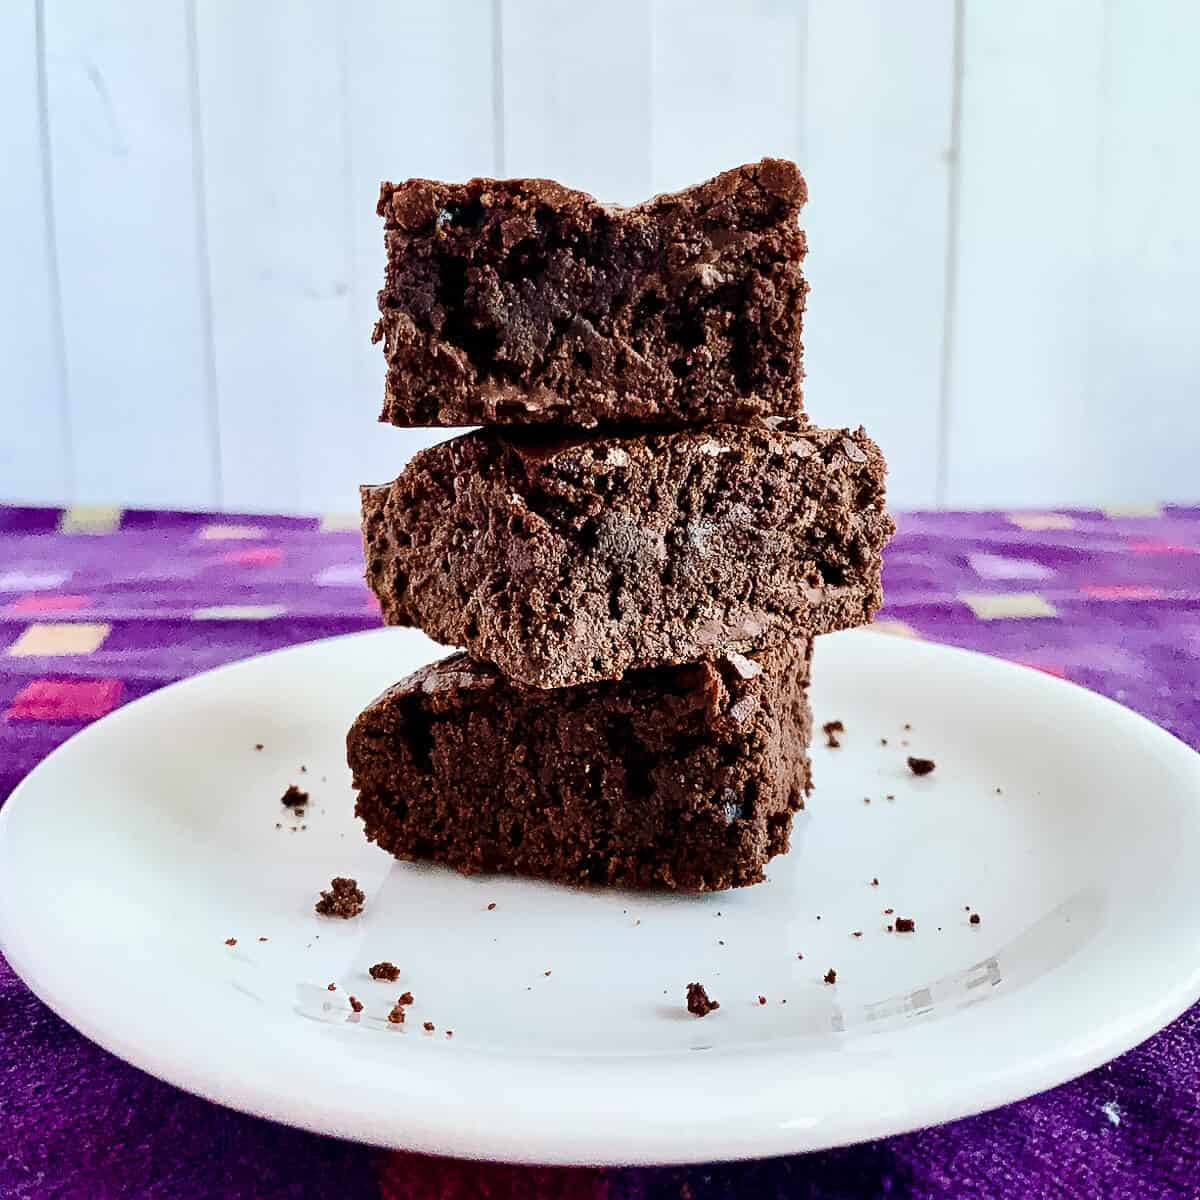
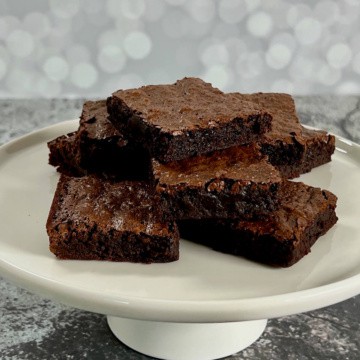
A rich dark chocolate brownie batter studded with chocolate chips creates an exceptional chewy cake brownie. Made from scratch, you can banish the box mix from your kitchen!
Jump to:
Why this recipe works
- These chewy brownies are tall with a cake-like texture
- An easy mix-and-bake recipe that comes together quickly
- You can choose to use dark, semi-sweet, or milk chocolate in the batter
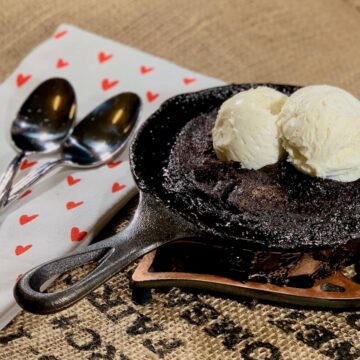
A great brownie recipe is like the little black dress of the culinary world. It can be embellished with extras, like in Marshmallow Topped Brownies or Triple Chocolate Brownies. Or it can be left plain in order to just savor the rich chocolate flavor, like with these Rich & Chewy Cake Brownies.
And when you make a homemade brownie recipe, you definitely don't need a box mix. Honest!
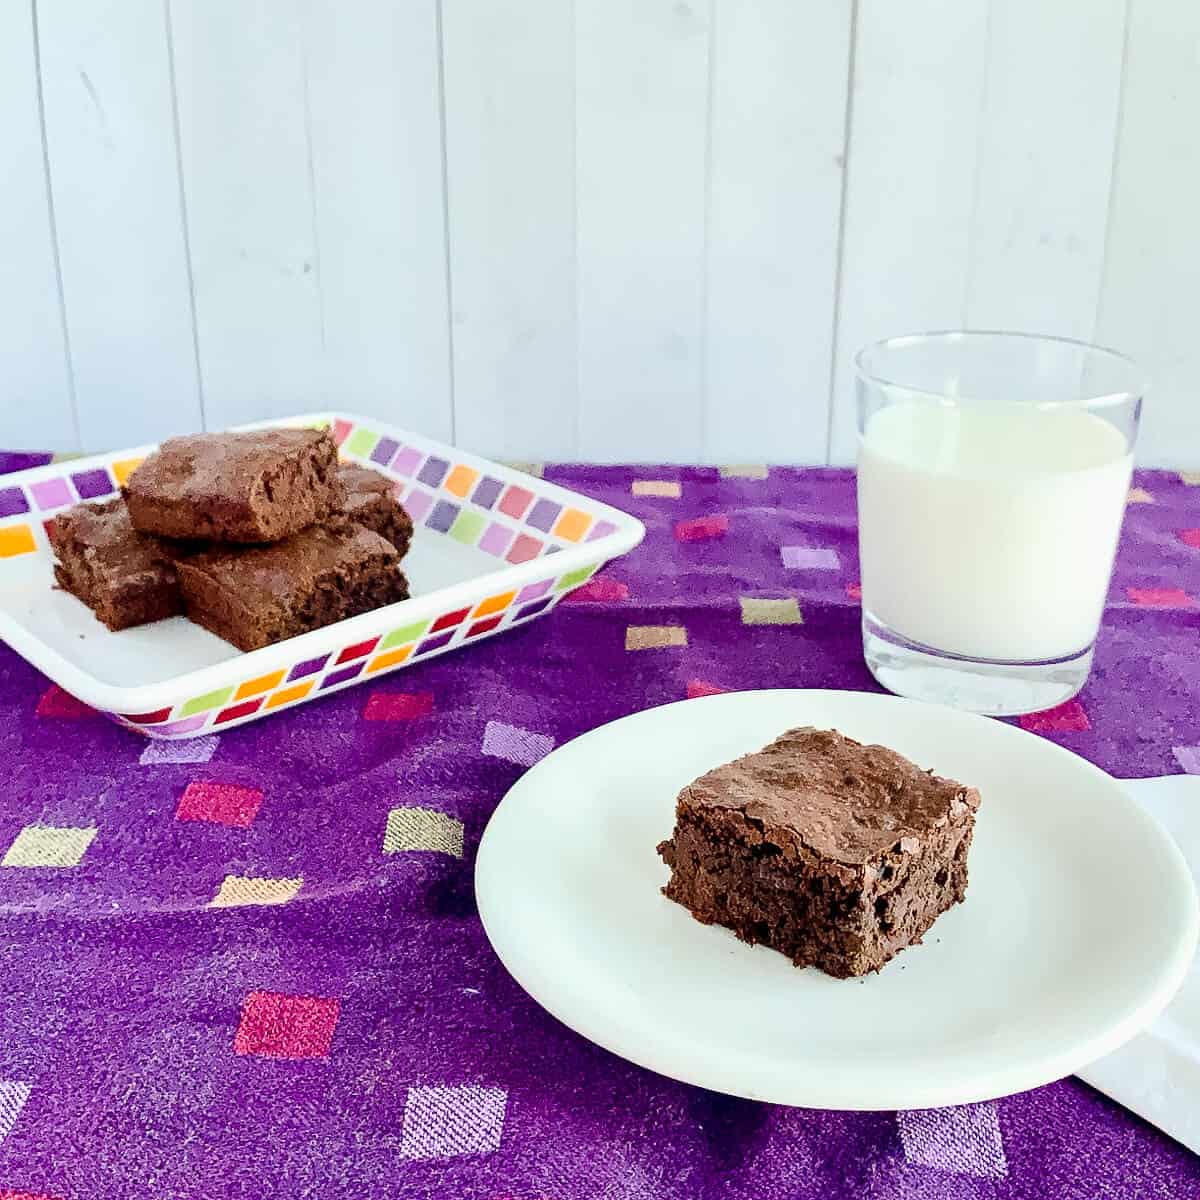
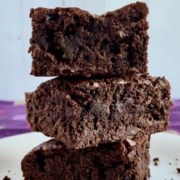
These cake brownies have deep chocolate flavor, and are not as heavy as fudge brownies. They're thick and rich, perfect to satisfy a chocolate craving.
If you're looking for another easy fudge brownie recipe from scratch, try my Dark Chocolate Bourbon Brownies. Keep that boozy kick and make it with the bourbon. Or, replace the bourbon with 2 teaspoons of vanilla extract. Either way you'll get an amazing fudgy brownie to sink your teeth into.
And, if you're looking for more chocolate recipes using cocoa powder, Bayev's Kitchen is the place to look!
I hereby give you leave to banish the box mix forever! Instead, use this easy cake brown recipe and bake a batch of rich and chewy cake brownies from scratch today. You'll be glad you did!
⭐⭐⭐⭐⭐
Can confirm, they are both rich and chewy, plus delicious!
- Ella
Recipe Ingredients
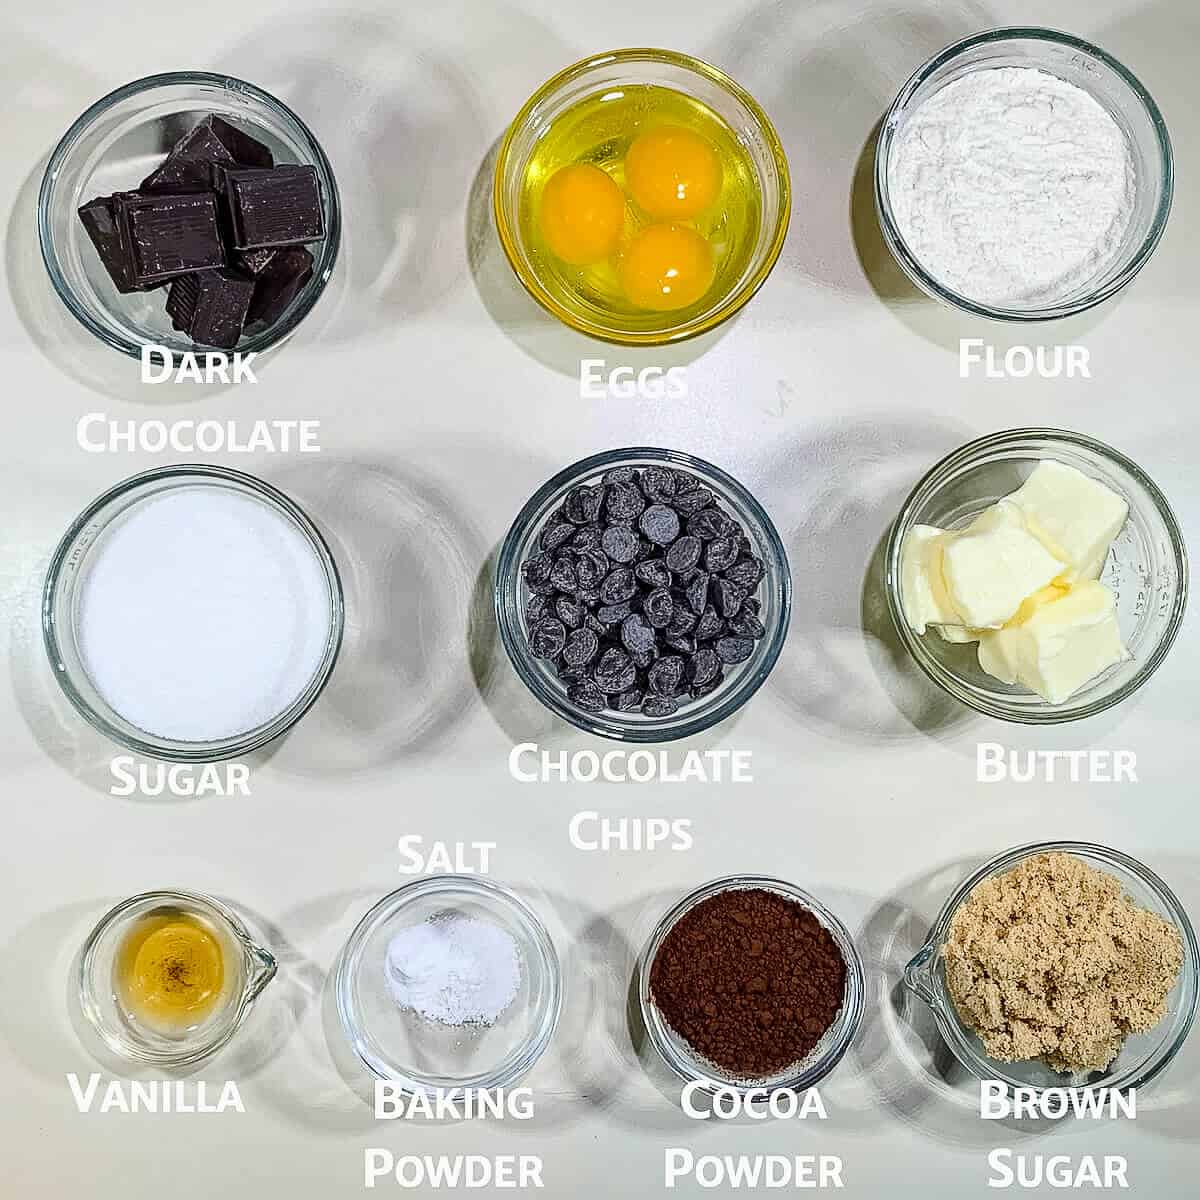
You'll need the following ingredients to make this cake brownie recipe:
Ingredient Notes
Chocolate: We're using chocolate in three ways for this cake brownie recipe:
- Solid Chocolate: I use dark chocolate wafers or a solid dark chocolate bar. You can also use semisweet or milk chocolate instead.
- Cocoa Powder: I've upped the ante in the chocolate department by using dark chocolate cocoa powder. Feel free to substitute regular cocoa powder if you prefer.
- Chocolate chips: I like to add them to the batter to add a burst of chocolatey goodness in each bite. They're optional - it's your choice..
Espresso Powder: An optional ingredient, espresso powder also helps to give these cake-like brownies a richer chocolate flavor. I wouldn't skip it!
Butter: You can use either salted or unsalted butter without any noticeable difference. You don't need to alter the amount of salt in the recipe regardless of which type of butter you use.
See the recipe card for a full list of ingredients and measurements.
Cake brownies vs. fudge brownies
You might be wondering what makes this is a chewy cake brownie recipe? And how do they compare against a fudgy brownie recipe? In a word, baking powder. (Ok, that's two words. Work with me here!)
The lift that baking powder provides keeps the brownies from having a dense texture (like, say, flourless chocolate cake), and gives you a cake-like texture. Oh, and this is a brownie recipe with cocoa powder which dries out the batter a little bit. And it has an extra egg for more body.
All right, maybe the difference is more than just baking powder.
How to make cake brownies from scratch
Making brownies from scratch is similar to one-bowl quick bread recipes where you mix the dry ingredients, mix the wet ingredients, then fold everything together.
Maybe the hardest part of the whole process is melting butter and chocolate together, and that can be done in a couple of minutes in the microwave.
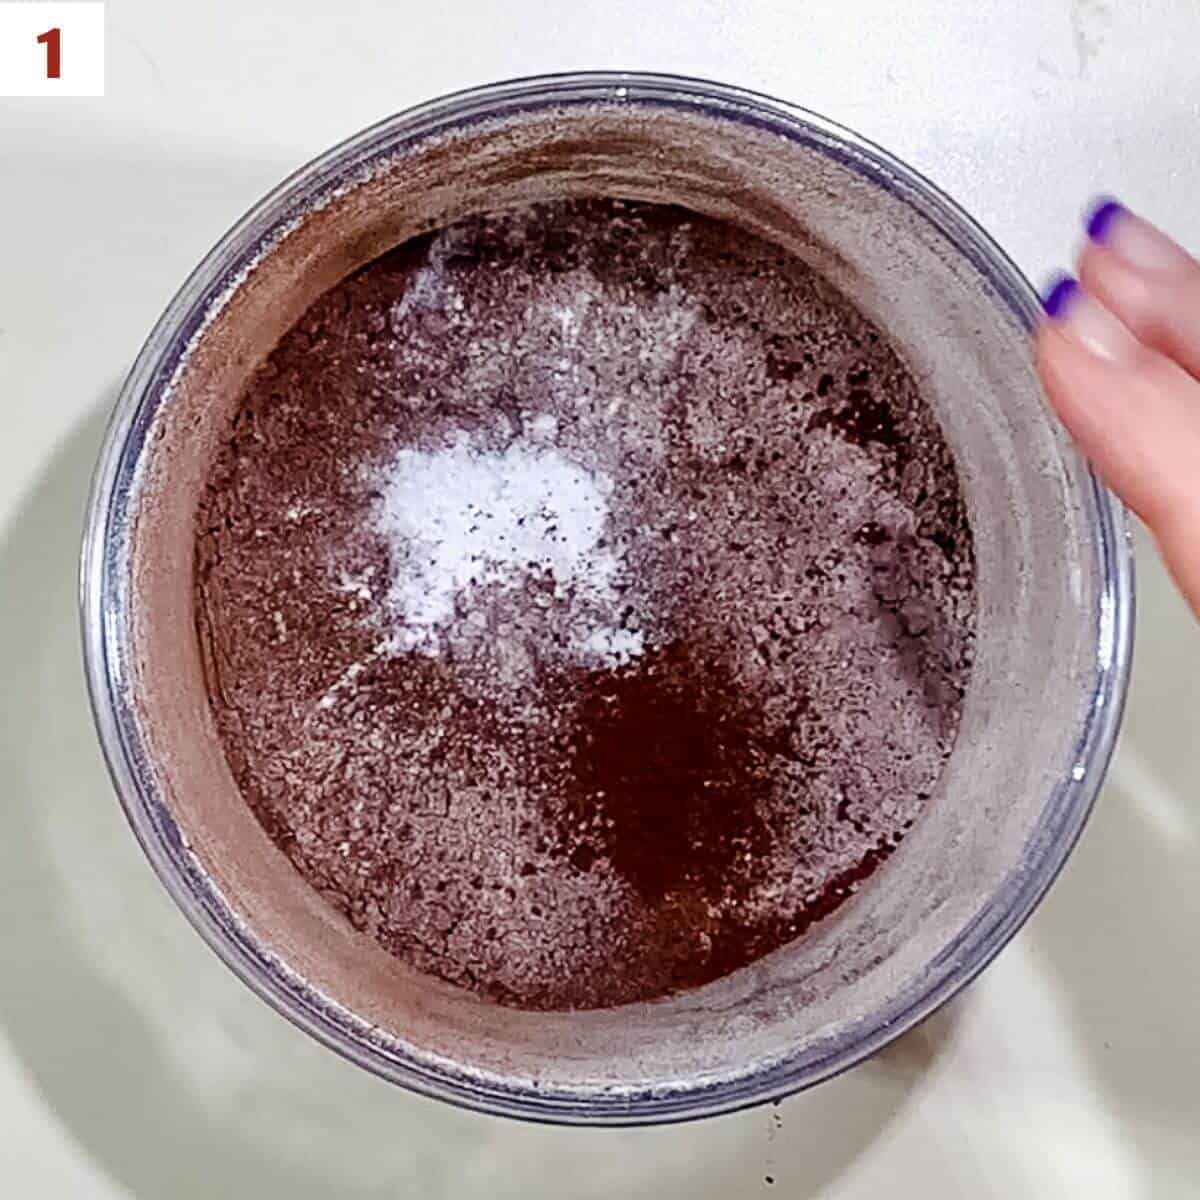
Step 1: Mix the dry ingredients
In a small mixing bowl, sift the flour and cocoa powder together (I like this sifter), then stir in the espresso powder (if using), salt, and baking powder (photo 1).
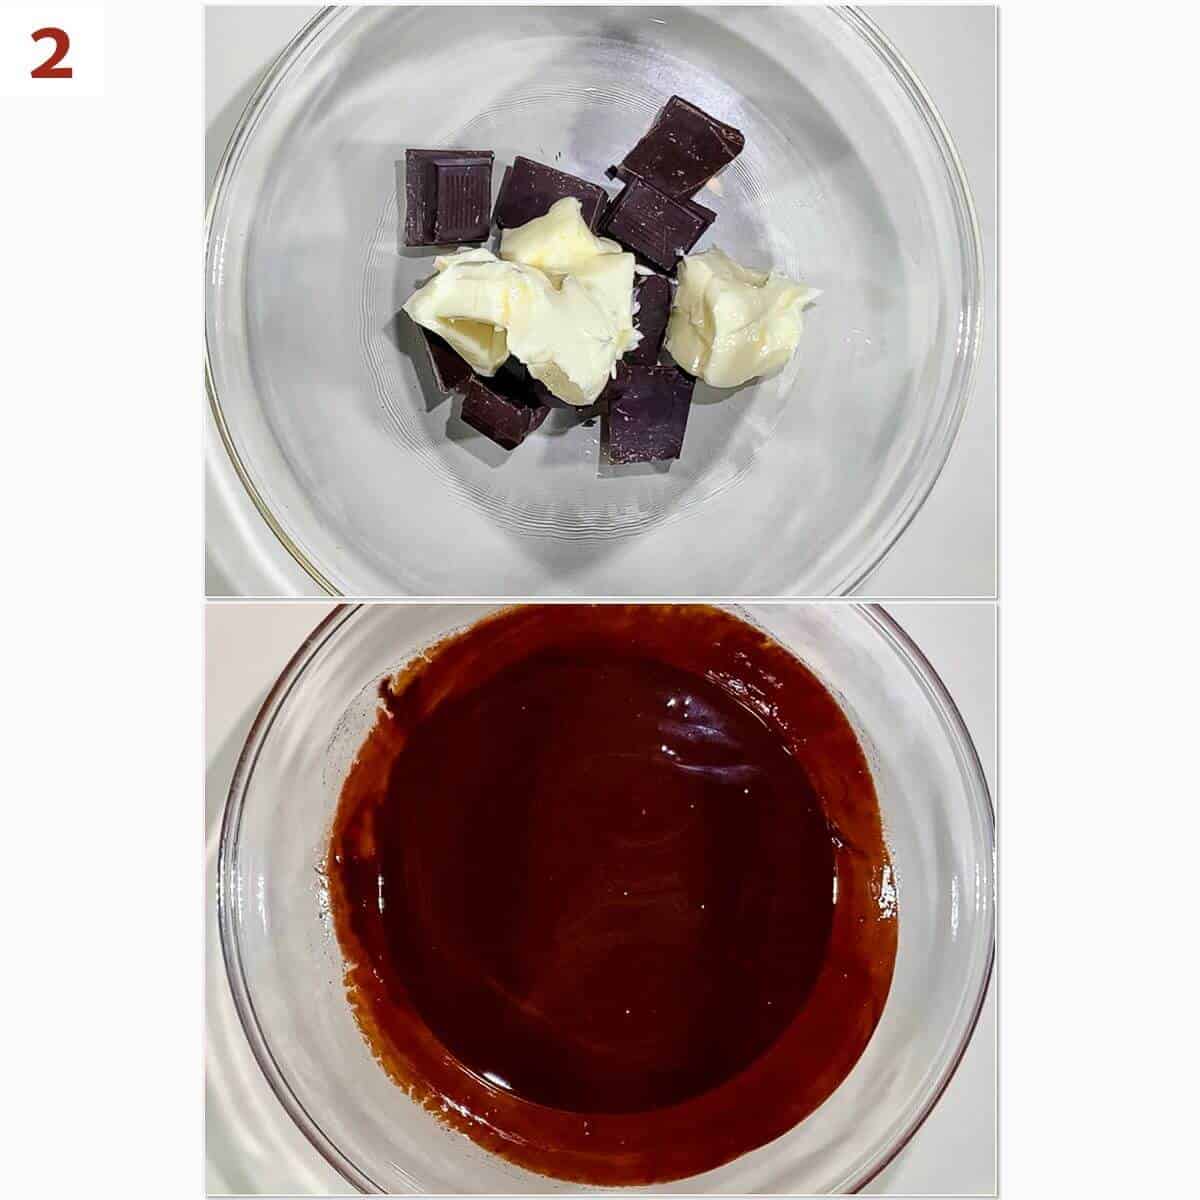
Step 2: Make the chocolate base
Combine the dark chocolate and butter in a medium microwave-safe bowl and melt on HIGH heat in 30 second bursts, stirring after each interval until smooth, about 1½ to 2 minutes (photo 2). Alternatively, you can melt the dark chocolate and butter in a heavy saucepan over low heat, stirring until smooth.
Allow the chocolate mixture to cool for 5 minutes. Whisk in the sugar and brown sugar, then the eggs (one at a time), and finally the vanilla extract (photo 3).
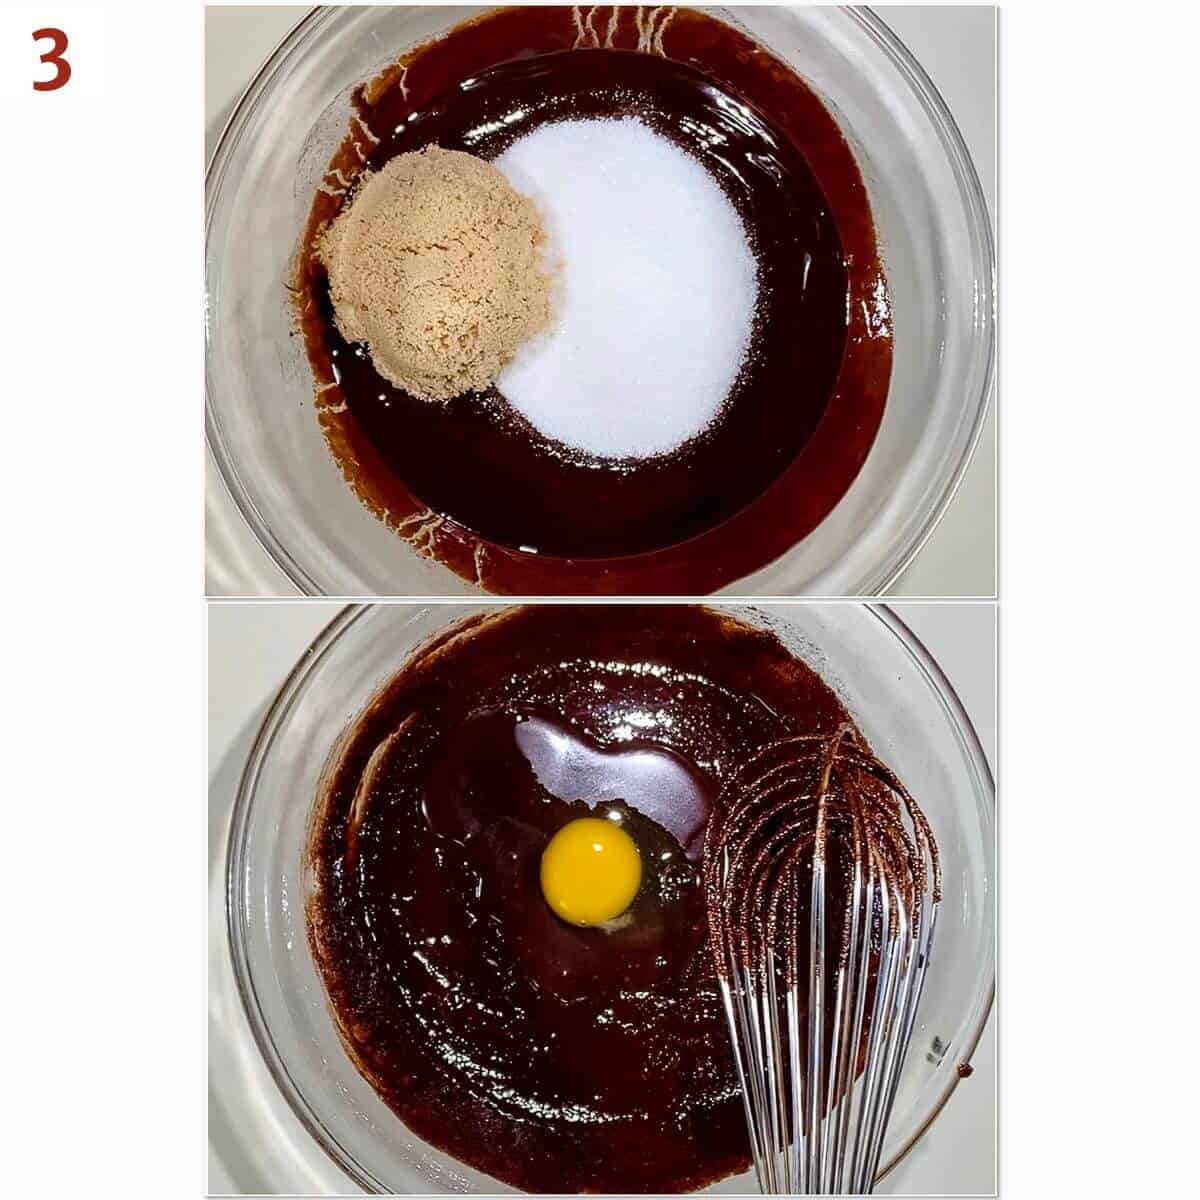
Step 3: Mix the brownie batter
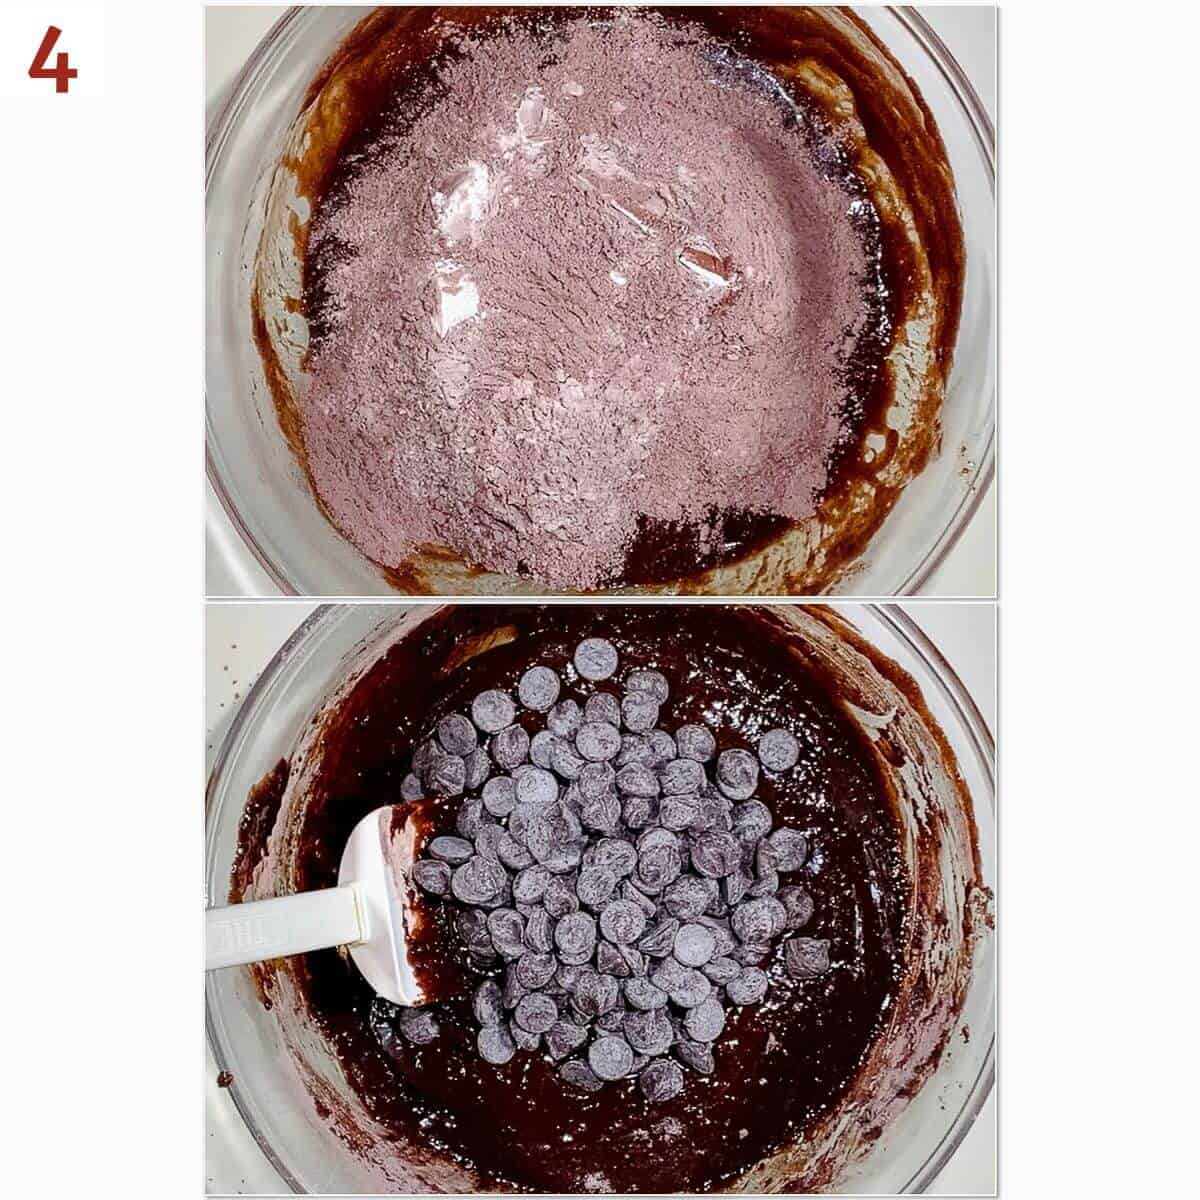
Fold in the flour mixture just until combined. Don't over-mix the batter so that the brownies stay tender. Gently fold in the chocolate chips, if using (photo 4).
Step 4: Bake the brownies
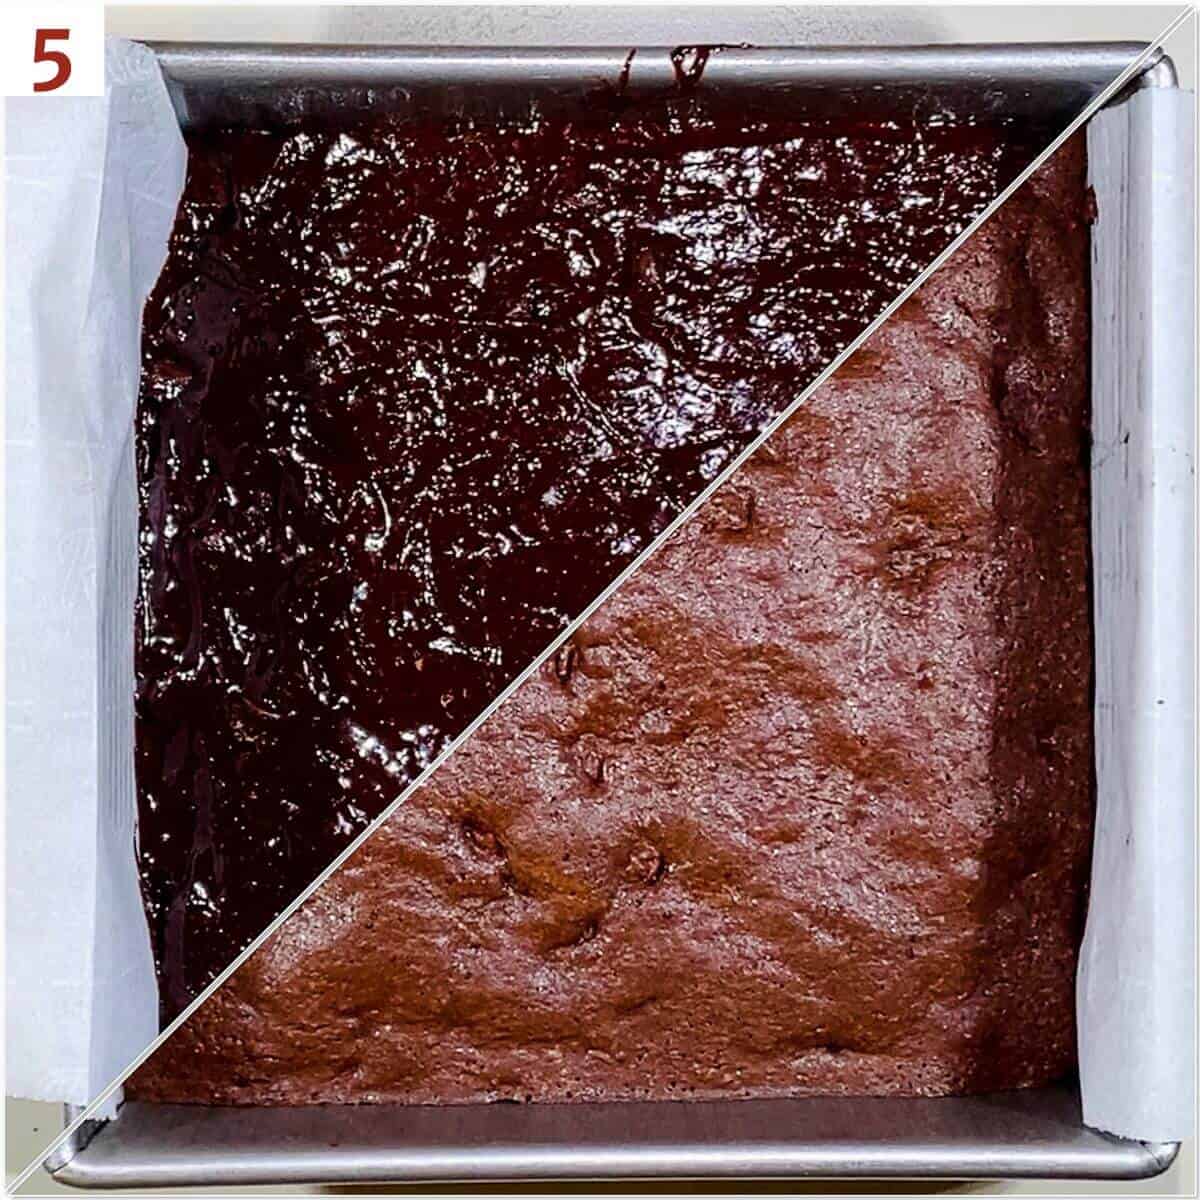
Pour the batter into an 8- x 8-inch baking pan that's been sprayed with baking spray and lined with parchment paper, and smooth the top with a small offset spatula.
Bake the brownies at 350˚F for 28 to 30 minutes or until a cake tester or toothpick inserted in the center comes out clean (or maybe with just a few crumbs attached). Once done, remove the brownies from the oven and cool them completely in the pan on a wire rack (photo 5).
Using an 8- x 8-inch baking pan will give you thicker brownies, and ensure that cake-like texture. If you want your brownies thinner, use a 9- x 9-inch baking pan and reduce the baking time by about 5 minutes.
Step 4: Cut the brownies
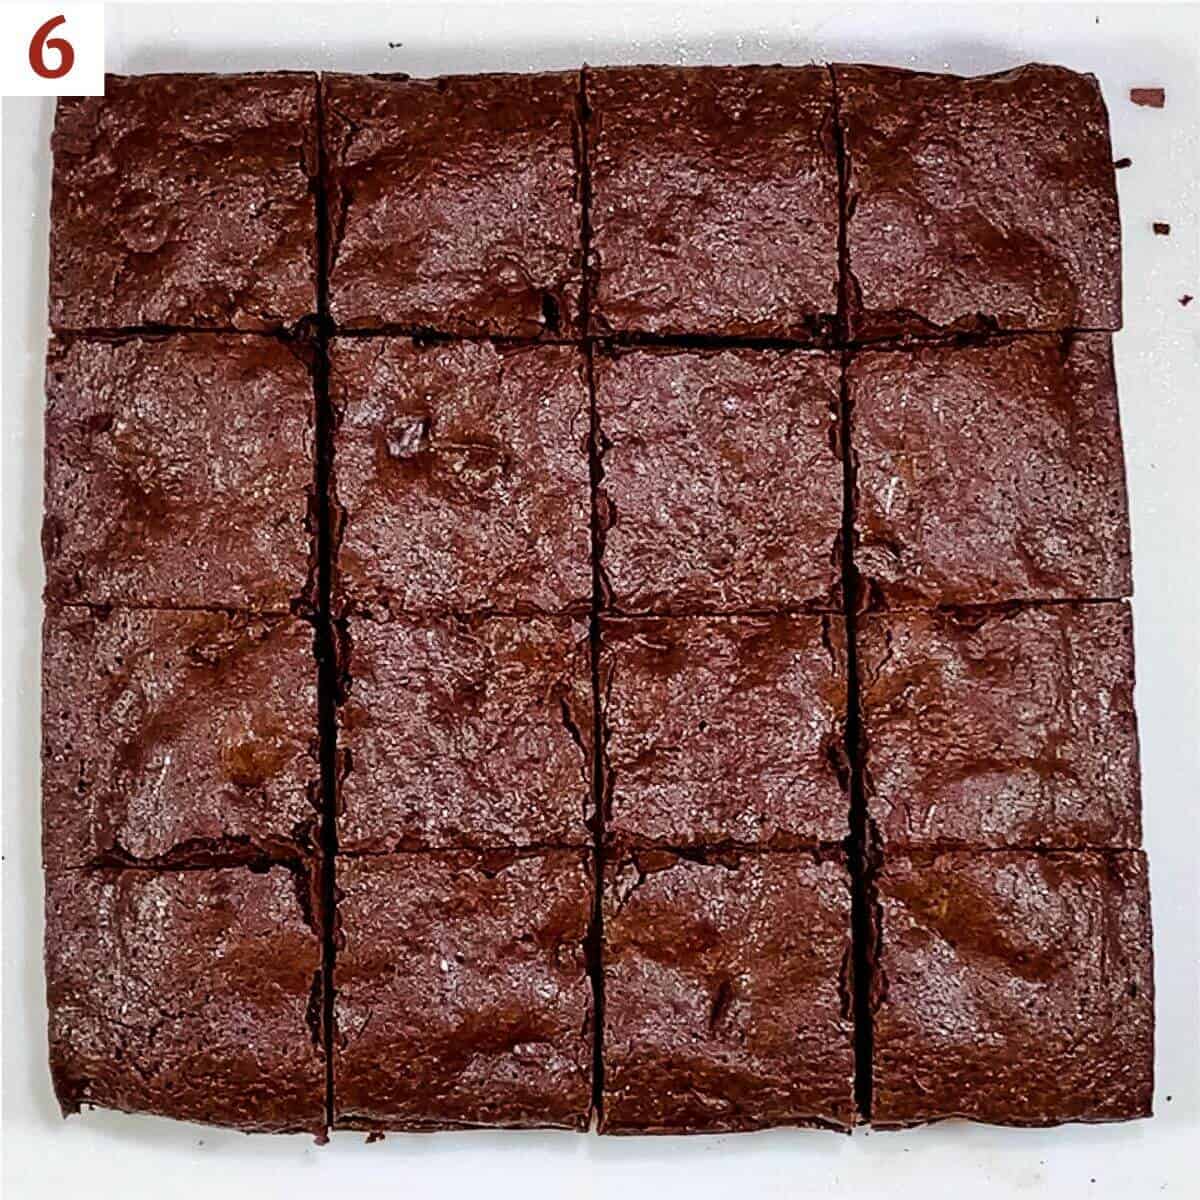
Carefully lift the parchment to remove the brownie slab from the pan and place it on a cutting board. Frost with chocolate buttercream, if desired.
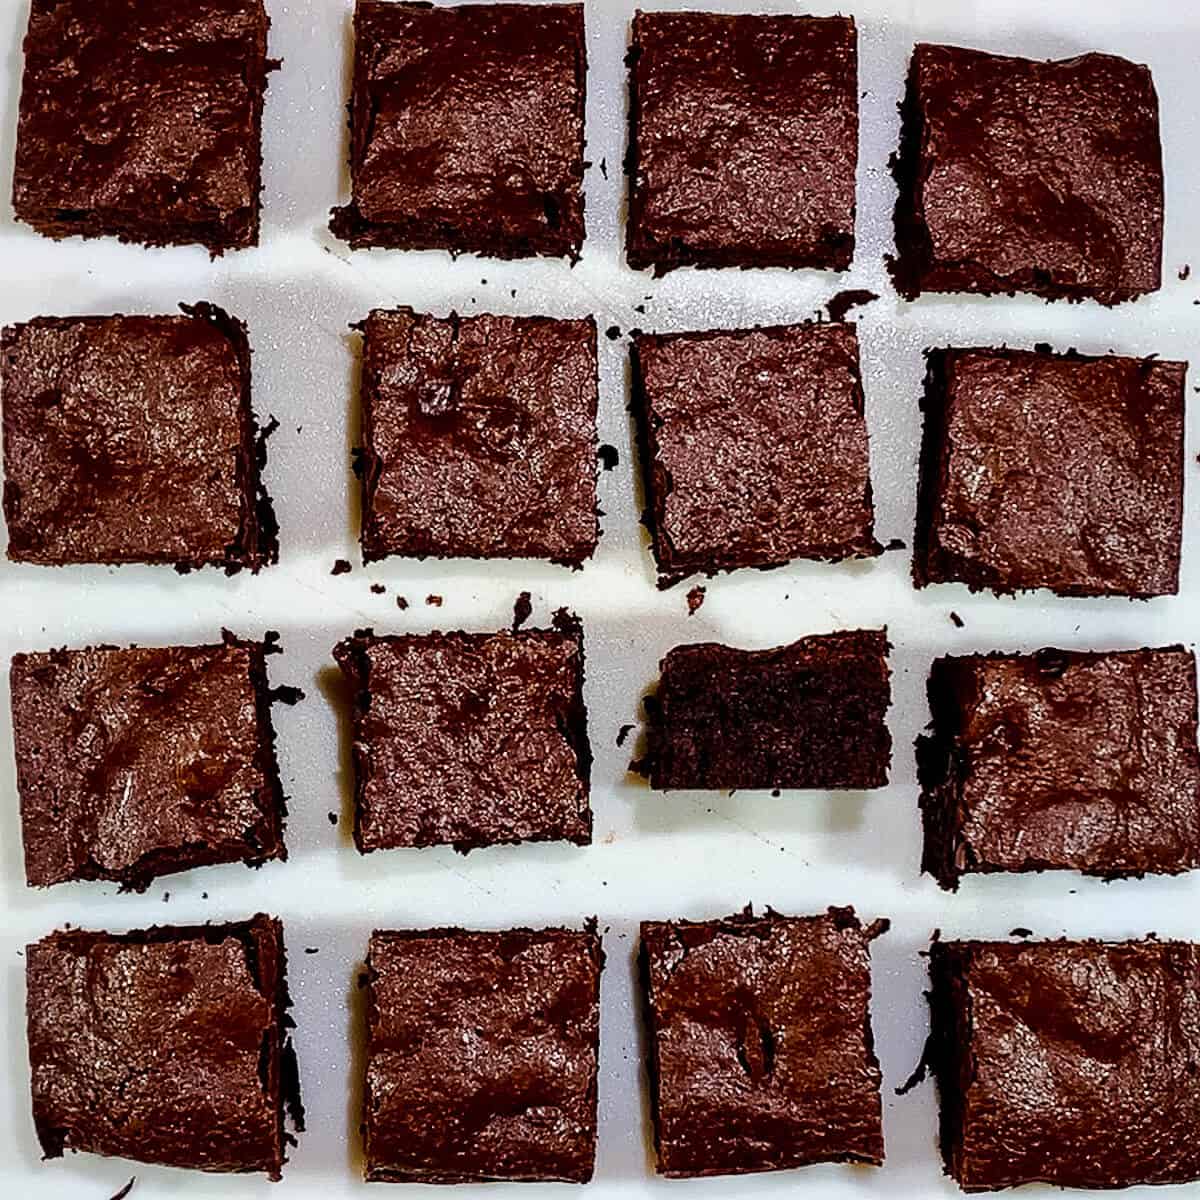
Chill the brownies for about 10 minutes (to ease cutting), then cut the slab into 2-inch squares with a sharp knife, wiping off the knife between cuts (photo 6).
Storage instructions
Homemade brownies are best the day they're made, and can be refrigerated for 3 to 5 days, in an airtight container. They also freeze well for later snacking when stored, tightly wrapped, in an airtight container for up to 3 months. Thaw overnight in the refrigerator before serving.
Questions asked and answered
Here are some questions you might have...
That's a matter of personal preference, and "should" doesn't really come into play. Just remember that cake brownies tend to be less dense than their fudgy counterparts.
Generally speaking, you can use either, especially for denser, fudge brownies. However, if you want a lighter, more cake-like brownie then butter is better. The water in butter evaporates while the brownies bake, helping the baking powder to lift the batter.
This will depend on the type of brownies. Cake brownies are done when you can poke a cake tester or toothpick in the center and there's little to no crumbs attached. Fudge brownies are too dense for this test, so it's better to rely on the recommended baking time to know when they're done.
Didn't find the answer you're looking for?
Ask AI to answer for this specific recipe:
Disclaimer: I am not responsible for the quality of AI information

I hope you like this recipe! Let me know if you have any questions, and don't forget to leave a comment and rating. Thanks!
Slainté! L'chaim! Cheers!
- Tammy
Recipe

Rich & Chewy Cake Brownies
Equipment
- 8- x 8-inch baking pan see Recipe Notes
Ingredients
- ⅔ cup all-purpose flour
- 3 tablespoons dark chocolate cocoa powder, see Recipe Notes
- 1 teaspoon espresso powder, optional, See Recipe Notes
- ½ teaspoon kosher salt
- ¼ teaspoon baking powder
- 4 ounces dark chocolate wafers, or solid dark chocolate, chopped (⅔ cup), see Recipe Notes
- ½ cup unsalted butter, or salted butter, cubed, see Recipe Notes
- ¾ cup granulated sugar
- ¼ cup light brown sugar
- 3 large eggs, at room temperature
- 2 teaspoons pure vanilla extract
- 6 ounces chocolate chips, (1 cup), optional, see Recipe Notes
- chocolate buttercream frosting, optional
Instructions
- Preheat the oven to 350 °F. Spray an 8- x 8-inch baking pan with baking spray and line with parchment paper, leaving a 2-inch overhang. Set aside.
- In a small mixing bowl, sift together ⅔ cup all-purpose flour and 3 tablespoons dark chocolate cocoa powder, then stir in 1 teaspoon espresso powderr (if using), ½ teaspoon kosher salt, and ¼ teaspoon baking powder.
- Combine 4 ounces dark chocolate wafers and ½ cup unsalted butter in a medium microwave-safe bowl and melt on high heat in 30 second bursts, stirring after each interval until smooth, about 1½ to 2 minutes. Alternatively, melt the dark chocolate and butter in a heavy saucepan over low heat, stirring until smooth.
- Allow the chocolate mixture to cool for 5 minutes. Whisk in ¾ cup granulated sugar and ¼ cup light brown sugar, then 3 large eggs (one at a time), and finally 2 teaspoons pure vanilla extract.
- Fold in the flour mixture just until combined. Don't over-mix the batter so that the brownies stay tender. Fold in the 6 ounces chocolate chips, if using.
- Pour the batter into the prepared baking pan, and smooth the top with a small offset spatula.
- Bake the brownies for 28 to 30 minutes or until a cake tester or toothpick inserted in the center comes out clean (or maybe with just a few crumbs attached). Once done, remove the brownies from the oven and cool completely in the pan on a wire rack.
- Carefully lift the parchment to remove the brownie slab from the pan and place it on a cutting board. Frost with chocolate buttercream frosting, if desired. Chill the brownies for about 10 minutes (to ease cutting), then cut the slab into 2-inch squares with a sharp knife, wiping off the knife between cuts.
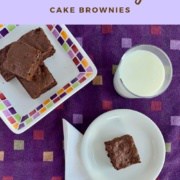
- Serve with a large glass of milk (or your favorite non-dairy alternative) and enjoy!
- Storage Instructions: Homemade brownies are best the day they're made, and can be refrigerated for 3 to 5 days, in an airtight container. They also freeze well for later snacking when stored, tightly wrapped in an airtight container, for up to 3 months. Thaw overnight in the refrigerator before serving.


Ella says
Can confirm, they are both rich and chewy, plus delicious!
Tammy Spencer says
Thanks! 🙂